
2002-2008 MINI Cooper A/C Condenser: Failure Signs & Replacement Guide
This guide covers how to diagnose a failing A/C condenser in your first-generation MINI, what to inspect on a used part, and what's involved in the replacement.
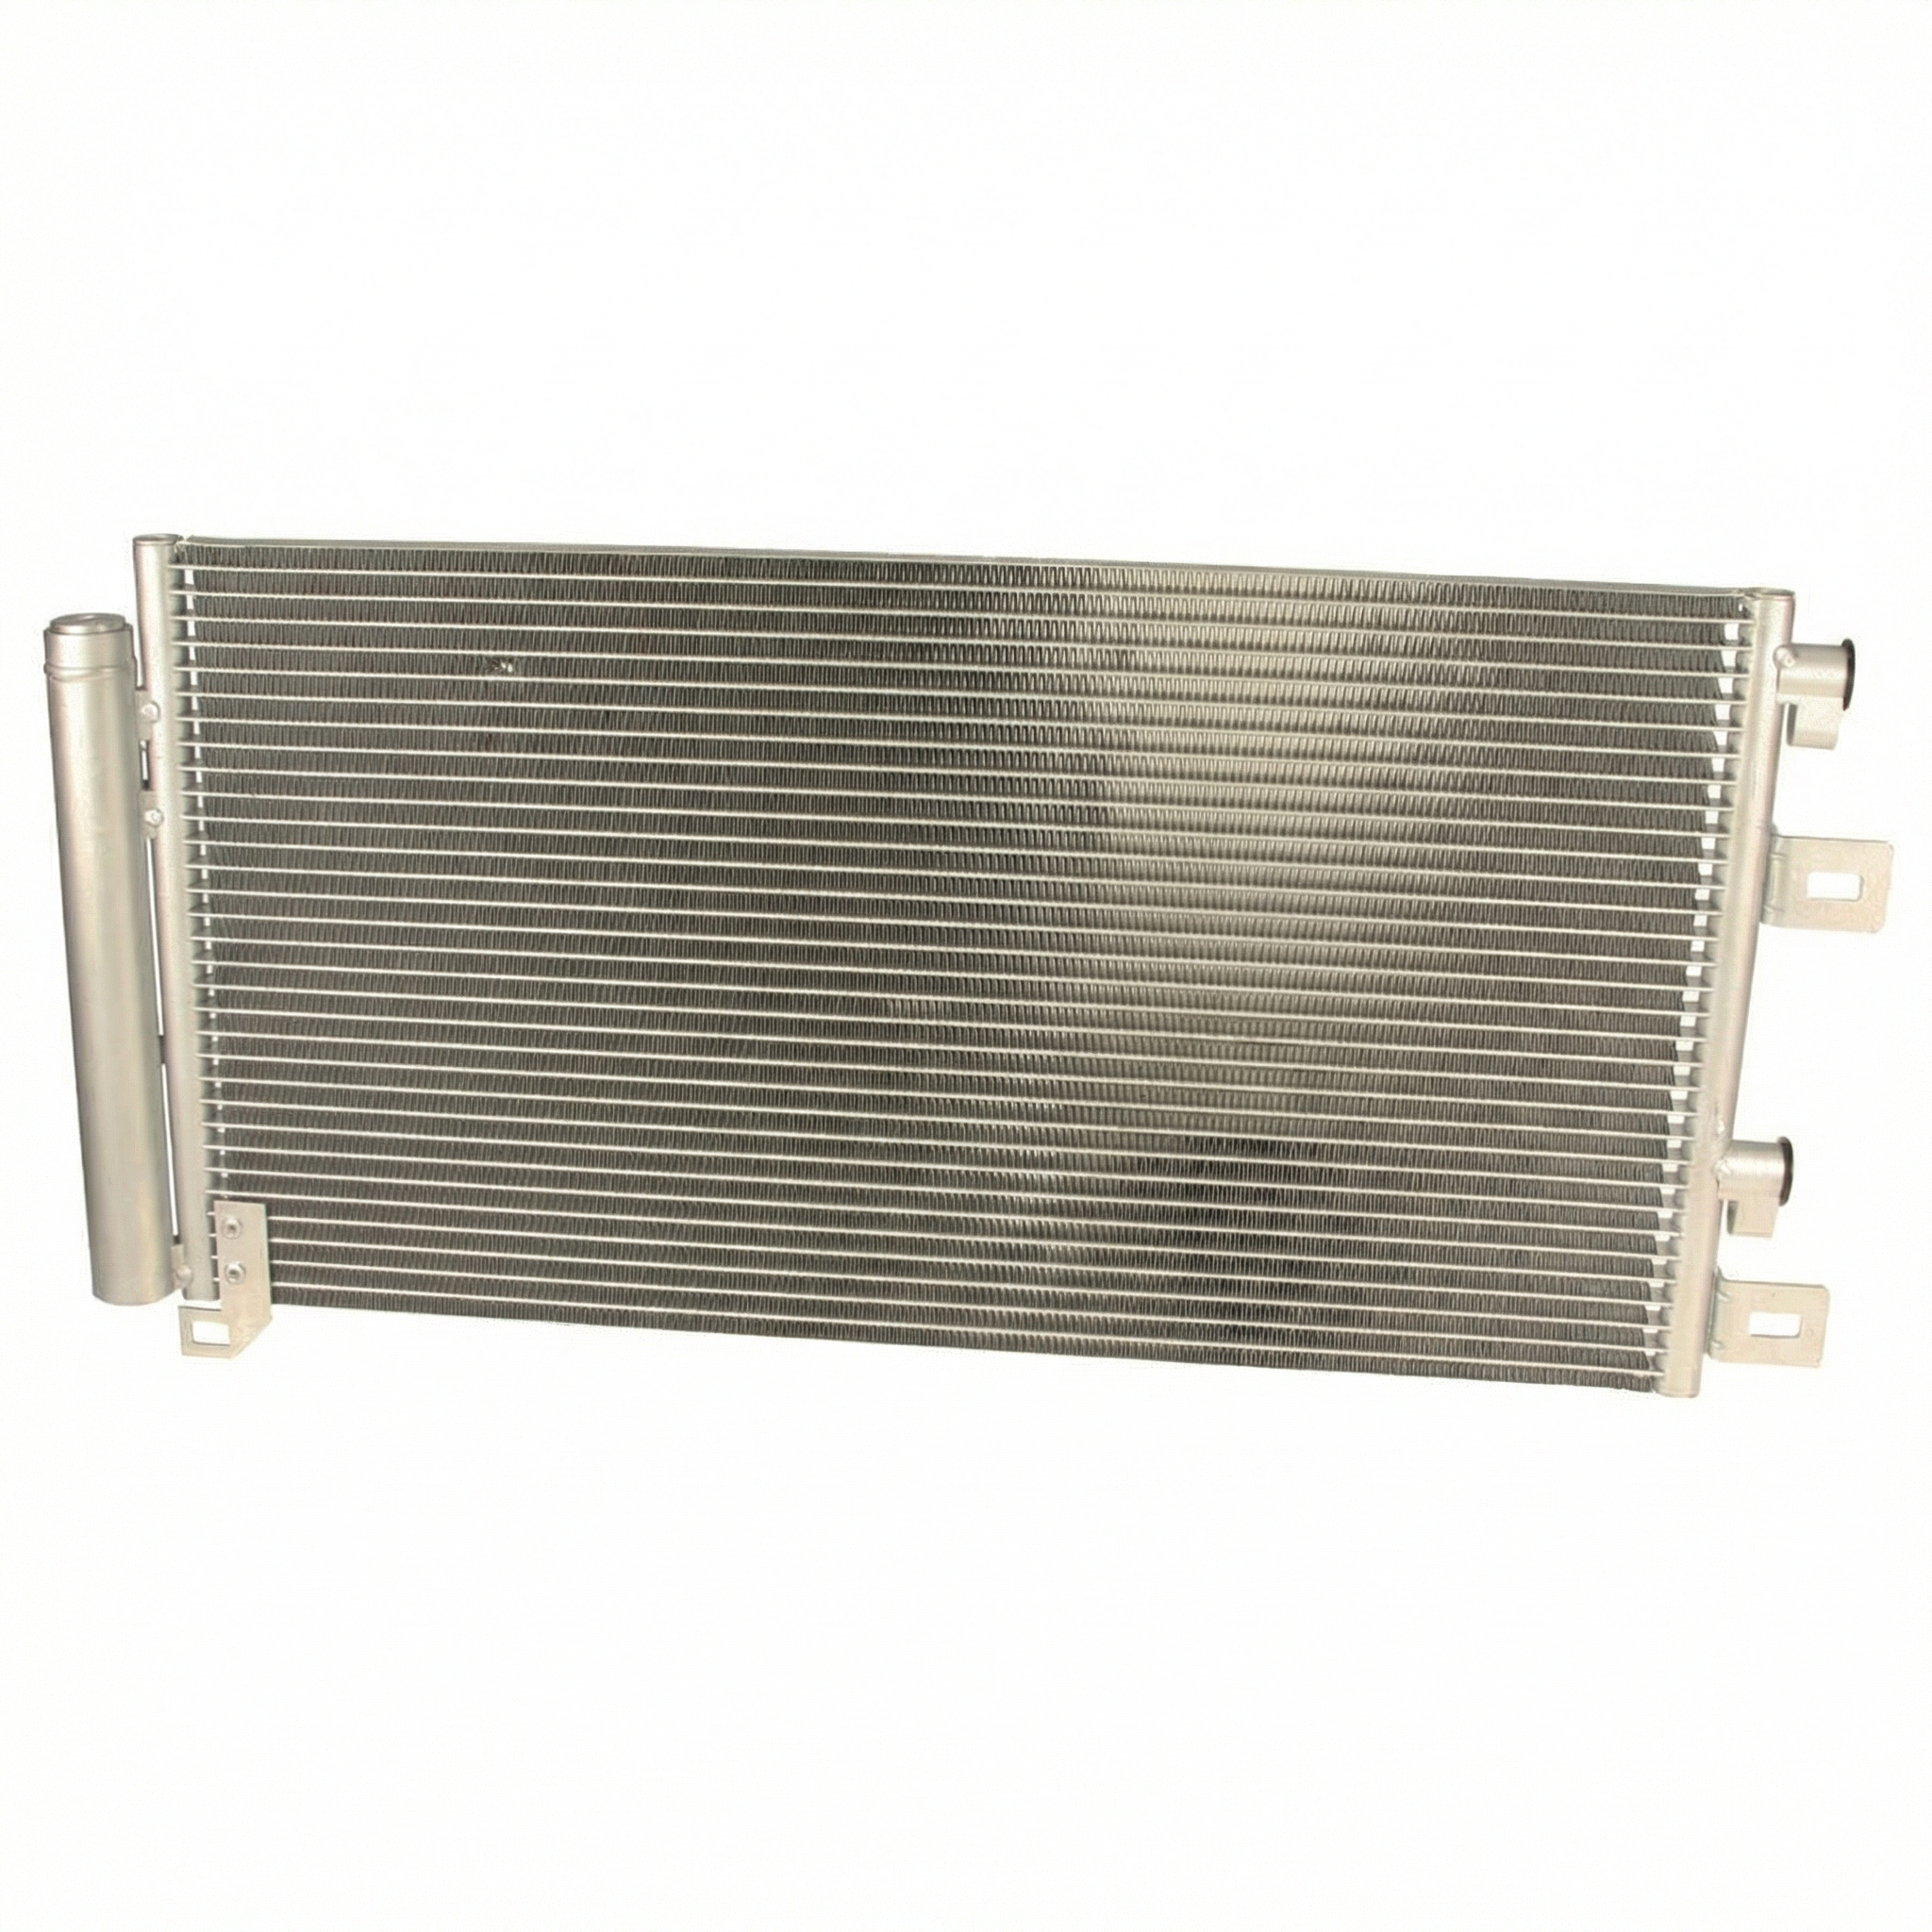
- The most common failure is a leak caused by road debris impact due to the condenser's exposed location at the front of the car.
- When replacing the condenser, you MUST also replace the attached receiver/drier and have the system professionally evacuated and recharged.
- When inspecting a used condenser, the most important check is for any oily residue, which indicates a leak.
- This part (OEM #64531490572) fits all first-generation models: 2002-2006 Hatchbacks (R50/R53) and 2005-2008 Convertibles (R52).
Symptoms of a Failing A/C Condenser
A bad A/C condenser will quickly make itself known, especially on a hot day. Because its failure is almost always due to a leak or blockage, the symptoms are straightforward.
- Warm Air from Vents: This is the most common symptom. If the condenser is leaking refrigerant or is clogged internally, it cannot cool the refrigerant effectively, resulting in warm or lukewarm air blowing from your vents.
- Visible Physical Damage: Since the condenser is at the front of the vehicle, it's highly vulnerable to impacts from rocks and road debris. A visual inspection may reveal bent or crushed cooling fins, or even punctures.
- Oily Residue on the Condenser: Refrigerant in the A/C system is mixed with a special oil. If there's a leak, this oil will escape with the refrigerant, attracting dirt and grime. A dark, oily patch on the surface of the condenser is a sure sign of a leak. Sometimes, a UV dye is added to the system to make these leaks easier to spot with a black light.
- A/C System Cycles On and Off Rapidly: If the system is low on refrigerant due to a leak, pressure switches may cause the A/C compressor to turn on and off frequently.
Known Issues for 2002-2008 MINI Coopers
The primary known issue for the first-generation MINI Cooper's A/C condenser is its exposed location. The low-slung front grille offers little protection from road debris, making the condenser highly susceptible to punctures and fin damage from stones and other objects kicked up on the highway. Corrosion can also be a problem over time, especially in regions that use road salt in the winter. This can weaken the aluminum tubes and fins, eventually causing leaks. While there are no specific recalls or widespread Technical Service Bulletins (TSBs) for the condenser itself on this generation, A/C system leaks are a common complaint.
Pro Tip: When washing your car, gently rinse the condenser with a hose to remove bugs, leaves, and debris. Keeping the fins clean helps the A/C system run more efficiently.
Buying a Used A/C Condenser: What to Inspect
A used OEM condenser can be a smart buy, offering the same fit and quality as a new dealer part for a fraction of the price. However, since it's a component that holds pressure, a careful inspection is crucial.
- Check for Leaks: This is the most important step. Look for any dark, oily, or grimy areas on the condenser's surface. This indicates a past leak. Pay close attention to the areas where the lines connect and where the mounting brackets attach. A clean, dry, uniformly gray condenser is a good sign.
- Inspect the Fins: A few bent fins are normal and can be gently straightened with a fin comb. However, avoid any condenser with large areas of crushed or heavily damaged fins, as this will restrict airflow and reduce cooling performance.
- Examine for Corrosion: Check for white, chalky powder or flaking metal, especially around the inlet and outlet ports and along the bottom edge where moisture can collect. Heavy corrosion can lead to future leaks.
- Verify Compatibility: Ensure the part is from a 2002-2008 MINI Cooper. The correct OEM part number is 64531490572. This part fits all first-generation models: 2002-2006 Hatchback (R50, R53) and 2005-2008 Convertible (R52).
- Check the Connections: Make sure the threaded fittings for the A/C lines are clean and undamaged. Stripped or damaged threads will prevent a proper seal.
Replacement Overview & Difficulty
Replacing the A/C condenser on a first-generation MINI is a moderately difficult job. While the mechanical steps are straightforward for a DIYer with some experience, the A/C system itself requires special equipment.
Warning: It is illegal and harmful to the environment to release refrigerant into the atmosphere. Before starting this repair, the A/C system must be professionally evacuated by a qualified shop with an A/C recovery machine. After installation, the shop must then vacuum test the system for leaks and recharge it with the correct amount of refrigerant and oil.
The basic steps involve:
🎬 Watch this step-by-step walkthrough of the condenser replacement process.- Having the A/C system professionally evacuated.
- Removing the front bumper cover and potentially the bumper support bar.
- Disconnecting the A/C lines from the condenser. Be prepared to replace the O-ring seals.
- Unbolting and removing the old condenser.
- Swapping the receiver/drier. Most new and used condensers for this MINI come with the receiver/drier attached. If not, it is critical to install a new one.
- Installing the new condenser and reconnecting the lines with new O-rings.
- Reassembling the front of the car.
- Returning the vehicle to a shop to have the system vacuum tested and recharged.
Cost Comparison
| Part Type | Estimated Cost |
|---|---|
| New Genuine MINI | $450 - $600 |
| New Aftermarket (OEM-quality brands like Behr, Nissens) | $105 - $150 |
| Used OEM | $50 - $75 |
| Shop Labor (Part Replacement) | $200 - $300 |
| Shop Labor (A/C Evacuate & Recharge) | $100 - $200 |
Frequently Asked Questions (FAQ)
Do I have to replace the receiver/drier with the condenser?
Yes, absolutely. The receiver/drier (also called a filter/drier) contains a desiccant material that absorbs moisture from the A/C system. Any time the system is opened to the atmosphere, the desiccant becomes saturated and must be replaced. Failure to do so can lead to corrosion, blockages, and damage to other A/C components like the compressor. Most condensers for this MINI are sold with the drier already attached.
Can I replace the A/C condenser myself?
You can perform the physical replacement of the part yourself if you are comfortable with removing the front bumper. However, you legally and practically need a professional auto shop with an A/C service machine to evacuate the system before you start and to vacuum test and recharge it after you are finished.
My A/C is blowing warm. Does that automatically mean the condenser is bad?
Not necessarily. While a leaking condenser is a common cause, warm air can also be caused by a low refrigerant charge from a leak elsewhere, a failing A/C compressor or clutch, a bad pressure switch, or an electrical issue. A proper diagnosis, often starting with a pressure test and leak detection, is needed to confirm the cause.
Is a small puddle of water under my car after running the A/C a problem?
No, this is normal. The A/C system removes humidity from the cabin air, and this moisture condenses on the evaporator core and drips out onto the ground through a drain tube. This is just condensation and is not a sign of a leak. A refrigerant leak would appear as an oily residue, not a clear puddle of water.
Helpful Videos

Technical Specifications
OEM Part Numbers: 64531490572
Fits 2002-2006 MINI Cooper Hatchback (R50, R53) and 2005-2008 MINI Cooper Convertible (R52). Often sold as an assembly with the receiver/drier (OEM Part # 64506917489).
We Have This Part in Stock

The information in this article is provided for general reference and educational purposes only. Vehicle specifications, procedures, and part compatibility can vary by production date, trim level, and region. Always consult your vehicle's factory service manual and verify part numbers before purchasing or performing repairs. Safety-critical components such as airbags, seat belts, and braking systems should be installed by a qualified professional.
- MINI Cooper: