
1992-1994 Lexus SC300 & SC400 Headlight Guide: Solving Hazing, Moisture, and Fitment Issues
This guide covers common problems, replacement, and buying advice for the headlight assemblies on 1992-1994 Lexus SC300 and SC400 models.
- This headlight assembly only fits 1992-1994 SC300/SC400 models with a production date UP TO December 1993. It will not fit later 1994 models.
- The most common failures are moisture getting inside from a bad seal and hazy/yellowed glass lenses, both of which require replacing the entire assembly.
- These cars use halogen projector headlights from the factory. Upgrading to HID or LED bulbs in the stock housing is not recommended as it creates poor beam patterns and glare.
- When buying a used assembly, the most important things to check are the clarity of the glass, the integrity of the seal, and that all three mounting tabs are intact.
Headlight Assembly Variants and Specifications
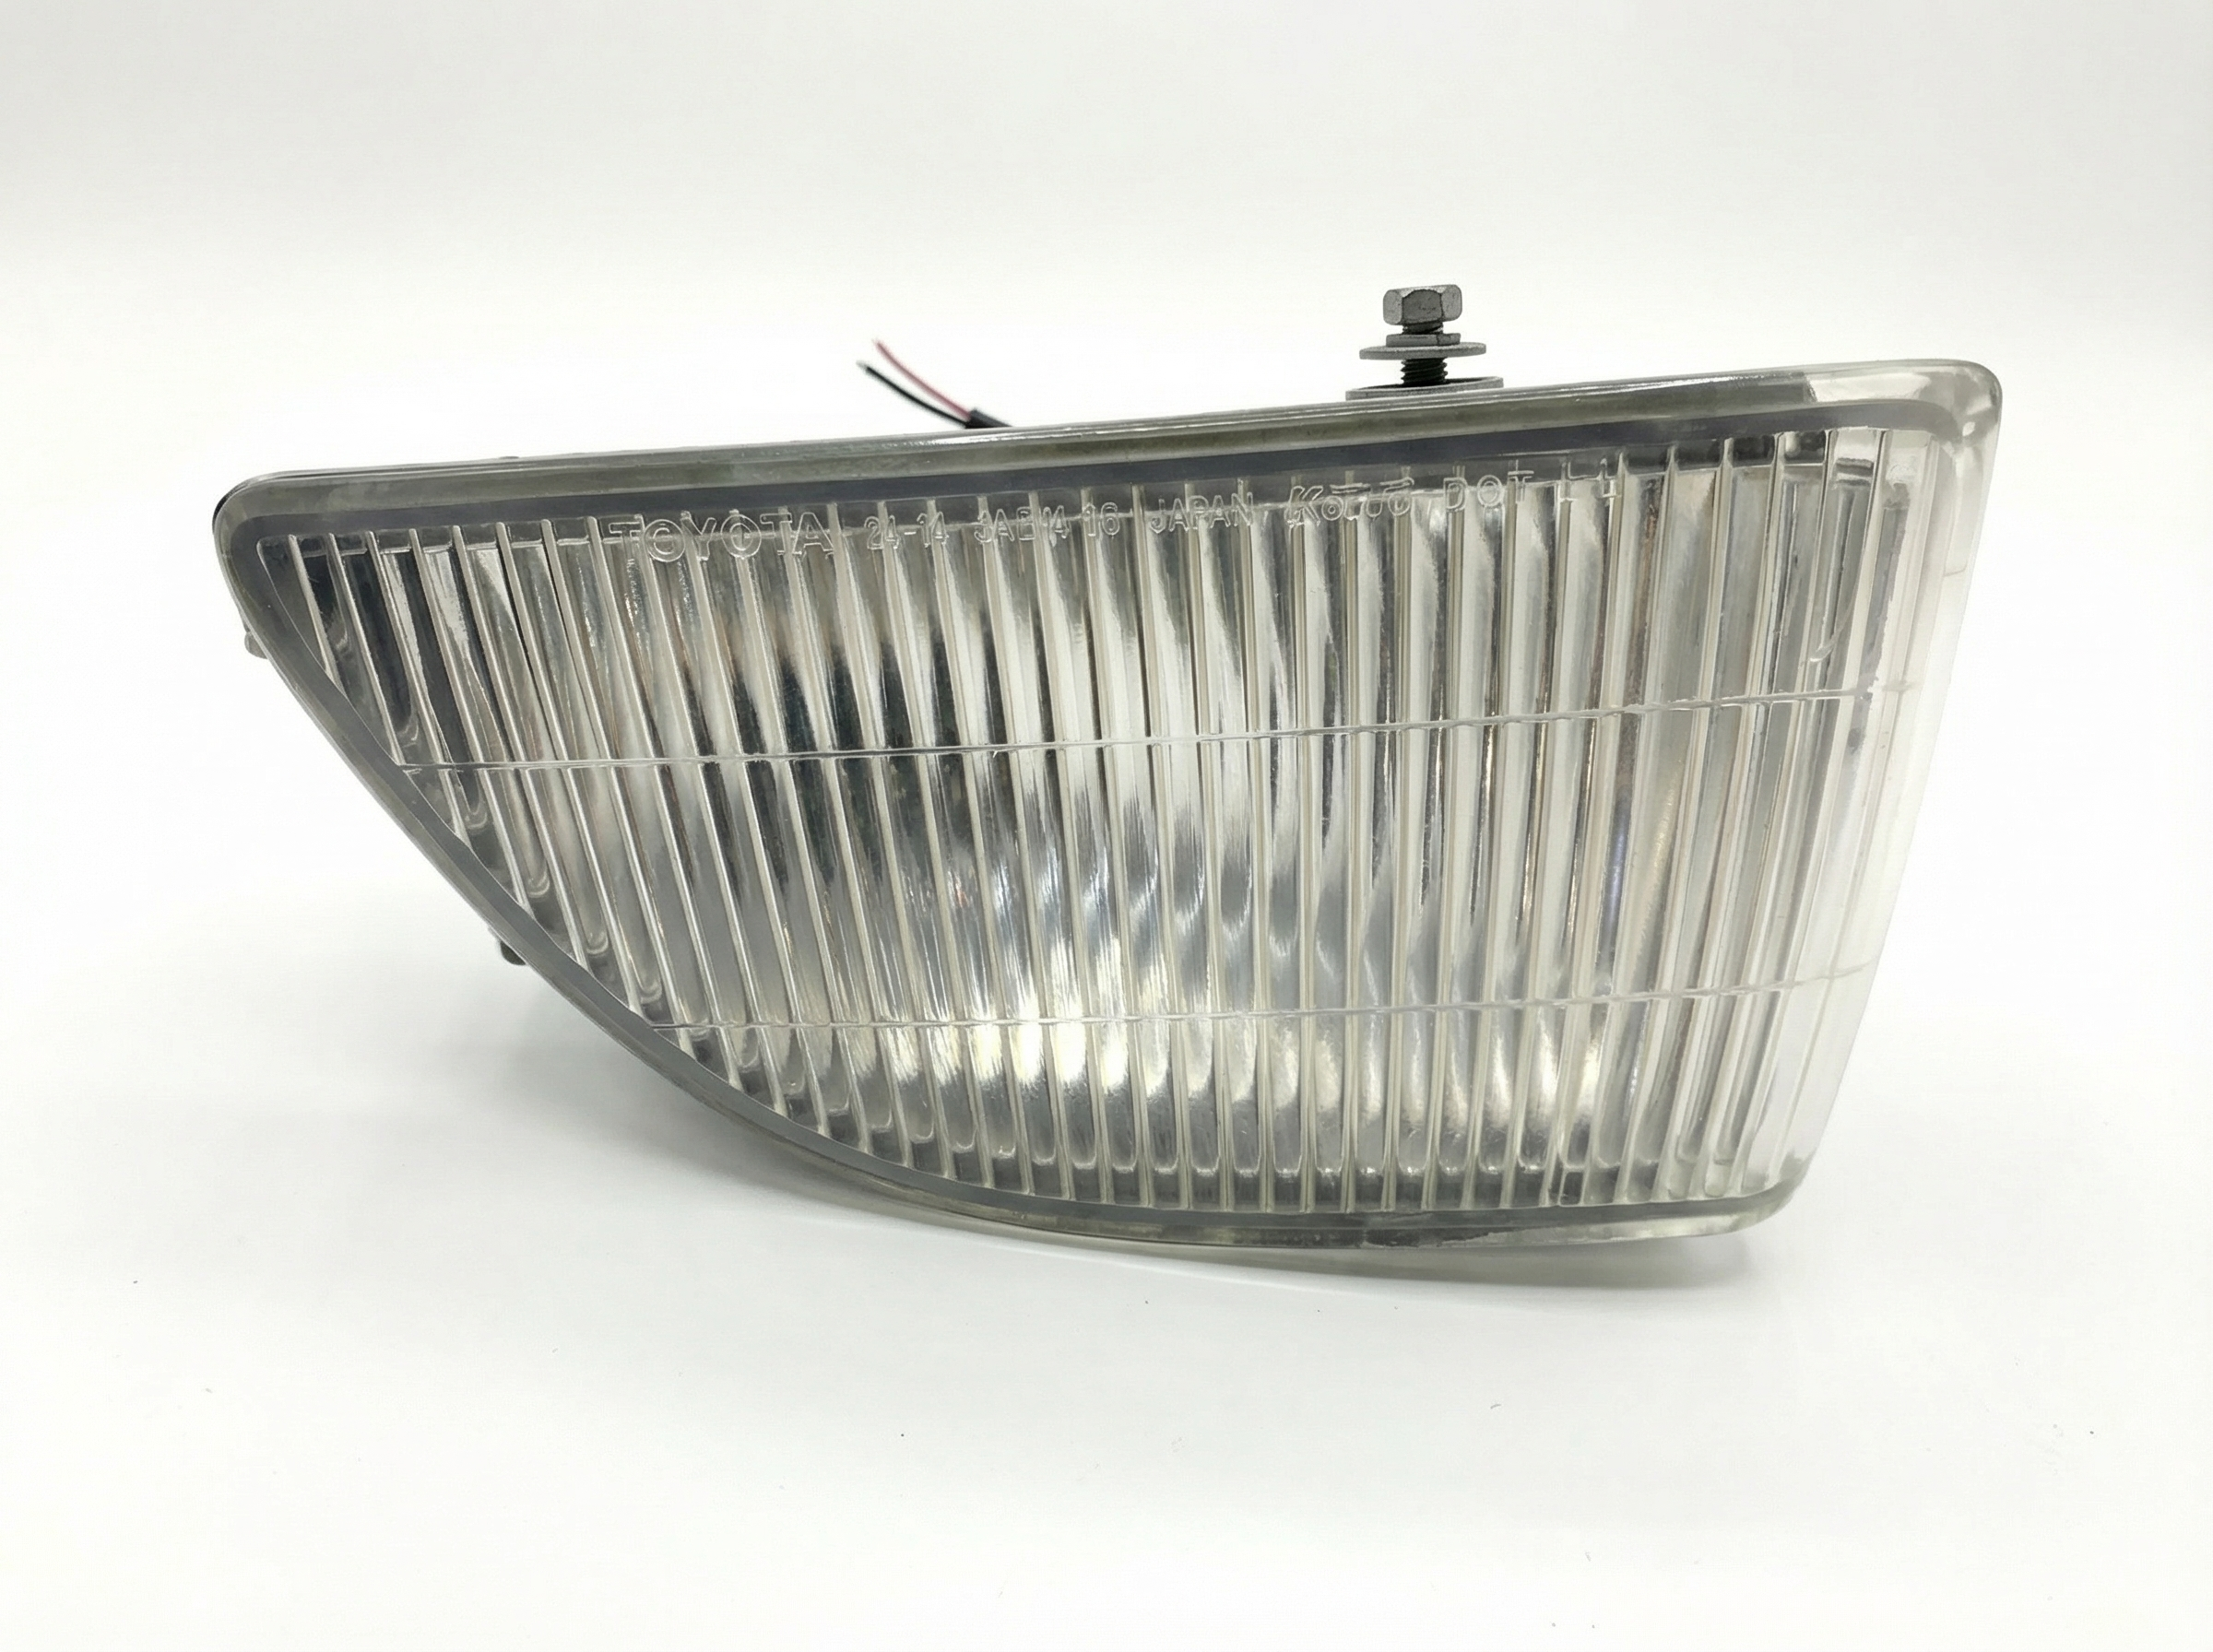
The 1992-1994 Lexus SC300 and SC400 came from the factory with halogen projector headlight assemblies. These are not HID/Xenon or LED systems. The entire assembly consists of a housing, a glass lens, a low-beam projector, and a high-beam reflector.
- Technology: Halogen Projector (Low Beam) / Reflector (High Beam). These systems use incandescent bulbs filled with halogen gas. They do not require ballasts, igniters, or LED drivers like more modern systems.
- Bulb Types:
- Low Beam: 9006 (HB4)
- High Beam: 9005 (HB3)
- Parking Light: 168
Warning: Aftermarket HID or LED conversion kits are available, but they are often not designed for the stock projector housing. Using them can create excessive glare for other drivers and may not be street legal. Swapping to a full LED or HID system typically requires different housings and additional wiring.
Compatibility Warning: The 1994 Model Year Split
A critical detail for 1994 models is the production date. The headlight assemblies covered in this guide fit vehicles produced up to December 1993 (for the 1994 model year). Vehicles produced from January 1994 onwards are part of a minor facelift and use different headlights where the fog light is integrated into the main assembly. The 1992-1994 (early) models have separate fog lights in the lower bumper. Always verify the production date of your 1994 vehicle before purchasing a replacement.
Common Symptoms of a Failing Headlight Assembly
Problems with the SC300 and SC400 headlights are almost always related to the housing itself, not the electrical system, although wiring issues can occur.
- Dim or Yellowed Output: The most common issue is the glass lens becoming hazed, pitted, or yellowed from decades of UV exposure and road debris. This significantly reduces the amount of light that can pass through, making driving at night dangerous.
- Moisture or Condensation Inside: The seal between the glass lens and the plastic housing can fail over time, allowing moisture to enter. This can cause the inside of the lens to fog up, short out bulbs, and damage the reflective surfaces inside the housing.
- Dim Light on One Side: If one headlight is noticeably dimmer than the other and replacing the bulb doesn't fix it, this often points to a poor ground connection for that headlight. Corrosion on the ground point can create high resistance, reducing the voltage that reaches the bulb.
- Flickering or Intermittent Operation: This can be caused by a loose bulb, a corroded connector, or a failing ground connection.
- Physical Damage: Cracks in the lens or housing from impacts can allow moisture in and will cause the vehicle to fail a safety inspection. Broken mounting tabs are also common, especially after an accident or improper removal.
Known Issues, TSBs, and Recalls
As of this writing, there are no specific recalls or Technical Service Bulletins (TSBs) from Lexus or the NHTSA related to the headlight assemblies themselves for the 1992-1994 SC300 and SC400. Any issues, such as moisture intrusion or hazing, are considered normal wear and tear for a vehicle of this age. One recall (92V-046) was issued for the 1992 SC400 related to dragging rear brakes, but it is unrelated to the lighting system.
Buying a Used Headlight Assembly: What to Look For
Given the age of these vehicles, a used OEM headlight is often the best and most affordable option. Here’s how to inspect one:
- Check the Lens Clarity: Look for a clear, un-hazed glass lens. Minor hazing can sometimes be polished out, but heavy pitting or internal yellowing cannot. Avoid any assembly with deep scratches or cracks.
- Inspect the Seal: Carefully examine the seal where the glass lens meets the black plastic housing. Look for any signs of crumbling, cracking, or previous attempts to reseal it with silicone, which often fails.
- Look for Moisture Stains: Check the inside of the housing for water lines or a chalky residue. This is a clear sign the assembly has had a leak in the past and may leak again.
- Verify All Mounting Tabs: The SC headlight has three main mounting points: one 10mm bolt on top and two 10mm nuts on the back, accessed through the wheel well. Ensure all three plastic tabs are intact and not cracked or repaired. Broken tabs will result in a loose, vibrating headlight that cannot be aimed correctly.
- Check the Adjusters: Look at the back of the assembly for the adjustment screws. Ensure they are not stripped or seized. There are separate adjusters for vertical and horizontal aim.
- Confirm the Part Number: If possible, match the OEM part number. The left (driver) side inner headlight is 81150-24052, and the right (passenger) side is 81110-24052. Note that part numbers may have been superseded over the years.
Replacement and Alignment
Replacing the Assembly
Replacing the headlight assembly is a straightforward DIY job that requires basic hand tools.
- Access the Bolts: Open the hood to access the single 10mm bolt on top of the headlight assembly.
- Access the Nuts: Turn the front wheel inward to get more space. Pull back the plastic fender liner to access the two 10mm nuts on the back of the headlight. An extension for your ratchet will be necessary.
- Remove the Assembly: After removing the three fasteners, disconnect the electrical connectors for the bulbs and carefully pull the assembly forward and out of the vehicle.
Pro Tip: While some owners remove the front bumper to make access easier, it is not strictly necessary for headlight removal. 🎬 See this walkthrough for removing the bumper and headlights. Simply pulling back the fender liner is sufficient.
Aiming the Headlights
After installation, you must aim the new headlight to ensure proper visibility and avoid blinding other drivers. You will need a Phillips head screwdriver.
- Park the car on a level surface about 25 feet away from a flat wall.
- Turn on the low beams. Cover one headlight while you adjust the other.
- On the back of the headlight assembly, you will find adjustment screws. One screw adjusts the beam vertically (up/down) and another adjusts it horizontally (left/right). Some models have a small bubble level to help with the vertical adjustment.
- The top of the low-beam cutoff line should be slightly below the height of the center of your headlight lens. Adjust as needed until the beam pattern is correct, then repeat for the other side.
Cost of Headlight Assemblies (1992-1994 Lexus SC300/SC400)
| Part Type | Estimated Cost (Per Side) | Notes |
|---|---|---|
| New OEM | $400 - $600+ | May be difficult to find new. Prices are high due to scarcity. |
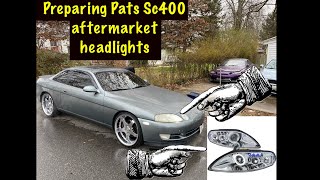
| New Aftermarket | $100 - $250 | Quality can vary significantly. Fitment and sealing may not be as good as OEM. | 🎬 Watch: How to prep and seal aftermarket headlight housings.
| Used OEM | $75 - $200 | Best value. Inspect carefully for condition as described above. |
| Shop Labor | $100 - $200 | Typically 1-1.5 hours of labor for replacement and aiming. |
Frequently Asked Questions (FAQ)
Can I just replace the glass lens if it's hazy?
No, the glass lens is permanently sealed to the housing from the factory. To separate them, the entire assembly must be heated in an oven to soften the sealant, which is a difficult and risky process. It is generally easier and safer to replace the entire assembly.
Will headlights from a 1995 or newer SC fit my 1993?
While they may physically bolt in, the 1995-1996 models had design changes, and the 1997+ models had a significant facelift. The biggest difference is the integration of the fog lights on later models. For a direct, trouble-free fit, it is best to use a headlight from the correct 1992-1994 (pre-01/94) range.
My new LED bulbs don't seem any brighter. Why?
The projector housing in the 1992-1994 SC is specifically designed for the filament location of a halogen 9006 bulb. LED "bulbs" have chips in different locations, which often results in a poorly focused beam that scatters light everywhere instead of directing it onto the road. This can look bright up close but provides poor down-road visibility and creates dangerous glare for others.
How can I fix a headlight that has moisture inside?
The only permanent fix is to remove the headlight, separate the lens from the housing (by baking it), clean all surfaces, and reseal it with new, high-quality automotive sealant. Simply drilling a drain hole is not recommended as it allows more dust and moisture to enter over time. Given the labor involved, replacing the assembly with a good used unit is often a better choice.
Helpful Videos
Technical Specifications
OEM Part Numbers: 81110-24052 81150-24052 81130-24052 81170-24051 81170-24050 81130-24051 81130-24050
Technology: Halogen Projector (Low Beam), Halogen Reflector (High Beam). Low Beam Bulb: 9006/HB4. High Beam Bulb: 9005/HB3.
We Have This Part in Stock

The information in this article is provided for general reference and educational purposes only. Vehicle specifications, procedures, and part compatibility can vary by production date, trim level, and region. Always consult your vehicle's factory service manual and verify part numbers before purchasing or performing repairs. Safety-critical components such as airbags, seat belts, and braking systems should be installed by a qualified professional.
- Lexus SC300:
- Lexus SC400:
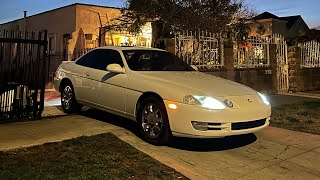
- 🎬 Helpful Videos
- 🛍️ Shop This Part
- Headlight Assembly Variants and Specifications
- Compatibility Warning: The 1994 Model Year Split
- Common Symptoms of a Failing Headlight Assembly
- Known Issues, TSBs, and Recalls
- Buying a Used Headlight Assembly: What to Look For
- Replacement and Alignment
- Replacing the Assembly
- Aiming the Headlights
- Cost of Headlight Assemblies (1992-1994 Lexus SC300/SC400)
- Frequently Asked Questions (FAQ)
- 🎟️ Get 5% Off