
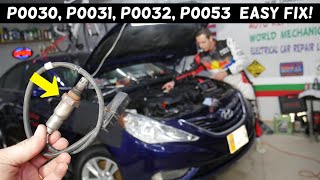
P0030 on 2011-2014 Hyundai Sonata 2.4L: Heater Circuit Causes and Fixes
On a 2011-2014 Sonata with the 2.4L GDI engine, code P0030 almost always means the upstream oxygen sensor (Bank 1, Sensor 1) has failed. The internal heater element burns out. Expect to pay $70-$120 for a quality aftermarket sensor and $150+ for OEM. It's a straightforward DIY replacement for many.
- P0030 on a 2011-2014 Sonata 2.4L GDI almost always points to a bad upstream (Bank 1, Sensor 1) oxygen sensor.
- Before buying parts, perform a quick check of the 'SENSOR 1' 15A fuse in the engine bay fuse box and inspect the wiring near the exhaust for melting.
- The correct part is the 'upstream' or 'air/fuel ratio' sensor, OEM part number 39210-2G100. Use a quality brand like Denso or NGK/NTK.
- A special 22mm (7/8") oxygen sensor socket will make the replacement job much easier due to tight access and potential for a seized sensor.
- This is a common DIY repair that can save significant money over shop labor costs.
What's Unique About the 2010-2014 Hyundai Sonata
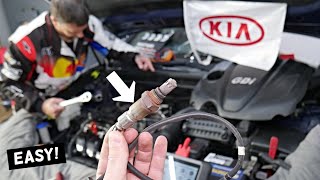
For the Sonata's 2.4L GDI (Theta II) engine, this is a very common and straightforward fault. The upstream oxygen sensor (Bank 1, Sensor 1) is located at the rear of the engine bay on the exhaust manifold, making access a bit tight but manageable. The failure is almost always the sensor itself rather than a more complex wiring or computer issue. The 2010 Sonata used a different 2.4L MPI engine, so this guide specifically applies to the GDI engine found in the 2011-2014 YF generation models. This issue is also prevalent in platform mates like the Kia Optima and Hyundai Santa Fe with the same engine.
Generation note: The 2010-2014 range covers two Sonata generations. This guide is for the YF generation (2011-2014) which uses the 2.4L GDI engine. The 2010 model year belongs to the previous NF generation and used a different 2.4L MPI engine, which may have different part numbers and procedures.
Symptoms You May Notice
- Check Engine Light is on
- Decreased fuel economy
- Rough idle or hesitation, especially during warm-up
- Failing an emissions test
- Potential rotten egg smell from the exhaust due to inefficient catalytic converter operation.
- Replacing the downstream (post-catalyst) oxygen sensor. This code is specifically for the upstream sensor's (Sensor 1) heater circuit.
- Replacing the catalytic converter. This code is not related to converter efficiency, although ignoring it can eventually damage the converter.
Most Likely Causes
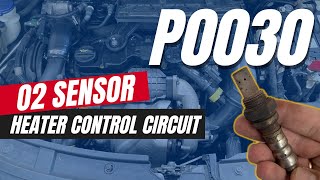
- Failed Upstream Oxygen Sensor (Bank 1, Sensor 1) 🔴 High Probability → Shop Oxygen Sensor The internal heater element is a common failure point due to constant, rapid heat cycles over many thousands of miles. It's the most frequent cause for P0030 on this platform.
How to confirm: After confirming the fuse is good and wiring is intact, test the resistance of the heater circuit pins on the sensor itself using a multimeter. An open circuit (infinite resistance or 'OL') confirms the heater has failed. 🎬 See how to test the O2 sensor heater with a multimeter. A good sensor should have a specific resistance, often cited as being between 3 and 15 ohms. One Hyundai service document specifies ~9.0Ω at 20°C (68°F).
Typical fix: Replace the Bank 1 Sensor 1 (upstream) oxygen sensor.
Est. part cost: $70-$180 - Damaged Wiring or Connector 🟡 Medium Probability The sensor wiring is routed close to the hot exhaust manifold. If it comes loose from its retaining clips, it can easily melt against the exhaust, causing a short or open circuit. Oil from a leaking valve cover can also drip onto the wiring and connector, contaminating it.
How to confirm: Visually inspect the entire wiring harness from the sensor to the main engine harness. Check for melted plastic, frayed wires, or corrosion inside the connector. Tug gently on the wires at the connector to ensure they are secure.
Typical fix: Repair the damaged section of wiring or clean the connector. If damage is severe, a new connector pigtail may be needed.
Est. part cost: $5-$30 - Blown Fuse ⚪ Low Probability A short circuit in the sensor's heater element or its wiring can cause the associated fuse to blow as a protective measure.
How to confirm: In the engine compartment fuse box, locate the fuse for the O2 sensor heater circuit. It is often a 15A fuse labeled 'SENSOR 1'. Visually inspect the fuse or test for continuity with a multimeter.
Typical fix: Replace the blown fuse. If it blows again immediately, a short circuit exists that must be found and repaired before replacing the fuse again.
Est. part cost: <$5
Rare But Worth Checking
- Faulty Engine Control Module (ECM): → Shop Engine Control Module (ECM) This is extremely rare. The ECM's internal driver for the heater circuit can fail, but all other potential causes (sensor, wiring, fuse) should be exhaustively ruled out before considering ECM replacement.
Diagnosis Steps
- Confirm the code is P0030 using an OBD-II scanner.
- Check the fuse for the oxygen sensor heater circuit. In the engine bay fuse box, this is typically a 15A fuse labeled 'SENSOR 1'. Replace if blown.
- Let the engine cool completely. Locate the upstream oxygen sensor (Bank 1, Sensor 1) on the exhaust manifold at the back of the engine, near the firewall.
- Inspect the sensor's wiring harness and connector for any signs of melting, chafing, or corrosion. Ensure the connector is securely plugged in and that the harness is properly secured in its clips away from the hot exhaust.
- If the wiring appears good, disconnect the sensor. Use a multimeter to measure the resistance between the two heater circuit pins on the sensor side of the connector (these are typically the two wires of the same color).
- A good sensor should have a resistance between 3 and 15 ohms. A Hyundai service manual specifies a tighter value of approximately 9.0 Ω at 68°F (20°C). If the multimeter shows infinite resistance (OL), the heater element is broken, and the sensor must be replaced.
- If the sensor's resistance is within spec, check for 12V power at the heater circuit pins on the harness side of the connector with the key on and engine off.
- If power is present and the sensor resistance is good, check the ground control wire from the harness back to the ECM for continuity. A break in this wire could also cause the code.
- If all tests pass but the code persists, the issue may be an intermittent connection or a rare ECM fault. Some owners report needing to drive the vehicle for a short trip (e.g., 10-15 minutes) for the ECU to adapt to the new sensor after replacement.
Parts You'll Likely Need
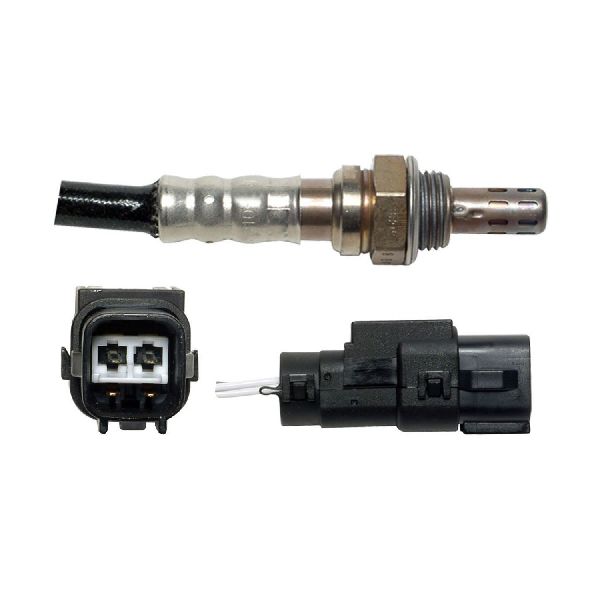
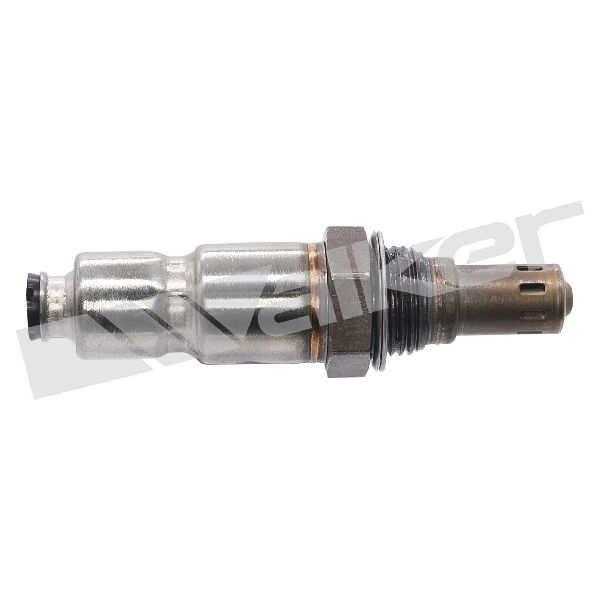
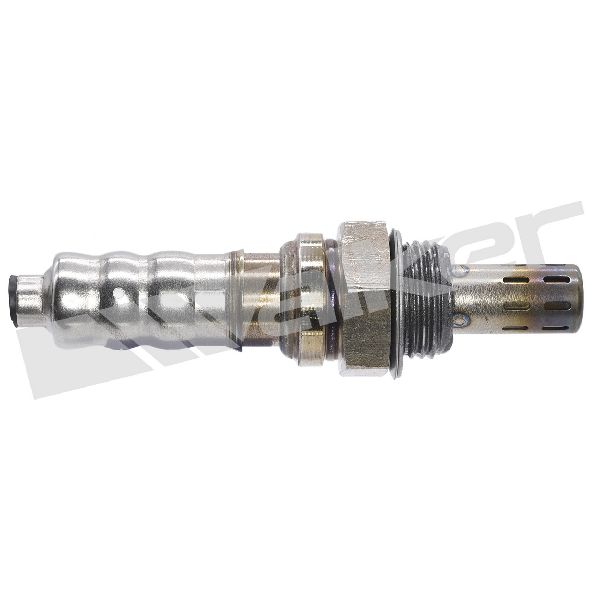
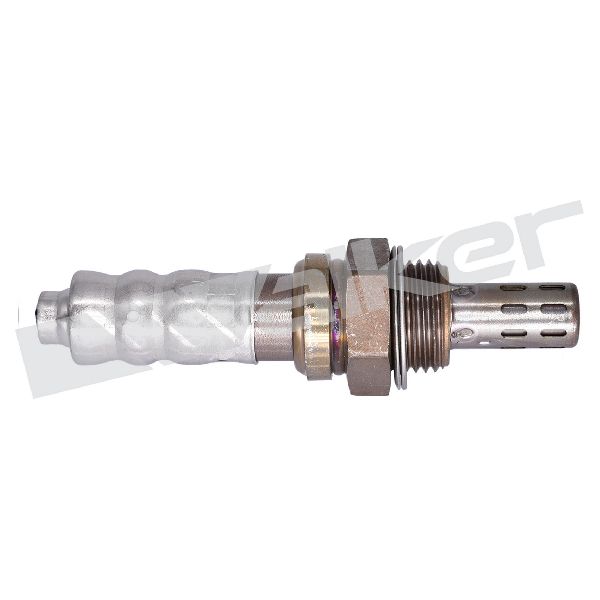
- Upstream Air/Fuel Ratio Oxygen Sensor (Bank 1, Sensor 1)
(OEM #39210-2G100)— This is the component that contains the heater element that fails, triggering the P0030 code. 🎬 Watch: A complete walkthrough for fixing P0030 on your Sonata.
Trusted brands: Denso (often the OEM supplier), NGK/NTK, Bosch
OEM price range: $150-$220
Aftermarket price range: $70-$120 - Oxygen Sensor Socket Set — A special 22mm (7/8") socket with a slot for the wire is often required to remove and install the sensor without damaging the wiring. The sensor can be very tight in the exhaust manifold.
Trusted brands: Lisle, OEMTOOLS, GearWrench
Aftermarket price range: $15-$30
Related Codes That Often Appear With This One
- P0031 — Indicates the heater control circuit is low (short to ground), which is a specific type of P0030 fault.
- P0032 — Indicates the heater control circuit is high (short to power), which is a specific type of P0030 fault.
- P0053 — This code for 'HO2S Heater Resistance' is often seen alongside the P0030-P0032 family of codes as it also points to a problem with the sensor's internal heater element.
Platform-Specific Known Issues
- Real-World Repair Experience: Owners on forums frequently confirm that replacing the upstream O2 sensor (Bank 1, Sensor 1) resolves the P0030 code. A common challenge mentioned is the tight access space behind the engine against the firewall. 🎬 Watch: This video shows the exact sensor location and replacement steps. Using an O2 sensor socket with a swivel head and extension is highly recommended. Some DIYers have had to let penetrating oil soak on the old sensor's threads for an extended period before it could be broken loose.
Mechanic-Grade Diagnostic Values
- B1S1 O2 Sensor Heater Resistance — expected: Approx. 9.0 Ω at 20°C (68°F). Failure: Infinite resistance (OL) indicates an open circuit. Significantly lower resistance indicates a short.
- B1S1 Connector - Heater Power Supply Voltage — expected: Battery Voltage (approx. 12.6V) with Key On, Engine Off.. Failure: 0V or significantly low voltage indicates a problem with the fuse or power supply wire.
- Scan Tool Live Data - O2 Heater Duty Cycle — expected: Will show a percentage value, often high (e.g., 75%+) during initial warm-up, then decrease as the sensor heats up.. Failure: Stuck at 0% or 100% can indicate a circuit fault or a command issue from the ECM.
Scan Tool Commands That Help
- Hyundai GDS (Global Diagnostic System) or equivalent professional scanner: Actuator Test -> Oxygen Sensor Heater — This bidirectional command allows a technician to manually command the O2 sensor heater circuit ON and OFF. It is used to verify that the ECM driver, wiring, and heater element are all capable of functioning. If the heater can be activated with the scan tool but the P0030 code still sets during normal operation, it points towards a logic or condition-setting problem.
Wiring & Ground Locations
- B1S1 Connector (E39 on some diagrams) — On the back of the engine, near the firewall, connected to the upstream O2 sensor.. This is the primary connection point for testing. Pin 3 (Heater Control) is the ground-side wire controlled by the ECM. Pin 4 (Heater Power) receives 12V+ from the 'SNSR 2' 15A fuse in the engine room fuse box. Pins 1 and 2 are for the sensor signal.
- Ground Point G104 (example) — Typically located on the cylinder head or engine block near the intake manifold.. While the heater circuit is controlled by the ECM, the ECM itself relies on clean engine and chassis grounds. A corroded or loose main engine ground can cause floating voltages and erratic behavior in multiple sensor circuits, including the O2 sensor heater.
Real Owner Repair Stories
- YouTube video by 'MiracleMAX' (General vehicle, but demonstrating a universal diagnostic principle for O2 heater circuits.) — Persistent O2 heater circuit code.
❌ Tried (didn't work) Replacing the oxygen sensor without full diagnosis.
✅ What actually fixed it In the demonstration, a brand new, replaced sensor was found to be dead on arrival (open circuit on the heater). In another case, the connector was not fully seated and clicked into place, causing an intermittent connection. This highlights the importance of testing the new part before installation and verifying all connections are secure. - CarKiller forum post (2012 Hyundai Sonata 2.0T (similar Theta II engine family)) — Check engine light with an O2 sensor heater code after engine work was performed.
❌ Tried (didn't work) Replacing the O2 sensor (twice).
✅ What actually fixed it The root cause was that the wiring harness was cut during previous engine work and then repaired incorrectly. The wires for the heater circuit were swapped with the sensor signal wires. The final fix was to obtain a proper wiring diagram and re-pin the connector correctly to match the sensor's wire functions. - NHTSA ODI #11675752 (Cross-manufacturer reference) — An owner reported a P0030 HO2S Heater Control Circuit (Bank 1, Sensor 1) code appearing alongside misfire codes (P0301, P0302) and a camshaft timing code (P0014), requiring a tow to a Hyundai dealer for diagnosis.
OEM Part Supersession History
39210-2G100→39210-2G100 (current)— This part number has remained stable for the specified application.
Heads up: A common error is ordering 39210-2G200, which is often the downstream (Bank 1, Sensor 2) sensor. While it may look similar, its heater characteristics and sensor calibration are different. Using the wrong sensor will not resolve the P0030 code and may cause other performance issues. Always verify the part number for the upstream (B1S1) position.
Model Year Variations Within This Range
- 2010 vs 2011-2014: The 2010 model year used a 2.4L MPI (Multi-Point Injection) Theta II engine, while the 2011-2014 models used the 2.4L GDI (Gasoline Direct Injection) version. While the P0030 code's meaning is the same, the exact part numbers for the oxygen sensor and potentially some wiring harness routing may differ. This guide is specifically focused on the 2011-2014 GDI engine.
Diagnostic Flowchart
Real Owner Stories
Aggregated from forums and TSBs cited above. Mileages and costs reflect what owners reported in those sources.
2011 Hyundai Sonata 2.4L — 213158 miles
Symptoms: Check Engine Light with codes P0090, P0087, P2187, P0135, and P0030.
What fixed it: The owner was advised to replace the fuel pressure regulator first before addressing the fuel pump or the O2 sensor codes (P0030, P0135).
Cost: $30
Source hint: reddit.com/r/MechanicAdvice - "Need advice"
2010-2014 Hyundai Sonata 2.4L GDI
Symptoms: Check Engine Light with code P0030.
What fixed it: Replaced the Bank 1, Sensor 1 upstream O2 sensor. The owner had to let penetrating oil soak on the old sensor's threads for an extended period to break it loose due to the tight space against the firewall.
Source hint: hyundai-forums.com
Related OBD-II Codes
Frequently Asked Questions
What is the exact resistance specification for the upstream O2 sensor heater on my 2010-2014 Sonata 2.4L?
Where is the upstream O2 sensor located on the 2.4L Theta II engine?
Which brand of oxygen sensor should I buy for my Sonata to fix P0030?
I replaced the O2 sensor on my Sonata but the P0030 code is still there. What else should I check?
Are there other Hyundai or Kia models that share this exact P0030 issue?
Helpful Videos

We Have This Part in Stock


The information in this article is provided for general reference and educational purposes only. Vehicle specifications, procedures, and part compatibility can vary by production date, trim level, and region. Always consult your vehicle's factory service manual and verify part numbers before purchasing or performing repairs. Safety-critical components such as airbags, seat belts, and braking systems should be installed by a qualified professional.
- Hyundai Sonata:
- 🧭 Diagnostic Flowchart
- 🎬 Helpful Videos
- 🛍️ Shop This Part
- What's Unique About the 2010-2014 Hyundai Sonata
- Symptoms You May Notice
- Most Likely Causes
- Rare But Worth Checking
- Diagnosis Steps
- Parts You'll Likely Need
- Related Codes That Often Appear With This One
- Platform-Specific Known Issues
- Mechanic-Grade Diagnostic Values
- Scan Tool Commands That Help
- Wiring & Ground Locations
- Real Owner Repair Stories
- OEM Part Supersession History
- Model Year Variations Within This Range
- Real Owner Stories
- 2011 Hyundai Sonata 2.4L — 213158 miles
- 2010-2014 Hyundai Sonata 2.4L GDI
- Related OBD-II Codes
- Frequently Asked Questions
- 🎟️ Get 5% Off