
P0136 on 2006-2010 Hummer H3: O2 Sensor Circuit Malfunction Causes and Fixes
For a 2006-2010 Hummer H3, code P0136 almost always means the downstream oxygen sensor (Bank 1, Sensor 2) has failed. It's a common, straightforward repair, typically costing $50-$100 for an aftermarket sensor and is easy to replace yourself. Before replacing, inspect the wiring harness for damage, as its location under the truck makes it vulnerable.
- P0136 on a Hummer H3 almost always points to a faulty downstream oxygen sensor (Bank 1, Sensor 2).
- Before buying parts, visually inspect the sensor's wiring and connector for obvious damage like melting or corrosion, as its under-vehicle location makes it vulnerable.
- While a cracked exhaust manifold is a known H3 issue, it's less likely to be the direct cause of P0136 compared to a simple sensor failure.
- Replacing the sensor is a DIY-friendly job that requires an O2 sensor socket and basic hand tools. Using a quality OEM or aftermarket brand like ACDelco or Denso is recommended.
- Do not replace the expensive catalytic converter for this code; address the sensor circuit issue first.
What's Unique About the 2006-2010 Hummer H3
On the Hummer H3, whether equipped with the I5 or V8 engine, the P0136 code is a common and typically uncomplicated issue. The primary platform-specific concern to be aware of is that a cracked exhaust manifold, a known issue on the 3.7L I5 engine, can cause exhaust leaks that may trigger O2 sensor codes. However, P0136 more directly points to the sensor or its circuit rather than an exhaust leak, which more commonly triggers catalyst efficiency codes like P0420. Due to the H3's off-road nature, the wiring for the downstream sensor is more susceptible to damage from debris or water, making a visual inspection of the harness a critical first step.
Symptoms You May Notice
- Check Engine Light is on.
- Potential for slightly reduced fuel economy.
- Failure to pass an emissions test.
- Possible rough idling or engine hesitation, though this is less common for a downstream sensor issue.
- In some cases, a sulfur or "rotten egg" smell from the exhaust may be noticeable.
- Replacing the catalytic converter. The P0136 code points to the sensor that *monitors* the converter, not the converter itself. A bad converter usually sets a P0420 code.
- Replacing the wrong O2 sensor. Ensure you are replacing Bank 1, Sensor 2, which is the sensor *after* the catalytic converter. On the H3, this is the downstream sensor.
- Using a cheap, universal oxygen sensor. Some owners on forums report persistent issues when using aftermarket sensors that are not high-quality, suggesting that sticking with OEM (ACDelco) or reputable brands like Denso is a safer bet.
Most Likely Causes
- Failed Downstream Oxygen Sensor (Bank 1, Sensor 2) 🔴 High Probability → Shop Oxygen Sensor Oxygen sensors are wear-and-tear items that degrade over time due to constant exposure to high temperatures and exhaust gases. Contamination from engine oil, coolant, or high-sulfur fuel can also cause premature failure.
How to confirm: Use an OBD-II scanner to monitor the live data for the B1S2 O2 sensor. A healthy downstream sensor should show a relatively steady voltage (typically between 0.5V and 0.8V). If the voltage is stuck low (near 0V), stuck high (near 1V), or switching rapidly like the upstream sensor, it has likely failed. A forum user on Hummer4x4Offroad.com suggests swapping the downstream sensors (if applicable on a V8) and seeing if the code follows the sensor to the other bank.
Typical fix: Replace the Bank 1, Sensor 2 oxygen sensor. This requires a special O2 sensor socket, which can be rented from auto parts stores. Applying penetrating fluid and/or heating the exhaust bung may be necessary for removal.
Est. part cost: $50-$150 - Damaged Wiring or Connector 🟡 Medium Probability The sensor wiring is located under the vehicle and is exposed to road debris, moisture, and heat from the exhaust, which can cause corrosion, short circuits, or breaks. Off-road use can exacerbate this. The harness can also be damaged during unrelated repairs.
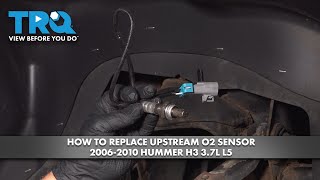
How to confirm: Visually inspect the entire wiring harness and connector leading to the O2 sensor. Look for any signs of melting, chafing, corrosion on the pins, or breaks in the wires. The connector is located up on the frame rail, near the top of the transmission area. 🎬 See this up-close video of the downstream sensor location. Check for a blown fuse for the O2 heater circuit, as this can also trigger a circuit code.
Typical fix: Repair the damaged section of the wiring harness or clean/replace the connector. If a wire is cut, it can be spliced back together.
Est. part cost: $5-$50 - Exhaust Leak ⚪ Low Probability The 3.7L I5 engine is known to develop cracks in the exhaust manifold. While this more commonly causes a P0420 code, a significant leak upstream of the sensor could allow outside oxygen to enter the exhaust stream, affecting its readings and potentially triggering P0136.
How to confirm: With the engine running (preferably on a cold start), listen and feel for air escaping from the exhaust manifold, gaskets, or pipe connections upstream of the sensor. A ticking noise from the engine bay that quiets as the engine warms up is a classic sign of a cracked manifold.
Typical fix: Replace the cracked exhaust manifold or leaking gasket. Minor leaks in pipes can sometimes be patched with exhaust putty or wraps as a temporary solution.
Est. part cost: $150-$400
Rare But Worth Checking
- Faulty Powertrain Control Module (PCM): This is extremely rare. The PCM should only be considered after all other possibilities, including the sensor, wiring, and exhaust system, have been thoroughly ruled out. A PCM failure is more likely if the vehicle has experienced flood damage.
Diagnosis Steps
- Confirm the P0136 code is present using an OBD-II scanner.
- Check for any other related codes, such as P0137 (low voltage), P0138 (high voltage), or P0141 (heater circuit). The presence of multiple codes for the same sensor strongly points to a failed sensor.
- Use the scanner's live data function to observe the voltage from 'O2S B1S2' (Bank 1, Sensor 2).
- A healthy downstream sensor should show a stable voltage, typically between 0.5V and 0.8V. If it's flatlined near 0V, stuck high near 1V, or fluctuating rapidly like the upstream sensor, the sensor is likely bad.
- Perform a thorough visual inspection of the O2 sensor's wiring harness and connector. The connector is high on the frame rail near the transmission. Look for any signs of melting, chafing, corrosion, or loose connections.
- Inspect the exhaust system for any leaks between the engine and the downstream O2 sensor. Pay close attention to the exhaust manifold on 3.7L models, as they are prone to cracking.
- If the wiring and exhaust are intact and the live data points to a bad sensor, replace the Bank 1, Sensor 2 oxygen sensor. It is recommended to use a 22mm or 7/8" O2 sensor socket.
- After replacement, clear the codes with the scanner and perform a drive cycle to ensure the code does not return.
Parts You'll Likely Need
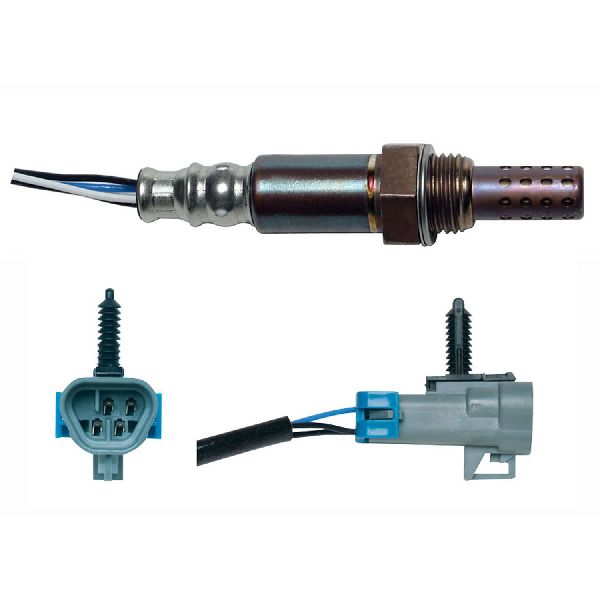
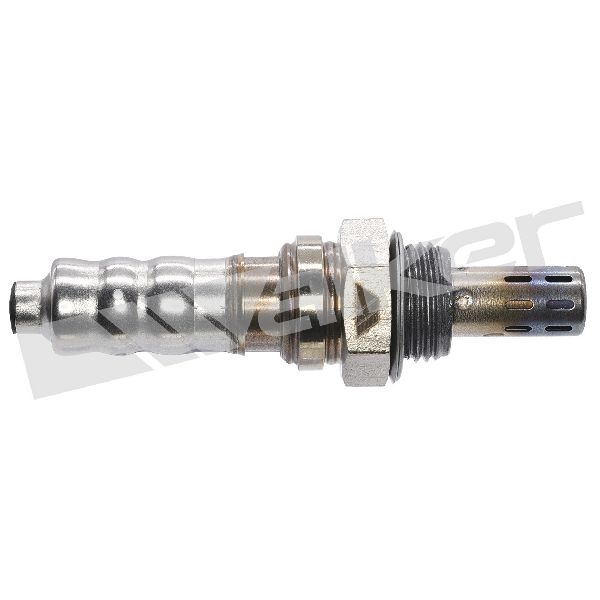
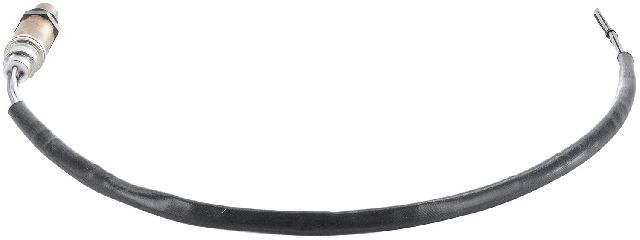
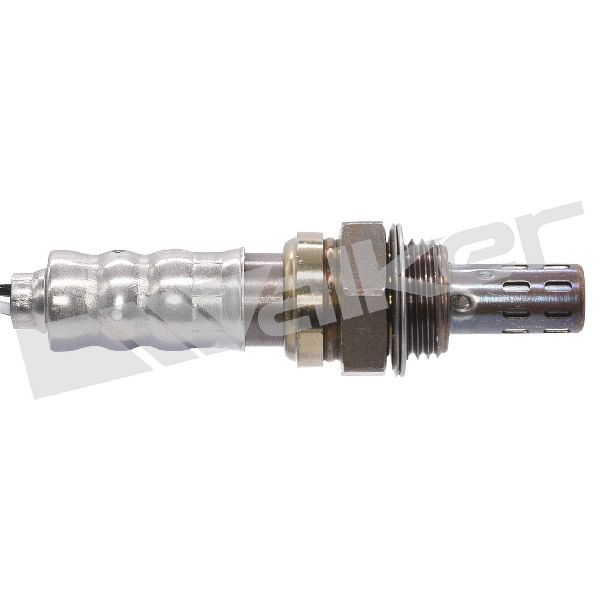
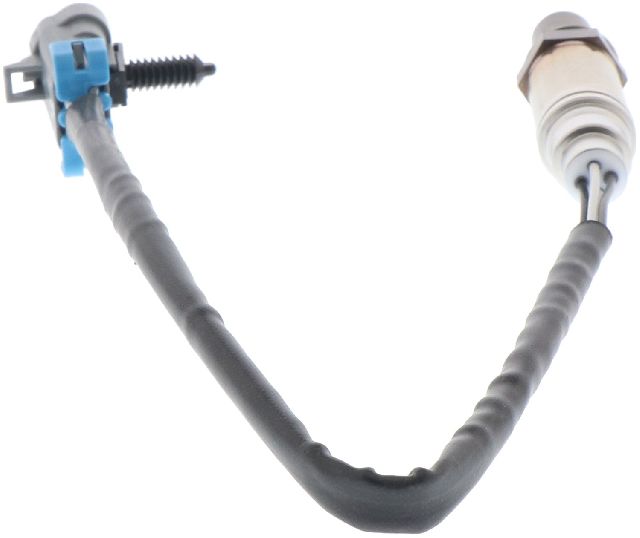
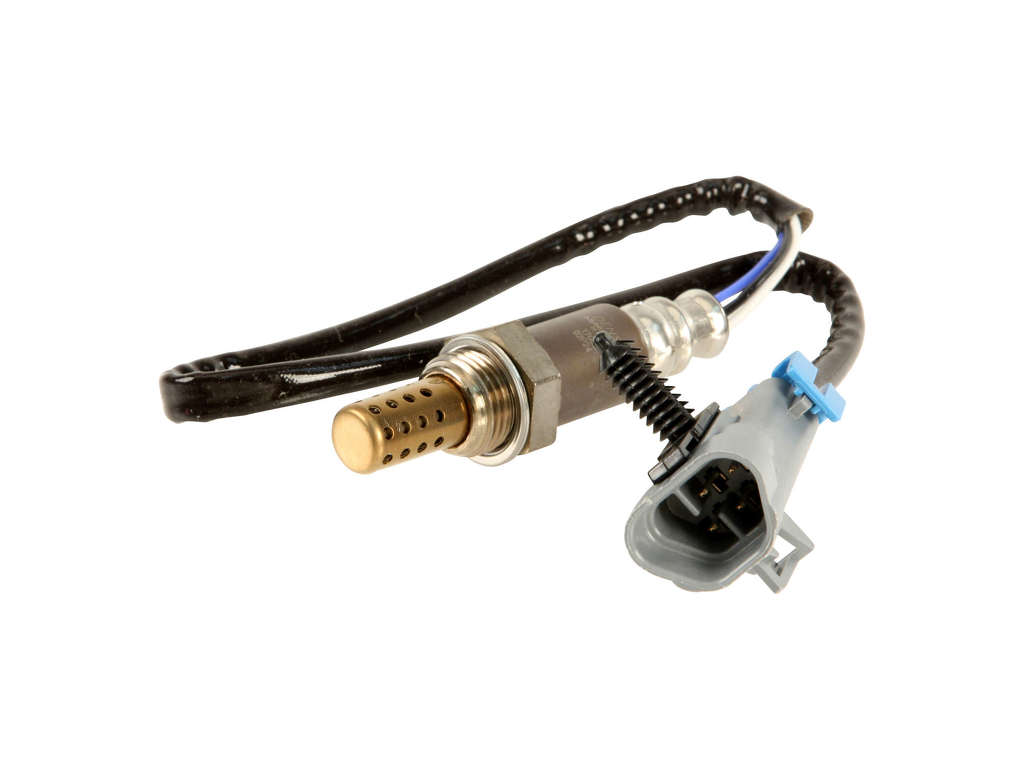
- Oxygen Sensor (Bank 1, Sensor 2)
(OEM #12609457 (ACDelco #213-4229))— This is the component that the P0136 code directly identifies as having a circuit malfunction. It is a common wear item and the most frequent cause of the code. The original part number 12589549 has been superseded by 12609457.
Trusted brands: ACDelco (GM Genuine), Denso, Bosch, NTK
OEM price range: $80-$150
Aftermarket price range: $50-$100
Related Codes That Often Appear With This One
- P0137 — P0137 (O2 Sensor Circuit Low Voltage) is a more specific version of the P0136 circuit malfunction. They often appear together or point to the same faulty sensor or an exhaust leak.
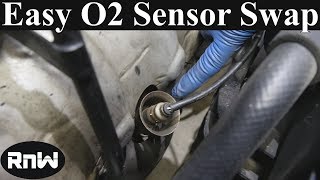
- P0141 — P0141 indicates a malfunction in the heater circuit of the same O2 sensor (B1S2). Since the heater and sensor are part of the same component, seeing codes like P0136, P0036, and P0141 together 🎬 Watch: Step-by-step P0136 and P0137 sensor replacement guide. strongly indicates the sensor itself has failed.
- P0138 — P0138 (O2 Sensor Circuit High Voltage) is another related code pointing to the same sensor, but indicating the signal is stuck high. Seeing it with P0136 suggests an electrical short or a failed sensor.
- P0420 — If the B1S2 O2 sensor is providing inaccurate data, the PCM might incorrectly flag the catalytic converter as inefficient, triggering a P0420 code. It's important to diagnose any O2 sensor circuit codes like P0136 first before suspecting the expensive catalytic converter.
Platform-Specific Known Issues
- Cracked Exhaust Manifold on 3.7L I5: The cast iron exhaust manifold on the inline-five engine is notoriously prone to cracking, causing an exhaust leak. While this most often triggers a P0420 catalyst code, it can also affect O2 sensor readings and potentially cause P0136. A ticking noise on a cold start is the primary symptom.
- Vulnerable Wiring Harness: Due to the H3's design for off-road capability, the downstream O2 sensor and its wiring are located under the vehicle where they are exposed to water, mud, and physical impact from debris. This increases the likelihood of connector corrosion or wire damage compared to a typical passenger car.
Mechanic-Grade Diagnostic Values
- Downstream O2 Sensor (B1S2) Signal Voltage — expected: Relatively steady between 0.5V and 0.8V on a warm, idling engine.. Failure: Voltage is stuck near 0V (lean), near 1V (rich), or fluctuates rapidly like an upstream sensor. The ECM may set P0136 if voltage does not decrease below 0.21V and increase above 0.59V during active fuel control tests.
- O2 Sensor Heater Resistance — expected: Approximately 11 to 16 Ω between the heater circuit terminals (+B and HT) on a disconnected sensor.. Failure: Resistance is significantly outside this range, indicating an open or shorted heater element, which can trigger circuit codes.
- Scan Tool Live Data (Post-Repair) — expected: After replacing the sensor and clearing the code, a healthy B1S2 reading should be steady between 0.35V and 0.45V shortly after engine start, stabilizing as the system warms up.. Failure: Voltage does not stabilize or remains out of the expected range, suggesting other issues.
Scan Tool Commands That Help
- Tech2/GDS2 or equivalent professional scanner: Live Data for 'O2S B1S2' — This is the primary function for diagnosing P0136. It allows you to watch the sensor's voltage in real-time to determine if it's failed. A healthy downstream sensor should have a lazy, stable voltage, unlike the rapidly switching upstream sensor.
- Tech2/GDS2 or equivalent professional scanner: Freeze Frame Data — Always check the freeze frame data first. It provides a snapshot of all sensor values at the exact moment the P0136 code was set, which can offer crucial clues about the engine's operating conditions (load, RPM, temperature) that led to the fault.
Wiring & Ground Locations
- G100 — In the engine compartment, mounted to the left front fender/body, near the battery.. This is a primary engine compartment ground. A poor connection here can cause a variety of electrical issues and unpredictable sensor readings. While not directly for the O2 sensor, a bad main ground can introduce noise into the entire electrical system.
- G102 / G103 — On the left side of the engine block.. These are engine block grounds. The PCM and its sensors rely on a solid ground connection to the engine block. A loose or corroded connection here could potentially affect the reference voltage for sensors, including the O2 sensor circuit.
- B1S2 Connector — The downstream O2 sensor connector is located on the passenger side, with the harness running up to a connection point on the frame rail, near the transmission.. This is the most likely point of failure for wiring issues. Being on the frame rail, it is exposed to moisture, dirt, and potential physical damage, especially from off-roading. Inspecting the pins for corrosion and the wiring for chafing is critical.
Real Owner Repair Stories
- YouTube video by 'scs automotive' (Unspecified car, but demonstrating a universal P0136 fix.) — Check Engine Light with code P0136.
❌ Tried (didn't work) N/A, video went straight to the diagnosis.
✅ What actually fixed it The video identified two severed wires in the oxygen sensor's harness. The wires were reconnected and insulated, which resolved the P0136 code. This highlights the importance of checking the wiring before replacing the sensor.
OEM Part Supersession History
12589549→12609457— Standard part evolution and potential minor improvements in manufacturing or materials.
Heads up: The new part number, 12609457 (also sold as ACDelco 213-4229), is the correct and direct replacement for the original. There are no known incompatibility issues when using the superseded part.
Model Year Variations Within This Range
- 2006: The 2006 model year used the 3.5L L52 I5 engine. Some early 2006 models had issues with leaking cylinder head valves which could lead to oil consumption and, in extreme cases, affect exhaust gas composition enough to foul or trigger O2 sensor codes.
- 2007-2010: These models used the updated 3.7L LLR I5 engine. While still prone to the cracked exhaust manifold issue, the cylinder head valve problem from 2006 was largely resolved.
- 2008-2010 (Alpha): Models with the 5.3L LH8 V8 have two banks. Bank 1 is the driver's side. P0136 still refers to the downstream sensor on that bank. The diagnostic principle is the same, but access and part location will differ slightly from the I5 models.
Diagnostic Flowchart
Used vs. New Parts: Buying Guide for This Vehicle
When a used part is the smart pick: It is almost never a smart choice to buy a used oxygen sensor. They are wear-and-tear items with a finite lifespan, and there is no reliable way to gauge their remaining life. The labor to install a used sensor that might fail shortly after is not worth the small cost savings.
Donor-vehicle mileage cap: roughly under 20000 miles for the part to have meaningful remaining life.
What to inspect on the donor part:
- If forced to buy used, source from a very low-mileage wreck.
- Inspect the wiring pigtail for any signs of brittleness, melting, or cracking.
- Ensure the connector pins are clean and free of corrosion.
- The sensor tip should be free of heavy carbon, oil, or coolant deposits.
OEM-only on this vehicle (don't cheap out):
- While not strictly 'OEM-only', using a high-quality sensor is critical. Cheap, no-name aftermarket sensors are a common source of persistent codes. Sticking with GM Genuine/ACDelco is the safest bet.
Aftermarket brands forum-validated for this vehicle:
- Denso
- Bosch
- NTK (NGK)
Brands owners have reported issues with on this vehicle:
- Unbranded or 'white box' sensors from online marketplaces are frequently reported on forums as being unreliable or failing prematurely.
Real Owner Stories
Aggregated from forums and TSBs cited above. Mileages and costs reflect what owners reported in those sources.
Hummer H3
Symptoms: Check Engine Light was on with codes P0420 and P0136. The owner also noted a loss of power when the catalytic converter was clogged.
What fixed it: After several other attempts, the owner 'swapped the rear sensor again,' which successfully cleared the P0136 code and turned off the Check Engine Light.
Source hint: Hummer4x4Offroad.com thread titled 'H3 - P0420'
Related OBD-II Codes
Frequently Asked Questions
I hear a ticking noise from my 3.7L H3 on a cold start. Could this be related to my P0136 code?
I take my H3 off-roading. Does this increase the risk of getting a P0136 code?
Where is the connector for the Bank 1, Sensor 2 oxygen sensor on my H3?
What should the voltage for the B1S2 O2 sensor look like on my OBD-II scanner?
Is the P0136 issue on a Chevy Colorado with the 3.7L engine the same as on my H3?
What special tool is needed to replace the oxygen sensor on a 2006-2010 H3?
Helpful Videos


We Have This Part in Stock

The information in this article is provided for general reference and educational purposes only. Vehicle specifications, procedures, and part compatibility can vary by production date, trim level, and region. Always consult your vehicle's factory service manual and verify part numbers before purchasing or performing repairs. Safety-critical components such as airbags, seat belts, and braking systems should be installed by a qualified professional.
- Hummer H3:
- 🧭 Diagnostic Flowchart
- 🎬 Helpful Videos
- 🛍️ Shop This Part
- What's Unique About the 2006-2010 Hummer H3
- Symptoms You May Notice
- Most Likely Causes
- Rare But Worth Checking
- Diagnosis Steps
- Parts You'll Likely Need
- Related Codes That Often Appear With This One
- Platform-Specific Known Issues
- Mechanic-Grade Diagnostic Values
- Scan Tool Commands That Help
- Wiring & Ground Locations
- Real Owner Repair Stories
- OEM Part Supersession History
- Model Year Variations Within This Range
- Used vs. New Parts: Buying Guide for This Vehicle
- Real Owner Stories
- Hummer H3
- Related OBD-II Codes
- Frequently Asked Questions
- 🎟️ Get 5% Off