
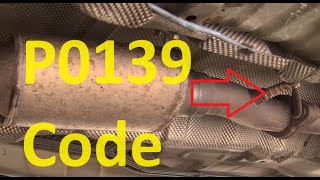
P0139 on 2016-2021 Hyundai Tucson: O2 Sensor Slow Response Causes and Fixes
This code means the downstream oxygen sensor (Bank 1, Sensor 2) is responding too slowly. The most common fix is to replace the sensor itself, which is a common wear item. Before replacing, check for exhaust leaks and inspect the sensor's wiring for damage, as these are also known causes.
- P0139 on a 2016-2021 Tucson almost always points to a failing downstream (post-catalytic converter) O2 sensor.
- Before buying a new sensor, perform a quick visual inspection of the exhaust for leaks and check the sensor's wiring for any damage, as these are common secondary causes.
- Do not replace the upstream O2 sensor or the catalytic converter; this code is specific to the downstream sensor's response time.
- This is a DIY-friendly repair for those with basic tools, including an O2 sensor socket. Be sure to verify the correct OEM part number for your specific engine (2.0L or 1.6T).
What's Unique About the 2016-2021 Hyundai Tucson
For the 2016-2021 Tucson (third generation, 'TL'), this code is straightforward as all available engines (2.0L Nu GDI, 1.6L Gamma Turbo GDI) are inline four-cylinders, meaning 'Bank 1' is the only bank. The issue is almost always related to the sensor itself aging, an exhaust leak, or wiring damage. There are no widespread, unique design flaws on this specific Tucson platform that make it unusually prone to P0139, but like any modern vehicle, the downstream O2 sensor is a common wear-and-tear component that fails over time.
Symptoms You May Notice
- Check Engine Light is illuminated
- Failing an emissions test
- Reduced fuel economy
- Occasional engine hesitation or rough idle, particularly after deceleration (rare)
- Replacing the upstream O2 sensor (Sensor 1). P0139 is specific to the downstream sensor (Sensor 2).
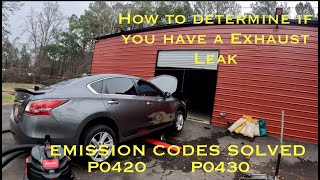
- Replacing the catalytic converter. A converter efficiency code (P0420) would typically be present if the converter were the primary failure. P0139 points to the sensor's reporting speed, not the converter's performance.
- Replacing the sensor without checking for exhaust leaks first. An exhaust leak can mimic the symptoms of a slow sensor, leading to the code returning after the repair.
Most Likely Causes
- Failing Downstream Oxygen (O2) Sensor 🔴 High Probability → Shop Oxygen Sensor O2 sensors are consumable parts that degrade over time from heat and contaminants in the exhaust. After 60,000-90,000 miles, their chemical reactivity slows down, which is precisely what this code measures.
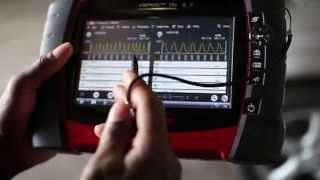
How to confirm: Use a scan tool to graph the voltage of the Bank 1 Sensor 2. At a steady 2,500 RPM, the voltage should be relatively stable (typically between 0.5V and 0.8V). When you snap the throttle and then let it close completely (deceleration fuel cut-off), the voltage should drop below 0.2V within a few seconds. If the voltage is stuck or responds very sluggishly, the sensor is bad.
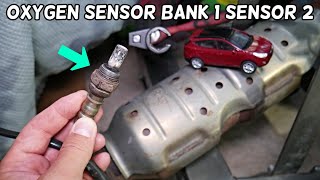
Typical fix: Replace the Bank 1, Sensor 2 (downstream) oxygen sensor. An O2 sensor socket is highly recommended for removal.
Est. part cost: $50-$150 - Exhaust System Leak 🟡 Medium Probability Exhaust gaskets and flex pipes can degrade and leak over time. A leak located before the downstream O2 sensor allows outside air into the exhaust stream, which skews the sensor's readings and can make it appear slow to respond.
How to confirm: Visually inspect the exhaust system from the engine to the tailpipe for any signs of black soot, cracks, or holes, especially around flanges and welds. A 'shop rag' test (briefly blocking the tailpipe to build pressure) or a smoke machine test is the most effective way to pinpoint hard-to-see leaks. 🎬 See this guide on pinpointing tricky exhaust leaks
Typical fix: Repair the leak by replacing the faulty gasket, flex pipe, or section of exhaust. Misdiagnosing a leak as a bad sensor is a common mistake.
Est. part cost: $20-$200 - Damaged Wiring or Connectors ⚪ Low Probability The O2 sensor wiring runs underneath the vehicle and is exposed to heat, moisture, and road debris. Wires can get too close to the hot exhaust and melt, or the connector can become contaminated with water and dirt, causing corrosion and high resistance.
How to confirm: Visually inspect the entire wiring harness for the downstream O2 sensor. Check for melted or frayed wires, and unplug the connector to check for corrosion or bent pins. Use a multimeter to check for continuity between the PCM and the sensor connector and verify proper voltage and ground signals.
Typical fix: Repair the damaged section of wiring or clean/replace the connector.
Est. part cost: $10-$50
Rare But Worth Checking
- Blown O2 Sensor Fuse: → Shop Oxygen Sensor The O2 sensor's internal heater circuit is often on a shared fuse, sometimes labeled 'SENSOR 1' in the engine bay fuse box. While this more commonly triggers a heater circuit code (like P0141), it's a quick and easy check that can sometimes be related.
- Powertrain Control Module (PCM) Issue: → Shop Engine Control Module (ECM) In very rare cases, the PCM itself can have a software glitch or internal fault, causing it to misinterpret a perfectly good sensor's signal. This should only be considered after all other possibilities have been exhaustively ruled out by a professional.
Diagnosis Steps
- Read the code with an OBD-II scanner to confirm P0139 is the only code present.
- Visually inspect the exhaust system for any obvious leaks between the catalytic converter and the downstream O2 sensor. Look for soot trails near flanges.
- Inspect the wiring and connector for the Bank 1 Sensor 2. Look for any signs of melting, chafing, or corrosion. Ensure the harness is properly secured and not touching the exhaust pipe.
- Use a scan tool with live data capabilities to monitor the voltage of Bank 1 Sensor 2. At idle, the voltage should be relatively stable. When you rev the engine to ~2500 RPM and then abruptly release the throttle, the voltage should drop quickly. If it's stuck high or changes very slowly, the sensor is the likely culprit.
- If the sensor and wiring appear good, perform a smoke test on the exhaust system to find any pinhole leaks that are not visually apparent.
- Check the fuse box in the engine compartment for any blown fuses related to the emissions system or O2 sensors (often labeled 'SENSOR').
- If all other steps fail to find a fault, the issue may be with the PCM, but this is extremely rare and should be diagnosed by a professional.
Parts You'll Likely Need
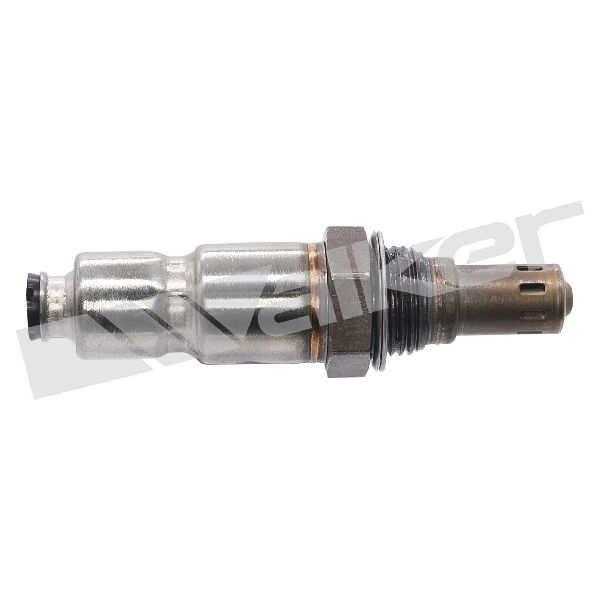
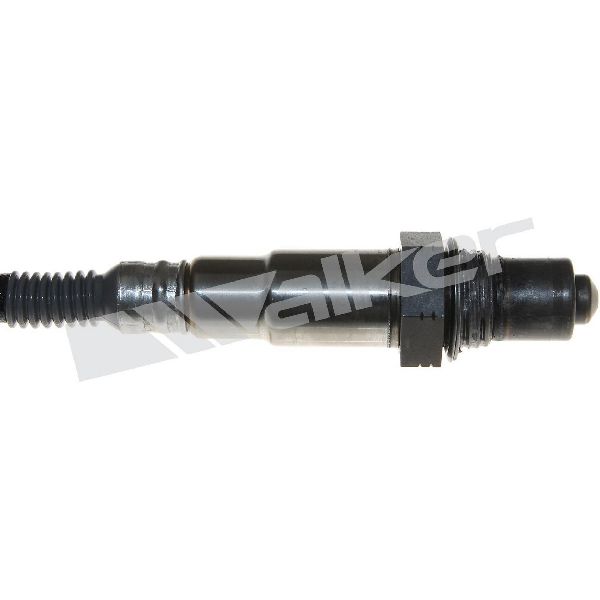
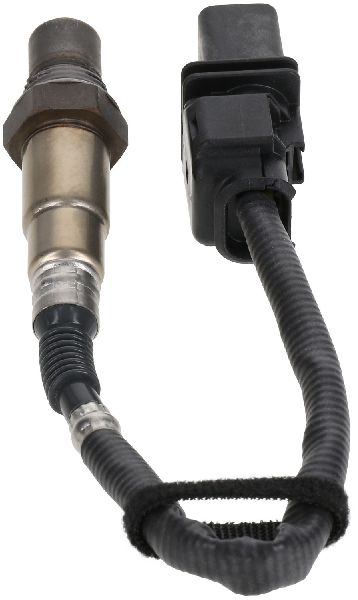
- Downstream Oxygen Sensor (Bank 1, Sensor 2)
(OEM #39210-2E200 (For 2.0L Nu Engine), 39210-03AC0 (For 1.6L Turbo Engine) - Always verify with VIN.)— This is the most common failure point for code P0139. The sensor is a wear item and its ability to respond quickly degrades over time.
Trusted brands: Denso, Bosch, NGK/NTK, Walker
OEM price range: $120-$180
Aftermarket price range: $50-$100
Technical Service Bulletins (TSBs) & Recalls
- TSB 20-AT-017H: While not for P0139, this TSB addresses other electrical issues (DTC P0880) related to the automatic transmission on 2016+ 2.0L Tucsons, showing the complexity of the vehicle's electrical system.
Platform-Specific Known Issues
- Owner replaced sensor, code returned due to exhaust leak: A common owner experience is replacing the downstream O2 sensor for P0139, only to have the Check Engine Light return. A subsequent diagnosis often reveals a small exhaust leak upstream of the sensor was the true root cause.
Mechanic-Grade Diagnostic Values
- Downstream O2 Sensor (B1S2) Voltage at steady cruise — expected: Relatively stable, slow fluctuation between 0.5V and 0.8V.. Failure: Voltage is stuck, choppy, or responds very slowly to throttle changes (e.g., >1 second).
- Downstream O2 Sensor (B1S2) Voltage during Deceleration Fuel Cut-Off — expected: Should drop below 0.2V.. Failure: Voltage fails to drop below 0.2V for 7 seconds or more; this is a specific trigger for the code.
- O2 Sensor Heater Element Resistance — expected: 2.0 to 30.0 Ohms at 70°F (21°C).. Failure: An open circuit (infinite resistance) or a short (near zero resistance) indicates a failed heater element.
- PCM Diagnostic Enable Conditions — expected: Test runs when: Coolant Temp > 73°C (163°F), Catalyst Temp > 400°C (752°F), and B1S2 voltage > 0.6V before fuel cut-off.. Failure: These are the specific conditions under which the PCM will test the sensor's response time.
Scan Tool Commands That Help
- Hyundai GDS (or equivalent professional scanner): PCM Software Update/Re-flash — In rare cases where P0139 is triggered falsely. Manufacturers occasionally release updated software that adjusts the sensitivity or timing thresholds for the O2 sensor test, and an outdated PCM may flag a healthy sensor as slow.
Wiring & Ground Locations
- Engine Bay Fuse Box — Under the hood, typically on the driver's side.. Contains the fuse for the O2 sensor heater circuit, often labeled 'SENSOR' or 'AF HEATER'. A blown fuse here can cause sensor performance issues, though it more commonly sets a heater circuit code.
Real Owner Repair Stories
- hyundai-forums.com user (similar Hyundai model) (2004 Hyundai Santa Fe 2.7L V6) — Check Engine Light with code P0139.
❌ Tried (didn't work) Replaced the Bank 1 Sensor 2 O2 sensor with a new part.
✅ What actually fixed it The new sensor was removed and found to be contaminated with anti-seize compound on the sensor tip's protective cage. After carefully cleaning the anti-seize off the sensor tip and reinstalling it, the code was resolved. This highlights the importance of careful installation.
"I Checked Everything" — The Actual Cause
- In a documented case on a similar vehicle, a smoke test revealed no exhaust leaks and the sensor was replaced, but P0139 persisted. The actual cause was a hairline crack on the weld of the O2 sensor bung itself. The crack was invisible during a cold, low-pressure smoke test but would open when the exhaust heated up, allowing a small amount of air to enter and skew the sensor's readings. The final fix was having an exhaust shop re-weld the bung.
Diagnostic Flowchart
Other Known Issues on This Vehicle
Issues unrelated to this code that are worth knowing about as an owner of this generation:
- Engine Failure / Excessive Oil Consumption (Nu 2.0L GDI) 🔴 High — Widespread issue leading to a warranty extension to 15 years/150,000 miles for connecting rod bearing failure. Requires installation of Knock Sensor Detection System (KSDS) software. (Ref: Service Campaign 966/982 (KSDS Update), Warranty Extension TXXM/T6G)
- 7-Speed Dual-Clutch Transmission (DCT) Hesitation 🟠 Medium — Common on 1.6T models. Owners report hesitation, shuddering, or delayed engagement from a stop, especially in hot weather. A class-action lawsuit was filed regarding this issue. (Ref: Recall 149 (NHTSA 16V628000) involved a TCM software update to address the issue.)
- ABS Module Fire Risk 🔴 High — Affects all 2016-2021 models. The Hydraulic Electronic Control Unit (HECU) for the ABS can corrode internally, causing an electrical short and potential engine compartment fire, even when the vehicle is off. (Ref: Recall 195 (NHTSA 20V543000))
- Secondary Hood Latch Failure 🔴 High — Reported on 2016 models. The secondary hood latch may not secure the hood properly, which could allow it to open while driving if the primary latch is released. (Ref: Recall 145 (NHTSA 16V348000))
Used vs. New Parts: Buying Guide for This Vehicle
When a used part is the smart pick: For this repair, a used part is NOT recommended for the oxygen sensor itself, as it is a wear-and-tear component with a finite lifespan. However, sourcing a used wiring harness pigtail from a low-mileage salvage vehicle is a smart and cost-effective choice if only the connector or a small section of wiring is damaged.
Donor-vehicle mileage cap: roughly under 50000 miles for the part to have meaningful remaining life.
What to inspect on the donor part:
- For a wiring pigtail, inspect for any signs of melted plastic, cracking, or wire insulation that has become brittle from heat.
- Ensure the connector's locking tab is intact and clicks securely.
- Check the connector pins for any green or white corrosion, or signs of being bent or pushed out.
OEM-only on this vehicle (don't cheap out):
- Oxygen Sensor
Aftermarket brands forum-validated for this vehicle:
- Denso
- NGK/NTK
- Bosch
Brands owners have reported issues with on this vehicle:
- Unnamed or 'white-box' ultra-cheap online marketplace sensors are frequently reported on forums to have incorrect response rates or premature failures, leading to the code returning.
Real Owner Stories
Aggregated from forums and TSBs cited above. Mileages and costs reflect what owners reported in those sources.
2017 Hyundai Tucson
Symptoms: Check engine light illuminated with code P0139.
What fixed it: Discussion pointed toward replacing the sensor or repairing an exhaust leak as the primary solutions.
Source hint: https://www.hyundai-forums.com/threads/2017-tucson-check-engine-light-p0139.678901/
2016-2021 Hyundai Tucson
Symptoms: Check Engine Light returned shortly after the owner replaced the downstream O2 sensor.
What fixed it: A subsequent diagnosis found a small exhaust leak upstream of the sensor that was the actual root cause.
Source hint: vehicle_specific_issues: Owner replaced sensor, code returned due to exhaust leak
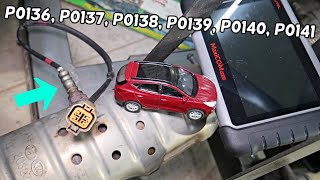
Related OBD-II Codes
Frequently Asked Questions
Does TSB 20-AT-017H for the 2016+ 2.0L Tucson address my P0139 code?
I replaced the sensor on my Tucson but the P0139 code came back. What did I miss?
Which aftermarket O2 sensor brands are recommended for the 2016-2021 Tucson?
Could the widespread Nu 2.0L GDI engine issues be related to my P0139 code?
Is there a fuse I should check for the O2 sensor on my Tucson?
Can I use a used O2 sensor from a salvage Kia Sportage to fix my Tucson?
Helpful Videos


We Have This Part in Stock


The information in this article is provided for general reference and educational purposes only. Vehicle specifications, procedures, and part compatibility can vary by production date, trim level, and region. Always consult your vehicle's factory service manual and verify part numbers before purchasing or performing repairs. Safety-critical components such as airbags, seat belts, and braking systems should be installed by a qualified professional.
- Hyundai Tucson:
- 🧭 Diagnostic Flowchart
- 🎬 Helpful Videos
- 🛍️ Shop This Part
- What's Unique About the 2016-2021 Hyundai Tucson
- Symptoms You May Notice
- Most Likely Causes
- Rare But Worth Checking
- Diagnosis Steps
- Parts You'll Likely Need
- Technical Service Bulletins (TSBs) & Recalls
- Platform-Specific Known Issues
- Mechanic-Grade Diagnostic Values
- Scan Tool Commands That Help
- Wiring & Ground Locations
- Real Owner Repair Stories
- "I Checked Everything" — The Actual Cause
- Other Known Issues on This Vehicle
- Used vs. New Parts: Buying Guide for This Vehicle
- Real Owner Stories
- 2017 Hyundai Tucson
- 2016-2021 Hyundai Tucson
- Related OBD-II Codes
- Frequently Asked Questions
- 🎟️ Get 5% Off