
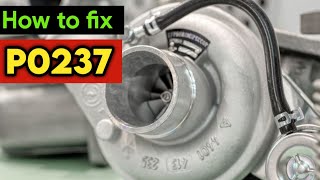
P0237 on 2019-2021 GMC Sierra 1500: Turbo Boost Sensor Circuit Low Causes & Fixes
P0237 on a 2019-2021 GMC Sierra with a turbo engine most often points to a faulty boost pressure sensor or a wiring issue. A known issue with engine harness chafing on these trucks, detailed in TSB 21-NA-149, is a highly probable cause and must be investigated before replacing parts. Expect to pay $40-$90 for a new sensor.
- P0237 on a 2019-2021 Sierra indicates a low voltage signal from the turbo boost sensor.
- Before replacing the sensor, thoroughly inspect the engine wiring harness for chafing at the specific points detailed in TSB #21-NA-149 for your engine.
- The harness chafing issue is a very common cause for this code on this specific platform.
- Repairing the harness often involves fixing the damaged wires and protecting them with anti-abrasion tape.
- The Chevrolet Silverado is a direct platform mate and suffers from the exact same issue.
What's Unique About the 2019-2021 Gmc SIERRA 1500
This code applies to the two turbocharged engines offered in the 2019-2021 Sierra 1500: the 2.7L L3B gasoline engine and the 3.0L LM2 Duramax diesel. While a faulty sensor is a common cause, these specific trucks are subject to a comprehensive Technical Service Bulletin (TSB #21-NA-149) for engine wire harness chafing that can cause a wide variety of electrical issues and codes, including P0237. The TSB outlines specific, different chafe points for each engine, making a thorough, engine-specific harness inspection critical before replacing any parts.
Diagnostic Flowchart
Tap your situation to follow the diagnostic path that matches what you're seeing on this vehicle.
Symptoms You May Notice
- Check Engine Light is on
- Reduced engine power ('limp mode') and poor, sluggish acceleration
- Engine may run rough or have an unstable idle
- Poor fuel economy
- Hissing or whistling noises from the turbocharger area
- Black smoke from the exhaust (more common on diesel models)
- Erratic speedometer operation in some cases due to harness shorting
- Replacing the turbocharger assembly when the fault is electrical (sensor or wiring).
- Replacing the boost pressure sensor without first thoroughly inspecting the engine wiring harness for chafing, as documented in TSB #21-NA-149.
- Replacing the ECM when the fault lies in the external wiring harness.
Most Likely Causes
- Engine Wiring Harness Chafing 🔴 High Probability → Shop Engine Wiring Harness TSB #21-NA-149 (which supersedes PIT5677E and other previous versions) is a comprehensive document detailing numerous engine harness chafe points on 2019-2021 Sierra/Silverado models. This is a known production-related issue. P0237 is explicitly listed as a potential resulting DTC.
How to confirm: A careful visual inspection is required. For the 2.7L L3B, inspect the harness where it crosses the camshaft carrier cover, at the lower air cleaner housing, the generator bracket, and the left-front upper control arm bushing. For the 3.0L LM2, inspect the harness on top of the generator (approx. 18 inches from ECM connectors) and where it might contact the PCV hose clamp. The harness may also chafe against the ECM/TCM bracket and shock tower on both.
Typical fix: Repair the damaged wires using approved wire-to-wire repair procedures. Protect the repaired section with anti-abrasion tape (GM recommends Woven Polyester Electrical/Anti-Abrasive Tape) and reposition/secure the harness with new clips or zip ties to prevent future contact.
Est. part cost: $10-$30 for tape and fasteners - Faulty Turbocharger Boost Pressure Sensor 🟡 Medium Probability → Shop Turbocharger These sensors operate in a high-heat, high-pressure environment and can fail internally over time, causing a short that sends a constant low voltage signal. It is often misdiagnosed when the actual problem is the wiring harness.
How to confirm: With a scan tool, observe the boost pressure reading with the Key On, Engine Off (KOEO). It should read close to atmospheric pressure (approx. 14.7 PSI at sea level). If it reads an abnormally low, fixed value (e.g., 0 PSI), the sensor is likely bad. You can also test the sensor's 5V reference, ground, and signal wires at the connector with a multimeter.
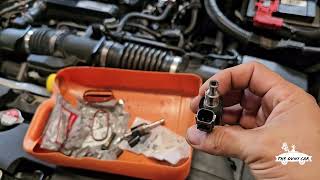
Typical fix: Replace the boost pressure sensor. On the 2.7L L3B, it is typically located on the intake manifold. On the 3.0L LM2, it is also on the intake side. 🎬 See this walkthrough on removing and cleaning the 3.0 Duramax sensor. Always inspect wiring first.
Est. part cost: $40-$90 - Damaged Connector or Wiring at the Sensor ⚪ Low Probability The connector pigtail can become brittle from heat cycles, or wires can break internally right at the connector from engine vibration. This is less common than the harness chafing elsewhere but still possible.
How to confirm: Wiggle the connector and wiring harness for the boost sensor while monitoring the live data on a scan tool. If the reading fluctuates wildly, there is a connection issue. Visually inspect the connector for corrosion, spread pins, or damage and gently pull on each wire to ensure it's secure in the connector.
Typical fix: Repair the wiring or replace the connector pigtail.
Est. part cost: $15-$40
Rare But Worth Checking
- Faulty Engine Control Module (ECM): This is extremely rare. TSB #21-NA-149 explicitly states that in many cases, the ECM has been unnecessarily replaced for these concerns. The ECM should only be considered after all other possibilities, including extensive wiring checks, have been exhausted. A faulty ECM might also set other seemingly unrelated codes.
Diagnosis Steps
- Scan the ECM for all stored trouble codes. Note if P0237 is present alone or with a large number of other codes, which would strongly suggest a harness issue.
- Using a scan tool, monitor the live data for the Boost Pressure/MAP sensor with the Key On, Engine Off (KOEO). The reading should be close to the current atmospheric pressure.
- Start the engine and observe the reading. It should change with engine RPM and load.
- Perform a thorough visual inspection of the entire engine wiring harness for signs of chafing, melting, or corrosion. Pay extremely close attention to the specific areas mentioned for your engine (2.7L or 3.0L) in TSB #21-NA-149. This may require removing the air cleaner housing or other components for access.
- Inspect the boost pressure sensor connector for damage, corrosion, or loose pins. Perform a wiggle test on the connector while watching live data.
- If wiring appears intact, disconnect the sensor and test the circuit. You should find a 5-volt reference, a good ground, and a signal wire. A short to ground on the signal wire is a common cause. 🎬 Watch: How to diagnose a P0237 boost sensor circuit low code.
- If the circuit tests okay, the boost pressure sensor is the most likely culprit and should be replaced.
Parts You'll Likely Need
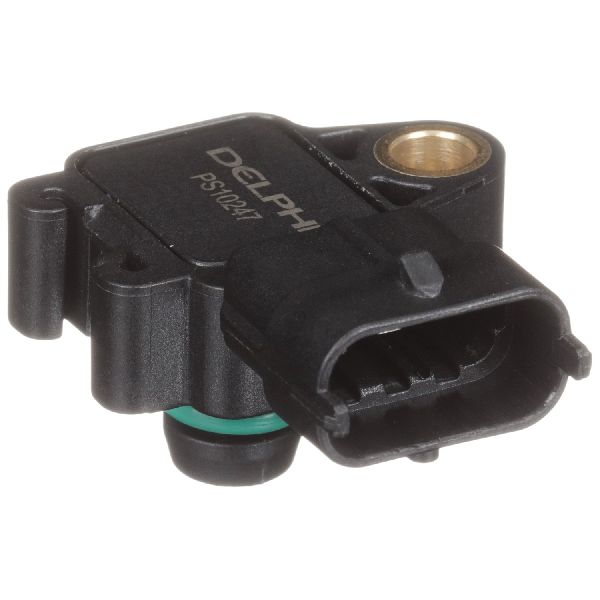
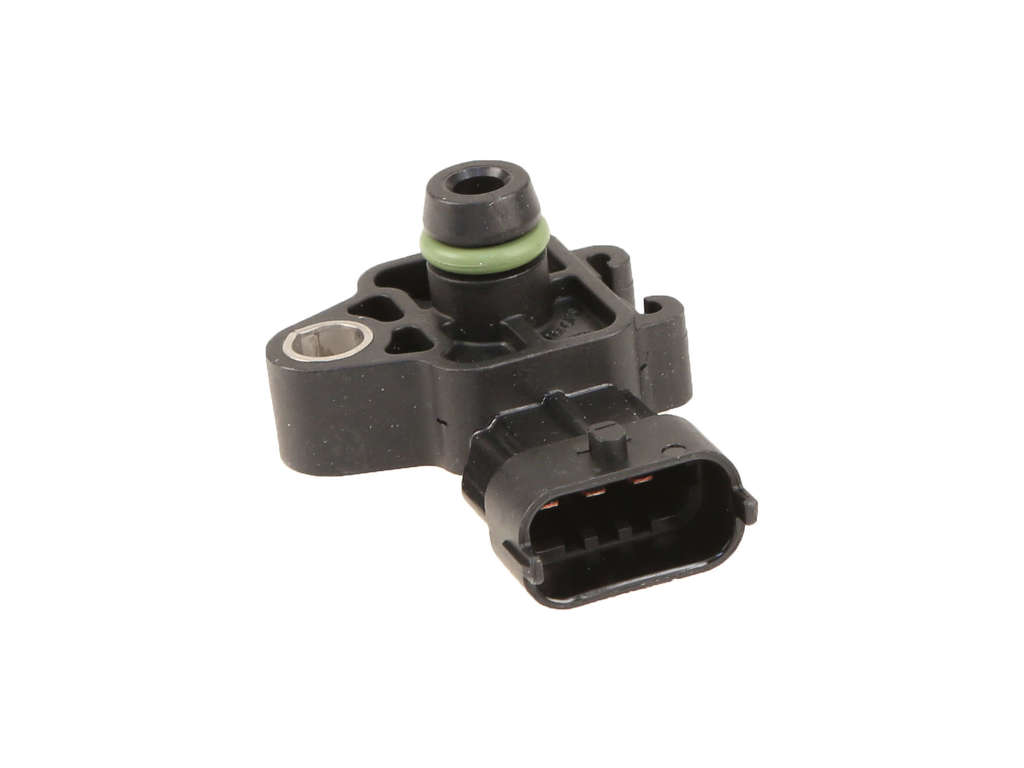
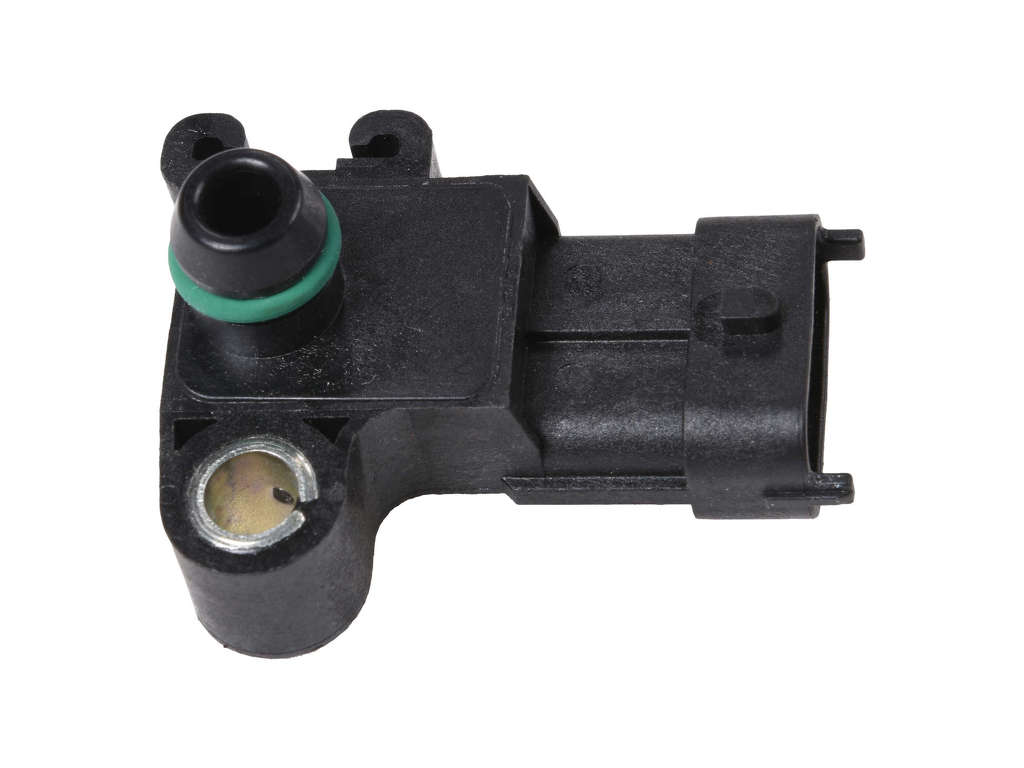
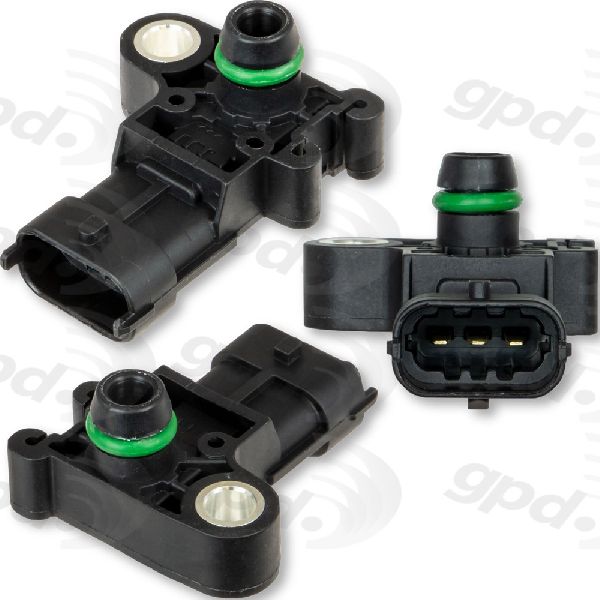
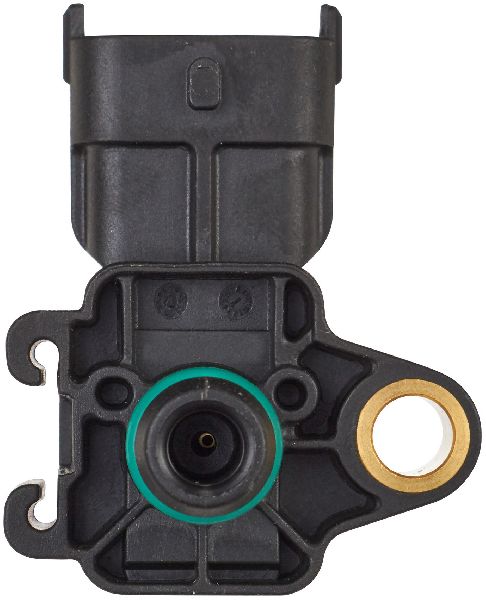
- Turbocharger Boost Pressure Sensor (MAP Sensor)
(OEM #12644228 (Verify by VIN, may have supersessions))— This sensor is the primary component responsible for measuring boost and is a common part to fail, though it should only be replaced after ruling out the platform-specific wiring issues.
Trusted brands: ACDelco
OEM price range: $60-$90
Aftermarket price range: $40-$70 - Anti-Abrasive Electrical Tape
(OEM #GM Recommended: Woven Polyester (PET) Electrical Tape)— Required for properly repairing and protecting the wiring harness after fixing chafed sections, as per GM's service information.
Trusted brands: Tesa, Kent Automotive
OEM price range: $15-$25
Aftermarket price range: $10-$20
Related Codes That Often Appear With This One
- P0238 — This code for 'Boost Sensor A Circuit High' can appear intermittently with P0237 if there is a wiring issue causing both shorts to ground and open circuits as the harness moves with the engine.
- P0299 — If the boost sensor provides an inaccurate low reading, the ECM may interpret this as an 'Underboost Condition', triggering P0299, even if the turbo is mechanically sound.
- Multiple Unrelated Codes — As per TSB #PIT5677E and #21-NA-149, a chafed engine harness can cause shorts in multiple circuits at once, leading to a wide array of seemingly random DTCs along with P0237.
Technical Service Bulletins (TSBs) & Recalls
- Bulletin #21-NA-149: This is the primary, most comprehensive TSB. It supersedes earlier versions and provides detailed diagrams and inspection points for engine harness chafing on multiple engines, including the 2.7L L3B and 3.0L LM2. It explicitly lists P0237 as a possible code.
- Bulletin #PIT5677 / PIT5677A: An earlier version of the harness chafing bulletin, now superseded by 21-NA-149. It also lists P0237 as a potential code resulting from the harness issue.
Platform-Specific Known Issues
- A significant and well-documented issue for this platform is engine harness chafing. TSB #21-NA-149 (superseding PIT5677E) details how the harness can rub against various components, leading to shorts and a multitude of DTCs, including P0237. This issue is documented for both the 2.7L L3B and 3.0L LM2 engines, with specific and different chafe points for each. For the 2.7L, key spots are the camshaft cover and generator bracket. For the 3.0L, a primary spot is on top of the generator. Failure to inspect these areas is the most common misdiagnosis.
Mechanic-Grade Diagnostic Values
- Boost Sensor Signal Voltage — expected: 0.5V to 4.5V (changes with boost pressure). Failure: Voltage is below 0.5V for more than a few seconds, triggering the code.
- Sensor 5V Reference Wire Voltage (at connector, KOEO) — expected: 4.8V - 5.2V. Failure: No voltage or significantly low voltage indicates a wiring or ECM problem upstream of the sensor.
- Sensor Signal and Ground Wire Continuity — expected: ≤ 20 Ω. Failure: High resistance (or an open circuit) indicates a break in the wiring.
Scan Tool Commands That Help
- GDS2 (or equivalent professional scanner): Live Data: Actual vs. Target Boost Pressure — Used to determine if the low pressure reading is accurate (a mechanical boost leak) or inaccurate (a sensor/wiring fault). If target boost is high but actual boost is low, it points towards a potential mechanical issue. If actual boost reads low regardless of engine load, it points to a sensor/circuit fault.
- GDS2 (or equivalent professional scanner): Special Function: Turbo Sensor Relearn — After replacing the boost pressure sensor, this function should be performed to reset the ECM's stored boost pressure memory and calibrate it to the new sensor's baseline readings.
Wiring & Ground Locations
- Engine Harness Chafe Point 1 — Against the ECM/TCM bracket on the driver's side of the engine bay.. Vibrations can cause the harness to rub against the sharp edge of the bracket, potentially shorting the boost sensor signal wire to ground.
- Engine Harness Chafe Point 2 — Contacting the driver's side upper control arm.. Engine and suspension movement can cause the harness to rub against the control arm, abrading the insulation and causing shorts.
- Engine Harness Chafe Point 3 — In the harness canal near the driver's side shock tower bolt.. The harness can rub against the shock tower or mounting bolts, leading to wire damage.
- Engine Harness Chafe Point 4 (2.7L L3B) — Across the top of the camshaft carrier cover.. The harness is routed in a way that it can rub through on the cover, causing multiple circuits to short.
Real Owner Repair Stories
- DemonWorks YouTube Channel (2020 Chevrolet Silverado 3.0L LM2 Duramax) — Reduced engine power / limp mode, Check Engine Light with code P0191 (Fuel Rail Pressure Sensor Circuit Range/Performance).
❌ Tried (didn't work) Initial diagnosis pointed to the fuel rail pressure sensor itself.
✅ What actually fixed it The final repair required replacing both the fuel rail pressure sensor connector pigtail due to poor terminal tension and replacing the ECM because it was sending incorrect voltage to the sensor. - YouTube User 'Noe C' (2020 Chevrolet Silverado 1500 3.0L LM2 Duramax) — 'Service Emissions System' warning with EGR-related codes (P04D1, P04CF).
❌ Tried (didn't work) Replacing the EGR Temperature Sensor 3 did not fix the issue.
✅ What actually fixed it A thorough inspection of the wiring harness for the sensor revealed a break inside the insulation, even though initial continuity tests seemed okay. Repairing the broken wire resolved the codes. This reinforces the prevalence of wiring harness issues on this platform.
"I Checked Everything" — The Actual Cause
- Because P0237 is an electrical circuit code ('Circuit Low'), it is not typically caused by a physical boost or vacuum leak. A technician may perform a smoke test to rule out leaks and find nothing wrong, as the test cannot detect an electrical short to ground. The root cause will be in the sensor's electrical circuit: the sensor itself has failed internally, the signal wire is shorted to ground in the harness, or the ECM has an internal fault.
When the Usual Fixes Don't Work
- While the high-probability cause for P0237 on this platform is the harness chafing issue detailed in TSB #21-NA-149, it is not the only possible root cause. A documented repair story on a 2020 3.0L Duramax with a similar electrical fault pattern (though a different code, P0191) found the ultimate cause to be a combination of a faulty connector pigtail with poor pin tension and a failed ECM that was providing incorrect voltage. This serves as a critical reminder to perform a full electrical diagnosis of the sensor, connector, and ECM outputs before focusing solely on the common chafe points.
OEM Part Supersession History
12644228→12711681— Standard part number update by General Motors for production or service changes.
Heads up: The new part number is the correct service replacement for the original.
Model Year Variations Within This Range
- 2021: For the 2.7L L3B engine, GM introduced updated turbocharger components starting in the 2021 model year, though the boost sensor and its related wiring remained a common point of failure.
Helpful Videos

We Have This Part in Stock


The information in this article is provided for general reference and educational purposes only. Vehicle specifications, procedures, and part compatibility can vary by production date, trim level, and region. Always consult your vehicle's factory service manual and verify part numbers before purchasing or performing repairs. Safety-critical components such as airbags, seat belts, and braking systems should be installed by a qualified professional.
- Gmc SIERRA 1500:
- 🧭 Diagnostic Flowchart
- 🎬 Helpful Videos
- 🛍️ Shop This Part
- What's Unique About the 2019-2021 Gmc SIERRA 1500
- Symptoms You May Notice
- Most Likely Causes
- Rare But Worth Checking
- Diagnosis Steps
- Parts You'll Likely Need
- Related Codes That Often Appear With This One
- Technical Service Bulletins (TSBs) & Recalls
- Platform-Specific Known Issues
- Mechanic-Grade Diagnostic Values
- Scan Tool Commands That Help
- Wiring & Ground Locations
- Real Owner Repair Stories
- "I Checked Everything" — The Actual Cause
- When the Usual Fixes Don't Work
- OEM Part Supersession History
- Model Year Variations Within This Range
- 🎟️ Get 5% Off