
P0440 on 2005-2010 Honda Odyssey: EVAP System Malfunction Causes and Fixes
On a 2005-2010 Honda Odyssey, code P0440 most often points to a loose gas cap or a faulty EVAP canister purge valve. Always check the gas cap first. If that's not the issue, the purge valve is a common failure and is relatively easy to replace. Other possibilities include a clogged vent solenoid or cracked hoses.
- P0440 is a general EVAP system fault; it does not name a specific failed part.
- Always start by checking the gas cap. Make sure it's tight and the seal is not cracked or worn.
- The most likely failed parts on a 2005-2010 Odyssey are the EVAP purge valve (on the engine) or the vent solenoid (under the vehicle).
- Before replacing the vent solenoid, inspect its attached hose for blockages from spider webs or other debris, as this is a known issue.
- A smoke test is the most reliable way to find a leak if the cause isn't immediately obvious.
What's Unique About the 2005-2010 Honda Odyssey
For the third-generation Honda Odyssey (2005-2010), the EVAP system components have known failure points. The EVAP canister purge valve, located conveniently on top of the engine, is a frequent culprit and a straightforward DIY replacement. 🎬 Watch: Step-by-step guide to replacing the purge valve yourself. Additionally, the EVAP vent solenoid, located under the vehicle near the charcoal canister, is susceptible to clogging from debris like spider webs. This is a problem so common on Hondas that a Technical Service Bulletin (TSB 09-042) was issued for a related code (P2422) caused by this exact issue.
Symptoms You May Notice
- Check Engine Light is on
- A faint smell of fuel, especially around the rear of the vehicle
- Difficulty refueling (gas pump clicks off repeatedly) if the vent solenoid is stuck closed
- Replacing the charcoal canister when only the vent solenoid attached to it has failed.
- Replacing EVAP valves without first checking for a loose gas cap or performing a smoke test to confirm a leak location. 🎬 See how to perform a smoke test to find leaks.
Most Likely Causes
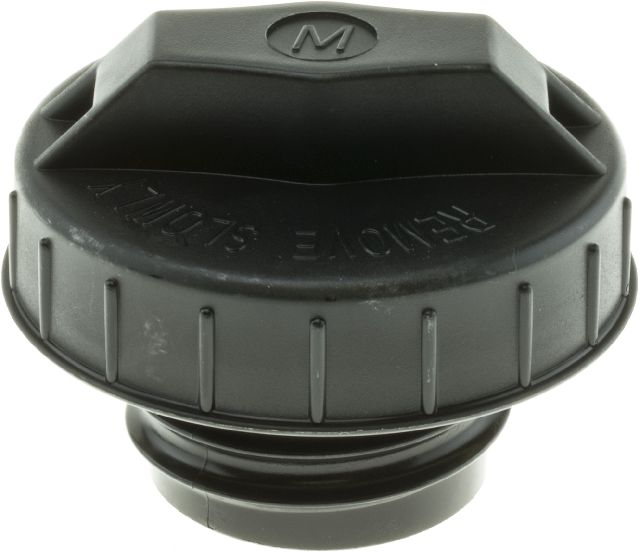
- Loose or Faulty Gas Cap 🔴 High Probability → Shop Fuel Tank Cap This is the most common cause for an EVAP code on any vehicle due to user error (not tightening it) or the cap's seal wearing out over time. The rubber O-ring can become brittle and cracked, preventing a proper seal.
How to confirm: Ensure the gas cap is tightened until it clicks at least once. Inspect the cap's rubber seal for cracks, stiffness, or damage. If the seal is compromised, the cap needs replacement.
Typical fix: Tighten the cap and clear the code. If the code returns, replace the gas cap with a new OEM or high-quality aftermarket part.
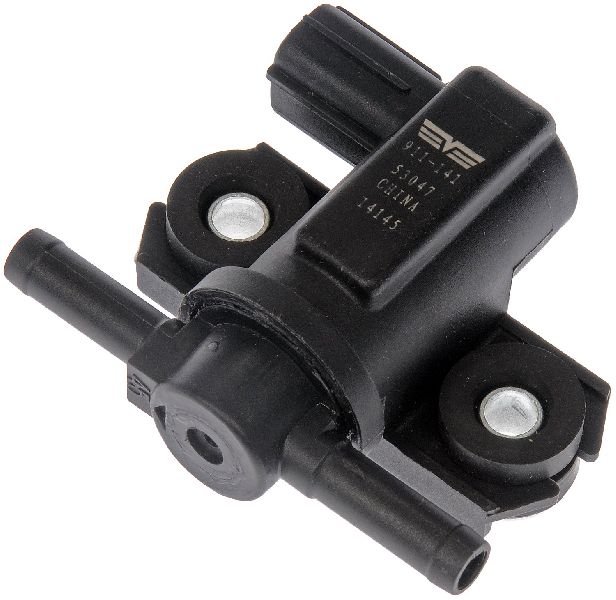
Est. part cost: $15-$40 - Faulty EVAP Canister Purge Valve 🟡 Medium Probability → Shop Vapor Canister This valve cycles frequently and can get stuck open or closed over time. Its location on top of the engine makes it a straightforward DIY replacement. Forum users and mechanics frequently cite this as the second most likely cause after the gas cap.
How to confirm: The valve is located on top of the engine, under the plastic cover. With the engine running, you can sometimes feel for vacuum or listen for a clicking sound. A more definitive test involves removing the valve and trying to blow through it; it should be closed by default. You can also apply 12V to its terminals to see if the solenoid clicks open.
Typical fix: Replace the EVAP canister purge valve. It is held by two 10mm bolts and has two hoses and an electrical connector.
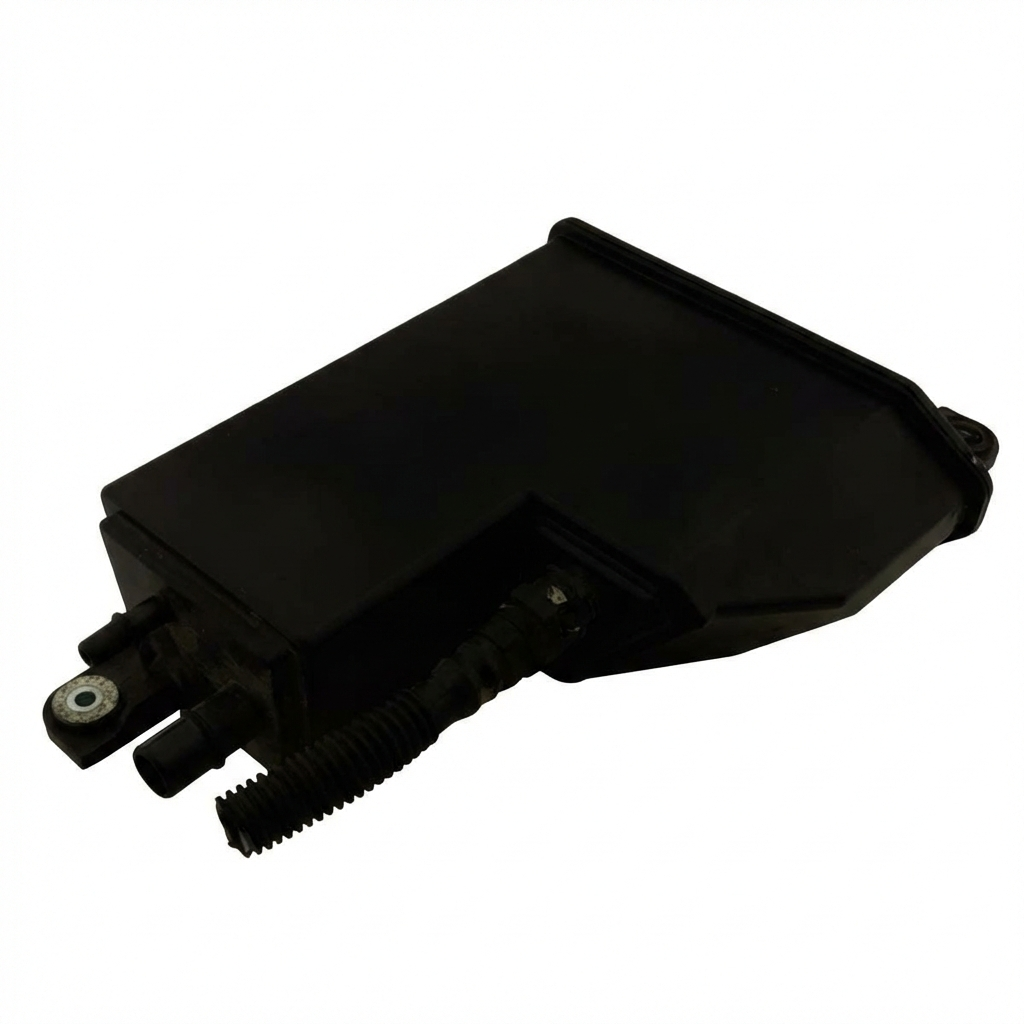
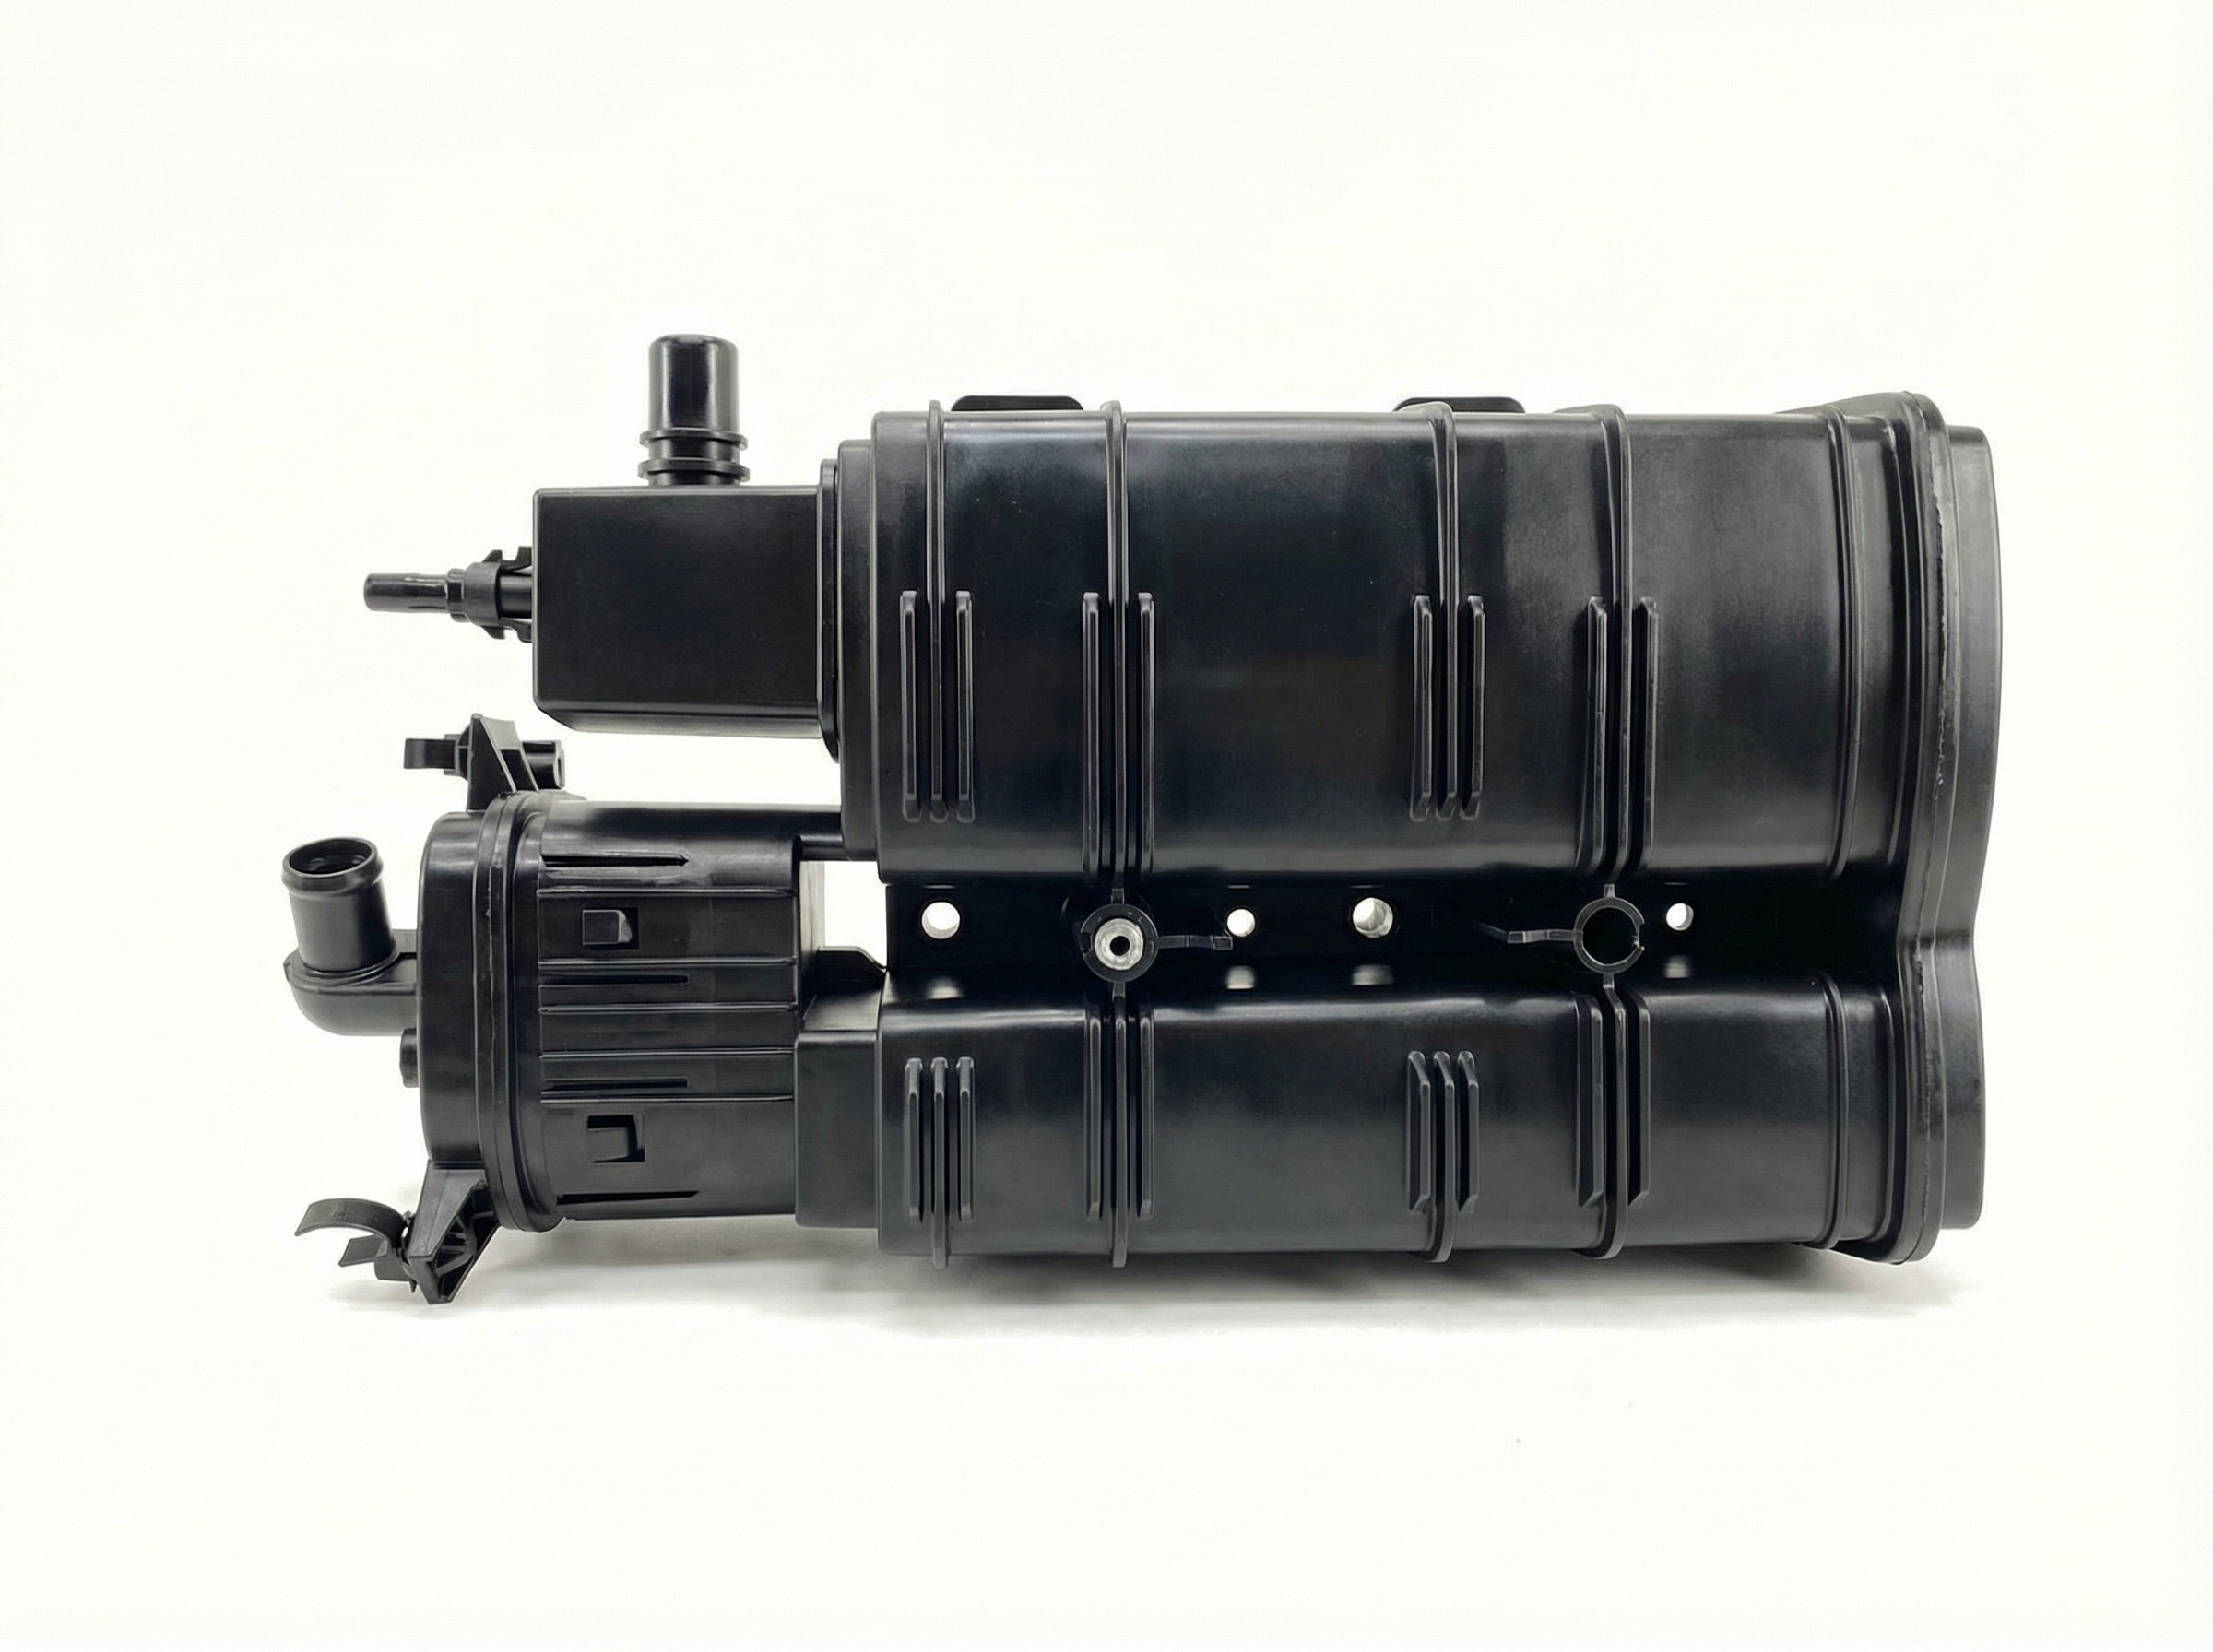
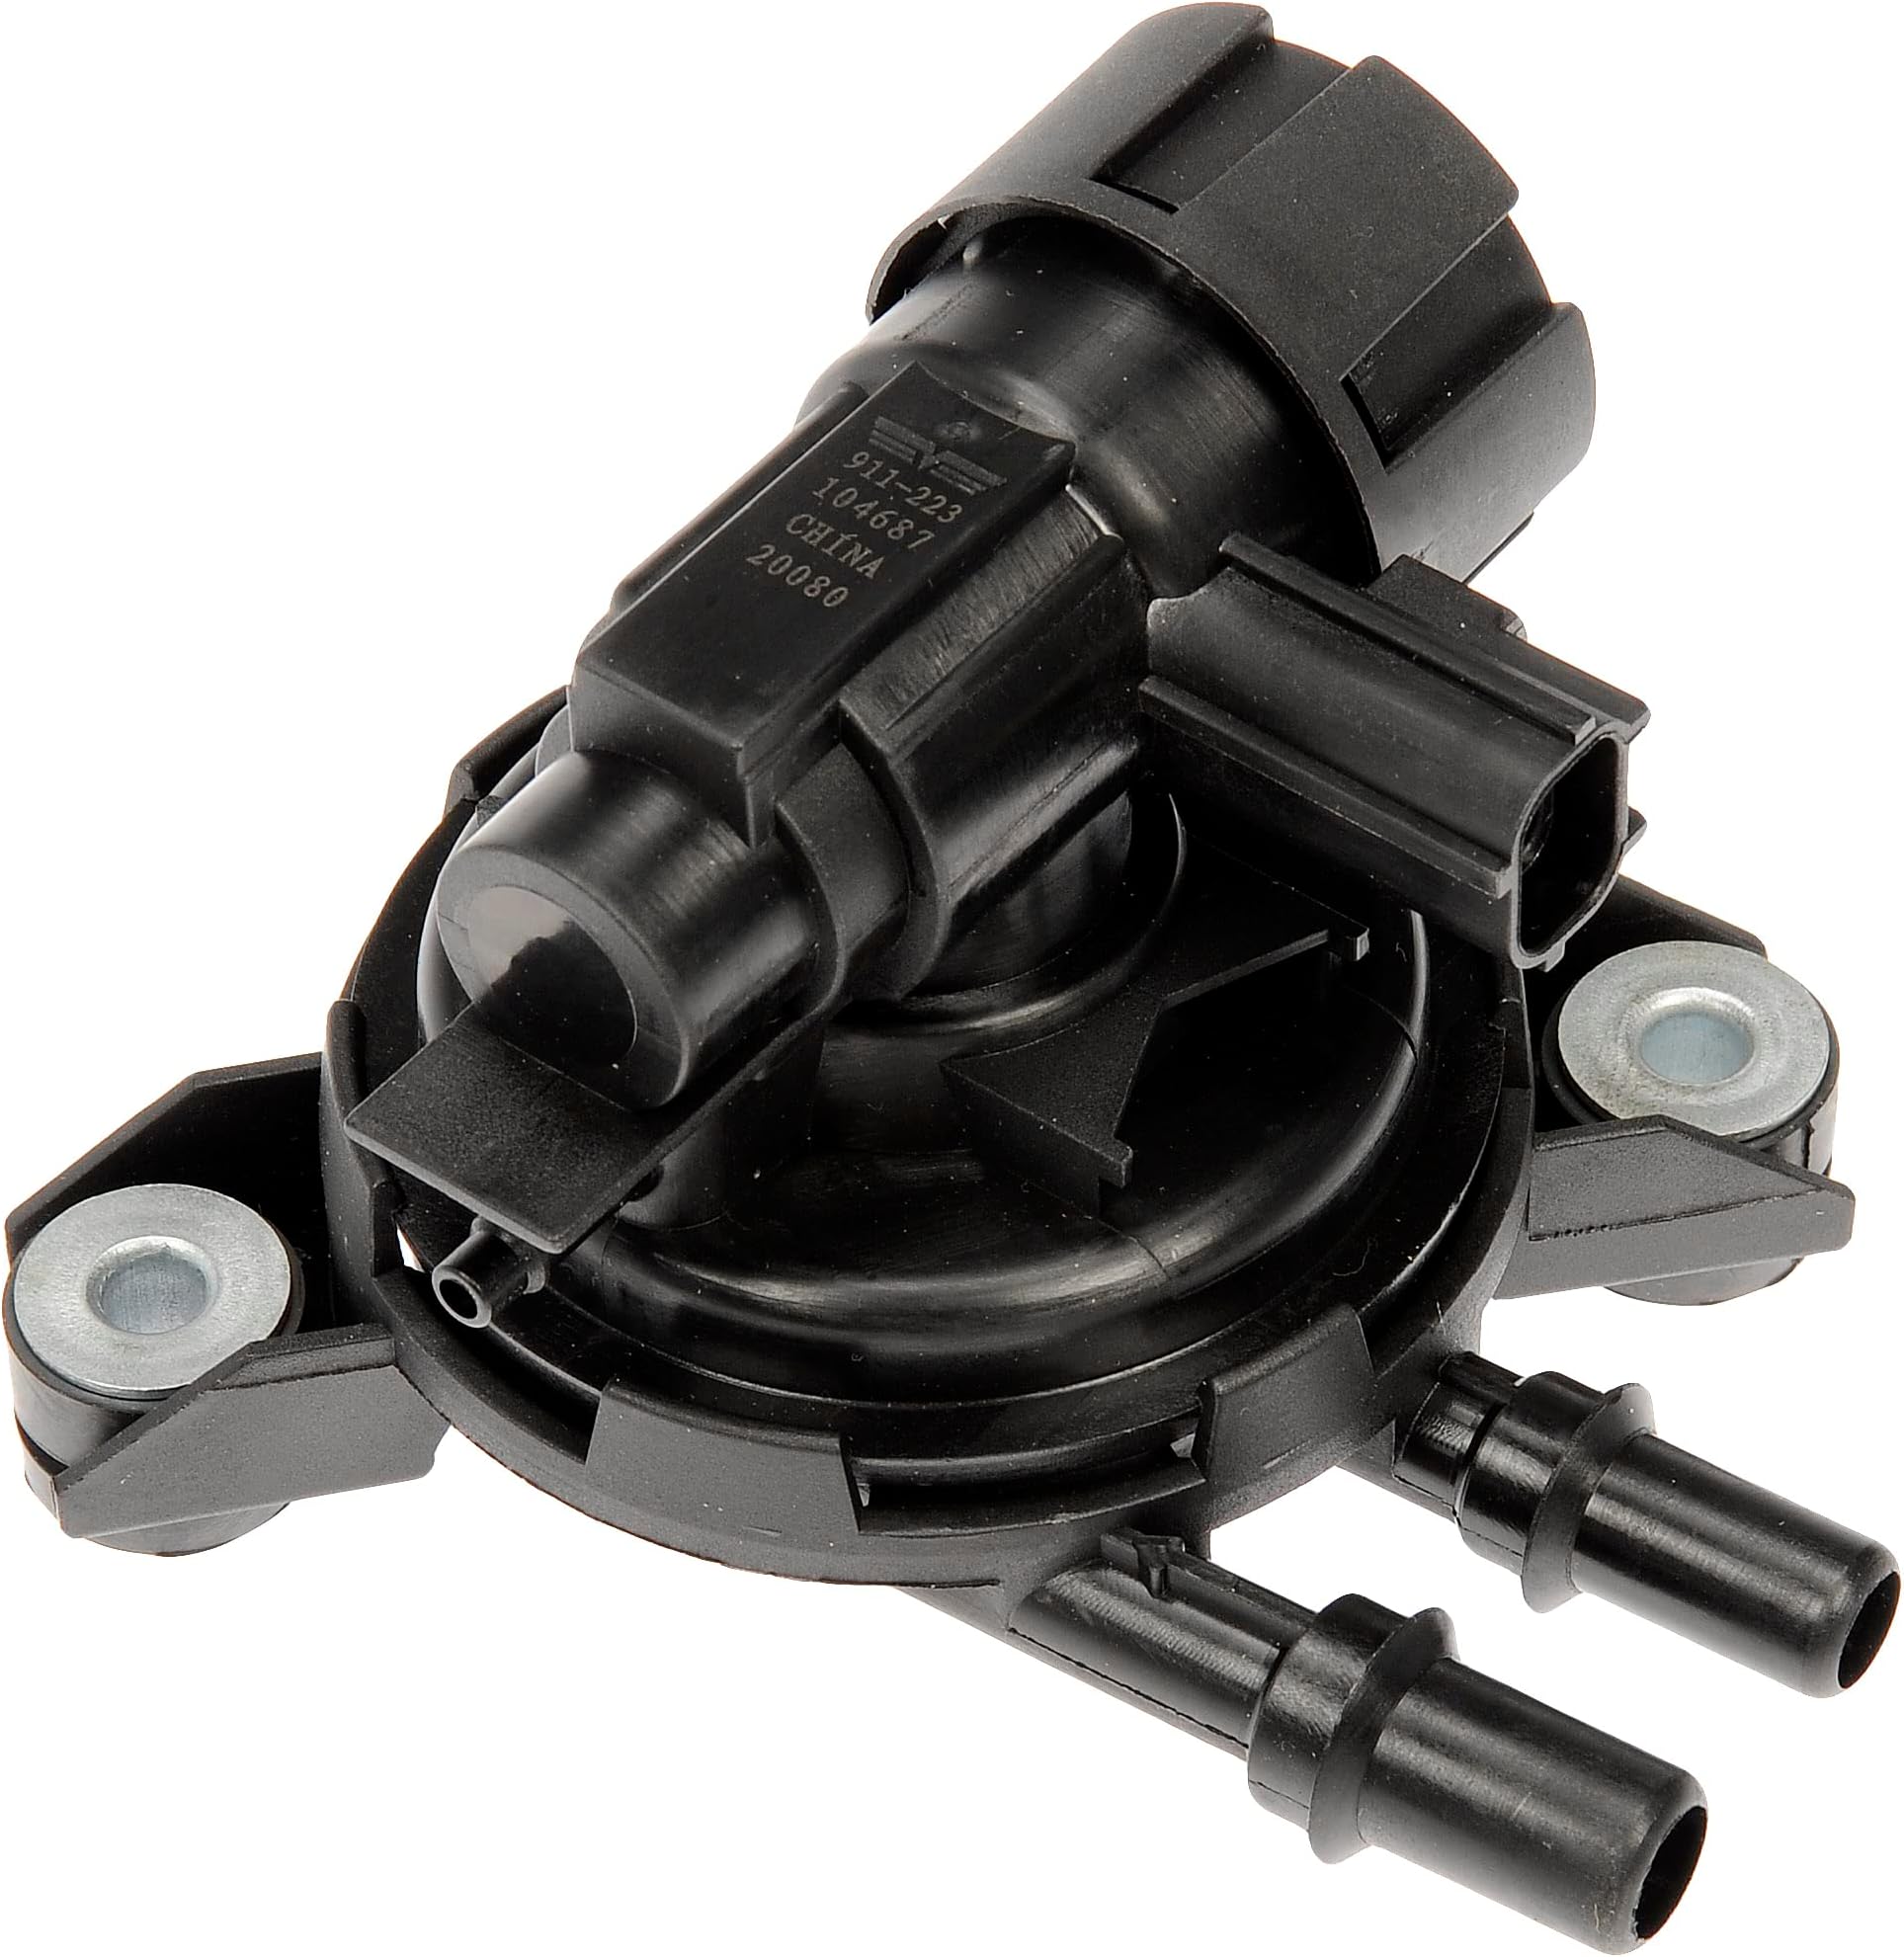
Est. part cost: $40-$100 - Faulty or Clogged EVAP Canister Vent Solenoid 🟡 Medium Probability → Shop Vapor Canister
How to confirm: The vent solenoid is located underneath the vehicle, mounted on or near the charcoal canister (a black box) under the driver's side area. Inspect the vent hose for blockages like spider webs or debris, which is a known issue. The solenoid can be tested with a scan tool or by applying direct voltage to see if it actuates.
Typical fix: First, clear any blockages from the vent hose. If the solenoid itself is faulty (stuck open or closed), it needs to be replaced. The solenoid is often replaced along with the charcoal canister as a single unit, but can sometimes be purchased separately.
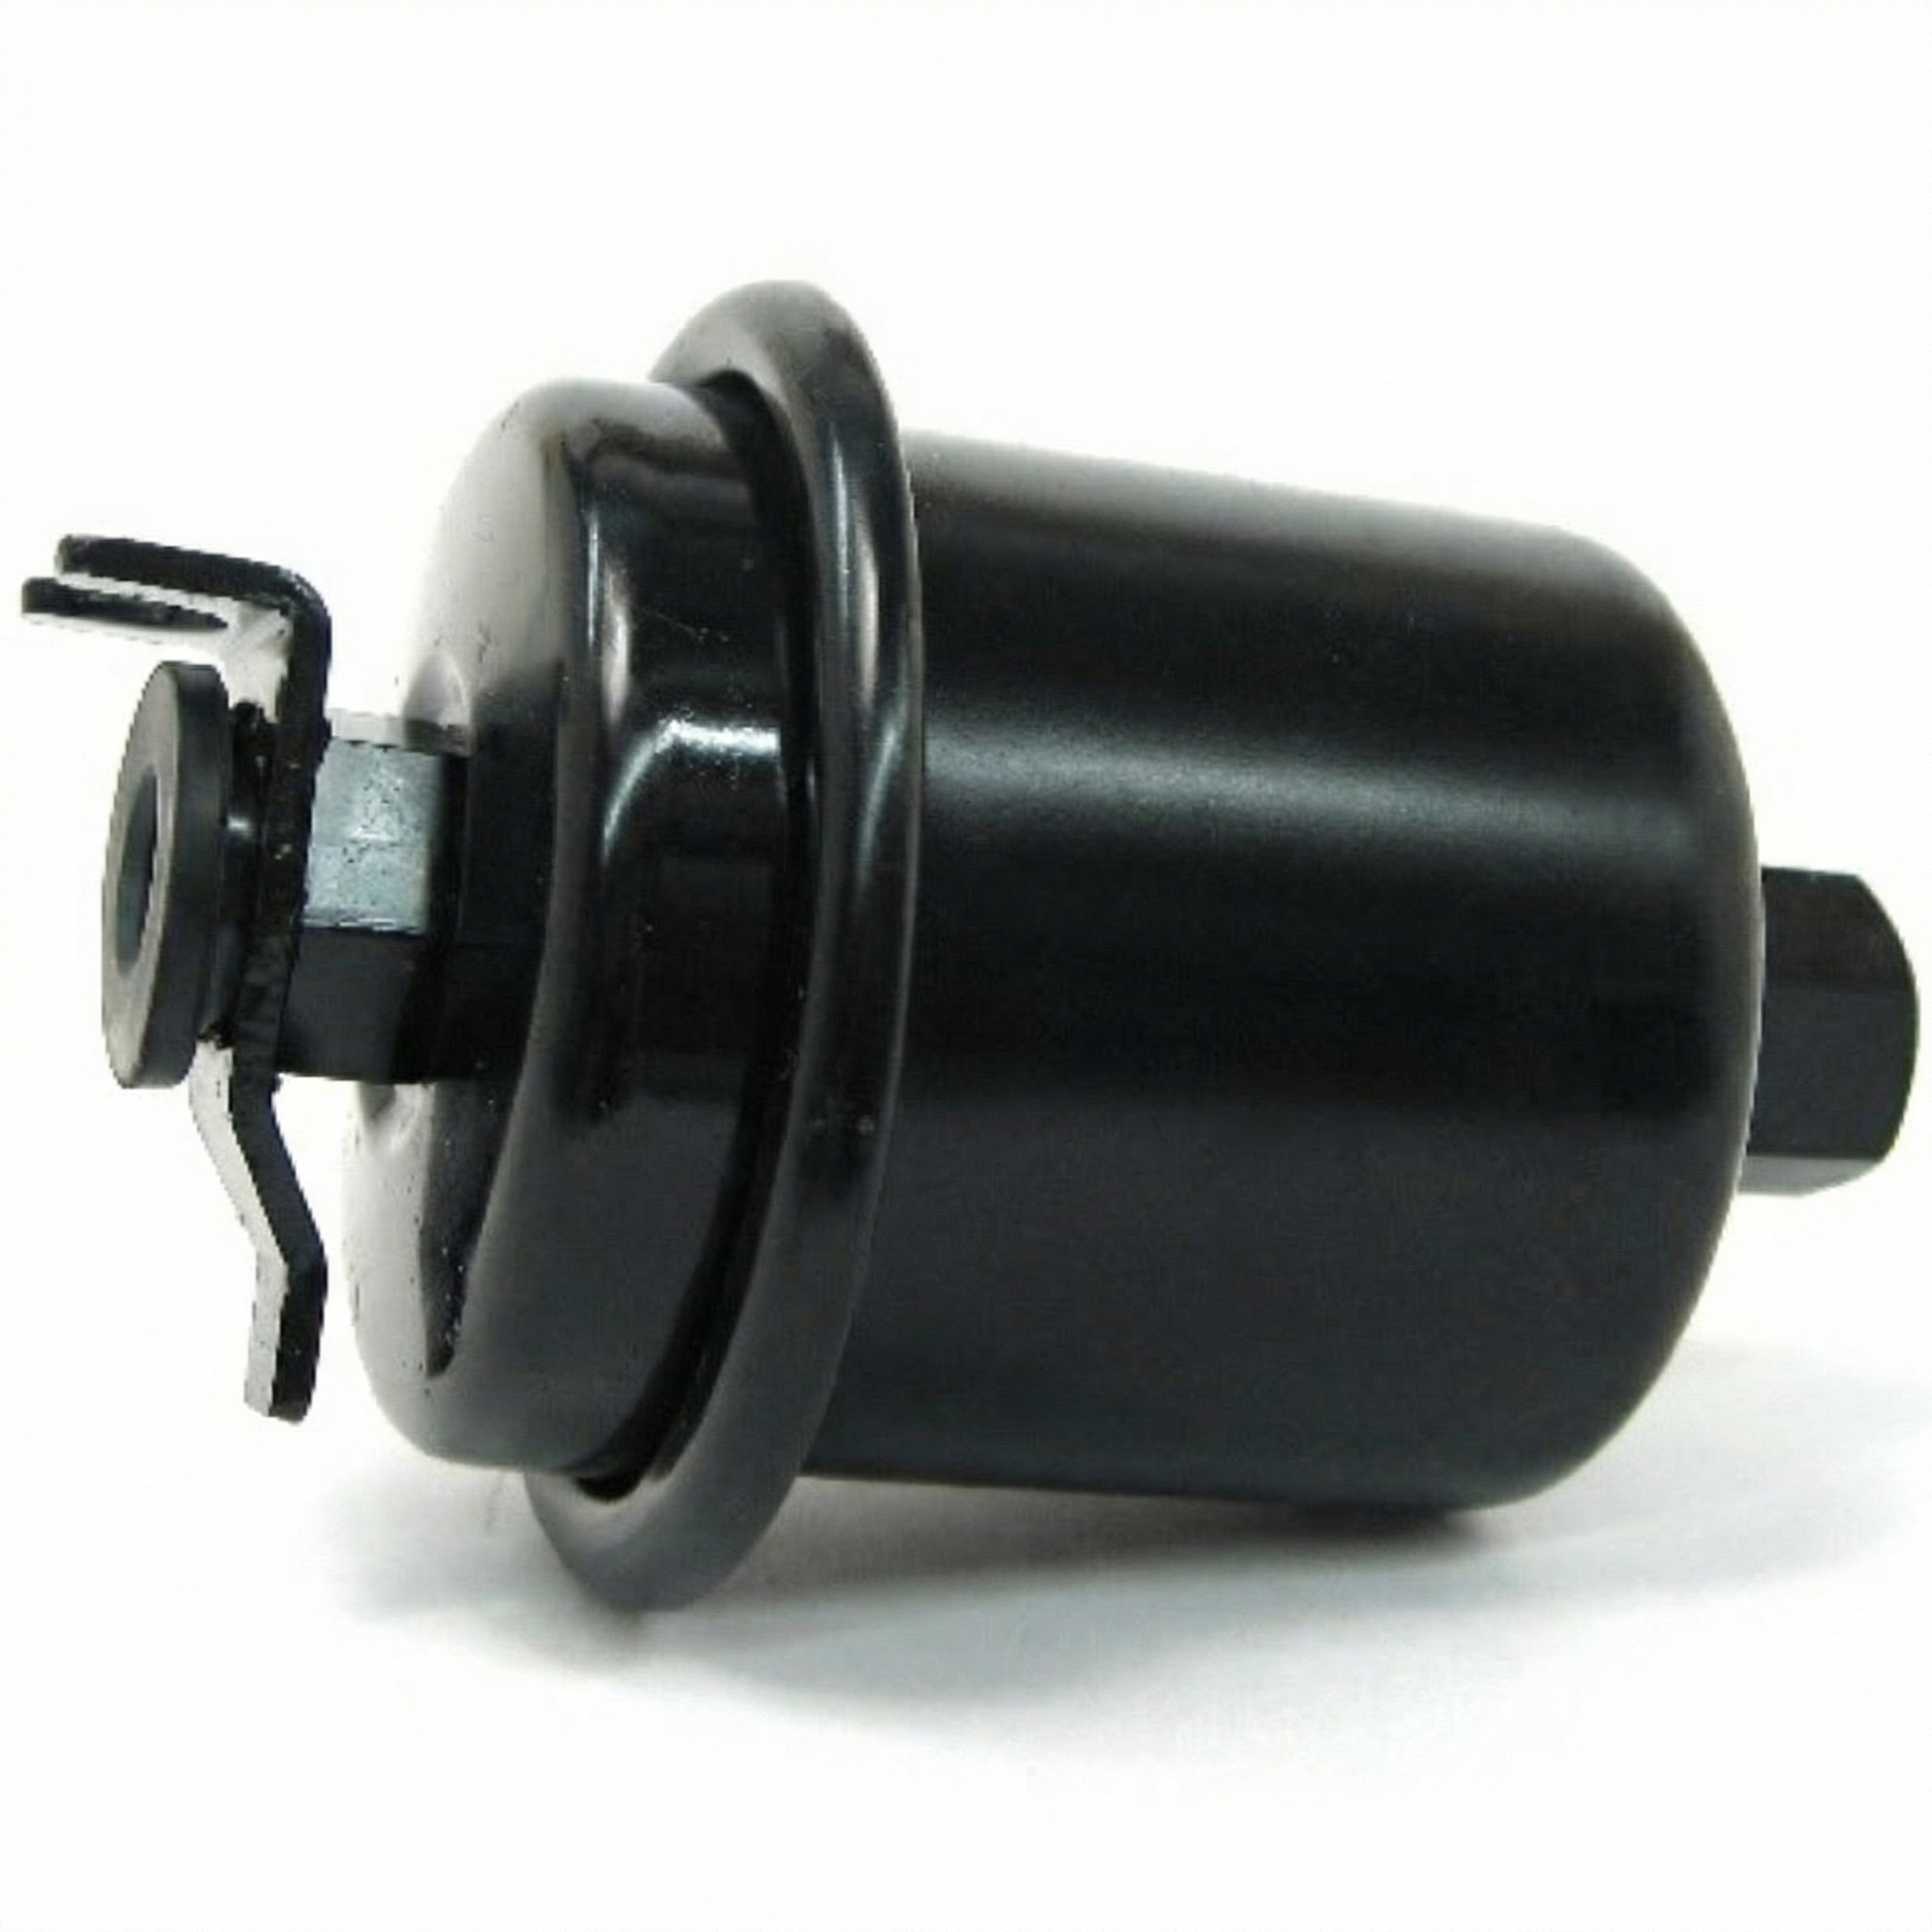
Est. part cost: $50-$120 - Cracked or Disconnected EVAP Hoses ⚪ Low Probability
How to confirm: Visually inspect all accessible EVAP system hoses, both in the engine bay around the purge valve and underneath the vehicle near the canister. Look for obvious cracks, rot, or loose connections. A smoke test is the most effective way to find small, hard-to-see leaks.
Typical fix: Replace the damaged section of hose and ensure all connections are secure.
Est. part cost: $10-$50
Rare But Worth Checking
- Cracked EVAP (Charcoal) Canister: → Shop Vapor Canister The canister itself can develop cracks from road debris or age, creating a leak. This is usually found during a smoke test if all other components check out.
- Faulty Fuel Tank Pressure (FTP) Sensor: → Shop Fuel Tank The sensor that monitors EVAP system pressure can fail and send incorrect data to the computer, triggering the code even if there is no leak.
Diagnosis Steps
- Check the Gas Cap: Ensure it is tight and the seal is in good condition. Clear the code and drive to see if it returns. This is the simplest and most common fix.
- Visual Inspection: Inspect all visible EVAP hoses in the engine bay and under the vehicle for cracks, disconnection, or damage.
- Inspect/Test the EVAP Purge Valve: Locate the valve on top of the engine. Check for vacuum and listen for clicking with the engine running. Test with a handheld vacuum pump and by applying voltage to confirm operation.
- Inspect/Test the EVAP Vent Solenoid: Locate the solenoid under the vehicle near the charcoal canister. Check its vent hose for blockages (spider webs are common). Test the solenoid's operation by applying voltage.
- Perform a Smoke Test: If no obvious issues are found, a smoke test is the definitive way to find leaks. This involves injecting smoke into the EVAP system and looking for where it escapes.
Parts You'll Likely Need
- Fuel Cap
(OEM #17670-SJA-013)— The seal fails over time or the cap is not tightened properly, causing a pressure leak detected by the system.
Trusted brands: Honda (OEM), Stant
OEM price range: $25-$40
Aftermarket price range: $15-$25 - EVAP Canister Purge Valve / Solenoid
(OEM #36162-RDV-J01)— This valve gets stuck open or closed from wear, causing a system malfunction. Part numbers 36162-RDM-A01 and 36162-RJA-A01 are also cited for this generation. Some owners have successfully used the part from other Honda models like the Accord or TL as a less expensive alternative.
Trusted brands: Honda (OEM), Dorman, Standard Motor Products
OEM price range: $70-$100
Aftermarket price range: $40-$70 - EVAP Canister Vent Solenoid / Valve
(OEM #17371-S84-A01 (Valve only, may vary))— This valve can fail, but is also known to have its vent line clogged by debris, which prevents the system from breathing properly. It is often sold as part of the entire charcoal canister assembly.
Trusted brands: Honda (OEM), Dorman, Standard Motor Products
OEM price range: $80-$120
Aftermarket price range: $50-$80
Related Codes That Often Appear With This One
- P0441 — Indicates incorrect purge flow, often caused by a faulty purge valve, which is also a common cause for P0440.
- P0455 — Indicates a large EVAP leak, which is a more specific version of the general fault P0440. The causes are nearly identical.
- P0456 — Indicates a very small EVAP leak. If a small leak worsens, it can eventually trigger a P0440.
Technical Service Bulletins (TSBs) & Recalls
- TSB 09-042: While for code P2422, this TSB is relevant as it notes that spider webs can clog the EVAP canister vent shut valve drain box, a potential cause for general EVAP malfunctions on this platform.
Platform-Specific Known Issues
- A known issue for this generation involves spiders building webs in the EVAP canister vent hose, causing a blockage that can trigger EVAP codes. Honda TSB 09-042 addresses this for a related code, P2422, but the principle applies.
Mechanic-Grade Diagnostic Values
- EVAP Canister Purge Valve Solenoid Resistance — expected: 20 - 50 Ohms (general approximation). Failure: A reading far outside this range, or an open circuit (infinite resistance), indicates a failed solenoid coil.
- EVAP Canister Vent Solenoid Resistance — expected: 48 - 65 Ohms. Failure: A reading outside this range suggests a faulty solenoid.
- Fuel Tank Pressure (FTP) Sensor Voltage (Key On, Engine Off, Gas Cap Removed) — expected: 2.45V - 2.55V. Failure: A voltage outside this range indicates a faulty sensor or a restriction in the sensor's hoses. If voltage increases with vacuum instead of decreasing, it may indicate a wiring or sensor issue.
- Fuel Tank Pressure (FTP) Sensor Voltage (During EVAP Test) — expected: Voltage should drop towards ~1.50V when vacuum is applied by the system or a test tool.. Failure: If the voltage does not change, the sensor may be stuck. If it does not hold the reading (e.g., increases more than 0.05V in 20 seconds), it indicates a leak in the tested portion of the system.
Scan Tool Commands That Help
- Honda Diagnostic System (HDS) or equivalent bidirectional scanner: EVAP FUNCTION TEST — This is a comprehensive automated test to run before beginning manual troubleshooting. It pressurizes the system and checks component responses to quickly determine if a fault is currently present.
- Honda Diagnostic System (HDS) or equivalent bidirectional scanner: SINGLE SOLENOID > PURGE VALVE or VENT VALVE (CVS) — To individually command the purge valve or vent valve (Canister Vent Solenoid) on and off. This allows a technician to listen for an audible click and check if the valve is physically actuating without having to remove it.
- Honda Diagnostic System (HDS) or equivalent bidirectional scanner: Live Data > FTP SENSOR — To monitor the Fuel Tank Pressure sensor's voltage in real-time while performing tests. This is crucial for leak testing, as you can watch the voltage change as vacuum is applied and see if it holds steady.
Wiring & Ground Locations
- G401 — Located in the driver's side kick panel area.. This is a major chassis ground point. A corroded or loose G401 can cause intermittent electrical issues for various systems, including sensors and solenoids related to the EVAP system.
- G101 — Located at the rear of the engine.. This ground is used by multiple engine components and sensors. A poor connection here could potentially affect the operation of the engine-mounted EVAP purge valve.
- EVAP Canister Purge Valve Connector — On top of the engine, connected to the purge valve solenoid.. This 2-pin connector provides power and ground to the purge valve. Technicians test for battery voltage at one pin (with key on) and check the resistance of the valve across its two terminals.
- EVAP Canister and Vent Solenoid Connectors — Underneath the vehicle on the driver's side, near the rear suspension.. These connectors power the vent solenoid and receive data from any sensors on the canister assembly. They are exposed to road salt and moisture, making them susceptible to corrosion which can interrupt signals and cause EVAP codes.
Real Owner Repair Stories
- Odyclub.com forum member (2007 Honda Odyssey EX-L) — Persistent P0440 code.
❌ Tried (didn't work) Replaced gas cap, Replaced EVAP purge valve, Replaced EVAP vent solenoid, Performed a smoke test which showed no leaks
✅ What actually fixed it The issue was a rusted fuel filler neck. The rust had created a small hole at the top of the neck where it meets the body, causing a leak that was difficult to spot and not always evident during a standard smoke test. Replacing the fuel filler neck resolved the code.
"I Checked Everything" — The Actual Cause
- In some cases, a smoke test may not reveal a leak if the leak is very small or located in a hard-to-reach area like the top of the fuel filler neck where it joins the body. Rust can create a pinhole that only leaks under specific conditions. If a smoke test is clean, the next step should be a meticulous visual inspection of the entire fuel filler neck for any signs of corrosion or rust perforation.
OEM Part Supersession History
36162-RDM-A01→36162-RDV-J01— Part revision or supplier change.
Heads up: 36162-RDV-J01 is the correct replacement for earlier part numbers like 36162-RDM-A01 and 36162-RJA-A01 on this platform. They are functionally interchangeable.17310-S84-A01→17310-S84-A02— Part revision for the EVAP Canister Vent Shut Valve.
Heads up: These parts are generally interchangeable for the application.
Diagnostic Flowchart
Other Known Issues on This Vehicle
Issues unrelated to this code that are worth knowing about as an owner of this generation:
- Variable Cylinder Management (VCM) System Problems 🔴 High — Common on J35A7 engines (EX-L, Touring). Issues like excessive oil consumption, fouled spark plugs, and engine vibrations can appear after 80,000 miles. (Ref: A 2013 class-action lawsuit addressed oil consumption on 2008-2013 models, leading to a warranty extension (now expired).)
- Premature Engine Mount Failure 🟠 Medium — Very common, especially on VCM-equipped models due to engine vibrations. Mounts, particularly the active front mount, can collapse or crack between 60,000-120,000 miles, causing thumping noises and excessive vibration.
- Automatic Transmission Problems 🔴 High — Issues like shuddering, harsh shifting, or torque converter failure are frequently reported. Problems can arise before 100,000 miles. (Ref: Honda has faced class-action lawsuits and offered warranty extensions for transmissions on earlier models, but problems persist in this generation.)
- Power Steering Pump Whine/Failure 🟠 Medium — A common complaint is a whining or groaning noise from the power steering system, often due to a failing pump or simple O-ring leaks. (Ref: TSB 07-005 points to a faulty reservoir as a cause of noise. TSB 11-039 extended the warranty for stiff steering due to pump issues (now expired).)
- Electric Sliding Door Malfunction 🟡 Low — The automatic sliding doors can fail to open or close properly, often due to worn roller bearings or faulty latches.
Used vs. New Parts: Buying Guide for This Vehicle
When a used part is the smart pick: For larger, more expensive assemblies like the charcoal canister, a used OEM part from a reputable salvage yard can be a smart, cost-effective choice. Since canisters are not typical wear items, a used part from a lower-mileage, non-corroded donor vehicle can provide a long service life.
Donor-vehicle mileage cap: roughly under 120000 miles for the part to have meaningful remaining life.
What to inspect on the donor part:
- Inspect the plastic housing of the charcoal canister for any cracks, especially around mounting tabs and hose ports.
- Ensure all hose connection nipples are intact and not brittle or broken.
- Check the electrical connectors on any included solenoids for corrosion or damage.
- If possible, source the part from a vehicle in a dry, non-salt-belt region to minimize the risk of corrosion on associated metal parts and fasteners.
OEM-only on this vehicle (don't cheap out):
- Fuel Cap: While aftermarket caps are available, many owners and mechanics report persistent EVAP codes with non-OEM caps due to slight variations in seal design. Using a genuine Honda cap (17670-SJA-013) is strongly recommended to eliminate it as a variable.
Aftermarket brands forum-validated for this vehicle:
- Standard Motor Products (SMP)
- Dorman (often a cost-effective option for valves and solenoids)
- Denso
Brands owners have reported issues with on this vehicle:
- No-name, unbranded parts from online marketplaces should be avoided, as their quality control and material specifications can be inconsistent, leading to premature failure or improper sealing.
Real Owner Stories
Aggregated from forums and TSBs cited above. Mileages and costs reflect what owners reported in those sources.
2005-2010 Honda Odyssey J35
Symptoms: Check engine light on; discussions frequently point to the gas cap and EVAP purge valve as the primary culprits.
What fixed it: DIY replacement of the purge valve and troubleshooting the gas cap seal.
Source hint: Odyclub.com
2005-2010 Honda Odyssey J35
Symptoms: EVAP system malfunction; potential blockage in the vent system.
What fixed it: Clearing spider webs from the EVAP canister vent hose or drain box.
Source hint: TSB 09-042
2007-2008 Acura TL Type-S (J35A8)
Symptoms: EVAP purge valve failure; owner looking for cross-compatible parts.
What fixed it: Using the identical but lower-priced Acura TL purge valve (36162-RDV-J01) instead of the Odyssey-specific part number.
Source hint: Reddit r/Acura
Related OBD-II Codes
Frequently Asked Questions
Does TSB 09-042 apply to my P0440 code on a 2005-2010 Honda Odyssey?
I heard an Acura part might be cheaper for my Odyssey's EVAP system. Is this true?
Where is the EVAP canister purge valve located on the J35A6/J35A7 engine?
Why does the gas pump click off repeatedly when I try to refuel my Odyssey?
Is it better to buy a new or used charcoal canister for this generation Odyssey?
Can I test the purge valve myself before buying a new one?
Helpful Videos
Used OEM Parts in Stock
New Aftermarket Parts Available


The information in this article is provided for general reference and educational purposes only. Vehicle specifications, procedures, and part compatibility can vary by production date, trim level, and region. Always consult your vehicle's factory service manual and verify part numbers before purchasing or performing repairs. Safety-critical components such as airbags, seat belts, and braking systems should be installed by a qualified professional.
- Honda Odyssey:
- 🧭 Diagnostic Flowchart
- 🎬 Helpful Videos
- 🛍️ Shop This Part
- What's Unique About the 2005-2010 Honda Odyssey
- Symptoms You May Notice
- Most Likely Causes
- Rare But Worth Checking
- Diagnosis Steps
- Parts You'll Likely Need
- Related Codes That Often Appear With This One
- Technical Service Bulletins (TSBs) & Recalls
- Platform-Specific Known Issues
- Mechanic-Grade Diagnostic Values
- Scan Tool Commands That Help
- Wiring & Ground Locations
- Real Owner Repair Stories
- "I Checked Everything" — The Actual Cause
- OEM Part Supersession History
- Other Known Issues on This Vehicle
- Used vs. New Parts: Buying Guide for This Vehicle
- Real Owner Stories
- 2005-2010 Honda Odyssey J35
- 2005-2010 Honda Odyssey J35
- 2007-2008 Acura TL Type-S (J35A8)
- Related OBD-II Codes
- Frequently Asked Questions
- 🎟️ Get 5% Off