
P0449 on 2006-2010 Mercury Mountaineer: EVAP Vent Valve Circuit Causes and Fixes
This code almost always points to a failed EVAP canister vent valve/solenoid or its electrical circuit. The valve is located on the passenger-side frame rail and is a common failure item due to its exposure to the elements. Expect to pay $50-$100 for an aftermarket part, which is a straightforward DIY replacement that can be completed in under an hour.
- P0449 on a 2006-2010 Mountaineer is an electrical circuit code, not a leak code.
- The most likely culprit is the EVAP vent solenoid itself, which is located on the frame rail near the rear passenger wheel and is easy to replace.
- Before buying parts, always check the fuse and inspect the wiring to the solenoid for obvious damage or corrosion.
- Do not waste money replacing the gas cap or the purge valve in the engine bay for this specific code.
- This is a very DIY-friendly repair that can be done with basic hand tools in under an hour.
What's Unique About the 2006-2010 Mercury Mountaineer
The 2006-2010 Mercury Mountaineer shares its UN105 platform with the 2006-2010 Ford Explorer. On these body-on-frame SUVs, the EVAP vent solenoid is mounted externally on the frame rail near the fuel tank, rather than being integrated into the charcoal canister itself. This location exposes the component and its wiring to road debris, moisture, and corrosion, making it a frequent point of failure. The good news is that this placement also makes it very easy to access and replace without special tools or even lifting the vehicle in many cases.
Symptoms You May Notice
- Check Engine Light is on
- Difficulty filling the fuel tank (gas pump nozzle clicks off repeatedly)
- A faint fuel odor near the rear of the vehicle, especially around the driver's side wheel well.
- Replacing the gas cap. While a loose or faulty gas cap can cause other EVAP codes (like P0455 or P0457 for large leaks), it does not cause a P0449 circuit code.
- Replacing the EVAP purge valve/solenoid. P0449 specifically refers to the VENT valve circuit at the rear of the vehicle, not the PURGE valve, which is located in the engine bay and typically causes a P0443 code.
Most Likely Causes
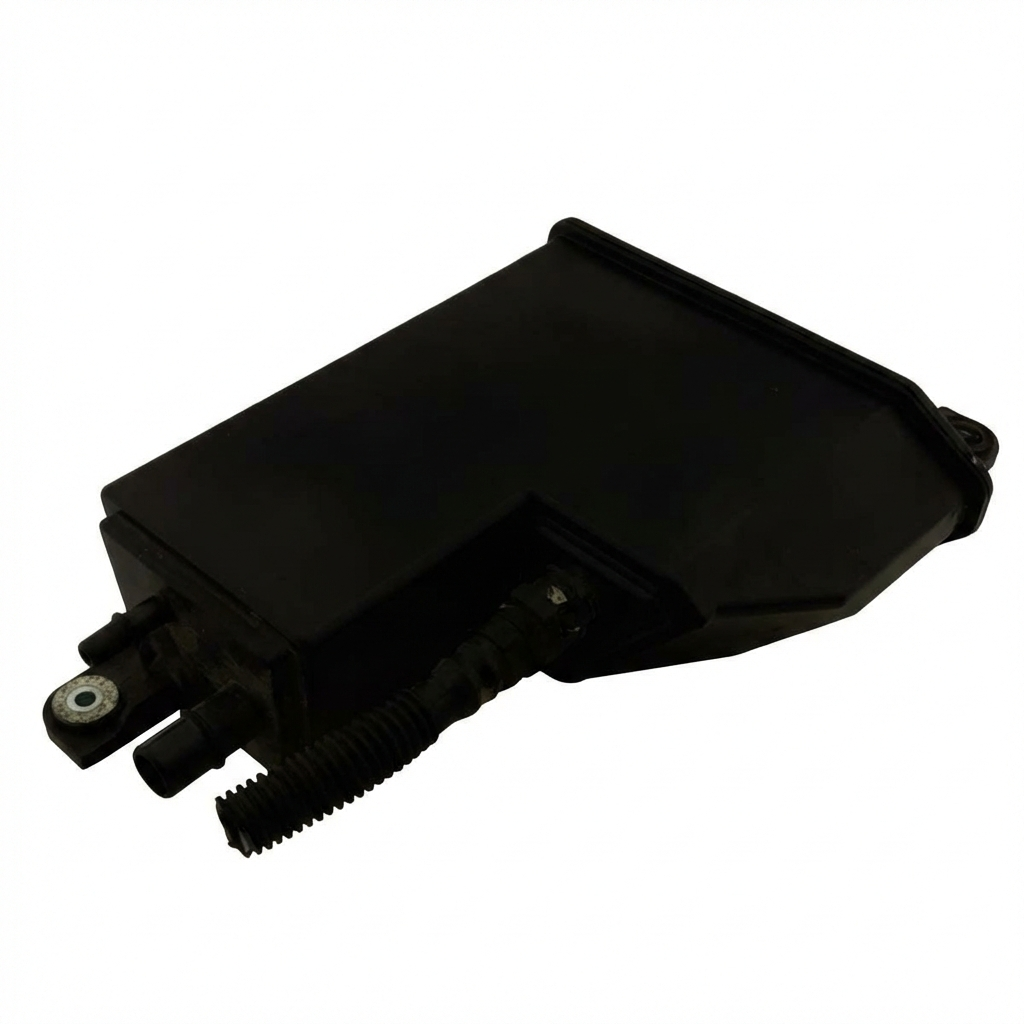
- Failed EVAP Canister Vent Valve/Solenoid 🔴 High Probability → Shop Vapor Canister The solenoid is mounted on the frame, where it is exposed to weather and road grime, leading to internal corrosion and electrical failure. This is the most common cause for P0449.
How to confirm: Locate the valve on the passenger-side frame rail. Apply 12V power and a ground to the two terminals on the solenoid. A healthy solenoid will make an audible 'click' as it actuates. If it does not click, it has failed. You can also check the resistance between the two pins with a multimeter; a reading between 48 and 65 ohms is expected. An out-of-spec or infinite reading indicates failure.
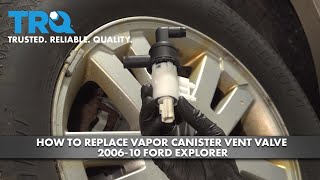
Typical fix: Replace the EVAP canister vent solenoid. This is a plug-and-play part held on by clips or a simple bracket. 🎬 Watch: Step-by-step guide to replacing the vent valve.
Est. part cost: $50-$100 - Damaged Wiring or Connector 🟡 Medium Probability The wiring harness leading to the vent solenoid is also exposed under the vehicle and can be damaged by road debris, corrosion, or chafing against the frame. The connector pins themselves can also corrode, causing a poor connection.
How to confirm: Visually inspect the wiring harness and connector for any breaks, corrosion, or loose pins. Disconnect the harness and check for 12V power at the connector with the key on. If power is present, check the ground wire for continuity back to the chassis. A bad connection is often found at the connector itself or a secondary harness connector further up over the fuel tank.
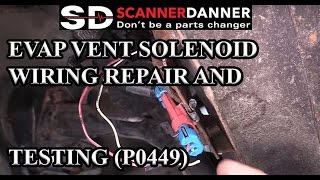
Typical fix: Repair the broken wire(s) or replace the connector pigtail. 🎬 Watch: How to diagnose and repair damaged solenoid wiring. Clean corroded terminals with electrical contact cleaner and apply dielectric grease to prevent future issues.
Est. part cost: $10-$30 - Blown Fuse ⚪ Low Probability
How to confirm: Check the vehicle's fuse box for any blown fuses related to the emissions or EVAP system. Consult the owner's manual or a factory wiring diagram for the specific fuse location.
Typical fix: Replace the blown fuse. If the fuse blows again immediately, it indicates a short circuit in the wiring that must be found and repaired.
Est. part cost: $1-$5
Rare But Worth Checking
- Faulty Powertrain Control Module (PCM): → Shop Engine Control Module (ECM) This is extremely rare. The PCM should only be considered after all other possibilities, including the valve, wiring, and fuses, have been thoroughly tested and ruled out.
Diagnosis Steps
- Read the code with an OBD-II scanner to confirm P0449 is the only code present.
- Check the fuse for the EVAP system in the vehicle's fuse panel. Replace if blown.
- Locate the EVAP vent solenoid on the passenger-side frame rail, near the fuel filler pipe.
- Visually inspect the electrical connector and wiring going to the solenoid for any signs of corrosion, damage, or breaks. Pay close attention to where the harness might rub against the frame.
- Disconnect the electrical connector. With the ignition key in the 'On' position, use a multimeter to verify that one of the pins in the connector has 12V power.
- If power is present, test the solenoid itself. Use a multimeter to check the resistance between the two pins on the solenoid. A good solenoid should read between 48 and 65 ohms. If the reading is out of this range, the solenoid is bad. Alternatively, use jumper wires to apply 12V and a ground directly to the two pins on the solenoid. It should make a distinct clicking sound. If it doesn't, the solenoid is bad and needs to be replaced.
- If the solenoid tests good but the code persists, the issue is likely in the wiring. Check for continuity on the ground wire back to a known good ground. If the ground is good, the problem lies in the signal wire to the PCM or the PCM itself (which is rare).
- If no power is found at the connector in step 5, trace the power wire back towards the fuse box to find the break in the circuit. There may be another connector between the solenoid and the main harness that could be the source of the problem.
Parts You'll Likely Need
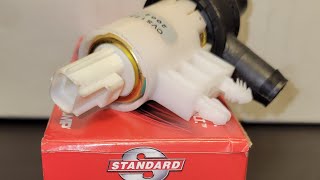
- Vapor Canister Vent Solenoid
(OEM #9L2Z-9C915-A (This part number may also be associated with the purge valve in some catalogs, verify fitment by location - rear of vehicle on frame rail))— This is the most common failure point for a P0449 code due to its exposed location under the vehicle, leading to electrical failure from corrosion and moisture.
Trusted brands: Motorcraft, Dorman (P/N 911-105), Standard Motor Products
OEM price range: $80-$120
Aftermarket price range: $40-$90
Platform-Specific Known Issues
- Owner Experience: Quick Fix, Stubborn Hoses: An owner on a Chevrolet forum (with a similar GM part) noted that while replacing the valve was simple, the plastic quick-connect hoses were difficult to remove after years of being exposed to the elements. One of the retaining clips broke during removal. This is a common experience, so care should be taken when disconnecting the old hoses.
Mechanic-Grade Diagnostic Values
- EVAP Canister Vent Valve/Solenoid Coil Resistance — expected: 48 to 65 Ohms. Failure: A reading of infinite resistance (open circuit) or near zero ohms (short circuit).
- Voltage at EVAP Vent Solenoid Connector (Power Wire) — expected: 12 Volts (Battery Voltage) with Key On, Engine Off. Failure: A reading significantly below 12V or 0V indicates a problem in the power supply circuit (fuse, wiring).
- Fuel Tank Pressure (FTP) Sensor Voltage (KOEO, system at rest) — expected: Approximately 2.6 Volts. Failure: A significantly different static voltage can indicate a sensor issue or pressure/vacuum trapped in the tank, which should be addressed before testing the vent circuit.
Scan Tool Commands That Help
- Ford IDS (Integrated Diagnostic System) or equivalent professional scan tool: EVAP System Test / Output State Control for Canister Vent (CV) Solenoid — This bidirectional command allows a technician to manually command the vent solenoid to open and close. By monitoring the Fuel Tank Pressure (FTP) sensor data while cycling the valve, a technician can confirm if the solenoid is physically working and if the PCM's driver circuit is functional, which helps isolate the fault between the component and the wiring/PCM.
Wiring & Ground Locations
- EVAP Canister Vent Solenoid Connector — On the vent solenoid, located on the passenger side frame rail near the fuel tank.. This is the primary point for electrical testing. The connector has two pins. One wire (typically Yellow/Red or similar color) should have 12V with the key on. The other wire (typically Green/White or similar) is the control wire, which the PCM grounds to activate the solenoid. Checking for power and ground signal here is the fastest way to diagnose the circuit. A factory wiring diagram is the best source for exact wire colors for the specific year.
- G400 / G403 — Rear, LH (driver's) side of the vehicle, on the frame or D-pillar area.. This is a major chassis ground point for several rear-mounted components. While the vent solenoid may have its own ground path, a corroded or loose G400/G403 can cause intermittent electrical issues for various systems in the rear of the vehicle, potentially affecting the EVAP system's reference signals or creating electrical noise. It's a known area to check for corrosion on vehicles operated in salt-belt regions.
Real Owner Repair Stories
- ExplorerForum.com user (2007 Ford Explorer (same platform)) — Check Engine Light with code P0449.
❌ Tried (didn't work) Initially, the user was unsure of the cause and sought advice.
✅ What actually fixed it The user replaced the EVAP Canister Vent Valve Solenoid located on the frame rail. The post confirms this resolved the P0449 code. The user noted the part was exposed and easy to access, corroborating the common understanding of this repair.
OEM Part Supersession History
9L2Z-9C915-A→CX2206 (Motorcraft Service P/N)— Standard part number evolution and service part designation.
Heads up: The OEM part number 9L2Z-9C915-A is often listed in catalogs for the engine bay-mounted PURGE valve as well. It is critical to verify the part by its physical location (rear of vehicle, on frame) before purchasing, as the vent valve and purge valve are not interchangeable.
Diagnostic Flowchart
Other Known Issues on This Vehicle
Issues unrelated to this code that are worth knowing about as an owner of this generation:
- 4.0L SOHC V6 Timing Chain Cassette Failure 🔴 High — Common, especially on earlier models in the generation. A rattling noise on startup or during acceleration around 2500 RPM is a key symptom. Failure can be catastrophic to the engine. (Ref: Multiple TSBs were issued over the years, including TSB 04-15-4, which updated repair kits.)
- Cracked Rear Liftgate Appliqué Panel 🟡 Low — Extremely common cosmetic issue across 2002-2010 Explorer/Mountaineer models. The plastic panel below the rear window cracks, often vertically near the emblem. (Ref: Multiple TSBs (e.g., 05-24-2) were issued, and a class-action lawsuit was filed, but no official recall was mandated as it's not a safety issue.)
- 6R60 Automatic Transmission Problems (V8 Models) 🔴 High — Reported issues include harsh shifting, delayed engagement, hesitation, and sometimes complete failure requiring a rebuild or replacement. Problems can stem from the valve body (mechatronic unit) or internal mechanical parts.
- Leaking Thermostat Housing (4.0L V6) 🟠 Medium — The plastic thermostat housing is prone to developing cracks and leaking coolant, which can lead to overheating if not addressed. The leak often occurs at the seam between the upper and lower housing pieces.
- Heater Blend Door Actuator Failure 🟡 Low — A common issue where the heater gets stuck on one temperature setting, often accompanied by a clicking or ticking sound from behind the dashboard.
Used vs. New Parts: Buying Guide for This Vehicle
When a used part is the smart pick: For this specific repair, a used part from a junkyard is NOT recommended. The vent solenoid's high failure rate is due to its exposed location under the vehicle, leading to corrosion and moisture intrusion. A used part will have been subjected to the same conditions and has a high likelihood of premature failure.
What to inspect on the donor part:
- N/A - Avoid used parts for this component.
Aftermarket brands forum-validated for this vehicle:
- Motorcraft (OEM): Generally considered the most reliable option, though the most expensive.
- Standard Motor Products (SMP): Often regarded as a high-quality aftermarket alternative with good fit and function.
Brands owners have reported issues with on this vehicle:
- Dorman: While Dorman is a common and readily available brand (P/N 911-105), owner and technician feedback is mixed. Some have success, while others report premature failures or fitment issues with connectors or clips. Given the low cost of even quality aftermarket parts for this repair, opting for a brand with a better reputation like SMP or OEM is a safer investment.
Real Owner Stories
Aggregated from forums and TSBs cited above. Mileages and costs reflect what owners reported in those sources.
2006 Ford Explorer 4.0L
Symptoms: Check engine light was on with code P0447 (video was also for P0449).
What fixed it: After inspecting vacuum hoses and the electrical connector and finding no faults, the owner determined the vent valve solenoid itself had failed and replaced it.
Cost: $57
Source hint: youtube_comment from 'ford explorer vent valve solenoid removal'
Related OBD-II Codes
Frequently Asked Questions
Where is the EVAP vent solenoid located on my 2006-2010 Mercury Mountaineer?
Besides the Check Engine Light, what are other symptoms of a P0449 code on this vehicle?
How can I test the vent solenoid myself to confirm it's the problem?
Why does this EVAP vent solenoid fail so often on the Mountaineer and Explorer?
I replaced the vent solenoid but the code came back. What should I check next?
Is this P0449 issue also common on the Ford Explorer?
Helpful Videos

Used OEM Parts in Stock
New Aftermarket Parts Available


The information in this article is provided for general reference and educational purposes only. Vehicle specifications, procedures, and part compatibility can vary by production date, trim level, and region. Always consult your vehicle's factory service manual and verify part numbers before purchasing or performing repairs. Safety-critical components such as airbags, seat belts, and braking systems should be installed by a qualified professional.
- Mercury Mountaineer:
- 🧭 Diagnostic Flowchart
- 🎬 Helpful Videos
- 🛍️ Shop This Part
- What's Unique About the 2006-2010 Mercury Mountaineer
- Symptoms You May Notice
- Most Likely Causes
- Rare But Worth Checking
- Diagnosis Steps
- Parts You'll Likely Need
- Platform-Specific Known Issues
- Mechanic-Grade Diagnostic Values
- Scan Tool Commands That Help
- Wiring & Ground Locations
- Real Owner Repair Stories
- OEM Part Supersession History
- Other Known Issues on This Vehicle
- Used vs. New Parts: Buying Guide for This Vehicle
- Real Owner Stories
- 2006 Ford Explorer 4.0L
- Related OBD-II Codes
- Frequently Asked Questions
- 🎟️ Get 5% Off