
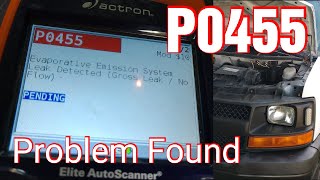
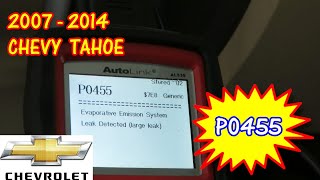
P0455 on 2003-2010 GMC Savana 2500: EVAP Large Leak Causes and Fixes
For a 2003-2010 GMC Savana, P0455 almost always means you have a large leak in the evaporative emissions system. The most common fix is tightening or replacing a faulty gas cap. If that doesn't work, the EVAP vent or purge solenoid is the next likely culprit, with the vent solenoid being a particularly common failure due to its location.
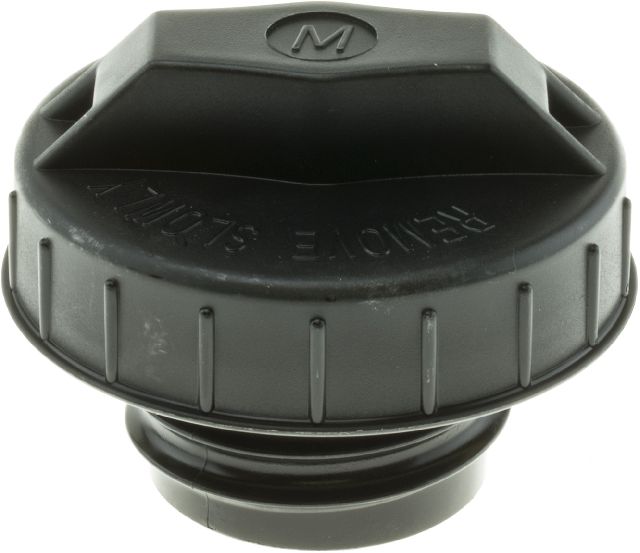
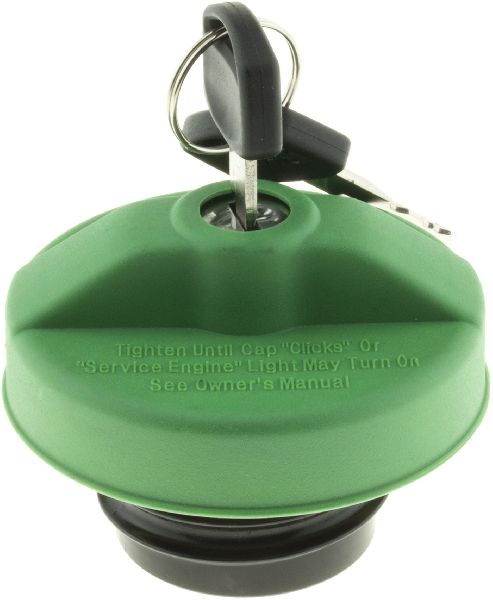
- Always check the gas cap first for a P0455 code. Ensure it's tight and the seal is intact. This is the most common and cheapest fix.
- If the gas cap isn't the issue, the EVAP vent solenoid (under the van by the spare tire) is the next most likely part to have failed due to its exposure to the elements.
- For vans operated in rust-belt states, carefully inspect the fuel filler neck for corrosion, as this will prevent even a new gas cap from sealing properly.
- While you can replace parts based on probability, a smoke test is the only way to be 100% certain where the leak is before spending money on parts.
What's Unique About the 2003-2010 Gmc SAVANA 2500
On these workhorse Savana vans, the EVAP components are subjected to harsh conditions. The EVAP vent solenoid, located under the vehicle near the spare tire, is particularly vulnerable to road debris, moisture, and rust, making it a very common failure point. Owners and technicians frequently report this part gets stuck open with dirt and corrosion. Additionally, as these vans age, especially in the 'rust belt', rust on the fuel filler neck is a frequent cause of a P0455 code, preventing the gas cap from creating a proper seal.
🎬 Watch: What to check when the gas cap isn't the problem.Diagnostic Flowchart
Tap your situation to follow the diagnostic path that matches what you're seeing on this vehicle.
Symptoms You May Notice
- Check Engine Light is on
- A noticeable smell of fuel, especially around the rear of the van or in a garage after parking
- Difficulty starting the engine immediately after refueling (this strongly points to a stuck-open purge solenoid)
- A "Tighten Gas Cap" message on the driver information center may appear before the code sets
- Replacing the purge valve when the vent valve is the actual problem. The vent valve is more exposed to the elements and often fails first.
- Replacing the gas cap without inspecting the fuel filler neck for rust, which is the true cause of the poor seal.
- Replacing parts without performing a smoke test. Many owners on forums replace multiple components before a smoke test finally reveals a simple cracked hose or rusted filler neck.
Most Likely Causes
- Loose, Damaged, or Incorrect Gas Cap 🔴 High Probability → Shop Fuel Tank Cap The gas cap is used frequently and its seal can wear out over time. Owners may also forget to tighten it until it clicks, which is necessary for a proper seal. Using a non-OEM cap can also lead to sealing issues.
How to confirm: Inspect the gas cap for cracks or damage to the rubber O-ring seal. Ensure it is the correct cap for the vehicle and tighten it until you hear at least one click. Clear the code and drive for a few days to see if it returns. This is the first and cheapest step in diagnosis.
Typical fix: Tighten or replace the gas cap.
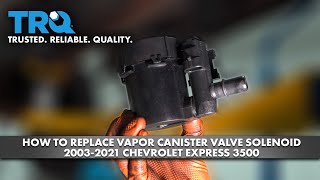
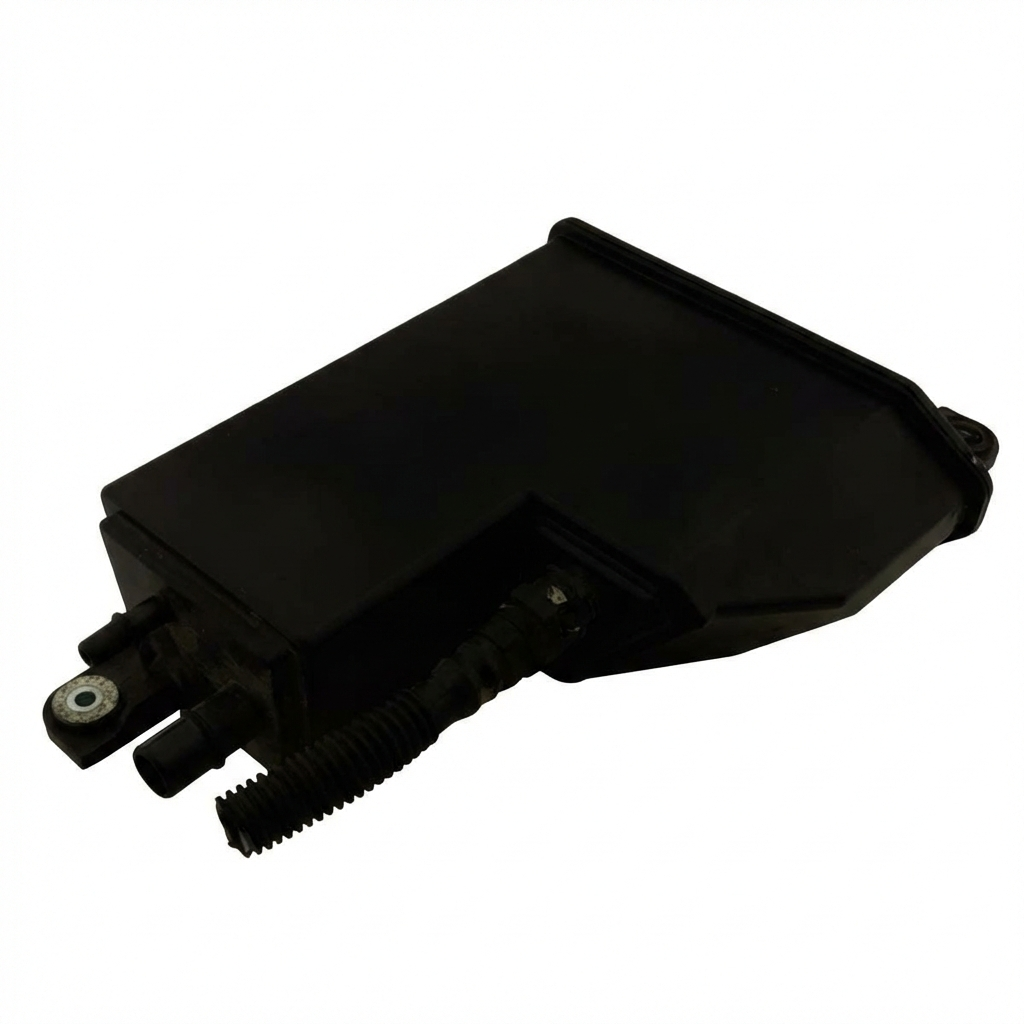
Est. part cost: $10-$25 - Faulty EVAP Vent Valve/Solenoid 🔴 High Probability → Shop Vapor Canister Located under the van near the spare tire, this valve is exposed to road salt, water, and dirt, causing it to corrode and get stuck open. This is a very common failure on GM trucks and vans of this era, with many owner reports of the part being clogged with dirt upon removal.
How to confirm: The valve is normally open and should close when voltage is applied. A mechanic can command it closed with a scan tool. A DIY method is to remove it and apply 12V to the terminals; if you can still blow through it, it's bad. A smoke test will show smoke exiting a stuck-open valve.
Typical fix: Replace the EVAP vent valve solenoid assembly. 🎬 Watch: Step-by-step guide to replacing the vent solenoid. Some owners opt for a relocation kit (like GM part #23481275) which moves the filter to a cleaner location to prevent repeat failures.
Est. part cost: $30-$100 - Faulty EVAP Purge Valve/Solenoid 🟡 Medium Probability → Shop Vapor Canister This valve cycles thousands of times and can get stuck open or closed. When stuck open, it creates a constant vacuum leak that the system detects as a large leak and can cause a rich condition, leading to hard starts after refueling. 🎬 See how to diagnose a large EVAP leak on GM vans.
How to confirm: The purge valve is normally closed. Remove the valve (typically on the driver's side of the engine intake manifold on V8 models) and try to blow through it. If air passes through, it is stuck open and needs replacement. A stuck-closed valve can also cause this code if it fails to draw a vacuum during the system test.
Typical fix: Replace the purge valve solenoid.
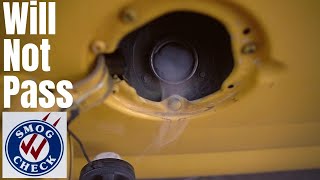
Est. part cost: $25-$75 - Rusted or Damaged Fuel Filler Neck 🟡 Medium Probability → Shop Fuel Filler Neck In regions with road salt ('rust belt'), the steel fuel filler neck is highly susceptible to rust and corrosion. A rusted surface prevents the gas cap from creating a perfect seal, resulting in a large leak even with a new cap.
How to confirm: Visually inspect the lip of the filler neck where the gas cap seal makes contact. Look and feel for rust, pitting, or deformities. A smoke test is the definitive way to confirm a leak from this area.
Typical fix: Replace the fuel filler neck.
Est. part cost: $70-$200 - Cracked or Disconnected EVAP Hoses ⚪ Low Probability With age, the rubber and plastic hoses in the EVAP system can become brittle and crack, especially those exposed to the elements under the vehicle or engine heat.
How to confirm: Visually inspect all accessible EVAP lines from the engine bay to the charcoal canister and fuel tank. A smoke test is the most effective method to pinpoint a leak in a hose that is not easily visible.
Typical fix: Replace the damaged section of hose.
Est. part cost: $10-$50
Rare But Worth Checking
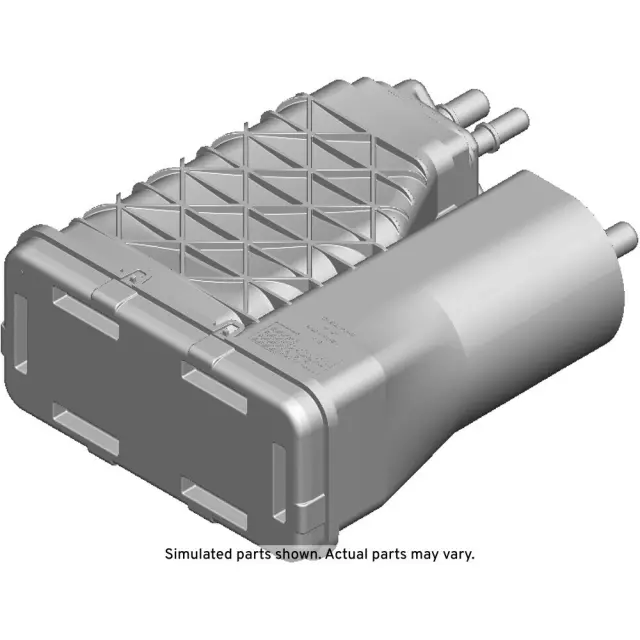
- Cracked EVAP Charcoal Canister: → Shop Vapor Canister The canister itself can be damaged by road debris or become internally blocked, though this is less common than valve failures. A visual inspection for cracks is the first step, but a smoke test is usually required to confirm.
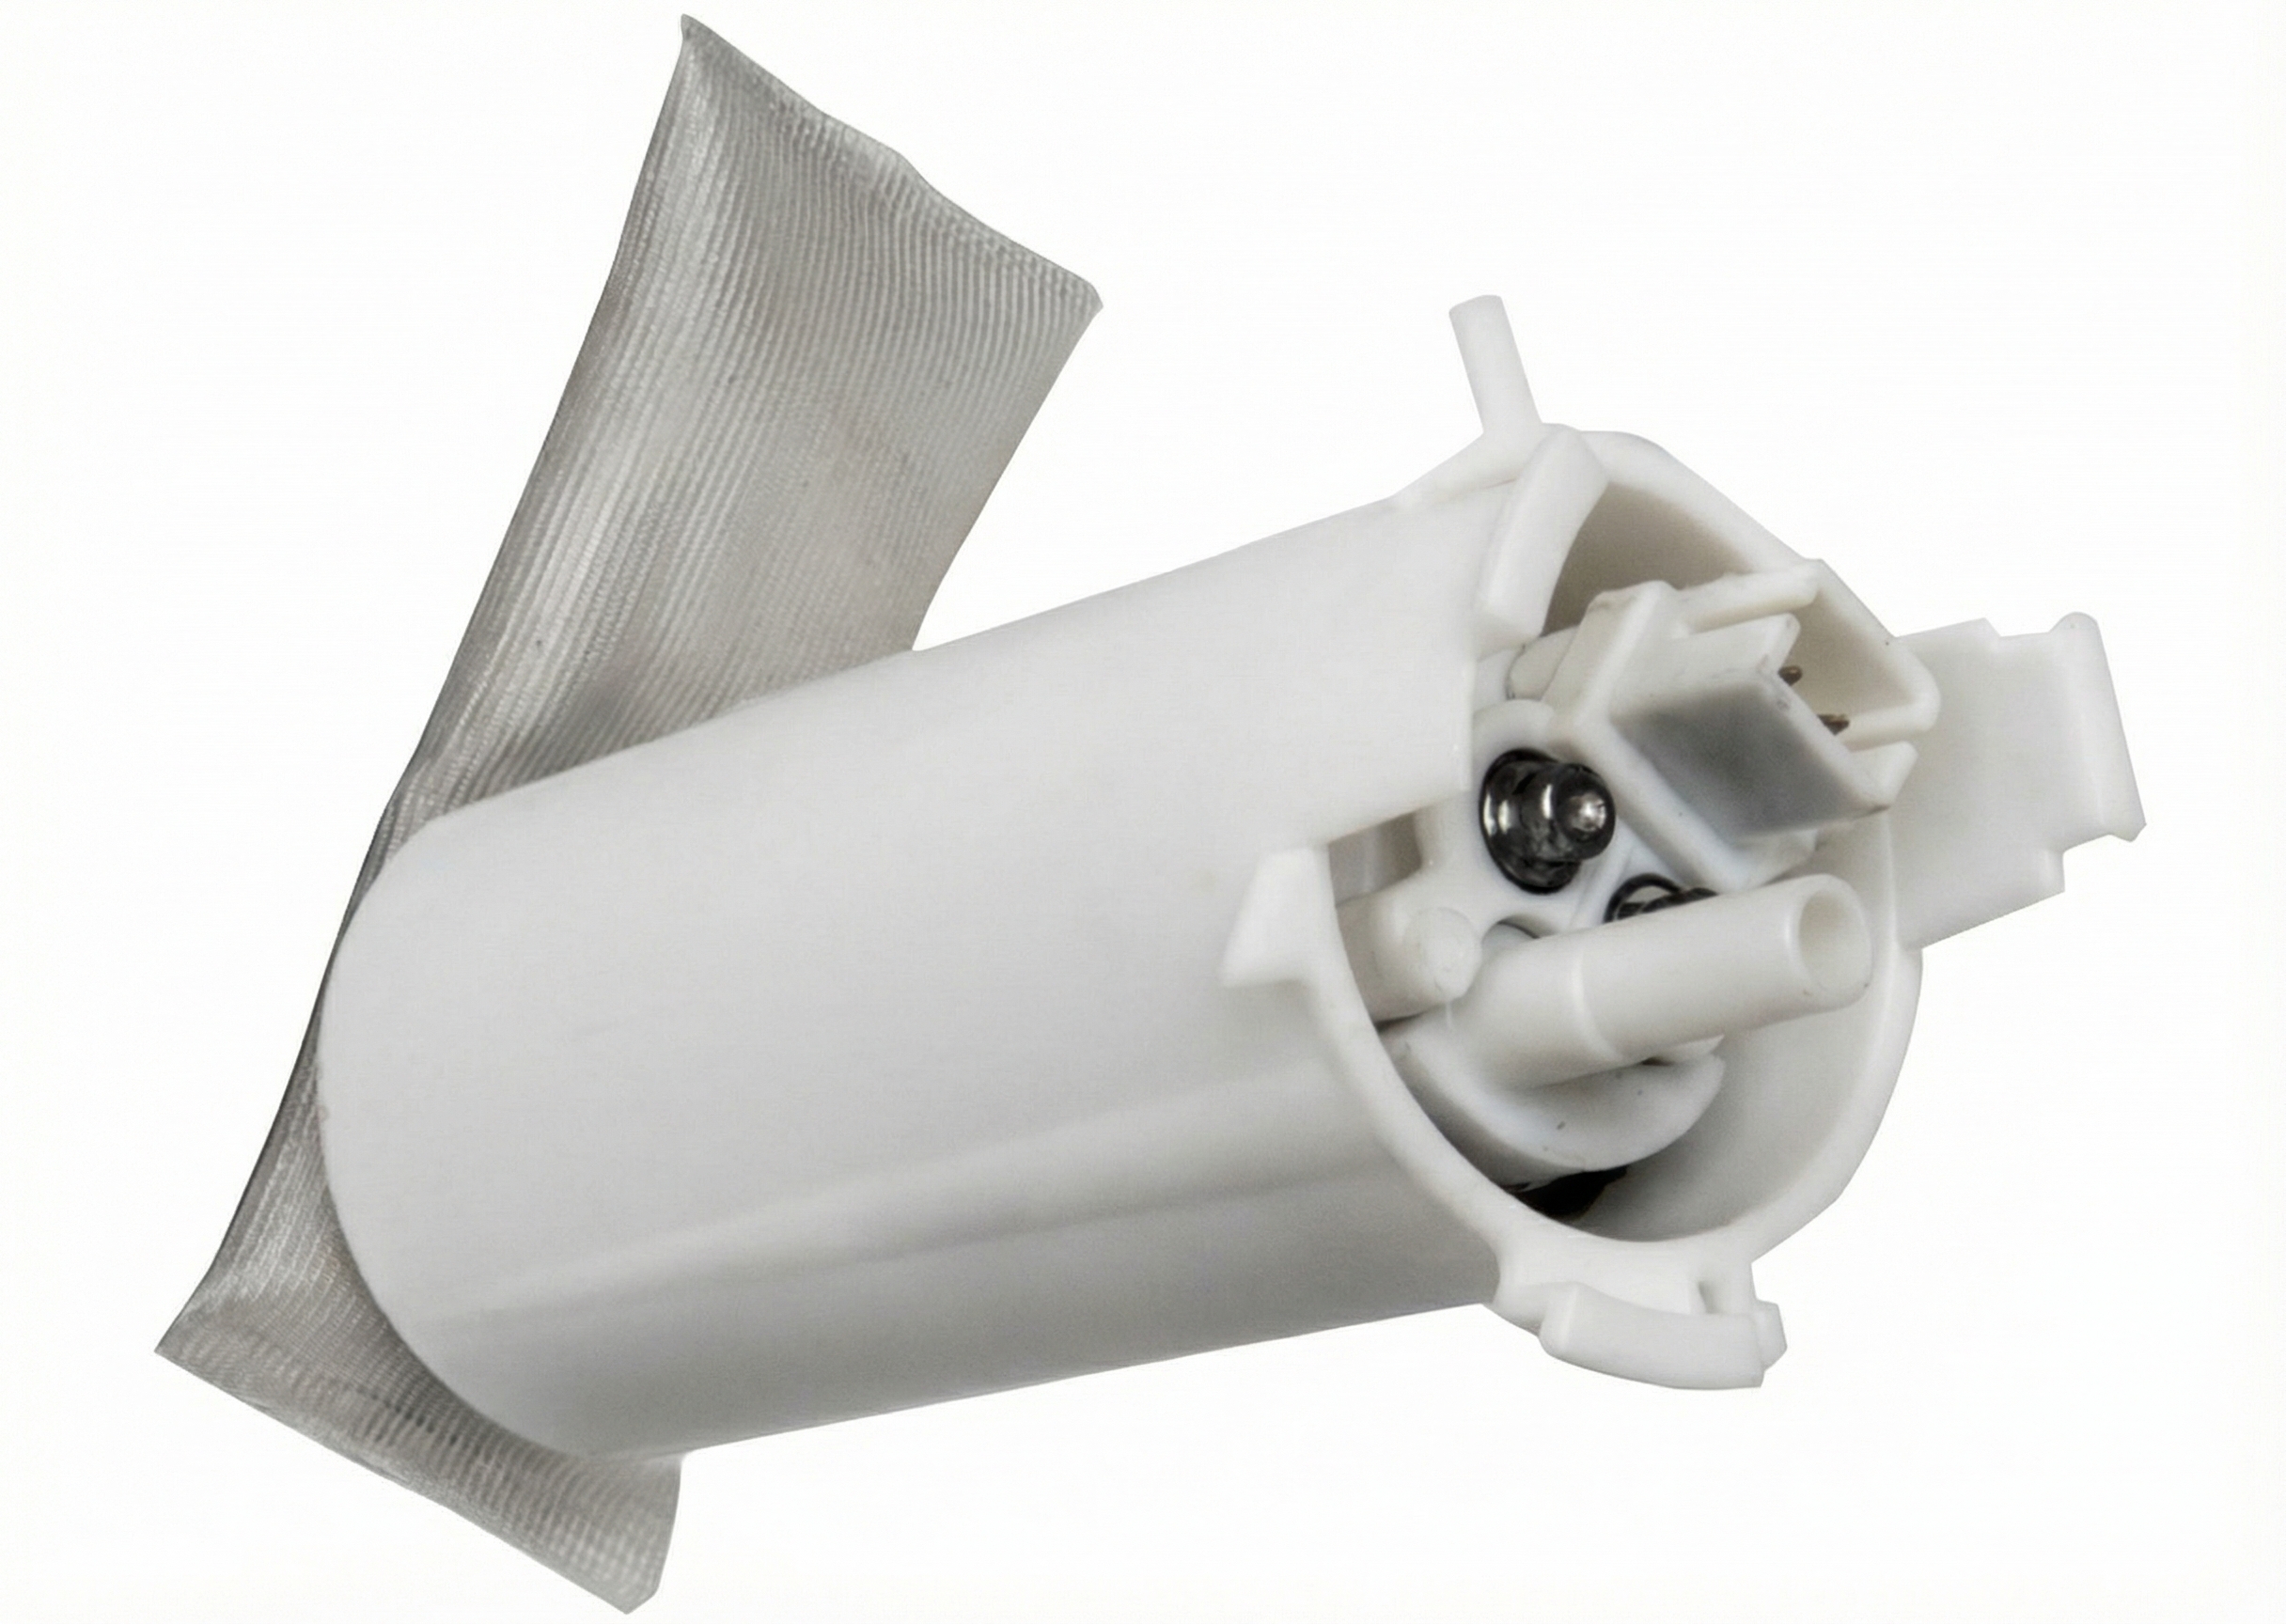
- Leaking Fuel Tank or Fuel Pump Gasket: → Shop Fuel Pump Similar to the filler neck, the top of the fuel tank where the fuel pump module is installed can rust, compromising the gasket seal. This usually requires a smoke test to find and dropping the fuel tank to repair.
- Faulty Fuel Tank Pressure (FTP) Sensor: → Shop Fuel Tank In rare cases, the sensor itself can fail, giving a false reading that tricks the ECM into thinking there's a leak when there isn't one. This is usually diagnosed after a smoke test reveals no physical leaks.
Diagnosis Steps
- Check the gas cap. Remove it, inspect the seal for cracks or damage, and reinstall it, ensuring it clicks several times. Clear the code.
- If the code returns, perform a thorough visual inspection of the fuel filler neck for any signs of rust or damage that could prevent a good seal.
- Visually inspect all accessible EVAP hoses and lines in the engine bay and underneath the vehicle for obvious cracks, disconnections, or damage.
- Locate the EVAP vent solenoid under the van, typically above the spare tire area. Check its electrical connector and hoses for integrity. This is a prime suspect.
- Locate the EVAP purge solenoid, usually on the driver's side of the engine intake manifold. Check its connections. With the engine off, remove the valve and try to blow through it. If air passes, it is stuck open and faulty.
- If the leak is not obvious, the most effective diagnostic step is to have a smoke test performed. This involves injecting pressurized smoke into the EVAP system's service port (often with a green cap) and looking for where it escapes. This will definitively identify the location of the leak.
- Use a scan tool with bidirectional controls to command the vent and purge solenoids on and off to test their function. A clicking sound indicates the solenoid is activating, but doesn't guarantee it's sealing properly.
Parts You'll Likely Need
- Gas Cap
(OEM #ACDelco GT281 or GT294 (Verify by VIN))— This is the most common cause due to a worn seal or not being tightened properly. It's the cheapest and easiest first step in diagnosis.
Trusted brands: ACDelco, Stant
OEM price range: $20-$30
Aftermarket price range: $10-$20 - EVAP Vent Valve Solenoid
(OEM #ACDelco 214-2149 (Supersedes 25932571))— This part is highly prone to failure on GM vans due to its exposed location under the vehicle, where it gets stuck open from dirt and corrosion.
Trusted brands: ACDelco, Dorman, Standard Motor Products
OEM price range: $50-$90
Aftermarket price range: $30-$60 - EVAP Purge Valve Solenoid
(OEM #ACDelco 12610560 (Verify by VIN))— This valve can get stuck open, causing a constant leak and often leading to hard starts after refueling.
Trusted brands: ACDelco, Bosch, Duralast
OEM price range: $40-$70
Aftermarket price range: $25-$60
Related Codes That Often Appear With This One
- P0442 — P0442 indicates a small EVAP leak. If a small leak worsens over time, it can eventually trigger the P0455 code for a large leak. The provided TSB #21-NA-124 also groups these two codes together as they share the same diagnostic path.
- P0496 — This code specifically indicates 'EVAP Flow During a Non-Purge Condition,' which almost always points to a purge valve that is stuck open. If the purge valve is stuck open, it will often trigger P0455 as well.
- P0449 — This code points to an electrical fault in the EVAP vent solenoid circuit. Seeing P0449 and P0455 together makes the vent solenoid or its wiring the prime suspect.
Technical Service Bulletins (TSBs) & Recalls
- A general GM service bulletin providing diagnostic tips for dealers on how to systematically test for EVAP leaks when DTCs P0442 (small leak) and/or P0455 (large leak) are set. It advises checking lines and connections first, then testing the vent valve, and finally the purge valve.
Platform-Specific Known Issues
- The NHTSA records include Technical Service Bulletin #21-NA-124, which provides diagnostic tips for testing EVAP leaks related to codes P0442 and P0455, indicating this is a recognized issue by the manufacturer.
- The location of the EVAP vent solenoid above the spare tire makes it difficult to access and highly susceptible to failure from road grime and rust.
Mechanic-Grade Diagnostic Values
- EVAP Canister Vent Solenoid Resistance — expected: 48 - 65 Ohms. Failure: A reading outside this range indicates a faulty solenoid coil.
- EVAP Canister Purge Valve Resistance — expected: 30 - 38 Ohms. Failure: A reading significantly outside this range suggests a bad coil. Some aftermarket parts may show lower resistance (15-25 Ohms).
- Fuel Tank Pressure (FTP) Sensor Voltage (Key On, Engine Off, Gas Cap Off) — expected: Approximately 1.5 Volts at atmospheric pressure.. Failure: A voltage that is stuck or does not change when vacuum is applied during a scan tool test can indicate a faulty sensor.
Scan Tool Commands That Help
- GM Tech2 / Professional Bidirectional Scanner: EVAP Service Bay Test — This is a guided functional test that allows the technician to run the vehicle's onboard EVAP leak test on demand, rather than waiting for the drive cycle to complete naturally. It commands the solenoids and monitors the FTP sensor to confirm the system can seal and hold a vacuum. Note: The test requires specific conditions, such as fuel level between 15-85% and engine coolant temp below a certain threshold (e.g., 158°F) to initiate.
- GM Tech2 / Professional Bidirectional Scanner: EVAP Vent Valve Solenoid Control — Used during a smoke test to command the normally-open vent valve to the 'Closed' position. This seals the system, allowing smoke to pressurize the lines and reveal leaks. If smoke exits the vent valve when it is commanded closed, the valve is faulty.
- GM Tech2 / Professional Bidirectional Scanner: EVAP Purge Valve Control — Used to command the normally-closed purge valve to open by a specific percentage. While monitoring FTP sensor voltage, a technician can verify if the valve is opening and if the system is drawing a vacuum as expected. This helps differentiate a stuck-closed purge valve from other issues.
Wiring & Ground Locations
- G400 — On the inner left rear frame rail.. This is a primary ground location for rear-mounted components, including potentially the EVAP system vent solenoid and fuel tank pressure sensor. A corroded or loose ground at this point can cause erratic sensor readings or solenoid failure, leading to false codes or legitimate electrical faults like P0449.
- EVAP Service Port — Typically found in the engine bay, it's a green-capped Schrader valve on one of the EVAP lines.. This is the designated access point for connecting a smoke machine to the EVAP system for leak testing.
Real Owner Repair Stories
- YouTube channel '65FordFalcon' (2010 GMC Van (likely Savana/Express)) — P0455 Large Leak Detected code was present. Fuel pump was also found to be leaking gasoline from its rusty outlet line.
❌ Tried (didn't work) Initial diagnosis pointed towards a large physical leak as per the code definition.
✅ What actually fixed it The actual cause of the P0455 code was a failed Fuel Tank Pressure (FTP) sensor that was part of the fuel pump module. The sensor was not registering a drop in pressure when the purge cycle occurred, making the ECU believe there was a large leak. The entire fuel pump module (which included the sensor) was replaced, resolving the code. - YouTube channel 'Homie Hektor' (2007 Chevy Express 4.8L) — P0455 code present, vehicle would not pass smog test because EVAP monitor was not complete.
❌ Tried (didn't work) A smoke test was performed after the repair to verify no other leaks existed; the vent valve was tested with a scan tool and found to be sealing correctly.
✅ What actually fixed it The canister purge solenoid was stuck closed. Using a scan tool to command the purge valve and a vacuum gauge on the valve's port, the technician confirmed the valve was receiving the command but was not opening to allow vacuum flow. Replacing the stuck-closed purge valve fixed the issue and allowed the EVAP service bay test to pass.
"I Checked Everything" — The Actual Cause
- A P0455 code can be set even if a smoke test shows no leaks. This can happen if the EVAP purge valve is stuck closed. The system is perfectly sealed, but because the purge valve cannot open to introduce engine vacuum, the EVAP monitor test fails to pull the required vacuum. The ECM interprets this failure to achieve vacuum as a 'large leak'.
- A faulty Fuel Tank Pressure (FTP) sensor can also cause a P0455 with no actual leak. If the sensor is stuck at a certain voltage (e.g., 1.5V) and doesn't report the changing vacuum level to the ECM during the test, the computer will assume the vacuum target was not met and set a large leak code.
OEM Part Supersession History
25932571→ACDelco 214-2149— Standard part lifecycle replacement and potential design improvement.
Heads up: The new part number (214-2149) is the correct service replacement for the original (25932571) and is listed as compatible for the entire 2003-2010 GMC Savana range. No incompatibility issues are noted.
Helpful Videos
Used OEM Parts in Stock
New Aftermarket Parts Available


The information in this article is provided for general reference and educational purposes only. Vehicle specifications, procedures, and part compatibility can vary by production date, trim level, and region. Always consult your vehicle's factory service manual and verify part numbers before purchasing or performing repairs. Safety-critical components such as airbags, seat belts, and braking systems should be installed by a qualified professional.
- Gmc SAVANA 2500:
- 🧭 Diagnostic Flowchart
- 🎬 Helpful Videos
- 🛍️ Shop This Part
- What's Unique About the 2003-2010 Gmc SAVANA 2500
- Symptoms You May Notice
- Most Likely Causes
- Rare But Worth Checking
- Diagnosis Steps
- Parts You'll Likely Need
- Related Codes That Often Appear With This One
- Technical Service Bulletins (TSBs) & Recalls
- Platform-Specific Known Issues
- Mechanic-Grade Diagnostic Values
- Scan Tool Commands That Help
- Wiring & Ground Locations
- Real Owner Repair Stories
- "I Checked Everything" — The Actual Cause
- OEM Part Supersession History
- 🎟️ Get 5% Off