
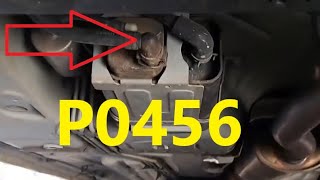
P0456 on 2013-2015 Acura RDX: EVAP Small Leak Causes and Fixes
For a 2013-2015 Acura RDX, code P0456 most often means the gas cap is loose or its seal has failed. Start by tightening or replacing the gas cap with an OEM part (17670-T3W-A01), which is a simple and inexpensive fix, before looking at other parts. Acura has issued service bulletins specifically for this issue.
- Always start with the gas cap. It's the most likely cause for P0456 on this RDX and the cheapest part to replace.
- Use a genuine OEM Acura gas cap if a replacement is needed; aftermarket caps are known to cause sealing issues.
- If a new gas cap doesn't fix the problem, the next most likely causes are the EVAP purge valve or a cracked hose.
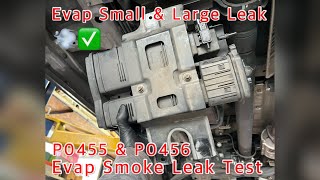
- A professional smoke test is the fastest way to find the exact location of a small leak if it's not obvious.
- Be aware that a software glitch is a possibility, as noted in a TSB, which would require a dealer visit.
What's Unique About the 2013-2015 Acura RDX
On this specific generation of Acura RDX, the P0456 code is explicitly mentioned in manufacturer service bulletins. One TSB (A14-006) notes that the original black-gasket fuel cap can develop a "stick-slip" feeling when being tightened, indicating a sealing issue, and recommends replacement with an updated brown-gasket version. Another bulletin (A14-077) points out that the vehicle's computer may misinterpret EVAP system inputs during short drives (less than 20 minutes), potentially setting the code erroneously, requiring a PCM software update. These factory documents highlight the gas cap and PCM logic as primary, well-documented areas of concern for this vehicle.
Diagnostic Flowchart
Tap your situation to follow the diagnostic path that matches what you're seeing on this vehicle.
Symptoms You May Notice
- Check Engine Light is on.
- A "TIGHTEN FUEL CAP" message may appear on the dashboard.
- A faint fuel smell near the rear of the vehicle (less common with small leaks).
- No noticeable performance issues 🎬 Watch: A quick overview of P0456 causes and common fixes. or change in drivability.
- Replacing the purge valve or other expensive components before checking or replacing the gas cap. The gas cap is the most frequent and cheapest solution and should always be the first step.
- Using a non-OEM (aftermarket) gas cap. Many owner reports on forums like AcuraZine state that only the genuine Acura cap solved their problem after an aftermarket one failed to.
Most Likely Causes
- Loose or Faulty Gas Cap 🔴 High Probability → Shop Fuel Tank Cap Acura issued Technical Service Bulletin A14-006 specifically for this issue, noting the original fuel fill cap's gasket could create too much friction and prevent a proper seal. Owners on forums like AcuraZine confirm this is the most common fix, stressing the importance of using an OEM cap.
How to confirm: Remove the gas cap and inspect the rubber O-ring for cracks, stiffness, or damage. Ensure the cap clicks several times when tightened. Per TSB A14-006, if the gasket on the cap is black, it is the original style prone to failure; the updated part has a brown gasket. 🎬 See how to diagnose and fix this common Honda/Acura leak. If the cap or seal looks worn, replacement is the best confirmation.
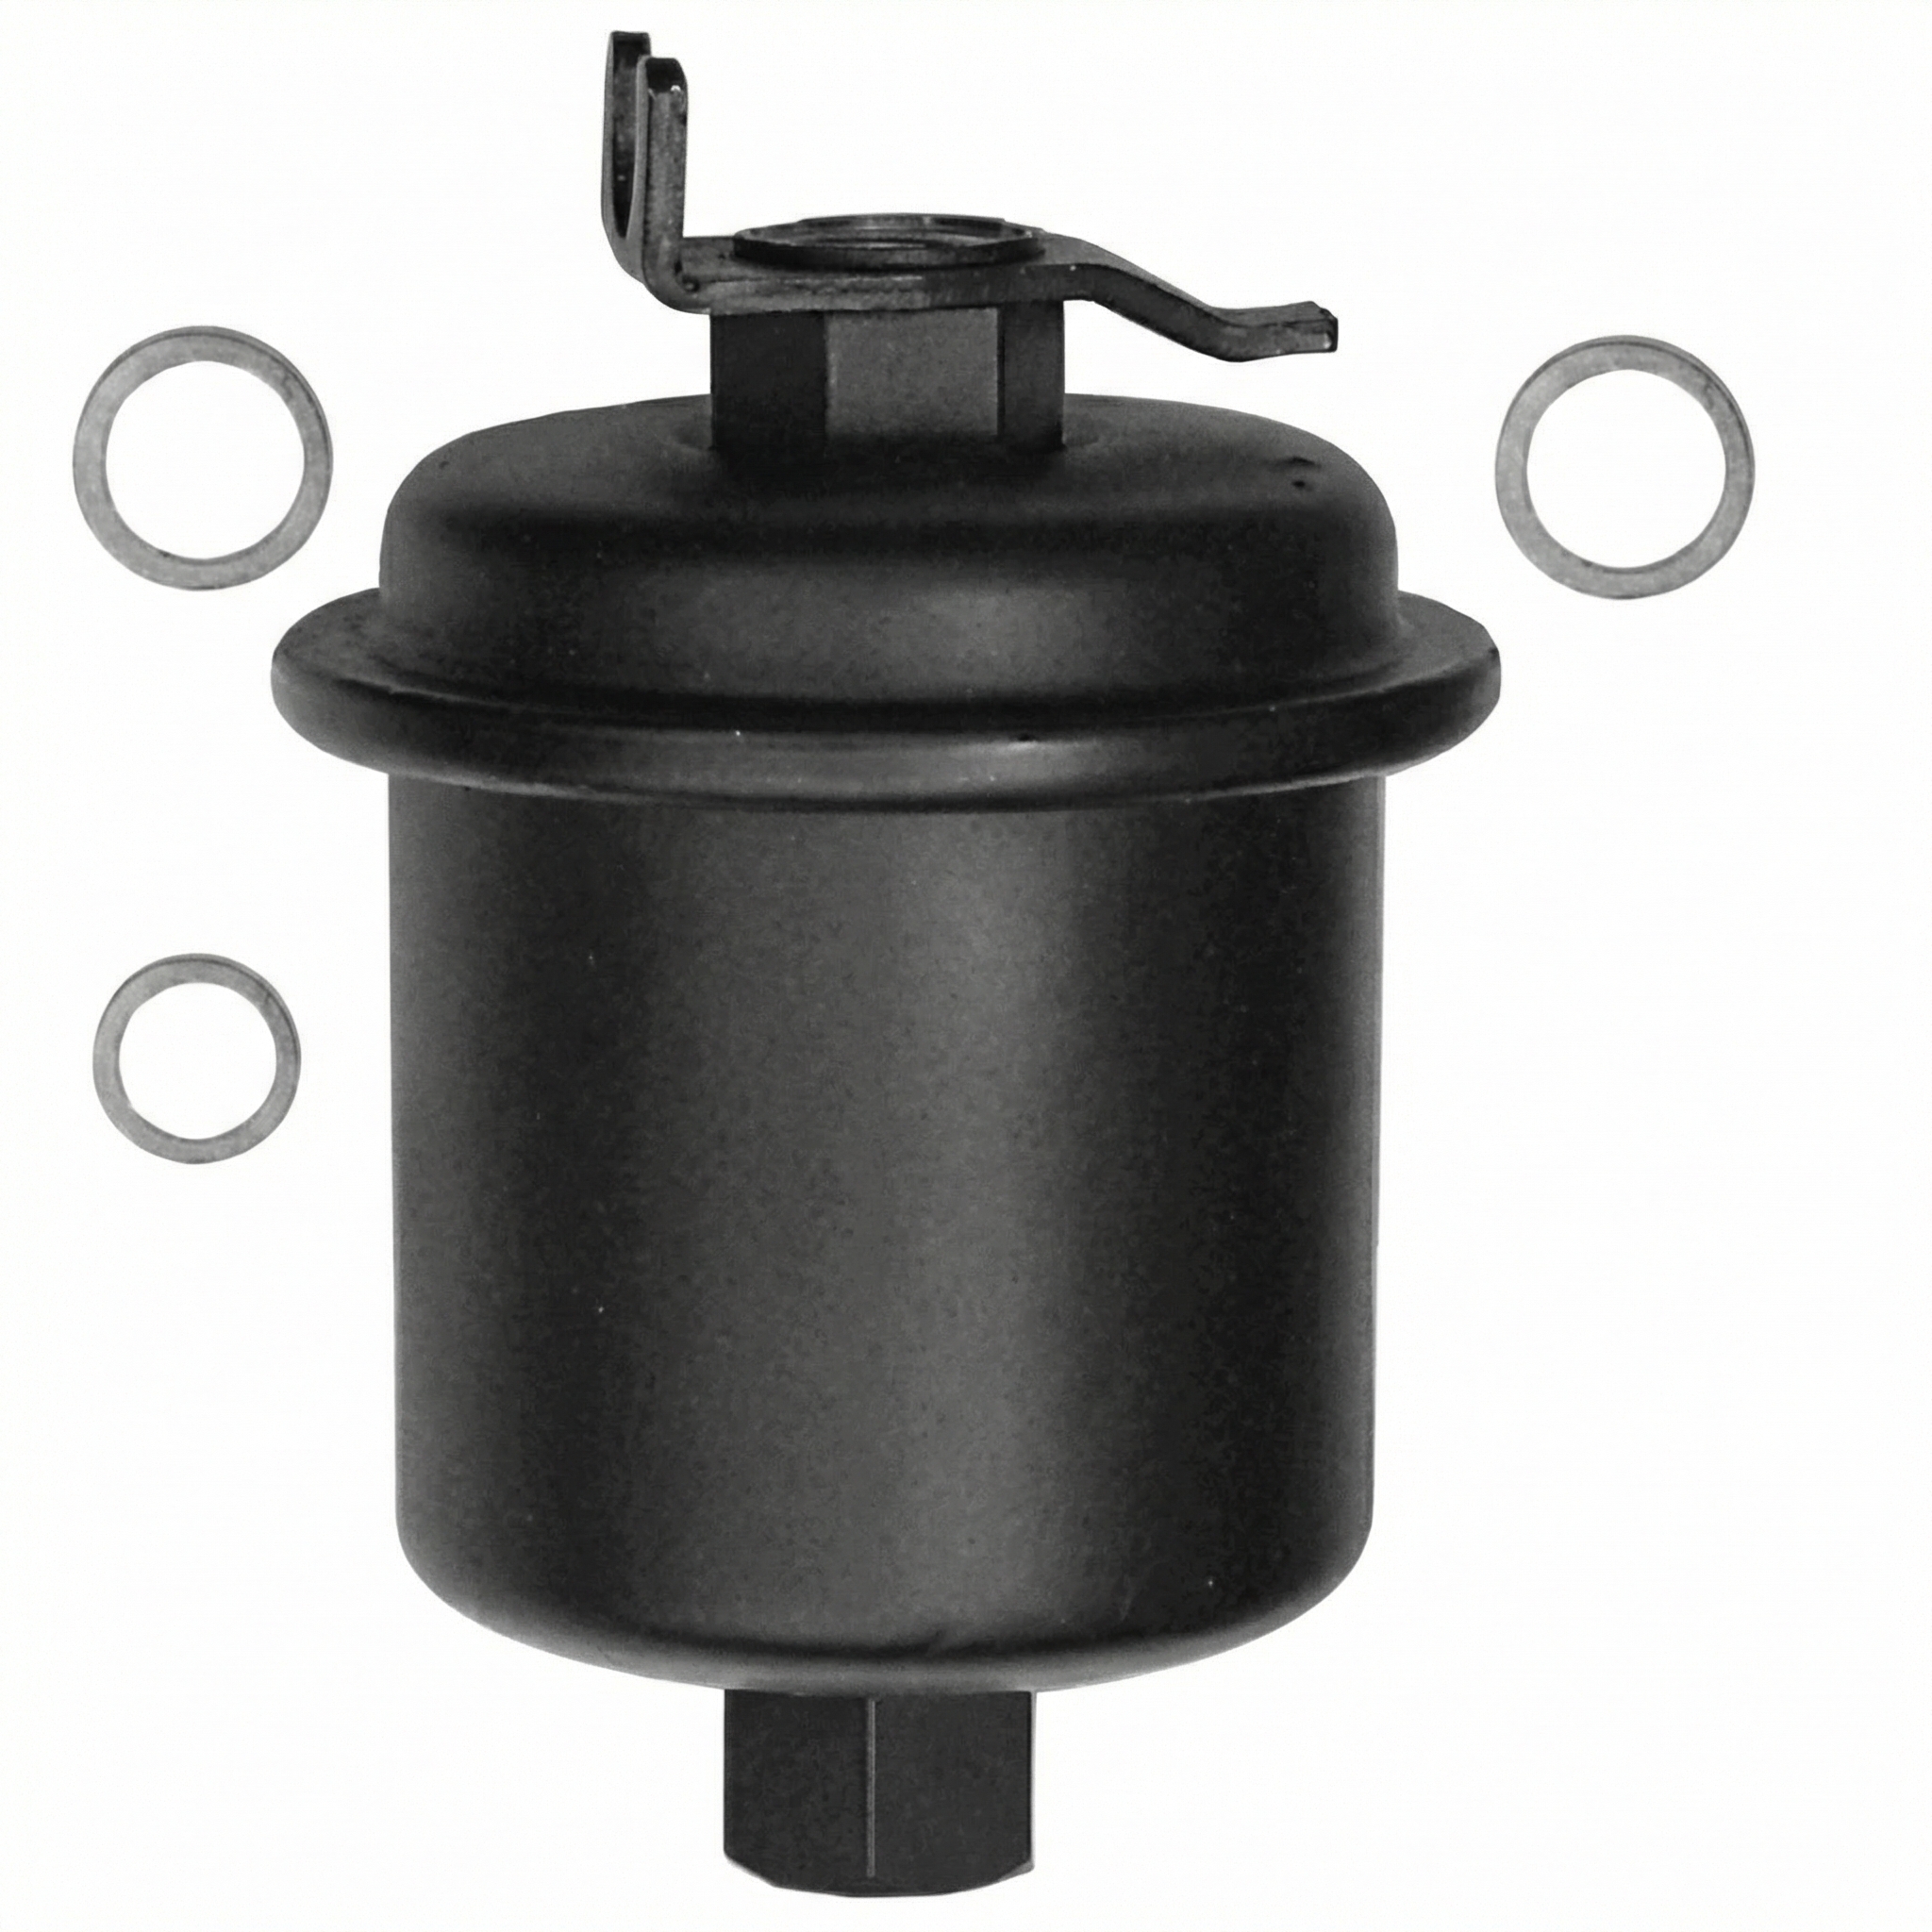
Typical fix: Replace the gas cap with a new OEM part (17670-T3W-A01) to ensure a proper seal. Aftermarket caps are frequently reported to cause persistent issues.
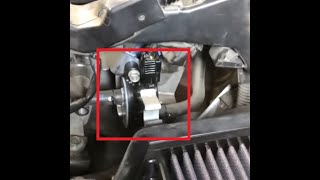
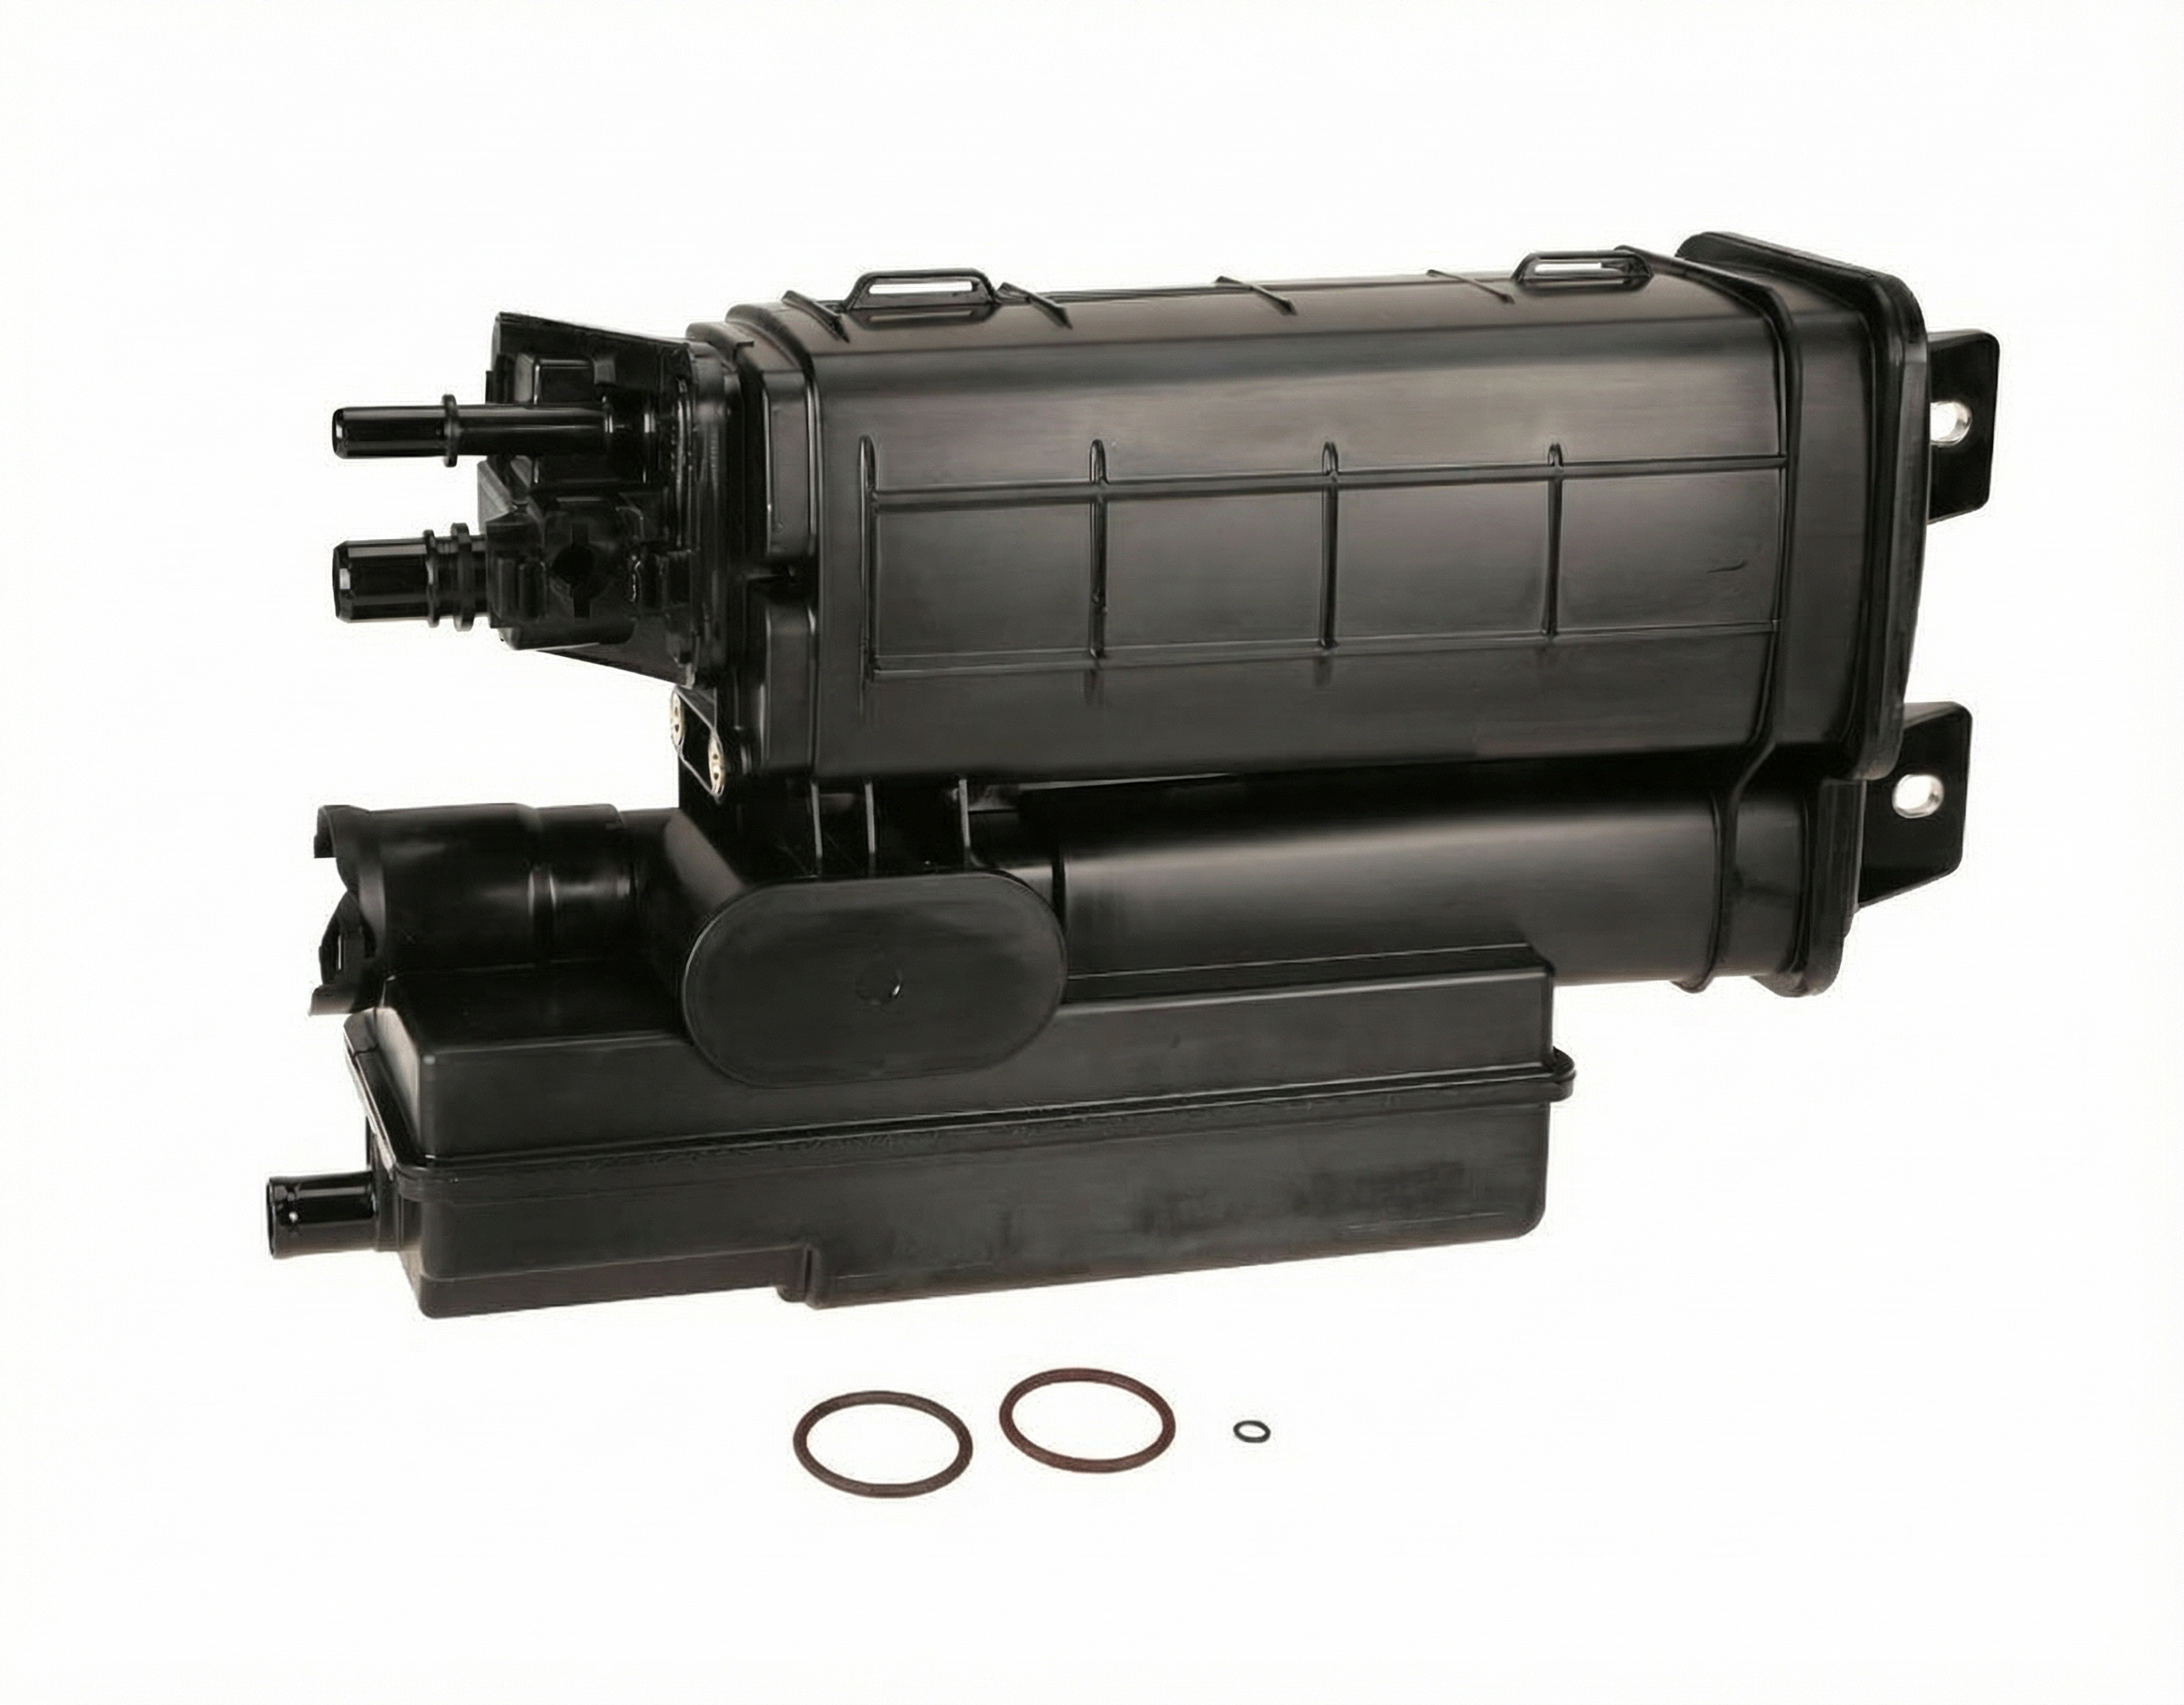
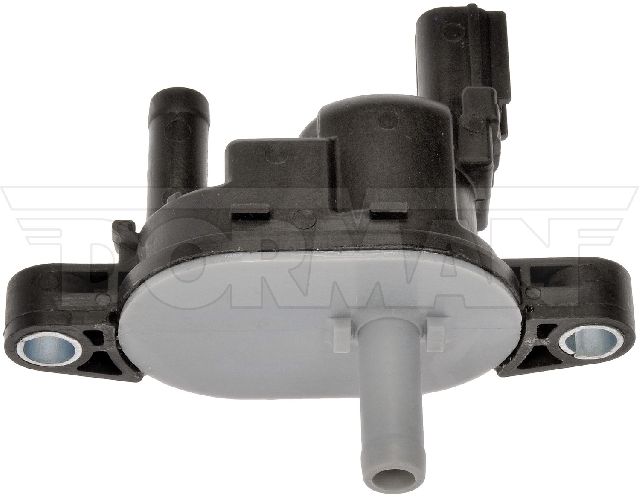
Est. part cost: $30-$50 - Faulty EVAP Canister Purge Valve 🟡 Medium Probability → Shop Vapor Canister The purge valve (or purge solenoid) can get stuck slightly open, creating a small leak path. This is a common failure point in many EVAP systems as they age.
How to confirm: Locate the valve in the engine bay. Unplug it and remove the hoses. Try to blow through it; if air passes, the valve is stuck open and has failed. A professional can also command it open and closed with a scan tool while monitoring system pressure.
Typical fix: Replace the canister purge valve. The OEM part number is 36162-RMX-A01.
Est. part cost: $150-$215 - Cracked or Disconnected EVAP Hose ⚪ Low Probability Rubber hoses can become brittle and crack over time due to heat and age. The many connections in the EVAP system provide multiple potential failure points, though this is less common than valve or cap failures.
How to confirm: Visually inspect all accessible EVAP hoses between the engine bay, the charcoal canister, and the fuel tank for visible cracks or loose connections. A smoke test is the most effective way to find a very small leak that isn't obvious.
Typical fix: Replace the cracked section of hose or re-secure the connection.
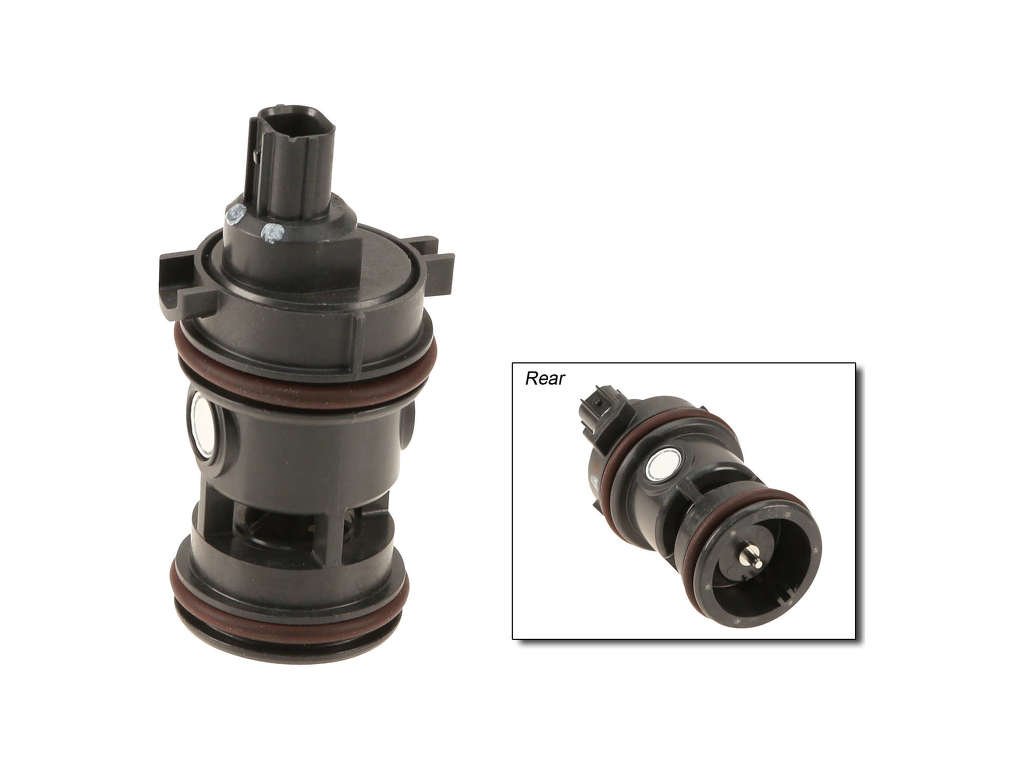
Est. part cost: $10-$30 - Faulty EVAP Canister Vent Solenoid ⚪ Low Probability → Shop Vapor Canister Located near the charcoal canister, this valve can fail or get stuck due to dirt and debris, preventing the system from sealing properly during its self-test. Some Nissan/Infiniti TSBs note the O-ring for this valve can be a specific failure point, which is a plausible issue on other makes as well.
How to confirm: This valve is normally open. A mechanic can use a scan tool to command it closed and then perform a smoke or pressure test to see if it seals.
Typical fix: Replace the vent solenoid/valve. The OEM part number is 17310-TBA-A01.
Est. part cost: $65-$95
Rare But Worth Checking
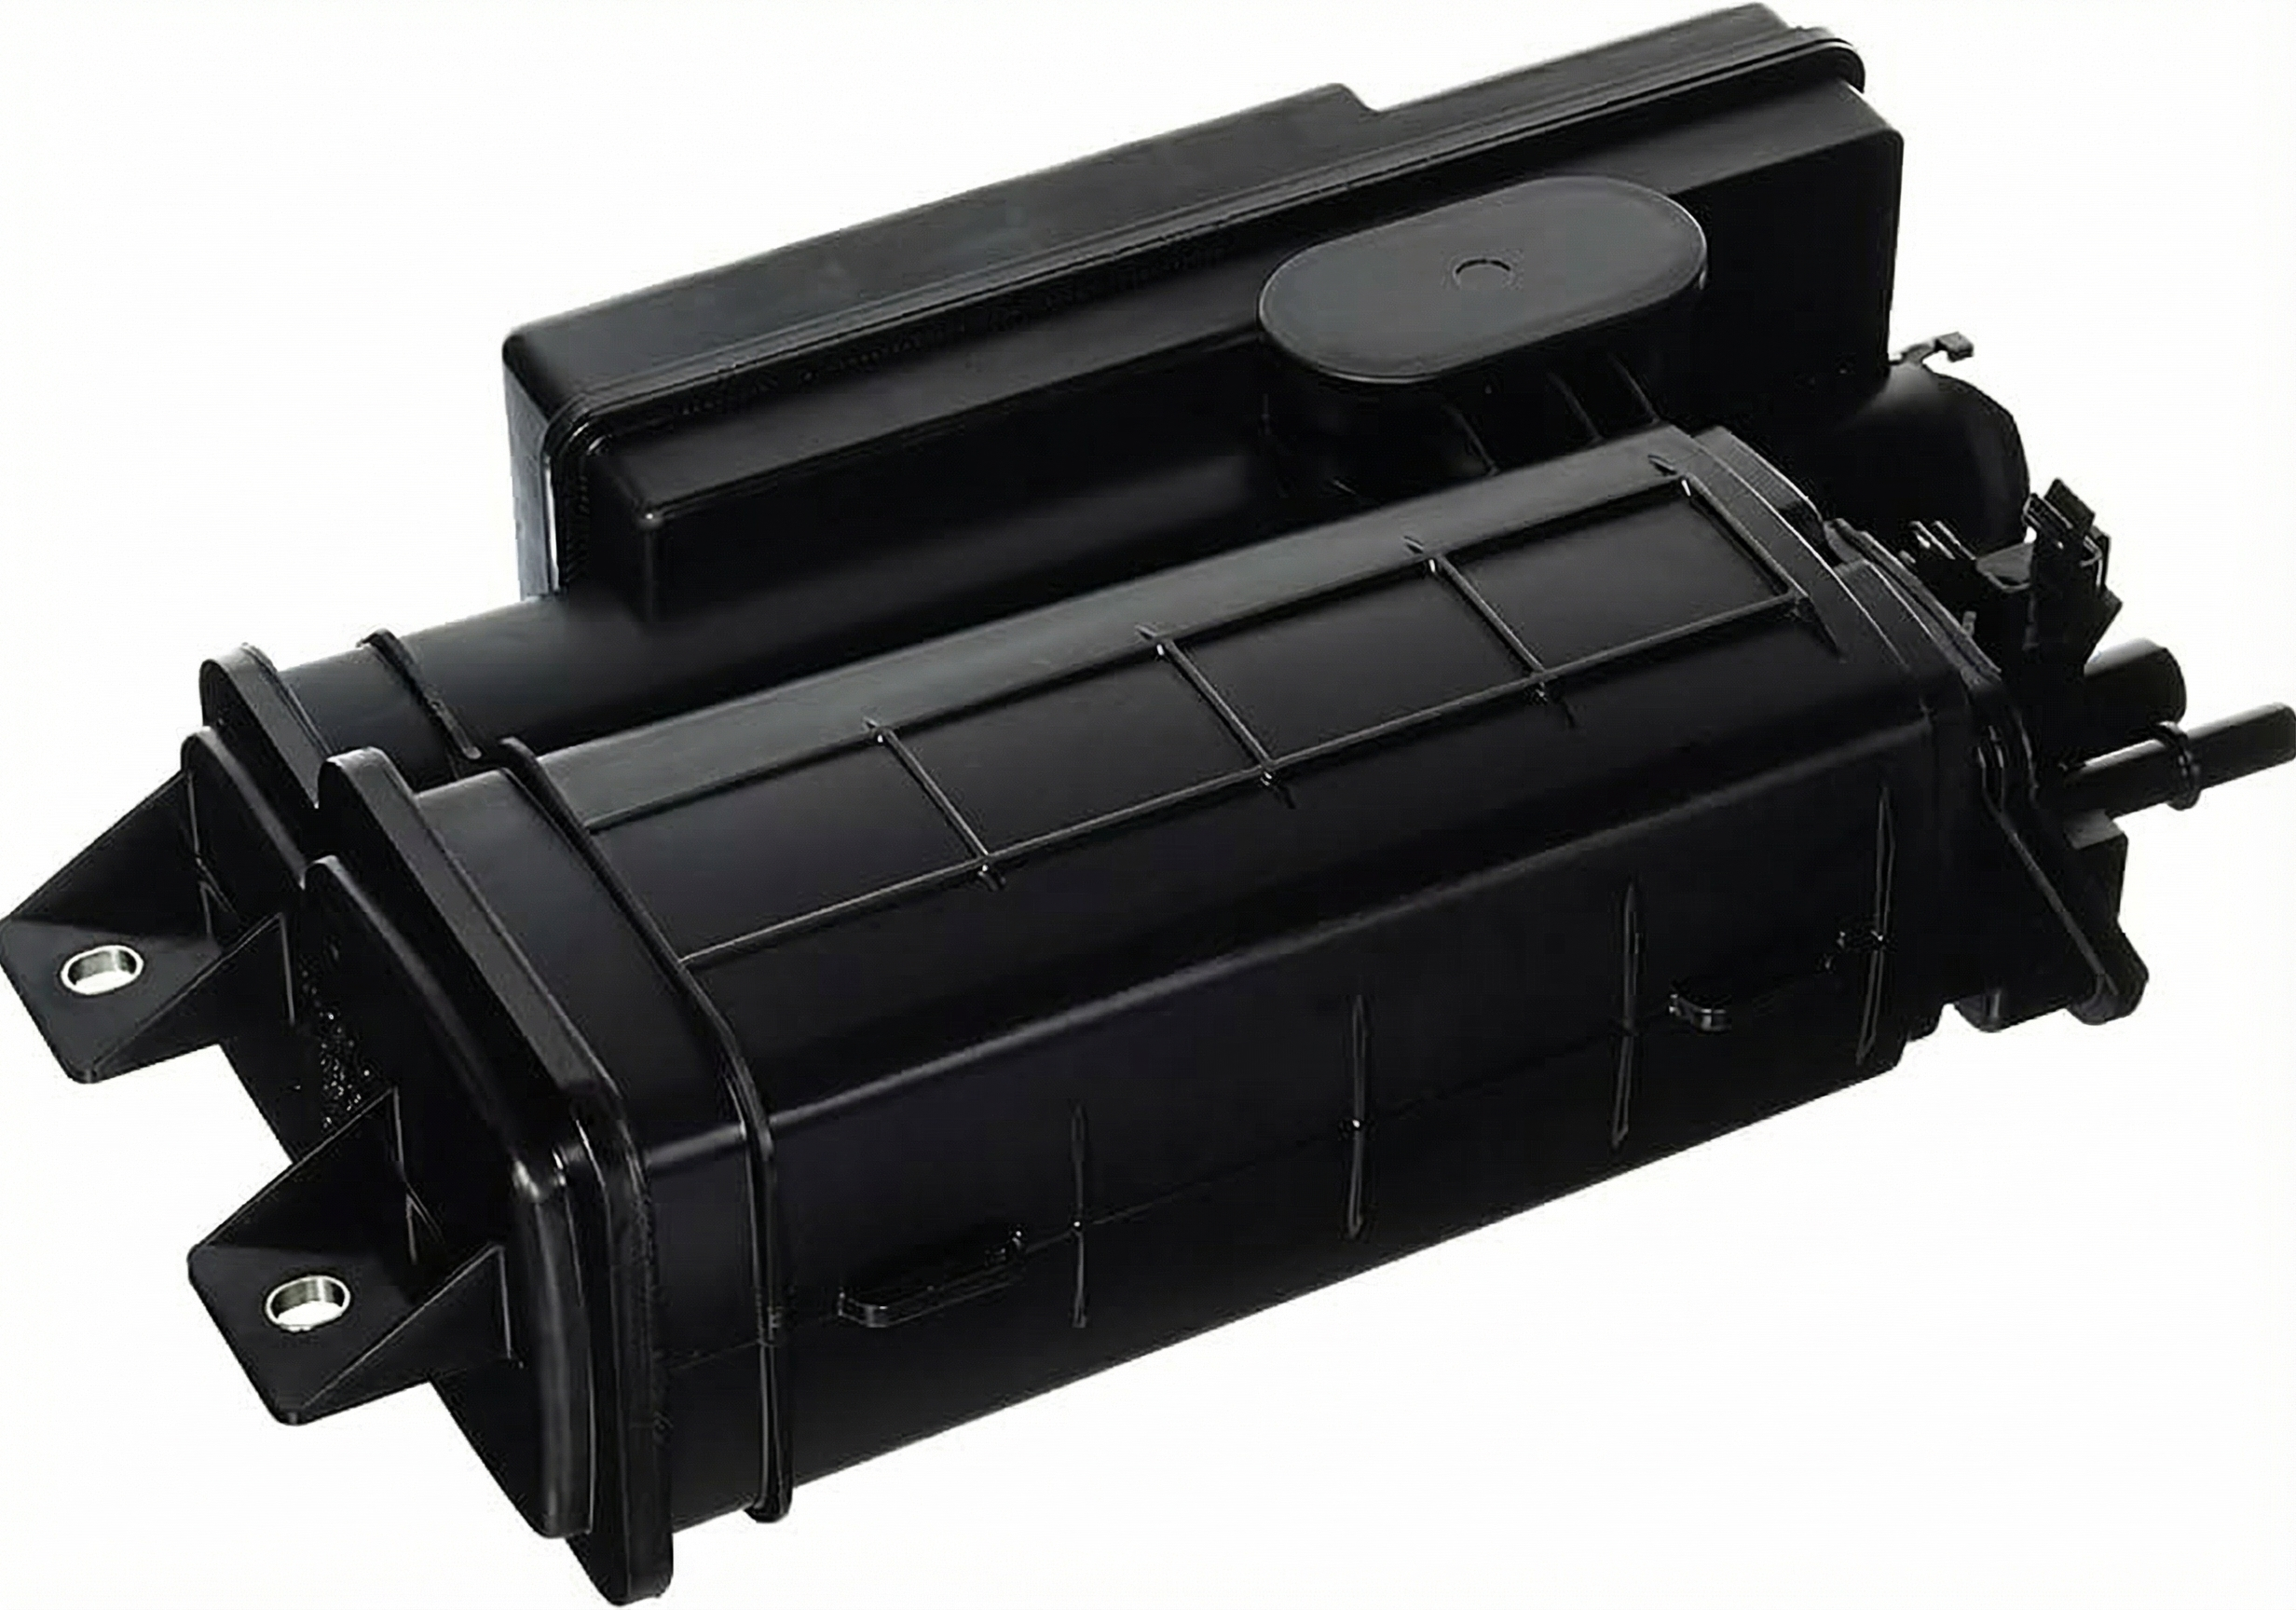
- Leaking Charcoal Canister: → Shop Vapor Canister The plastic body of the canister itself can develop hairline cracks, creating a leak. This is usually found only with a smoke test after all other components have been checked.
- PCM Software Issue: Acura TSB A14-077 for the 2013-2015 RDX states that the PCM can misinterpret sensor data during short trips (under 20 minutes), causing a false P0456. A software update from an Acura dealer is the required fix if no physical leak is found.
- Corroded Fuel Filler Neck: → Shop Fuel Filler Neck In regions with road salt, the metal lip of the fuel filler neck where the gas cap seals can corrode. This creates an uneven surface that prevents a good seal, even with a new cap. A visual inspection for rust or pitting is necessary. Some owners have had success lightly sanding the corrosion and applying a thin layer of petroleum jelly as a temporary fix.
Diagnosis Steps
- Check for a "TIGHTEN FUEL CAP" message on the dash.
- Inspect the gas cap. Remove it and check the rubber seal for cracks or hardness. Per TSB A14-006, check if the gasket is black (old) or brown (new). Tighten it until it clicks multiple times. If it feels strange ('stick-slip'), looks worn, or has the old black gasket, replace it with OEM part 17670-T3W-A01.
- Clear the code with an OBD-II scanner. Drive for several days, including a mix of city/highway driving and allowing the car to sit overnight, to see if the light returns. The EVAP monitor requires specific conditions to run its self-test.
- If the light returns, inspect the fuel filler neck opening for any rust or corrosion that could prevent a proper seal.
- If the cap and filler neck are good, perform a thorough visual inspection of all accessible EVAP hoses and lines in the engine bay and underneath the vehicle near the fuel tank.
- Locate the EVAP purge valve in the engine bay and test it to see if it's stuck open by attempting to blow through it when disconnected.
- If no obvious issues are found, the most reliable way to find a small leak is with a professional smoke test. This involves injecting vaporized smoke into the EVAP system and looking for where it escapes.
- If no leak is found with a smoke test, consider the possibility of a software issue. Per TSB A14-077, if the code sets after short drives, a PCM update at a dealership may be the solution.
- Based on the smoke test, replace the leaking component, which could be a hose, the vent valve, the charcoal canister, or another part.
Parts You'll Likely Need
- Fuel Cap
(OEM #17670-T3W-A01)— This is the most common cause, as identified by owner experiences and official Acura TSB A14-006. This part number supersedes older versions.
Trusted brands: Genuine Acura
OEM price range: $30-$45
Aftermarket price range: $15-$30 - Vapor Canister Purge Valve
(OEM #36162-RMX-A01)— A common failure point that can get stuck open, causing a persistent small leak.
Trusted brands: Genuine Acura, Dorman
OEM price range: $150-$215
Aftermarket price range: $80-$120 - Vapor Canister Vent Valve
(OEM #17310-TBA-A01)— Fails less often than the purge valve but can get stuck or its O-ring can fail, preventing the system from sealing.
Trusted brands: Genuine Acura, Dorman
OEM price range: $65-$95
Aftermarket price range: $40-$60
Related Codes That Often Appear With This One
- P0455 — This code indicates a large EVAP leak. It can appear with P0456 if the leak is intermittent or on the borderline between small and large, or if there are multiple leaks. Both codes are mentioned together in Acura TSBs A14-006 and A14-077.
Technical Service Bulletins (TSBs) & Recalls
- A14-077 (Previously Service Bulletin dated 2014-12-19): P0456 may be set due to PCM misinterpreting inputs on short drives.
- A14-006 (Previously Service Bulletin dated 2014-10-03): P0456 may be set due to a faulty fuel fill cap preventing a proper seal.
Platform-Specific Known Issues
- TSB A14-006: Faulty Fuel Fill Cap: → Shop Fuel Tank Cap Acura bulletin from Feb 2014, updated Oct 2014. Notes the MIL may come on with P0455/P0456 and the fuel cap may have a 'stick-slip' feeling. The original cap gasket (black) creates too much friction. The fix is to replace it with an updated cap with a brown gasket (Part No. 17670-T3W-A01).
- TSB A14-077: False Code from Short Drives: Acura bulletin from Dec 2014. States that on short drives (under 20 minutes), the PCM might misinterpret EVAP system inputs and falsely trigger code P0455/P0456. If no leak is found via standard diagnosis, a PCM software update at a dealership is the corrective action.
Mechanic-Grade Diagnostic Values
- Fuel Tank Pressure (FTP) Sensor Voltage during TSB A14-077 leak test — expected: Hold at 1.90 V after applying vacuum. Failure: Voltage increases by more than 0.2V within 1 minute, indicating a leak.
- Vacuum applied to EVAP system for TSB A14-077 leak test — expected: Apply approximately -0.59 inHg (-15.1 mmHg). Failure: Exceeding this vacuum can damage the FTP sensor.
- EVAP Purge Valve Solenoid Resistance — expected: 15 to 30 Ohms (general value for most cars). Failure: A reading far outside this range indicates a damaged internal circuit.
Scan Tool Commands That Help
- Honda HDS (Honda Diagnostic System): INSPECTION MENU > EVAP TEST > FUNCTION TEST — This is the initial function test used to confirm if the EVAP system passes its self-test, as outlined in TSB A14-077.
- Honda HDS (Honda Diagnostic System): EVAP TEST > MULTI SOLENOIDS — Used to monitor the status (ON/OFF) of the EVAP Canister Purge Solenoid (PCS) and EVAP Canister Vent Shut (CVS) valve during manual leak testing procedures.
Wiring & Ground Locations
- EVAP Canister Purge Valve — Top right rear of the engine.. This is a primary component for the P0456 code. Knowing its location is essential for testing and replacement.
- EVAP Canister Vent Shut Valve — Forward of the fuel tank, underneath the vehicle.. This valve must close to seal the system for pressure testing. Its location is needed for inspection and smoke testing access.
- G101 — Top right front of the engine.. This is a key engine ground. A poor connection here could potentially affect the operation of engine-bay-mounted EVAP components like the purge valve.
- Powertrain Control Module (PCM) — Right side of the engine compartment.. The PCM controls and monitors the entire EVAP system. A software update to this module is a known fix, and checking its connections is a final diagnostic step.
Real Owner Repair Stories
- AcuraZine Forum User 'MRUSER' (Unknown year Acura) — P0456 code returned after replacing the purge valve.
❌ Tried (didn't work) Replacing the gas cap with an aftermarket part., Replacing the EVAP purge valve.
✅ What actually fixed it The user was advised that aftermarket gas caps are untrustworthy and that the next logical step, before throwing more parts at it, was to use a brand new OEM gas cap and inspect the filler neck for rust. The thread implies this is the most likely solution after the other parts failed to resolve the issue.
"I Checked Everything" — The Actual Cause
- According to Acura TSB A14-077, if a vehicle passes all standard EVAP leak tests (including a smoke test) but continues to set a P0456 code, the root cause may be a software issue. The bulletin states that on drives shorter than 20 minutes, the PCM can misinterpret sensor data and falsely trigger the code. The official fix in this scenario is a PCM software update performed by an Acura dealer.
OEM Part Supersession History
Unknown (Cap with black gasket)→17670-T3W-A01 (Cap with brown gasket)— The original cap's gasket material could create too much friction ('stick-slip' feeling), preventing a reliable seal.36162-RRA-A01→36162-RMX-A01— Part consolidation and updates across multiple Honda/Acura models. 36162-RMX-A01 is specified for the 2013-2015 RDX, while the RRA part is for other models like the TSX and ILX.
Heads up: Using the incorrect purge valve for the specific vehicle application can lead to persistent EVAP codes.
Helpful Videos
![[Diagnose Code P0456 P0455] Evap Large Leaks Problem SOLVED 2009+ Acura RDX 2.3L #acura](https://img.youtube.com/vi/jc8tpvGnLEI/mqdefault.jpg)
Used OEM Parts in Stock
New Aftermarket Parts Available


The information in this article is provided for general reference and educational purposes only. Vehicle specifications, procedures, and part compatibility can vary by production date, trim level, and region. Always consult your vehicle's factory service manual and verify part numbers before purchasing or performing repairs. Safety-critical components such as airbags, seat belts, and braking systems should be installed by a qualified professional.
- Acura RDX:
- 🧭 Diagnostic Flowchart
- 🎬 Helpful Videos
- 🛍️ Shop This Part
- What's Unique About the 2013-2015 Acura RDX
- Symptoms You May Notice
- Most Likely Causes
- Rare But Worth Checking
- Diagnosis Steps
- Parts You'll Likely Need
- Related Codes That Often Appear With This One
- Technical Service Bulletins (TSBs) & Recalls
- Platform-Specific Known Issues
- Mechanic-Grade Diagnostic Values
- Scan Tool Commands That Help
- Wiring & Ground Locations
- Real Owner Repair Stories
- "I Checked Everything" — The Actual Cause
- OEM Part Supersession History
- 🎟️ Get 5% Off