
P0463 on 2011-2018 Chevrolet Cruze: Fuel Level Sensor Circuit High Input Causes and Fixes
On a 2011-2018 Chevy Cruze, code P0463 is almost always caused by a faulty fuel level sensor, which is part of the fuel pump module. This results in an incorrect fuel gauge reading, often stuck on full or empty. Replacing the entire fuel pump module assembly is the most common and recommended fix, costing between $150-$350 for the part.
- P0463 on a Cruze means your fuel gauge is unreliable because of a high voltage reading from the fuel level sensor.
- The most likely culprit is the fuel level sensor itself, which is part of the fuel pump module inside the gas tank.
- You can continue to drive the car, but you must manually track your mileage to avoid running out of fuel.
- Repair involves accessing the fuel tank, which can be difficult and is rated a 4/5 for DIY difficulty.
- Ensure you get the correct part, as part numbers differ between the first generation (2011-2016) and second generation (2016-2018) Cruze.
What's Unique About the 2011-2018 Chevrolet Cruze
The Chevrolet Cruze from 2011-2018 spans two distinct generations (Gen 1: 2011-2016, Gen 2: 2016-2019), but the cause for P0463 is consistent. The fuel level sensor is integrated into the fuel pump module, located inside the fuel tank. While some GM vehicles have TSBs for this code related to tank design or software, the Cruze's issue is typically a straightforward failure of the sending unit's resistor card or its wiring. There isn't a widespread, unique design flaw on the Cruze causing this code, but rather a common failure of a standard fuel system component that is shared across other GM Delta II and D2XX platform vehicles. A significant variation exists in Gen 1 models where some vehicles do not have an access panel under the rear seat, requiring the fuel tank to be dropped for service.
Generation note: The 2011-2018 range covers two generations of the Chevrolet Cruze. The first generation (Gen 1) ran from 2011-2016 (with the 2016 model also sold as the 'Cruze Limited'). The second generation (Gen 2) began in 2016. While the cause and symptoms of P0463 are the same, the fuel pump module and sensor part numbers are different between the two generations. A critical service difference is that while many Cruzes have a fuel pump access panel under the rear seat, some Gen 1 models do not, requiring the entire fuel tank to be dropped for replacement.
Symptoms You May Notice
- Check Engine Light is on
- Fuel gauge reads full, empty, or fluctuates wildly.
- Low fuel warning light may illuminate or flash incorrectly.
- Risk of running out of fuel despite the gauge showing it has fuel.
- In some cases, the car may not start if the system believes the tank is empty, though this is less common.
- Replacing the fuel pump itself when only the level sensor has failed. While they are in the same module, a P0463 code does not indicate a problem with the pump's ability to move fuel.
- Replacing the instrument cluster or PCM/BCM before thoroughly testing the sensor and wiring circuit.
- Assuming the issue is a bad ground without testing the resistance of the ground circuit first.
Most Likely Causes
- Faulty Fuel Level Sensor (Sending Unit) 🔴 High Probability → Shop Fuel Tank Sending Unit The sensor is a variable resistor with a mechanical float arm and a wiper that moves across a resistor card. Over time, the resistor card can wear out, or the wiper can lose contact, creating an open circuit. This open circuit results in a high voltage reading, triggering the P0463 code. It is the most common point of failure in this circuit. 🎬 Watch: Understanding the causes and fixes for the P0463 code.
How to confirm: Use a multimeter to test the resistance of the sensor as the float arm is moved. An open circuit (infinite resistance) or a reading that doesn't change smoothly indicates a failure. This requires removing the fuel pump module from the tank.
Typical fix: Replace the fuel level sensor. On the Cruze, the sensor is often sold as part of the complete fuel pump module assembly. While some sensor kits are available separately, most owners and shops replace the entire module to also renew the fuel pump and filter.
Est. part cost: $40-$80 for a sensor kit, $150-$350 for a full fuel pump module assembly. - Damaged Wiring or Connectors 🟡 Medium Probability The wiring harness connector on top of the fuel pump module sits under the rear seat access cover (if equipped) and can be damaged during service or by moisture if the seal is poor. Wires can also be damaged from road debris if routed externally. Corrosion on the connector pins can create high resistance, leading to a high voltage signal fault.
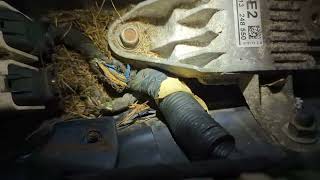
How to confirm: Visually inspect the wiring harness and connector for corrosion, broken wires, or loose pins at the fuel pump module 🎬 See how rodents can damage your fuel gauge wiring. and at the Body Control Module (BCM). Perform a voltage and ground test at the connector to check for a short to power or an open in the ground or signal circuit.
Typical fix: Repair the damaged section of wiring or replace the connector pigtail. Clean any corrosion from the connector pins using an electrical contact cleaner.
Est. part cost: $15-$50 for a connector pigtail. - Poor Ground Connection ⚪ Low Probability The fuel pump and sensor circuit rely on a solid ground to the vehicle's chassis. While less common for this specific code, rust or corrosion at the ground point can create high resistance, causing a high voltage reading. The Cruze is also known for negative battery cable issues which can cause widespread electrical gremlins, though usually not isolated to P0463.
How to confirm: Locate the ground strap for the fuel tank/pump circuit and check for corrosion or looseness. Test for high resistance between the ground wire at the pump connector and a known good chassis ground.
Typical fix: Clean the ground connection point on the chassis and the ground wire terminal. Secure the connection tightly.
Est. part cost: $1-$5 for cleaning supplies.
Rare But Worth Checking
- Faulty Body Control Module (BCM): This is very rare. The BCM processes the signal from the fuel level sensor. An internal failure or software corruption could cause it to misinterpret the signal. The BCM should only be suspected after the sensor, wiring, and grounds have been thoroughly tested.
- Faulty Instrument Cluster: → Shop Instrument Cluster An internal failure in the instrument cluster could theoretically cause this code, but it is extremely unlikely and would typically be accompanied by other gauge-related issues.
- Stuck Fuel Level Float Arm: Old or contaminated fuel can cause the float arm to become physically stuck in the 'full' position due to rust or debris in the tank. This is more likely if a vehicle has been sitting for an extended period.
Diagnosis Steps
- Scan the vehicle with an OBD-II scanner to confirm the P0463 code is present and check for any other related codes.
- Use the scanner's live data function to observe the 'Fuel Level' voltage or percentage. A reading that is stuck at a very high value (e.g., >4.9V) or 100% and doesn't change is a key indicator.
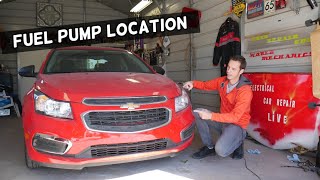
- Determine service access: Check under the rear seat bottom cushion 🎬 Watch: How to find the fuel pump access panel location. for a black metal access panel. If no panel exists, the fuel tank must be dropped.
- Inspect the wiring harness and connector on top of the fuel tank for any visible signs of damage, corrosion, or moisture.
- Using a multimeter and a wiring diagram, check for the correct reference voltage and ground signal at the fuel pump module connector.
- If wiring seems okay, the next step is to remove the fuel pump module from the tank. This requires depressurizing the fuel system, disconnecting the fuel lines, and unscrewing the large plastic lock ring (a special tool is recommended to avoid damage).
- Once the module is removed, test the fuel level sensor's resistance while manually moving the float arm. The resistance should change smoothly and be within the manufacturer's specified range. An open circuit (infinite resistance) or no change in resistance confirms a bad sensor.
- If the sensor tests good, the problem is almost certainly in the wiring between the module and the BCM. A detailed circuit trace will be needed.
Parts You'll Likely Need
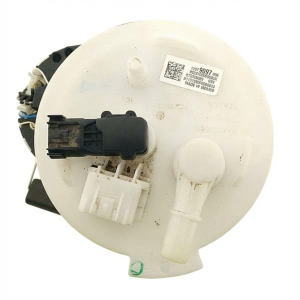
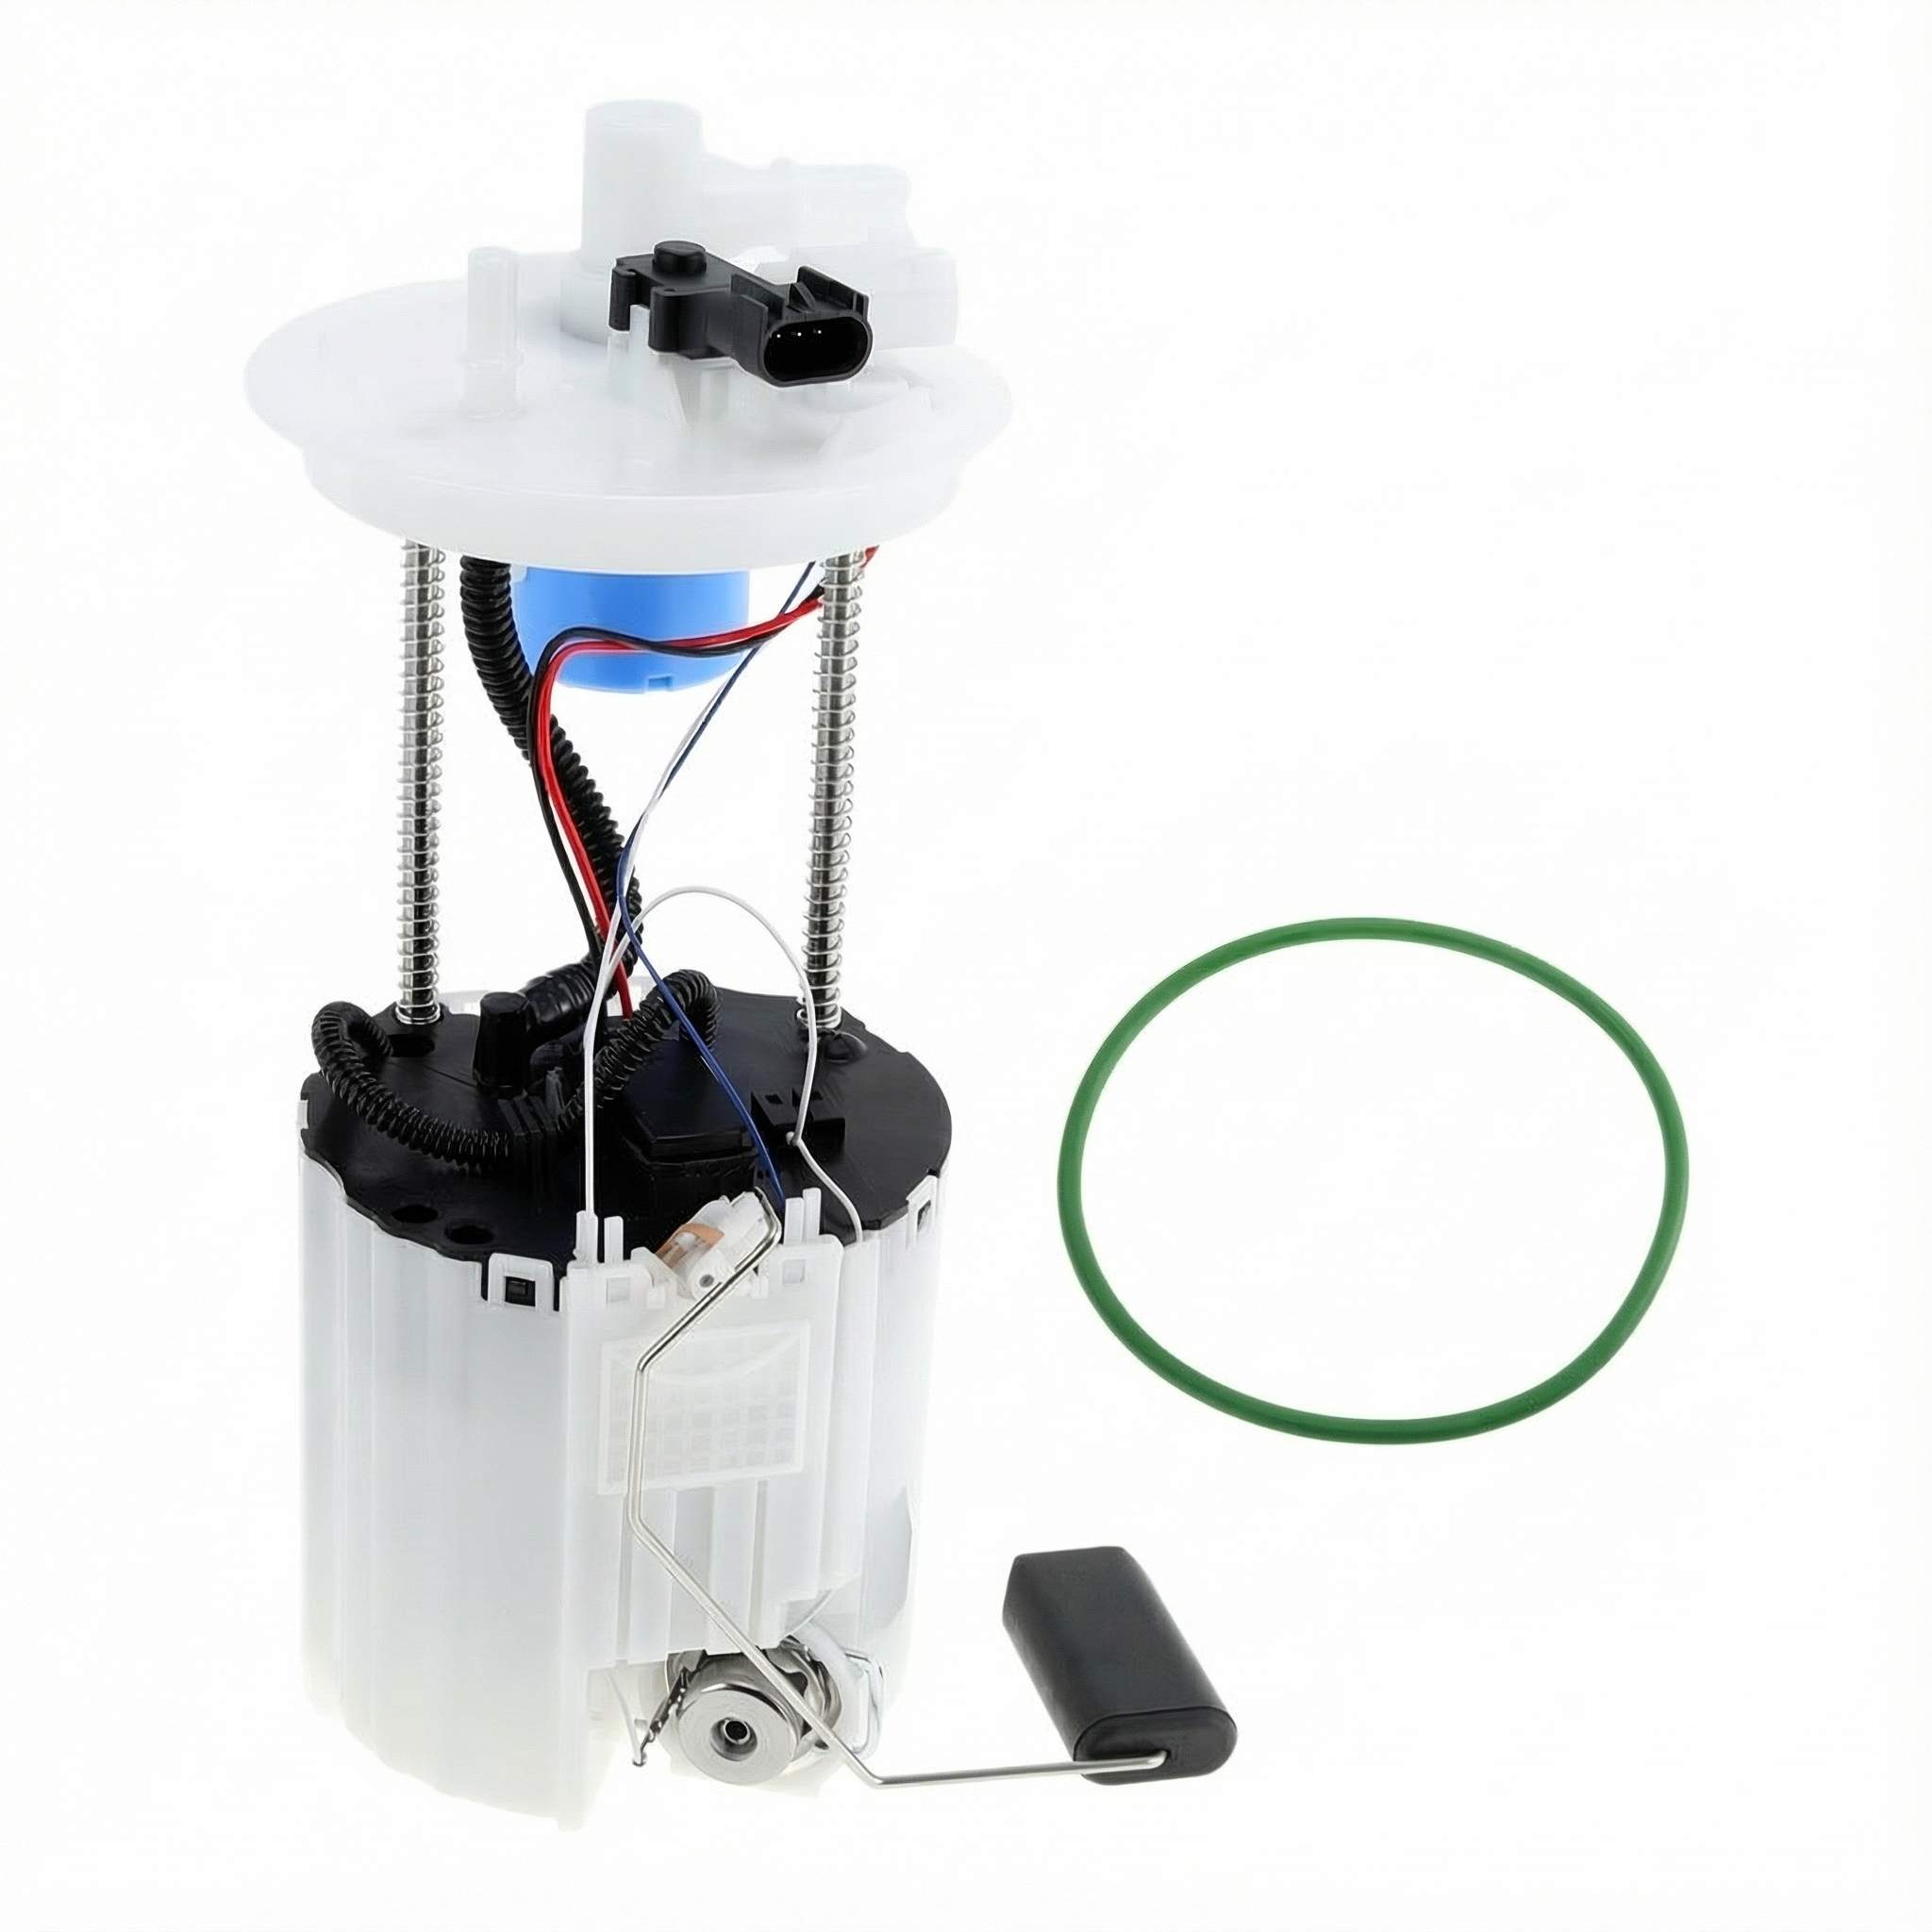
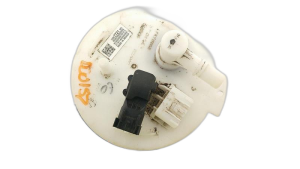
- Fuel Pump Module Assembly
(OEM #13577825 (Gen 1, superseded by 13580532), M100328 (Gen 2, 1.4L Gas))— This assembly contains the fuel pump, fuel pressure regulator, and the fuel level sensor (sending unit). It is the most common and comprehensive fix for a P0463 code, ensuring all related components are new.
Trusted brands: ACDelco, Delphi, Spectra Premium
OEM price range: $250-$400
Aftermarket price range: $150-$300 - Fuel Level Sensor Kit
(OEM #13593309 (Gen 1), 13588157 (Gen 2))— If you want to replace only the failed sensor instead of the entire module, these kits are available. This is a more targeted but slightly more intricate repair that requires disassembling the fuel pump module.
Trusted brands: ACDelco, GM Genuine
OEM price range: $40-$80
Aftermarket price range: $30-$60
Technical Service Bulletins (TSBs) & Recalls
- While no TSB directly addresses P0463 on the Cruze, TSB 14311B and Customer Satisfaction Program 46000 were issued for related electrical issues. They address a faulty negative battery cable on 2011-2016 models, which can cause various electrical problems, including flickering displays and random warning lights. While not a direct cause of an isolated P0463, a poor ground connection from this known issue could contribute to intermittent electrical faults.
Documented NHTSA Reports
- NHTSA ODI #11615682 describes a case where a vehicle had codes P0452 for the fuel tank pressure sensor circuit and P0463 for the fuel level sensor; notably, replacing the fuel pump module did not resolve the issue.
- In a cross-manufacturer reference, an owner reported in NHTSA ODI #10759346 that the fuel gauge read empty while the check engine indicator light was on with code P0463 active.
- NHTSA ODI #10407281 notes a situation where a fuel gauge was "acting crazy," reading empty regardless of actual fuel level, while the check engine light displayed code P0463 for high fuel input.
- An owner reported in NHTSA ODI #11399819 that even after having two fuel level sensors installed, the check engine light returned with codes P0463, P069E, and C0045.
- NHTSA ODI #10691136 confirms a check engine light triggered by code P0463, which was verified at a local parts store.
Platform-Specific Known Issues
- Access to the fuel pump module is located under the rear seat cushion, which must be removed. It is held in by clips at the front edge.
- A large plastic lock ring holds the fuel pump module in the tank. While it can sometimes be removed with a hammer and a brass punch, it is easily damaged. A dedicated fuel tank lock ring tool is highly recommended for removal and proper re-installation to ensure a good seal.
- The fuel system must be depressurized before disconnecting the fuel lines to prevent fuel spray. This can be done by pulling the fuel pump fuse or relay and running the engine until it stalls.
Mechanic-Grade Diagnostic Values
- Fuel Level Sensor Resistance (Gen 1 & 2) — expected: Most GM vehicles from this era use a sensor that operates in the 40 Ohm (empty) to 250 Ohm (full) range, or a 0 Ohm (empty) to 90 Ohm (full) range. The key is a smooth, consistent change when moving the float arm.. Failure: A reading of infinite resistance (OL on a multimeter) indicates an open circuit, which directly causes code P0463. Any sudden jumps, dropouts, or dead spots while sweeping the float arm also indicate a faulty sensor.
- Fuel Level Sensor Signal Voltage at BCM — expected: The voltage should vary smoothly within a range (e.g., ~0.5V to ~4.5V) corresponding to the fuel level. The exact range is specific to the BCM's calibration.. Failure: A constant high voltage reading (typically > 4.9V) confirms the 'Circuit High Input' condition seen by the computer.
Scan Tool Commands That Help
- Generic Scan Tool or Manual Procedure: Instrument Cluster Gauge Sweep / Self-Test — To rule out a faulty instrument cluster gauge before performing invasive diagnostics on the fuel tank. If the gauge sweeps its full range correctly during the test, it is likely functioning properly. Some Chevy models allow a manual self-test by manipulating the trip reset button and ignition key in a specific sequence.
Wiring & Ground Locations
- K9 Body Control Module (BCM) — Located in the center console area, forward of the shifter assembly and behind the HVAC controls. It is accessible after removing side panels from the center console.. The fuel level sensor signal wire runs from the fuel pump module to the BCM. The BCM interprets the signal and sends the fuel level data to the instrument cluster via the vehicle's data bus. A wiring fault could occur anywhere along this path.
- G103 / G105 / G121 — These are primary chassis ground points located in the engine compartment, typically on or near the front shock towers and corners of the engine bay.. While the fuel pump's primary ground may be closer to the tank, poor engine bay grounds can contribute to widespread electrical issues. Specifically, the BCM and ECM rely on these grounds. Verifying they are clean and tight is a good practice when diagnosing any electrical fault.
- Fuel Pump Module Connector Pinout — On top of the fuel pump module, inside the fuel tank.. Technicians need to identify the specific pins for the fuel level sensor signal and ground to perform resistance and voltage tests directly at the source. For Gen 1, the signal is often a Purple wire and the ground is Black. This must be verified with a vehicle-specific diagram.
Real Owner Repair Stories
- Carly community forum user (2014 Chevrolet Cruze (Gasoline), 187,216 km) — Check Engine Light on, engine occasionally stalled at idle, and the fuel gauge was inaccurate and fluctuated.
❌ Tried (didn't work) Checking the fuel cap., Checking related fuses.
✅ What actually fixed it A workshop confirmed the fuel level sensor was faulty and replaced it. The repair cost 52€ and resolved all symptoms.
OEM Part Supersession History
13577825 (Gen 1 Module)→13580532, and subsequently 19366851— Typically for improvements in reliability, material changes to the resistor card, or supplier changes.
Heads up: The latest part number (19366851) is the recommended replacement for the original. Using older stock or a different superseded number may work but lacks the latest revisions.
Model Year Variations Within This Range
- 2011-2016 (First Generation): Contrary to common belief, not all Gen 1 Cruzes have a fuel pump access panel under the rear seat. On some models, particularly around the 2015 model year, GM omitted this panel. On these vehicles, the entire fuel tank, and possibly the exhaust, must be dropped to access the fuel pump module. This dramatically increases labor time and complexity.
Diagnostic Flowchart
Other Known Issues on This Vehicle
Issues unrelated to this code that are worth knowing about as an owner of this generation:
- PCV System Failure (1.4L Turbo) 🔴 High — Extremely common, often occurs between 60,000-100,000 miles. A failed check valve in the intake manifold pressurizes the crankcase, rupturing a diaphragm in the valve cover, causing oil leaks and rough idle. (Ref: No recall, but multiple aftermarket kits exist to provide a permanent fix.)
- Coolant Leaks (Water Pump & Thermostat Housing) 🔴 High — Very common on the 1.4L and 1.8L engines. The water pump is known to leak, and the plastic thermostat housing often cracks. (Ref: GM Special Coverage #14371A extended the warranty on the water pump for the 1.4L engine to 10 years/150,000 miles.)
- Negative Battery Cable Failure (Gen 1) 🟠 Medium → Shop Vehicle Battery — Widespread on 2011-2016 models. A poor crimp on the negative terminal causes high resistance, leading to a host of random electrical issues like flickering screens, warning lights, and no-start conditions. (Ref: GM Special Coverage #14311B extended the warranty to 10 years/120,000 miles for this repair.)
- Transmission Failure (Early Gen 1) 🔴 High — More common on 2011-2012 models with the automatic transmission. Issues include shifting problems, rattling, and complete failure.
- Cracked Pistons (Gen 2) 🔴 High — A known issue on some 2016-2018 models, particularly with the 1.4L engine, where the piston for cylinder #1 can crack, leading to misfires and engine failure.
Used vs. New Parts: Buying Guide for This Vehicle
When a used part is the smart pick: A used fuel pump module from a low-mileage donor vehicle can be a viable option, as the P0463 code is typically a failure of the sensor, not the pump motor itself. This is most cost-effective for DIY repairs where labor cost is not a factor.
Donor-vehicle mileage cap: roughly under 80000 miles for the part to have meaningful remaining life.
What to inspect on the donor part:
- Check the electrical connector pins for any signs of green or white corrosion.
- Ensure the plastic top of the module is not cracked or brittle.
- Verify the donor vehicle is from a region with minimal road salt to reduce the risk of corrosion.
- If possible, manually move the float arm to ensure it is not seized or physically broken.
OEM-only on this vehicle (don't cheap out):
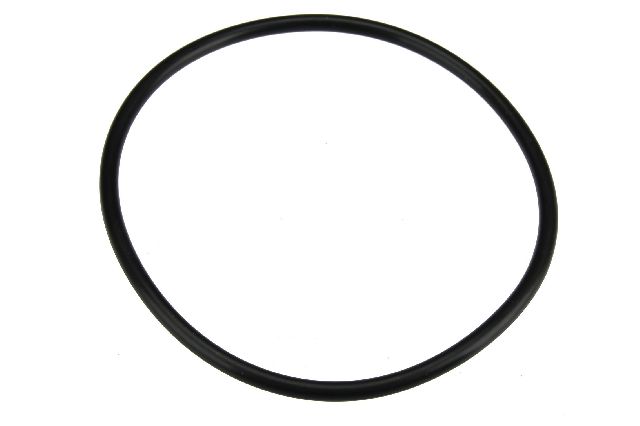
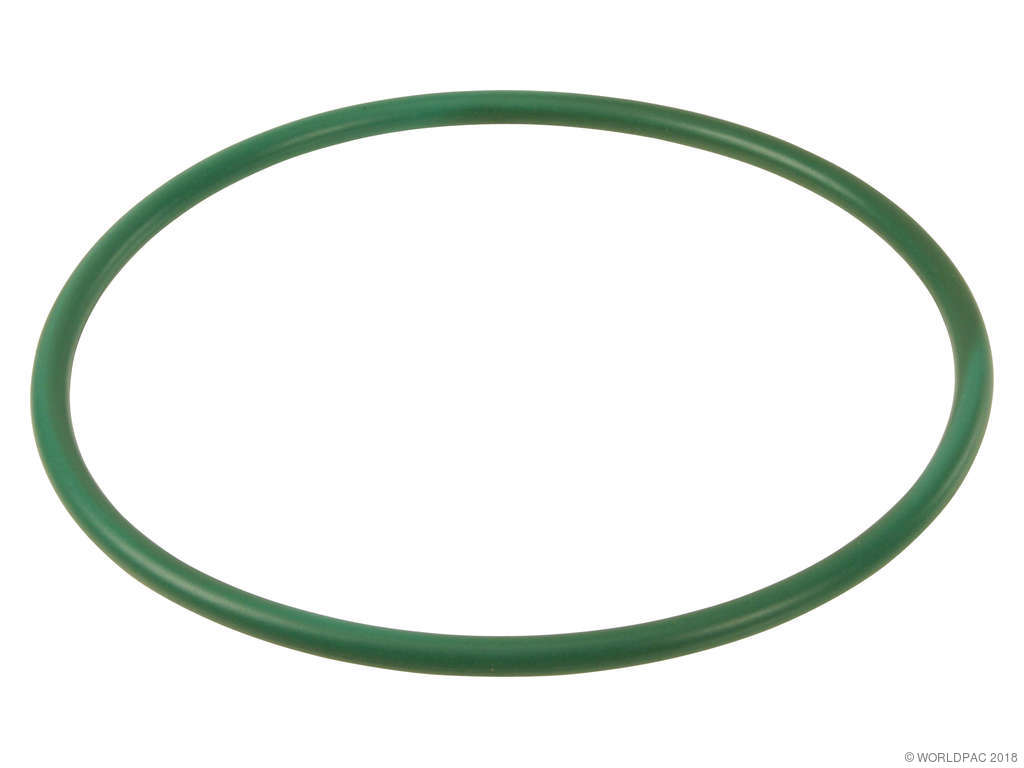
- While not strictly required, the fuel pump module lock ring and gasket are highly recommended to be purchased new from the OEM (ACDelco) to ensure a proper, vapor-tight seal after installation.
Aftermarket brands forum-validated for this vehicle:
- ACDelco (OEM)
- Delphi (Often the original equipment manufacturer for GM)
- Spectra Premium
Brands owners have reported issues with on this vehicle:
- Unbranded, 'white-box' parts from online marketplaces like Amazon or eBay can have high failure rates and are generally not recommended due to the labor-intensive nature of the replacement.
Real Owner Stories
Aggregated from forums and TSBs cited above. Mileages and costs reflect what owners reported in those sources.
2012 Chevrolet Sonic (Platform Mate)
Symptoms: The vehicle had a P0463 code along with an EVAP code. The fuel gauge was not reading correctly.
What fixed it: The fuel sender was identified as the cause and replaced as part of the fuel pump assembly.
Source hint: Sonic Owners Forum thread titled 'p0451 & p0463 - Sonic Owners Forum'
2011-2016 Chevrolet Cruze
Symptoms: Widespread electrical problems including flickering displays and random warning lights.
What fixed it: Replacement of the negative battery cable under Special Coverage 14311.
Source hint: Reddit r/cruze thread titled 'Possible Negative Battery cable issue?'
Related OBD-II Codes
Frequently Asked Questions
Can I access the fuel pump on my 2011-2018 Chevrolet Cruze without removing the gas tank?
Could the common negative battery cable issue on my 2011-2016 Cruze cause a P0463 code?
Do I have to replace the entire fuel pump assembly to fix the P0463 code?
Is there a special tool required to change the fuel sender on a Cruze?
Why does my fuel gauge fluctuate wildly and then trigger a Check Engine Light?
Helpful Videos


Used OEM Parts in Stock


New Aftermarket Parts Available


The information in this article is provided for general reference and educational purposes only. Vehicle specifications, procedures, and part compatibility can vary by production date, trim level, and region. Always consult your vehicle's factory service manual and verify part numbers before purchasing or performing repairs. Safety-critical components such as airbags, seat belts, and braking systems should be installed by a qualified professional.
- Chevrolet Cruze:
- 🧭 Diagnostic Flowchart
- 🎬 Helpful Videos
- 🛍️ Shop This Part
- What's Unique About the 2011-2018 Chevrolet Cruze
- Symptoms You May Notice
- Most Likely Causes
- Rare But Worth Checking
- Diagnosis Steps
- Parts You'll Likely Need
- Technical Service Bulletins (TSBs) & Recalls
- Documented NHTSA Reports
- Platform-Specific Known Issues
- Mechanic-Grade Diagnostic Values
- Scan Tool Commands That Help
- Wiring & Ground Locations
- Real Owner Repair Stories
- OEM Part Supersession History
- Model Year Variations Within This Range
- Other Known Issues on This Vehicle
- Used vs. New Parts: Buying Guide for This Vehicle
- Real Owner Stories
- 2012 Chevrolet Sonic (Platform Mate)
- 2011-2016 Chevrolet Cruze
- Related OBD-II Codes
- Frequently Asked Questions
- 🎟️ Get 5% Off