
Chrysler Town & Country Engine Mount Guide for 1967-1977 Models
Keep your classic Town & Country's big-block V8 smooth and secure with the right engine mounts.
- Due to the vehicle's age, any original engine mount is past its service life and should be replaced.
- Symptoms include clunking noises, excessive vibration, and visible engine movement under load.
- Choose between standard rubber mounts (Anchor, Westar, Pioneer) for a stock feel or polyurethane inserts (Energy Suspension) for maximum durability with a potential increase in vibration.
- Always replace the transmission mount at the same time as the engine mounts for best results.
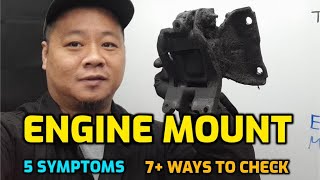
Signs of a Failing Engine Mount
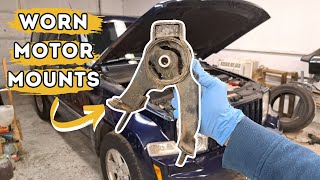
A bad engine mount on a classic C-Body like your Town & Country will make its presence known. The rubber and metal components wear out from age, heat, and stress. Here’s what to look and listen for:
🎬 Watch this guide to identifying and locating bad engine mounts.- Excessive Vibration: If you feel a strong vibration through the steering wheel or floor, especially at idle or when you first start the car, a mount has likely failed.
- Clunking Noises: A loud "clunk" or "thud" when you accelerate, brake, or shift from drive to reverse is a classic sign. This is the sound of the engine shifting and hitting other components because the mount is no longer holding it securely.
- Visible Engine Movement: Have a helper put the car in drive with their foot firmly on the brake and gently apply the throttle. If you see the engine lift or twist excessively, the driver's side mount is likely broken. This is a common failure point due to engine torque.
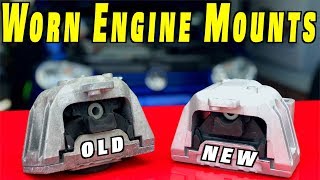
- Visible Damage: Look at the mounts themselves. If you can see cracked, crumbling, or oil-soaked rubber, or if the metal parts have separated, it's time for a replacement.
A Note on Safety
A completely separated engine mount can be dangerous. It can cause the engine to shift enough to bind the throttle linkage or cable, potentially causing unintended acceleration. It's crucial to replace failing mounts as soon as you spot the symptoms.
Choosing the Right Aftermarket Mount
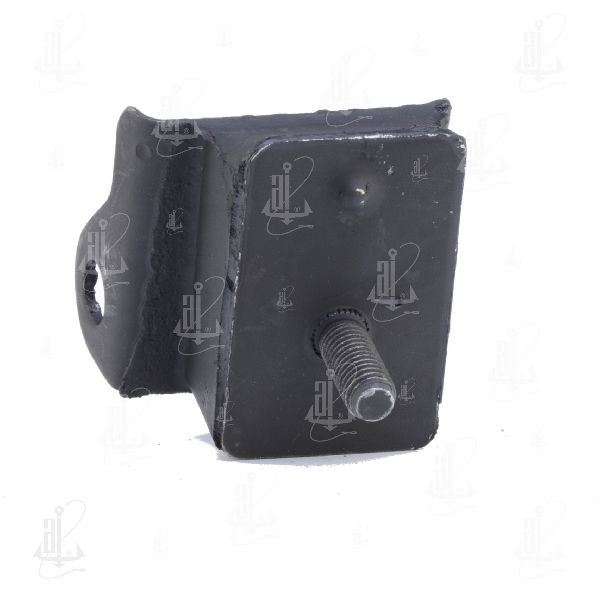
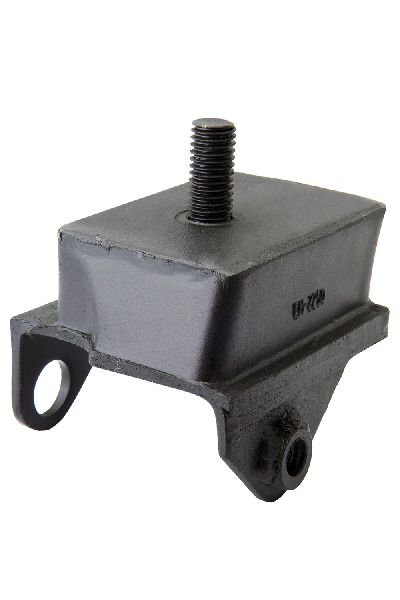
Finding original "OEM" Mopar mounts for a vehicle of this era is nearly impossible. Your choice will be between different types of aftermarket replacements. For your Town & Country, the mounts are a simple, robust "spool" or "biscuit" design. The main choice is between standard rubber and performance polyurethane.
Brand Quality Tiers
Not all aftermarket parts are created equal. Based on owner feedback and general mechanic consensus, brands fall into different tiers for this type of vehicle.
- Tier 1 - Performance (Polyurethane): Energy Suspension is a well-known brand offering polyurethane inserts. These are much more durable than rubber and will handle the torque of a big-block V8 without issue. The trade-off is a potential increase in felt vibration compared to rubber. These are a great choice for durability and performance-oriented builds.
- Tier 2 - Standard Replacement (Good Quality Rubber): Pioneer Automotive Industries is often regarded as a higher-quality standard replacement. Some users report they are a significant step up from budget brands and offer a good fit.
- Tier 3 - Economy Replacement (Budget Rubber): Brands like Anchor and Westar fall into this category. They are widely available and very affordable. However, many mechanics and classic car owners report mixed results, with some experiencing premature failure or fitment issues. They can be a viable budget option, but may not have the longevity of higher-quality choices.
Pro Tip: When replacing engine mounts, it is highly recommended to also replace the transmission mount. A new transmission mount ensures the entire drivetrain is properly aligned and supported, preventing stress on the new engine mounts.
🎬 See how to replace both engine and transmission mounts yourself.Cost of New Aftermarket Engine Mounts (1967-1977 Town & Country)
| Part Type | Typical Cost (Per Mount) | Notes |
|---|---|---|
| Economy Rubber (Anchor, Westar) | $10 - $20 | Basic replacement, longevity can vary. |
| Standard Rubber (Pioneer) | $15 - $25 | Often considered a better quality rubber replacement. |
| Polyurethane Inserts (Energy Suspension) | $30 - $50 (for a set) | Requires reusing your original metal shells. Offers maximum durability. |
| Shop Labor | $100 - $250 | Typically 1-2 hours of labor. Varies by shop rate. |
Frequently Asked Questions
Do I need to replace all the mounts at once?
It is highly recommended. The mounts are all the same age and have been subjected to the same conditions. If one has failed, the others are likely not far behind. Replacing them all at once, including the transmission mount, is the best practice.
Is a polyurethane mount too harsh for my classic wagon?
It depends on your tolerance. Polyurethane will transmit more of the engine's natural vibration into the cabin than soft rubber. For a daily driver where comfort is the top priority, a quality rubber mount from a brand like Pioneer might be better. For a weekend cruiser or a car with a modified engine, the durability of polyurethane is a major advantage.
Are there any recalls for engine mounts on my Town & Country?
No specific recalls were found for the 1967-1977 Chrysler Town & Country engine mounts. While GM had a major engine mount recall in the early 1970s, it did not apply to Chrysler vehicles. 🎬 Learn more about the famous 1970s GM engine mount recall. Any issues today are due to the age and wear of the original components.
Can I replace the engine mounts myself?
Yes, for a mechanically inclined owner with the right tools, this is a manageable DIY job. You will need a floor jack and a block of wood to safely support the engine's weight while you unbolt the old mount and install the new one. Always use jack stands for safety when working under the vehicle.
Helpful Videos
Technical Specifications
OEM Part Numbers: 2536132 2863751
The 1967-1973 C-body platform utilizes a spool-type or 'biscuit' engine mount design. The left (driver's side) and right (passenger's side) mounts are often different part numbers to properly handle engine torque.
We Have This Part in Stock


The information in this article is provided for general reference and educational purposes only. Vehicle specifications, procedures, and part compatibility can vary by production date, trim level, and region. Always consult your vehicle's factory service manual and verify part numbers before purchasing or performing repairs. Safety-critical components such as airbags, seat belts, and braking systems should be installed by a qualified professional.