
Ignition Knock Sensor Guide for 1983-1993 GMC Jimmy
A failing knock sensor can cause poor performance and a check engine light; here's how to choose the right replacement.
- A bad knock sensor will trigger a Code 43 and cause significant power loss.
- Do not use any thread sealant or tape, as the sensor must ground through its threads.
- Choosing a quality aftermarket brand like Delphi or NGK reduces the risk of immediate failure.
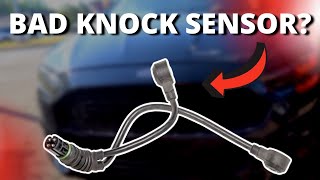
- Consider replacing the wiring connector pigtail at the same time, as it is a common failure point.
Is a Bad Knock Sensor Hurting Your Jimmy's Performance?
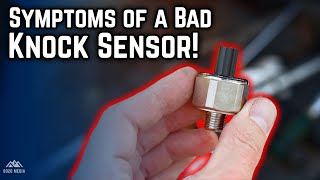
A faulty knock sensor is a common problem on older GM trucks like the 1983-1993 Jimmy. When it fails, the engine's computer (ECM) can no longer tell if detonation is occurring. To protect the engine, the computer defaults to a "safe mode" by significantly reducing ignition timing. This safety feature will cause a noticeable loss of power, hesitation during acceleration, and worse fuel economy until the sensor is replaced.
🎬 Watch this video to see common signs of sensor failure.OBD-I Code 43
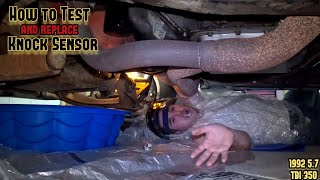
On these pre-1996 vehicles, a failing knock sensor or a problem in its circuit will almost always trigger a "Service Engine Soon" light with a stored Trouble Code 43. This is the primary indicator that the knock sensor system needs attention.
🎬 Learn how to test and change a sensor with Code 43.Choosing the Right Aftermarket Knock Sensor
For a vehicle of this age, an aftermarket knock sensor is a practical choice, but quality varies. The sensor must have the correct internal resistance and sensitivity to work with your Jimmy's computer. Choosing a poor-quality part often results in the check engine light returning immediately after installation.
Brand Quality Tiers
- Premium Aftermarket (Delphi, NGK, Standard Ignition 'T-Series'): Brands like Delphi were often the Original Equipment Manufacturer (OEM) for GM. They are widely considered to be reliable replacements. NGK (under the NTK brand) and the higher-end lines from Standard Motor Products are also trusted in the industry for sensor quality. These brands are your best bet for a part that works correctly the first time.
- Standard Aftermarket (Walker Products, True Tech, Global Parts, Motorad): These brands offer a more budget-friendly option. While many users have success with them, there is a higher chance of receiving a part that is dead-on-arrival or doesn't meet the precise specifications the GM computer requires. If choosing from this tier, buy from a supplier with a good warranty and return policy.
Pro Tip: Replace the Connector Pigtail
The single-wire connector leading to the knock sensor is a frequent point of failure. After decades of heat and vibration, the plastic can become brittle and the terminal can corrode. It is highly recommended to replace the short wiring pigtail when you replace the sensor itself to ensure a solid connection.
Installation Notes
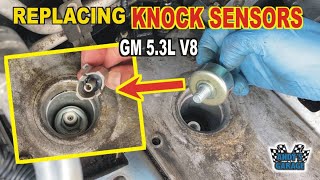
The knock sensor is typically screwed into the side of the engine block, often near the starter or into a block drain plug location. On some V8 models, it may be on the passenger side. Access can be tight. When replacing it, remember these critical rules:
- Drain Coolant: The sensor is often threaded into a coolant passage. Partially drain the radiator before removal to avoid a large spill.
- NO Thread Sealant: Do not use Teflon tape or any pipe dope on the threads. The sensor grounds itself to the engine block through the threads. Insulating them will cause an immediate Code 43.
- Torque Correctly: The sensor is a sensitive piezoelectric crystal. Over-tightening it can damage it. Torque it to the factory specification, which is typically around 14 ft-lbs.
| Part/Service | Estimated Cost |
|---|---|
| New Aftermarket Sensor | $39.80 - $73.96 |
| New OEM (ACDelco) Sensor | $55 - $75 |
| Shop Labor | $90 - $150 |
Frequently Asked Questions (FAQ)
Why is my Code 43 still on after replacing the sensor?
This is common. The most likely causes are: 1) You used thread sealant on the new sensor, preventing it from grounding. 2) The new sensor is a low-quality part that is faulty out of the box. 3) The wiring or connector to the sensor is damaged. 4) The separate Electronic Spark Control (ESC) module has failed, which can also cause a Code 43.
Where is the knock sensor located?
On most 1983-1993 GMC Jimmy models with the V6 or V8 engine, the knock sensor is a single-wire sensor screwed into the side of the engine block. A very common location is on the passenger side, near the starter motor or above the oil pan rail.
Are there any recalls for the knock sensor on my Jimmy?
No, there are no specific recalls or Technical Service Bulletins (TSBs) from the NHTSA or GM related to the ignition knock sensor for the 1983-1993 GMC Jimmy.
Do I need a special tool to replace the knock sensor?
Usually, no special tools are required. A deep socket (often 22mm) or a wrench is typically all that's needed to remove the sensor itself. However, access can be very tight, sometimes requiring the use of universal joints or various extensions. In some cases, large vice grips have been used to remove a stubborn, rounded-off sensor.
🎬 See a helpful trick for removing a stuck knock sensor.Helpful Videos

Technical Specifications
OEM Part Numbers: 213-324
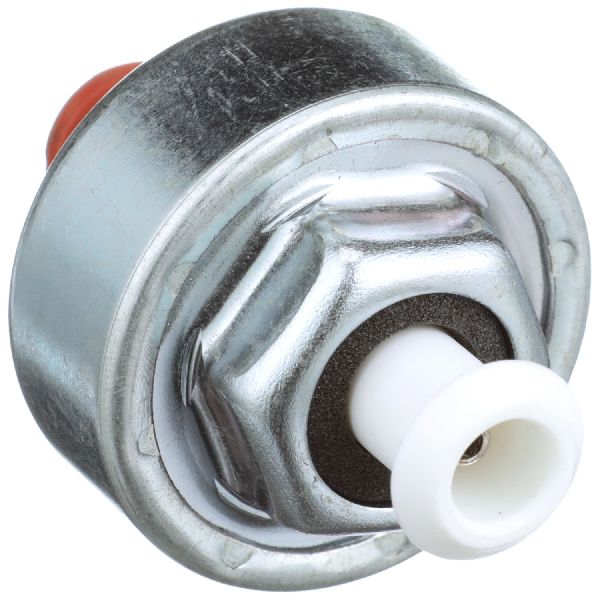
Typically a single-wire sensor with a specific resistance value (around 100,000 ohms) and thread pitch for block mounting. Must be compatible with the vehicle's Electronic Spark Control (ESC) system.
We Have This Part in Stock


The information in this article is provided for general reference and educational purposes only. Vehicle specifications, procedures, and part compatibility can vary by production date, trim level, and region. Always consult your vehicle's factory service manual and verify part numbers before purchasing or performing repairs. Safety-critical components such as airbags, seat belts, and braking systems should be installed by a qualified professional.
- GMC Jimmy: