
2002-2009 Altima Trunk Finish Panel: Fitment Guide for Different Generations
Learn to identify the correct finish panel for your Altima sedan, inspect a used one for hidden damage, and avoid common compatibility mistakes between the 2002-2006 and 2007-2009 models.
- The finish panel is NOT interchangeable between the 3rd Gen (2002-2006) and 4th Gen (2007-2009) Altima.
- This part is for Sedan models ONLY and will not fit the Altima Coupe.
- When buying a used panel, the most critical inspection point is the condition of all plastic mounting tabs on the back.
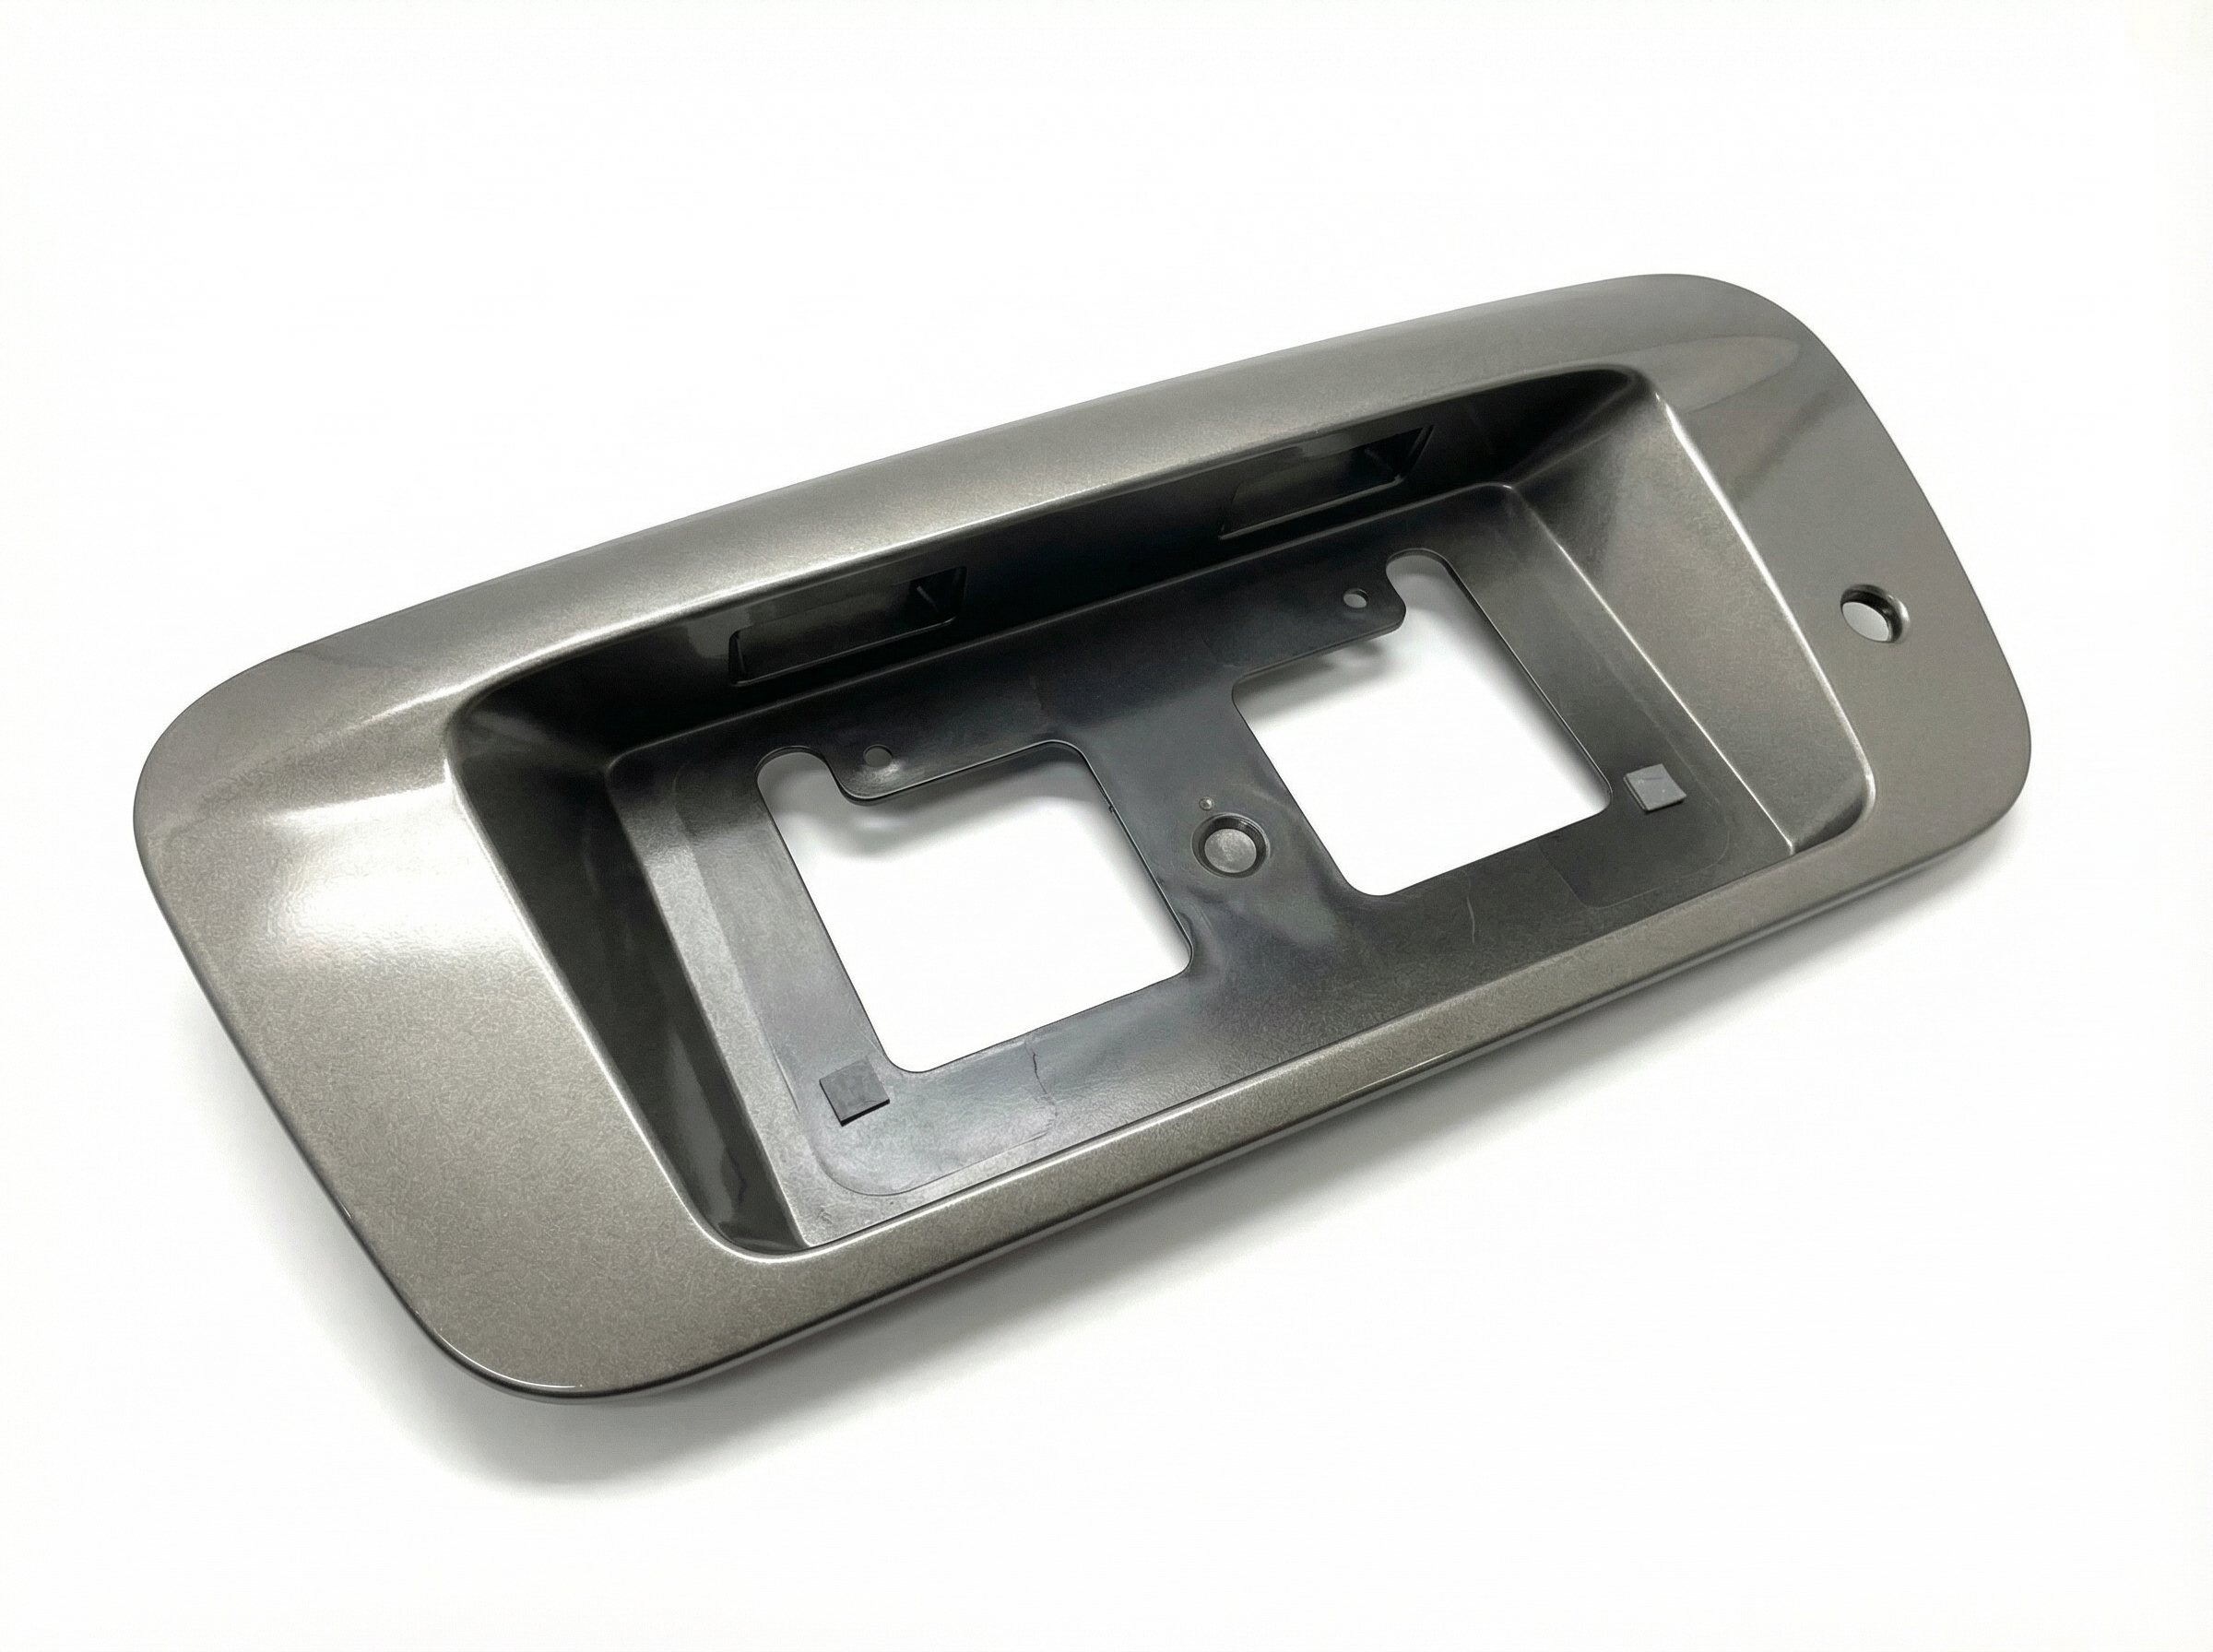
- Verify if you need a panel with or without a chrome finish and with or without a backup camera cutout before purchasing.
Key Generational Differences: 2002-2006 vs. 2007-2009
The most critical factor when purchasing a rear finish panel for a 2002-2009 Nissan Altima is understanding that this period covers two distinct vehicle generations. The parts are not interchangeable between these generations.
- 3rd Generation (2002-2006): These models feature a simpler, often body-colored finish panel. The design is specific to these years and will not align with the mounting points or trunk shape 🎬 Watch: Step-by-step trunk switch replacement for 2002-2006 models. of the later models.
- 4th Generation (2007-2009): Nissan redesigned the Altima for the 2007 model year. These panels are wider and often feature a prominent chrome strip, especially on higher trim levels. They may also have provisions for a backup camera, which was not an option on the earlier generation.
Warning: This part is for Sedan models only. It will not fit Coupe models, which have a different trunk lid and panel shape.
Symptoms of a Failing Rear Finish Panel
Failure of this part is typically related to physical damage or cosmetic wear rather than mechanical breakdown. Here’s what to look for:
- Cracked or Broken Plastic: The panel is made of plastic, which can become brittle over time due to sun exposure. Impacts from minor collisions can easily cause cracks or break off mounting tabs.
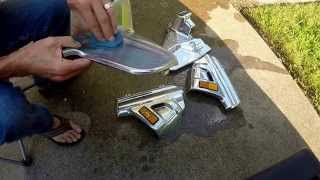
- Peeling Chrome or Faded Paint: A common issue, especially on the 2007-2009 models, is the chrome plating bubbling or peeling away from 🎬 See how to easily restore your chrome plastic trim. the plastic base. The paint on body-colored panels can fade or clear coat can fail, leading to a dull appearance.
- Loose Fit or Rattling: If mounting tabs are broken or missing, the panel will not sit flush against the trunk lid. This can cause rattling noises while driving and allow water to seep behind the panel.
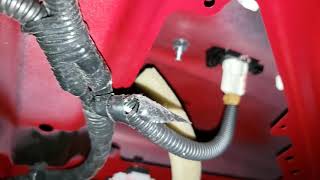
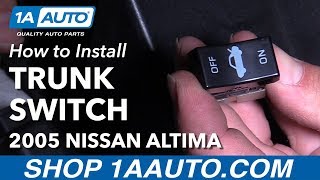
- Malfunctioning Trunk Release or Lights: If the integrated trunk release button stops working, or the license plate lights flicker or fail, the issue could be with the wiring or the components housed within the finisher itself.
Buying a Used Rear Body Panel Finish Panel: An Inspection Guide
Purchasing a used OEM finish panel is an excellent way to save money, but a thorough inspection is key to getting a quality part. Here’s a step-by-step guide:
- Confirm the Generation and Body Style: First, ensure the part comes from the correct year range (2002-2006 or 2007-2009) and is from a Sedan, not a Coupe.
- Inspect All Mounting Tabs: This is the most important check. Carefully flip the panel over and inspect every single mounting tab and clip location. These are small plastic posts that the retaining nuts or clips attach to. If even one or two are broken, the panel may not fit securely and could rattle or sit unevenly.
- Check for Hairline Cracks: Look closely at the entire surface, especially around the screw holes and corners. What might look like a scratch could be a deeper crack that will worsen over time or allow water intrusion.
- Examine the Finish: For chrome panels, look for any signs of bubbling, peeling, or deep scratches. For painted panels, check for fading, clear coat failure, or scratches that go through the paint. While cosmetic, refinishing can be costly.
- Verify Component Options: Check if the panel matches your vehicle's options. Does it have a hole for a backup camera? Does it include the trunk release switch? Ensure these match your original part.
- Check the Wiring: If the panel includes the trunk release switch or lights, inspect the wiring pigtail for any cuts, frays, or corrosion on the connector pins.
Pro Tip: A used OEM (Original Equipment Manufacturer) panel is often a better choice than a new aftermarket one. OEM parts are made to stricter factory specifications, ensuring a precise fit and better material quality, which is crucial for a cosmetic part like this.
Recalls and Technical Service Bulletins (TSBs)
As of early 2026, there are no specific recalls or TSBs from the NHTSA directly related to the rear body panel finish panel for the 2002-2009 Nissan Altima. The primary safety recall for this generation concerns the Takata airbags, and owners should ensure that recall has been addressed. While a TSB for rust around the finisher exists for later model Altimas (2013-2016), this specific issue is not officially documented for the 2002-2009 models.
Cost Comparison
| Part Type | Estimated Price Range | Notes |
|---|---|---|
| New OEM | $190 - $350 | Price varies by year and finish. For example, part 84810-JA000 (2007-2009) can be found for around $192. |
| New Aftermarket | $70 - $150 | Quality and fit can be inconsistent compared to OEM. |
| Used OEM | $50 - $125 | Best value, but requires careful inspection. Prices vary based on condition. |
| Shop Labor | $75 - $150 | Typically a quick job for a professional, taking about 0.5 to 1 hour. |
Installation Guide
Replacing the rear finish panel is a straightforward DIY job for most people. The difficulty is rated 2 out of 5.
- Open the Trunk: Access the inside of the trunk lid.
- Remove the Trunk Lid Liner: The liner is typically held in by a series of plastic clips. Use a trim removal tool to gently pry these clips out and remove the liner.
- Disconnect Electrical Connectors: Unplug the connectors for the license plate lights and the trunk release switch, if equipped.
- Remove Retaining Nuts: The finish panel is held on by several nuts (usually 10mm) on the inside of the trunk lid. Use a socket wrench to remove all of them.
- Remove the Old Panel: Gently pull the old finish panel away from the trunk lid.
- Install the New Panel: Align the mounting studs on the new panel with the holes in the trunk lid and press it into place.
- Secure the New Panel: From inside the trunk, reinstall and tighten the retaining nuts. Do not overtighten, as this can crack the plastic.
- Reconnect and Test: Reconnect the electrical connectors and test the lights and trunk release button before reinstalling the liner. 🎬 Watch this walkthrough for replacing the handle and tag lamps.
- Reinstall Trunk Lid Liner: Press the plastic clips back into place to secure the liner.
Frequently Asked Questions (FAQ)
Will a finish panel from a 2008 Altima fit my 2005 Altima?
No. The 2002-2006 models and 2007-2009 models are different generations with completely different body panels. The parts are not interchangeable.
Can I paint a chrome finish panel to match my car's color?
Yes, but it requires significant prep work. The chrome surface must be thoroughly scuffed and sanded, then treated with an adhesion promoter before priming and painting. If not done correctly, the paint will easily peel off.
My trunk release button stopped working. Do I need to replace the whole panel?
Not necessarily. The problem could be the button itself, the wiring, or the trunk latch mechanism. You should test the switch with a multimeter first. However, on many used panels, the switch is included, which can solve the problem as part of the replacement.
Why are the plastic mounting tabs so important on a used panel?
The mounting tabs are the only thing holding the panel securely to the trunk lid. If they are cracked or broken, the panel will vibrate, rattle, and may not be watertight. This can lead to annoying noises and potential water leaks into the trunk lid's internal structure.
Helpful Videos

Technical Specifications
OEM Part Numbers: 84812-8J060 84812-8J001 84812-8J002 84810-JA000 84810-JB100 84810-JB200
Fitment is specific to year range and body style (Sedan vs. Coupe). Finishes include body color and chrome accent. Some versions include cutouts for a rearview camera.
We Have This Part in Stock


The information in this article is provided for general reference and educational purposes only. Vehicle specifications, procedures, and part compatibility can vary by production date, trim level, and region. Always consult your vehicle's factory service manual and verify part numbers before purchasing or performing repairs. Safety-critical components such as airbags, seat belts, and braking systems should be installed by a qualified professional.
- Nissan Altima:
- 🎬 Helpful Videos
- 🛍️ Shop This Part
- Key Generational Differences: 2002-2006 vs. 2007-2009
- Symptoms of a Failing Rear Finish Panel
- Buying a Used Rear Body Panel Finish Panel: An Inspection Guide
- Recalls and Technical Service Bulletins (TSBs)
- Cost Comparison
- Installation Guide
- Frequently Asked Questions (FAQ)
- 🎟️ Get 5% Off