
2010-2012 Taurus & 2009-2012 MKS Passenger Seat Track Failure: Diagnosis and Replacement
This guide covers the common failure points, symptoms, and replacement costs for the front passenger power seat track in the Ford Taurus and Lincoln MKS.
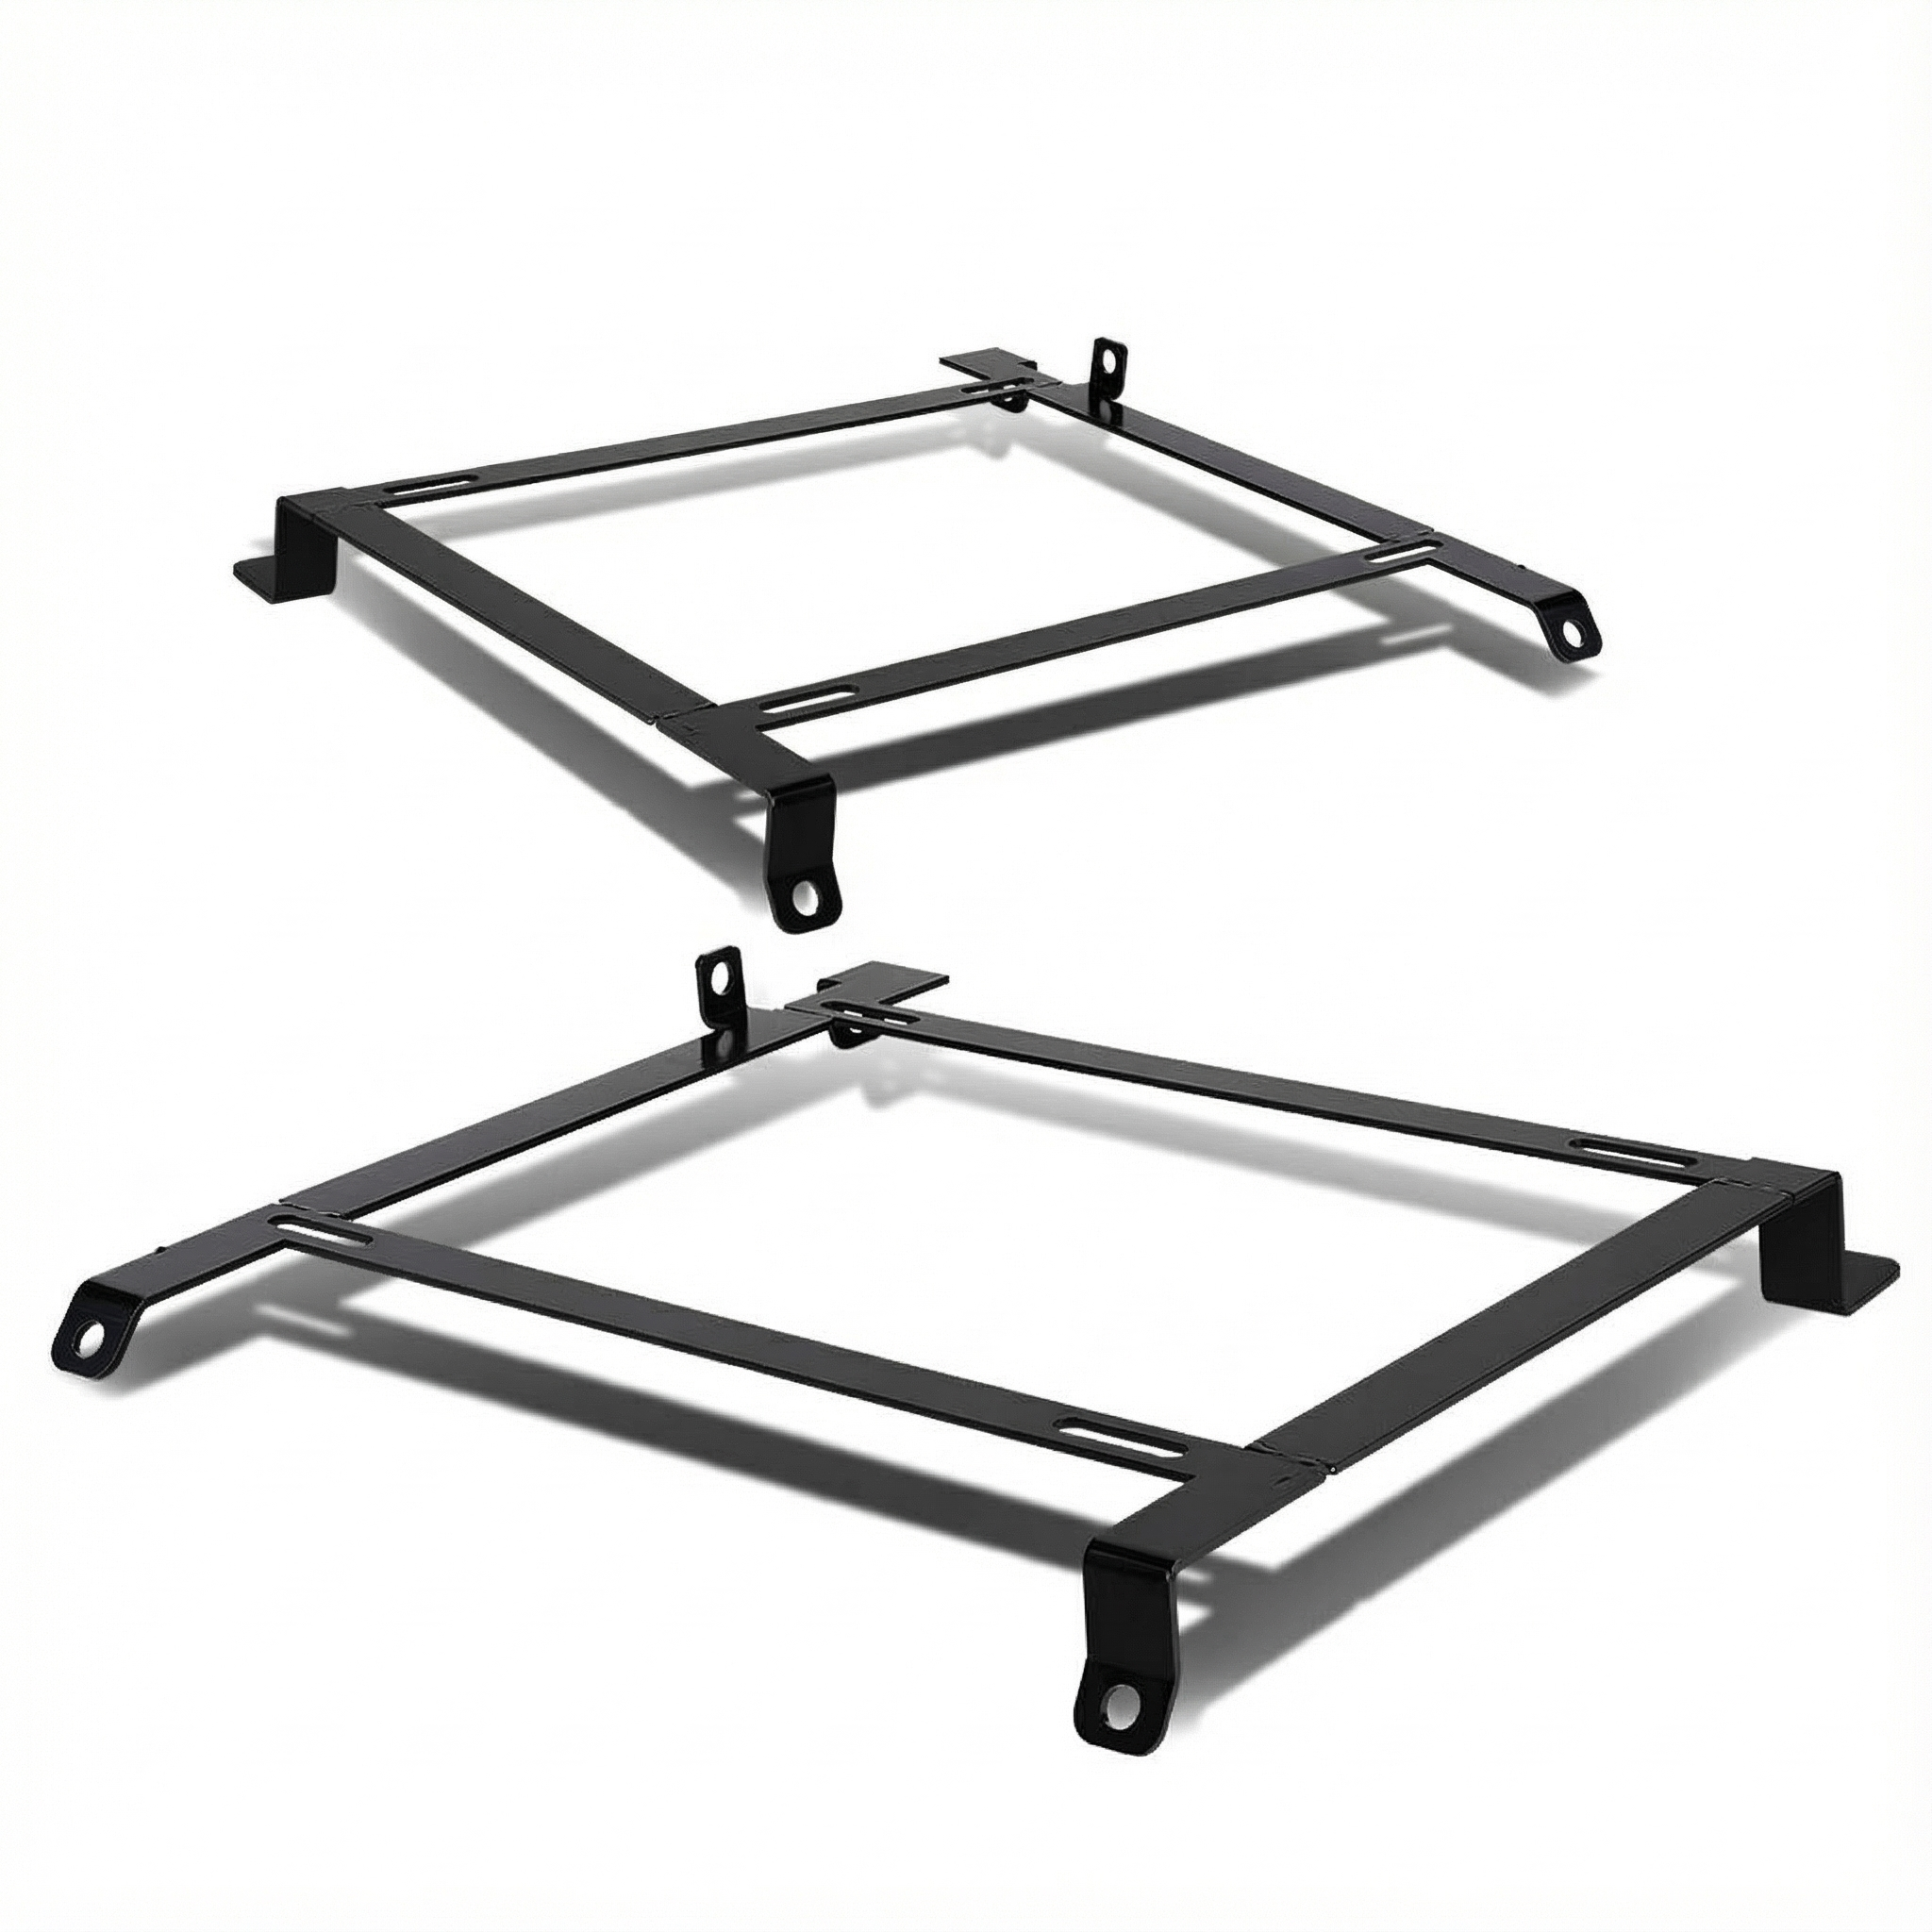
- This passenger seat track (part CG1Z-5461710-A) fits 2010-2012 Ford Taurus and 2009-2012 Lincoln MKS with 10-way power seats.
- Common failure symptoms include grinding noises, partial movement (e.g., won't recline forward), or total failure to move.
- A new OEM track is very expensive (over $870), making a quality used OEM assembly a much more cost-effective repair.
- When replacing, you must disconnect the battery and carefully follow torque specs for reinstallation to ensure the airbag's Occupant Classification System (OCS) works correctly.
Symptoms of a Failing Seat Track
When the passenger seat track assembly begins to fail, it can show a variety of symptoms. Because the assembly houses multiple motors and gears, a failure in one area can affect a single adjustment or the entire seat's movement.
- Seat Won't Move: The most obvious symptom is a complete lack of movement in one or more directions. Pressing the switch results in no action or sound. This often points to a failed motor, a bad switch, or an electrical issue like a blown fuse or loose connector.
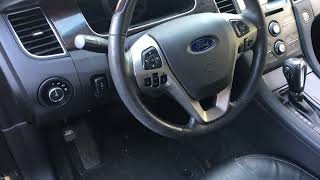
- Partial or Jerky Movement: The seat might move in one direction but not the other, or it may start and stop. For example, a common complaint is that the seat will recline back but won't return to the upright position. 🎬 Watch: Diagnosing a seat stuck in the reclined position. This often indicates a problem with the seat control switch or internal contacts for that specific function.
- Grinding or Clicking Noises: Loud grinding or clicking sounds when trying to adjust the seat usually mean there's a mechanical problem. This could be stripped plastic gears inside a motor's gearbox or an object physically obstructing the track.
- Seat Wobbles or Feels Loose: If the seat feels like it's shifting or clicking during acceleration or braking, it could be due to worn-out bushings or loose mounting bolts within the track assembly itself. This is a significant safety concern and should be addressed immediately.
Known Issues, Recalls, and TSBs
While there are no specific recalls or Technical Service Bulletins (TSBs) for the seat track assembly itself on the 2010-2012 Ford Taurus or 2009-2012 Lincoln MKS, these vehicles were subject to several other recalls. It's important to be aware of these, especially when working in or around the seats.
- Airbag Recall: A notable recall (NHTSA 16V247000) was issued for the driver's side frontal airbag, which could inflate improperly. This affected 2010-2012 Taurus and 2009 & 2011 MKS models. While this doesn't directly involve the seat track, it highlights the importance of properly handling all safety-related components.
- Door Handle Recall: Another recall (NHTSA 15V040000) involved an interior door handle spring that could fail, potentially allowing a door to become unlatched in a crash. This applied to 2010-2013 Taurus and 2011-2013 MKS models.
Pro Tip: Before starting any work on the seats, it's a good practice to disconnect the battery for at least one minute. This depletes the backup power supply for the Supplemental Restraint System (SRS), reducing the risk of accidental airbag deployment.
Buying a Used Seat Track Bracket
A new OEM seat track assembly can be extremely expensive, often costing over $800. This makes a quality used OEM part an excellent value. Here’s what to look for when buying a recycled seat track for your Taurus or MKS.
1. Verify Part Number and Compatibility
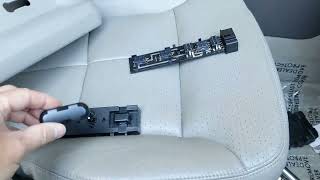
The primary OEM part number for this assembly is CG1Z-5461710-A. This number supersedes the older part number, AG1Z-5461710-A. It is crucial to confirm you are buying the correct part for the front passenger side. This assembly is specifically for the 10-way power seat. Your vehicle must have the corresponding features for the track to work. Inspect the electrical connectors on the used part and compare them to your original; they should be identical.
2. Physical Inspection
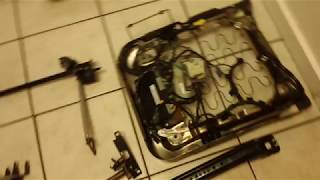
- Check for Rust and Corrosion: Inspect the entire metal frame for any signs of heavy rust or water damage. A part from a flood-damaged vehicle is a major red flag.
- Inspect Motors and Wiring: Check that all motors are present and the wiring harness is intact. Look for any cut wires, damaged connectors, or signs of previous, improper repairs.
- Examine Gears and Cables: If possible, look at the drive gears and flexible drive cables. These are common failure points. Damaged or stripped plastic gears will cause grinding noises and prevent movement. 🎬 See how to fix common clicking and grinding gear issues.
3. Test Before Installation (If Possible)
If you have a 12V power source, you can briefly test the function of each motor before installing the track onto the seat. By applying power and ground to the correct pins on the motor connectors, you can verify that they operate in both directions. 🎬 Watch: How to diagnose power seat motors, switches, and wiring. This can save you the significant hassle of installing a defective part.
Replacement Overview
Replacing the seat track is a moderately difficult job that a skilled DIYer can accomplish. The main challenge is handling the bulky and heavy seat assembly.
Difficulty: 3/5
Estimated Time: 1.5 - 2.5 hours
Basic Steps:
- Disconnect the Battery: Wait at least one minute to allow the SRS system to discharge.
- Unbolt the Seat: The seat is held to the floor by four bolts, typically at the corners of the seat rails. You may need to move the seat forward and backward to access all the bolts. If the seat is inoperative and blocking the bolts, you may need to manually power the motors with a 12V source or use drills on the drive cables to move the track.
- Disconnect Electrical Connectors: Carefully tilt the seat to access the main wiring harnesses underneath. There will be several connectors for the seat track motors, airbag sensors (OCS), and any heated/cooled seat functions.
- Remove the Seat: Carefully lift the entire seat assembly out of the vehicle. Be mindful of the door frame and interior trim.
- Swap the Track: Place the seat on a workbench. You will need to unbolt the seat cushion and frame from the old track and transfer it to the new one. Pay close attention to the routing of all wiring harnesses. You will likely need to transfer the seat belt buckle from the old seat to the new one.
- Installation: Installation is the reverse of removal. It is critical to follow the correct bolt tightening sequence and torque specifications for the main seat bolts to ensure the Occupant Classification System (OCS) functions correctly. Typically, the front bolts are installed and torqued before the rear bolts.
Warning: The Occupant Classification System (OCS) is integrated with the passenger seat. Failure to install the seat correctly, including using the proper torque specs and sequence, can affect airbag operation and increase the risk of injury in a crash.
Cost Comparison
Prices can vary significantly between new OEM, aftermarket, and used parts. Labor costs for a professional installation typically range from $138 to $203.
| Part Type | Estimated Cost |
|---|---|
| New OEM | $870 - $1,340 |
| New Aftermarket | Not commonly available as a complete assembly. |
| Used OEM | $100 - $250 |
| Shop Labor | $150 - $250 |
Frequently Asked Questions (FAQ)
Can I just replace the broken motor instead of the whole track?
Sometimes, yes. Individual motors can be replaced, but they are often integrated into the track assembly and can be difficult to source and replace separately. Often, the failure is in a plastic gear within the motor's gearbox, not the electric motor itself. Given the low cost of a complete used OEM track assembly, it is often easier and more reliable to replace the entire unit.
Is the driver's side seat track the same as the passenger's side?
No, they are not interchangeable. The driver and passenger side tracks are mirror images of each other and have different part numbers and mounting points.
My seat is stuck and I can't get to the rear bolts. What do I do?
This is a common problem. The service manual suggests using drills to slowly turn the flexible drive cables for the horizontal motor to move the seat track manually. This must be done carefully and evenly on both sides to prevent the track from binding. Alternatively, you can try to apply 12V power directly to the pins of the horizontal motor to move it.
Why did only one function of my power seat stop working?
Each adjustment (forward/back, up/down, recline) has its own motor or a dedicated set of contacts within the control switch. If only one function fails, the problem is most likely isolated to that specific motor, its wiring, or the part of the switch that controls it. It is less likely to be a main power or fuse issue, as that would typically cause all functions to stop working.
Helpful Videos
Technical Specifications
OEM Part Numbers: CG1Z-5461710-A AG1Z-5461710-A
For Front Passenger Side (Right), 10-way power adjustment.
We Have This Part in Stock

The information in this article is provided for general reference and educational purposes only. Vehicle specifications, procedures, and part compatibility can vary by production date, trim level, and region. Always consult your vehicle's factory service manual and verify part numbers before purchasing or performing repairs. Safety-critical components such as airbags, seat belts, and braking systems should be installed by a qualified professional.
- Ford Taurus:
- Lincoln MKS:
- 🎬 Helpful Videos
- 🛍️ Shop This Part
- Symptoms of a Failing Seat Track
- Known Issues, Recalls, and TSBs
- Buying a Used Seat Track Bracket
- 1. Verify Part Number and Compatibility
- 2. Physical Inspection
- 3. Test Before Installation (If Possible)
- Replacement Overview
- Basic Steps:
- Cost Comparison
- Frequently Asked Questions (FAQ)
- 🎟️ Get 5% Off