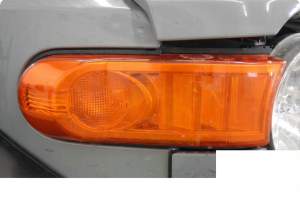
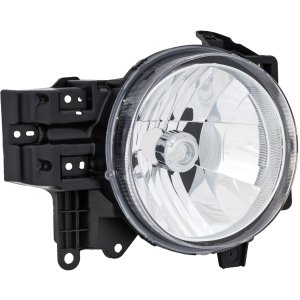
This is a genuine original equipment (OEM) front lamp assembly.
Condition: Excellent (A)
Mileage: 46,800 miles
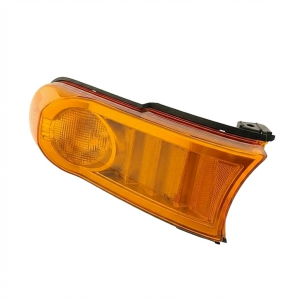
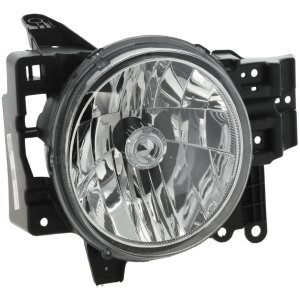
This is a genuine original equipment (OEM) front lamp assembly.
Condition: Excellent (A)
Mileage: 128,100 miles
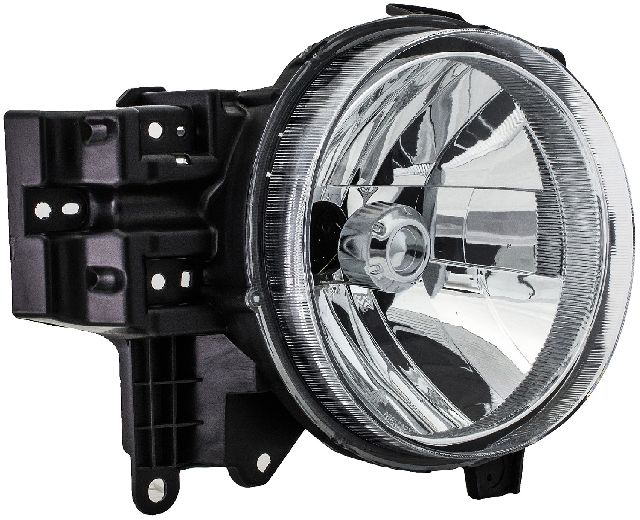
This is a Composite style headlight.
OEM Part Number: 8114035465
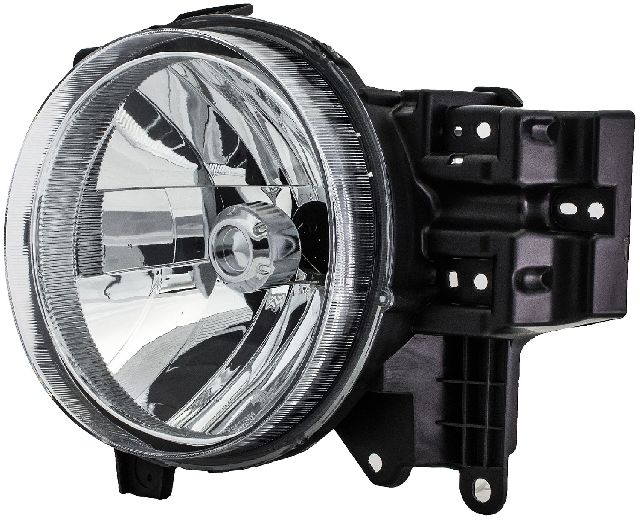
This is a Composite style headlight.
OEM Part Number: 8107035445
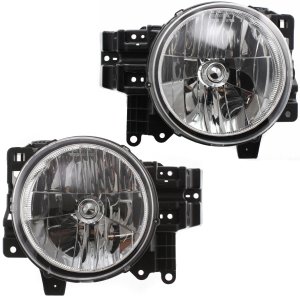
Includes the lens and housing.
OEM #s: 8107035445, 8114035465
Partslink #s: TO2502173, TO2503173
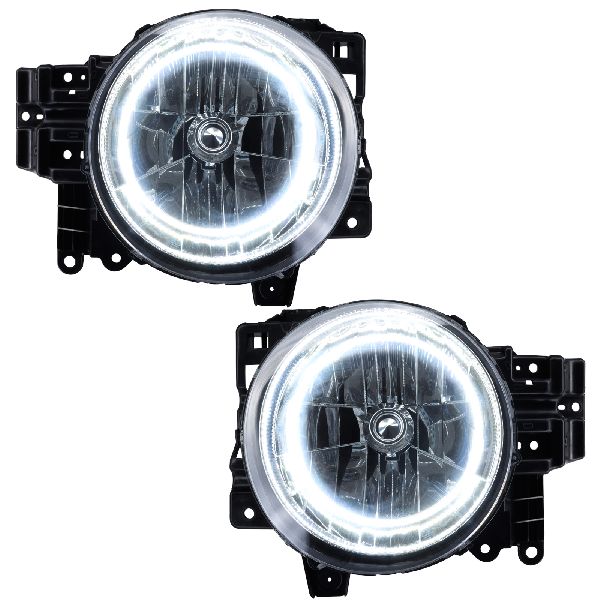


Browse our selection of quality headlight assembly parts designed specifically for your Toyota FJ Cruiser. We carry options across multiple trim levels, body styles, and engine configurations to ensure a perfect fit.
Base · Core · Premium · TRD Special Edition · Trail Teams Special Edition
SUV · Sport Utility
4.0L V6 · V6 4.0L
Automatic · Manual