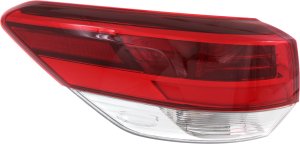
Applicable OEM #: 81560-0E230
Applicable for model years 2020 through 2023.
OEM # 81550-0E230
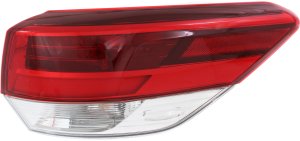
This part fits Base, Limited, and SE Models.
It is suitable for vehicles built in Japan.
The OEM number is 8155148160.
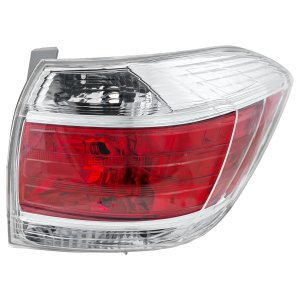
The part includes the lens, cover, and housing. The OEM number is 8156148050.
The OEM number is 8155148050.
This is a high-quality TYC/DEPO-brand item.
The OEM number is 819100E030.

This is a high-quality TYC/DEPO-brand item.
OEM Reference Number: 819200E021

This is a high-quality TYC/DEPO-brand item.
OEM Reference Number: 819100E041
This part fits Base, Limited, and SE Models.
It is suitable for vehicles built in Japan.
The OEM number is 8156148160.
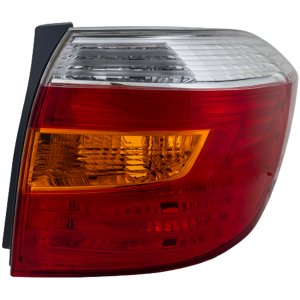
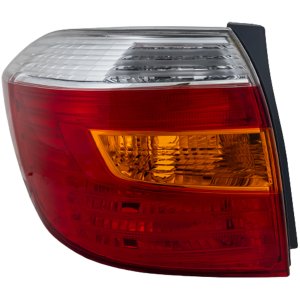
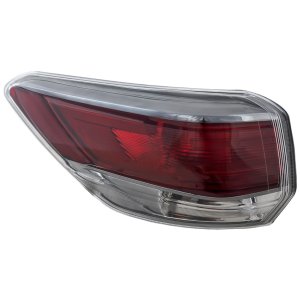
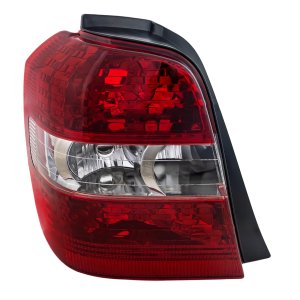
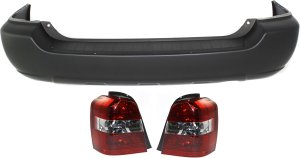
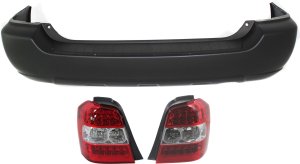
This is a complete assembly for a USA Built Vehicle.
OEM #815600E070
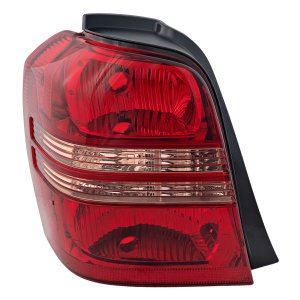
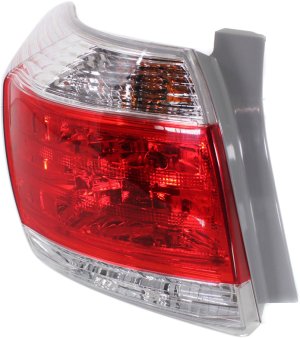
This is a complete assembly for a USA Built Vehicle.
OEM #815500E070
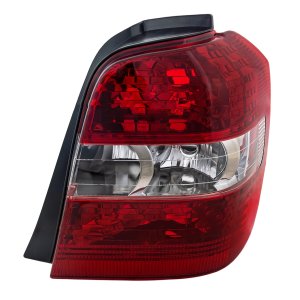
This assembly comes with bulbs and sockets.
OEM number: 815600E100
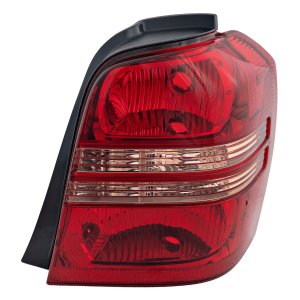
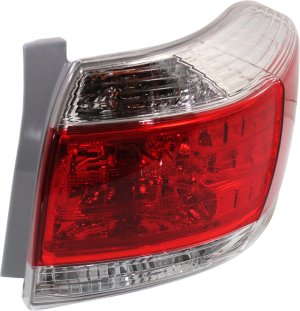
This tail light is designed for the Sport Model.
It is suitable for vehicles built in Japan.
The OEM number is 8156148170.
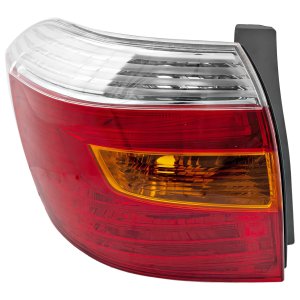
This tail light is designed for the Sport Model.
It is suitable for vehicles built in Japan.
The OEM number is 8155148170.
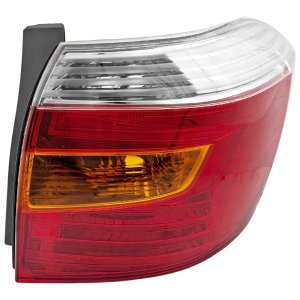
This assembly comes with bulbs and sockets.
OEM number: 815500E100
OEM #8156148090
OEM #8155148090
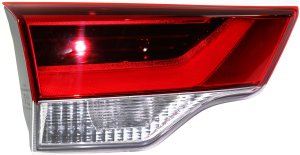
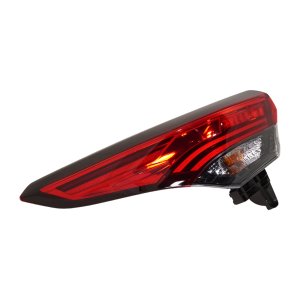
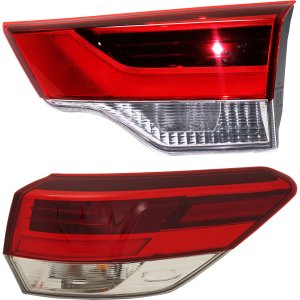
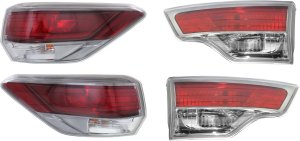
This is the Inner position, LED type assembly.
OEM #: 81590-0E120
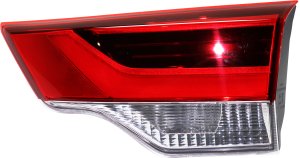
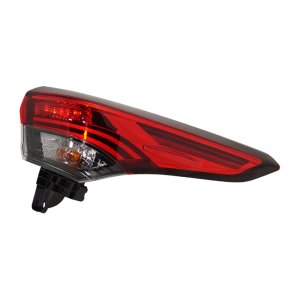
LED Tail Light Assembly, Inner.
OEM #: 81580-0E120
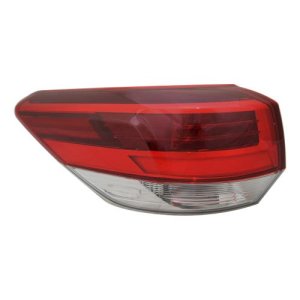
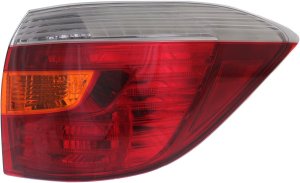
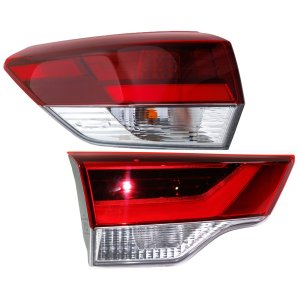
This is the Outer Tail Lamp Assembly.
It uses Halogen technology.
The OEM # is 81560-0E160.
This is the inner tail light assembly.
Features a tinted lens.
OEM # 81590-0E190
Features a Tinted Lens.
OEM # 81580-0E190
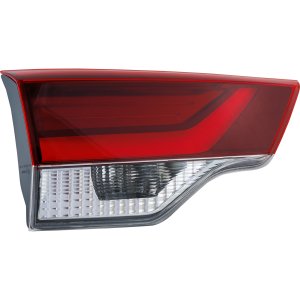
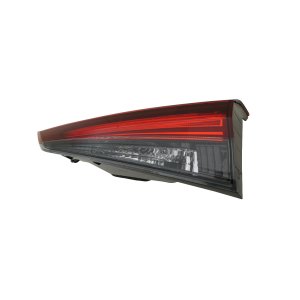
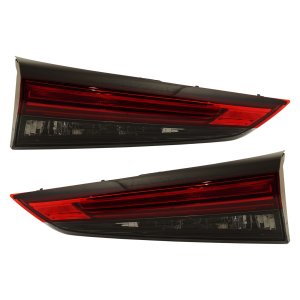
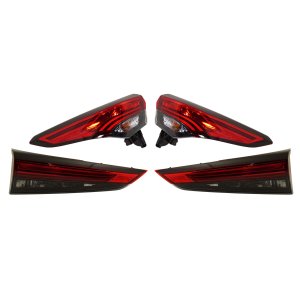
This is an Outer LED Assembly featuring a Tinted Lens.
OEM #: 81560-0E250
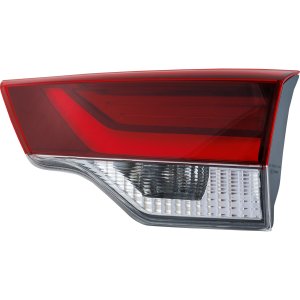
Outer Tail Light Assembly.
Uses LED lighting.
Features a Tinted Lens.
Replacement OEM #: 81550-0E250
This is a high-quality TYC/DEPO-brand item.
OEM number: 815900E060
This is a high-quality TYC/DEPO-brand item.
OEM number: 815800E050
This is the Outer Tail Lamp Assembly.
It uses Halogen technology.
The OEM # is 81560-0E160.
This is the Outer LED Tail Light Assembly.
LED OEM #: 81550-0E160

This is a high-quality TYC/DEPO-brand item.
The OEM reference number is 8156148270
This is a high-quality TYC/DEPO-brand item.
The OEM reference number is 8155148270
Applicable OEM #: 81590-0E180

Applicable for model years 2020 through 2023.
OEM # 81580-0E180
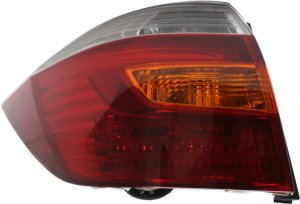
Fits Hybrid models.
Replacement OEM #: 81550-0E161
This is a high-quality TYC/DEPO-brand item.
The OEM number is 815600E060.

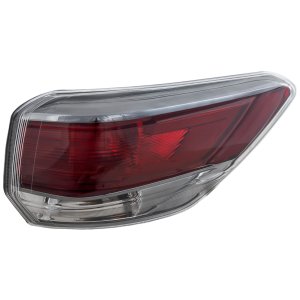
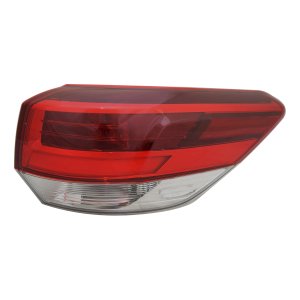
2024-2025 TOYOTA HIGHLANDER: OEM # 81590-0E290
2024-2025 TOYOTA HIGHLANDER: OEM # 81580-0E290

2024-2025 TOYOTA HIGHLANDER: OEM # 81560-0E360
2024-2025 TOYOTA HIGHLANDER: OEM # 81550-0E360
This is a high-quality TYC/DEPO-brand item.
The OEM number is 815500E060.
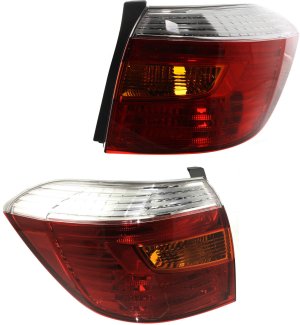
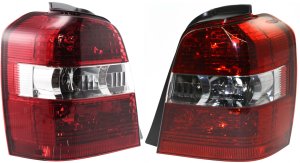
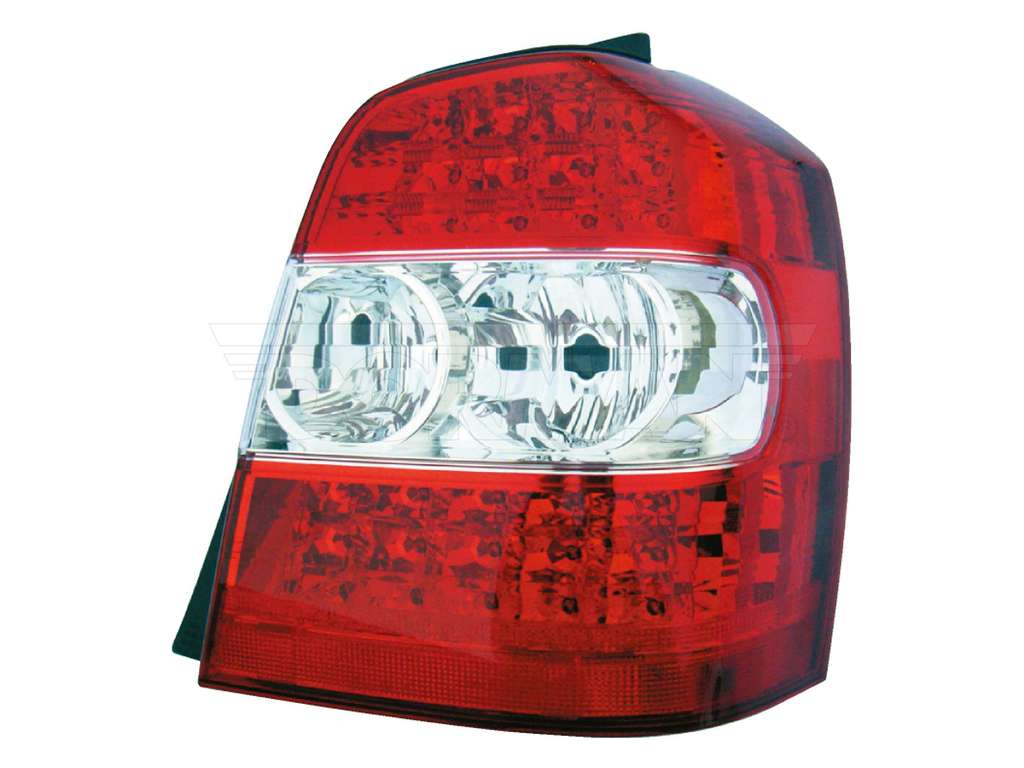
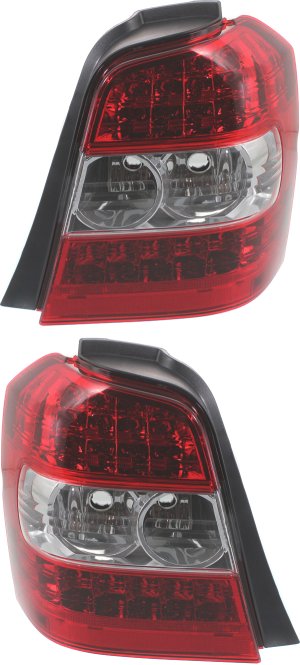
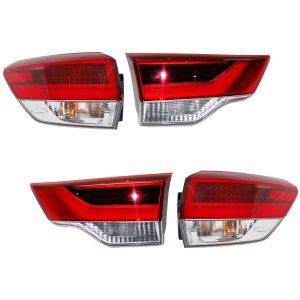
OEM #s: 8156148160, 8155148160
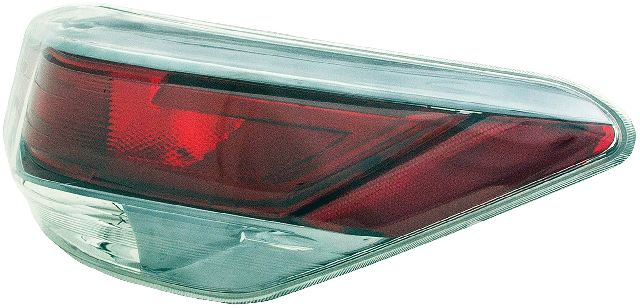
This set includes the Lens and Housing with a Clear and Red Lens.
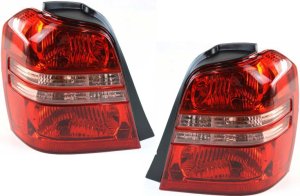
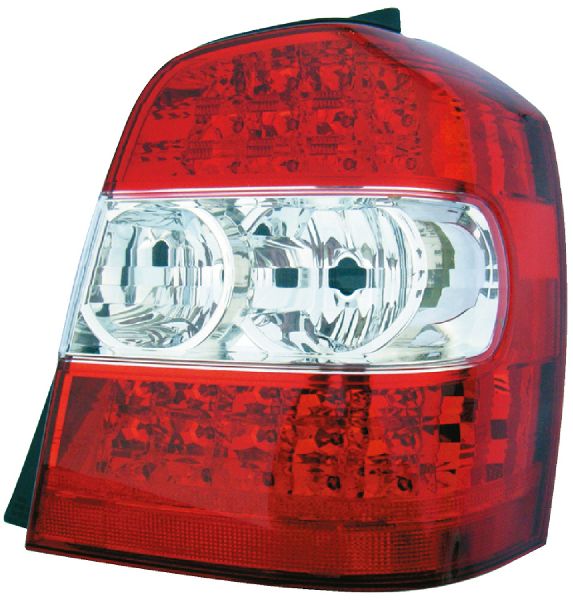
OEM #s: 8156148050, 8155148050
Partslink #s: TO2819119, TO2818119
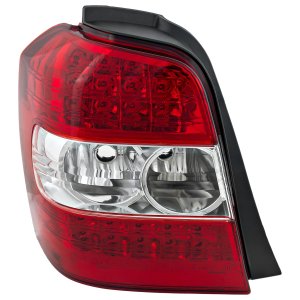
The OEM number is 8156148130.
OEM #: 8155148130
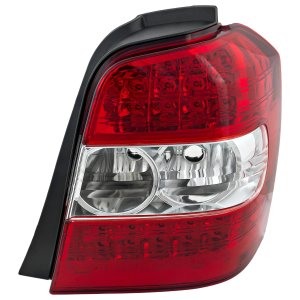
OEM #: 8156148090, 8155148090
, TO2818120
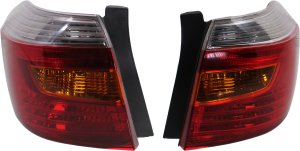
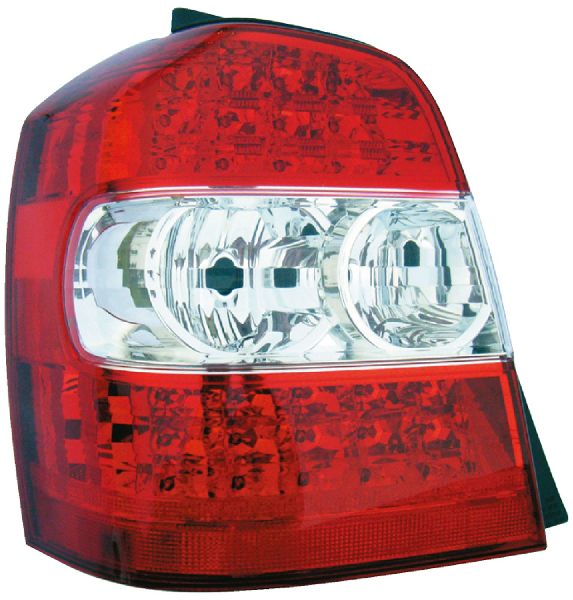
This is a Tail Lamp set.
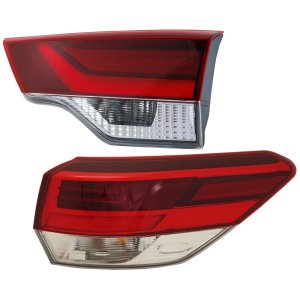
OEM #s: 8156148170, 8155148170
Partslink #s: TO2801174, TO2800174
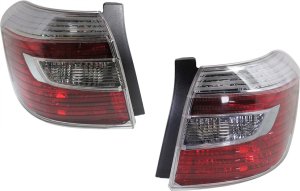
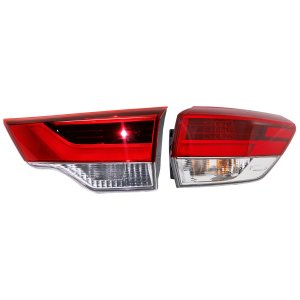
OEM #s: 8156148200, 8155148200
Partslink #s: TO2819139, TO2818139
This assembly Excludes Hybrid Models.
Designed for a USA Built Vehicle.
OEM #s: 815600E070, 815500E070
Built in U.S.A.


Lamp Assembly
Lamp Assembly
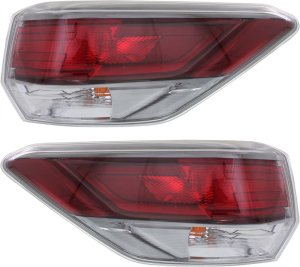
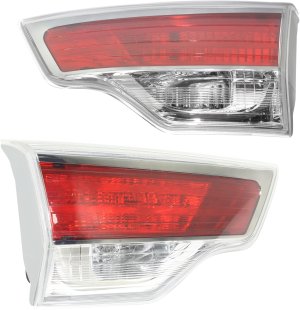
This is a replacement pair for the outer tail lamp assembly.
OEM #s: 815600E100, 815500E100

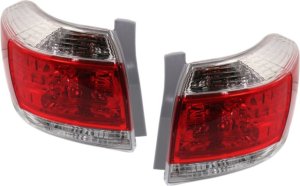
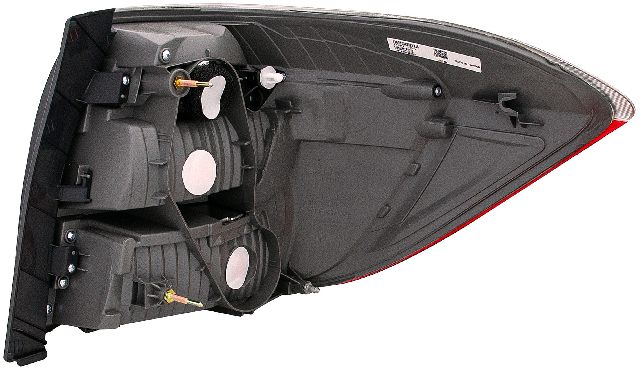
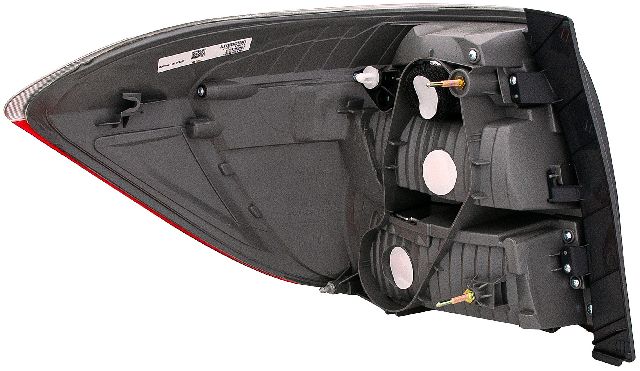
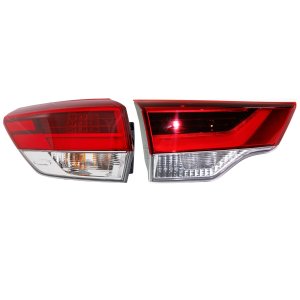
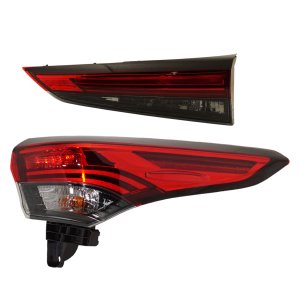
This is an Assembly that includes both the Inner and Outer tail lights.
It is LED type.
It fits Non Hybrid Models from 2016-2018 and is Type 1.
The OEM #s are 815800E050 and 815500E100.

This is a replacement part.
OEM #s: 815900E060, 815600E100
OEM #s: 815600E230, 815500E230
The light uses Halogen technology.
OEM #s: 815900E120
Partslink #s: TO2802139
The OEM #s are 815900E060 and 815800E050.
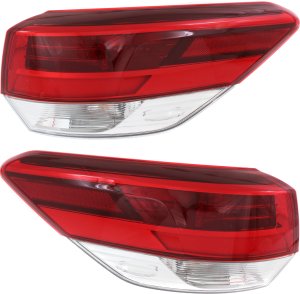
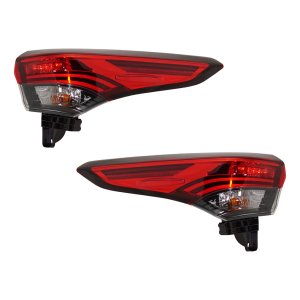
This is the Outer assembly.
It uses LED lighting.
The OEM #s are 815600E160 and 815500E160
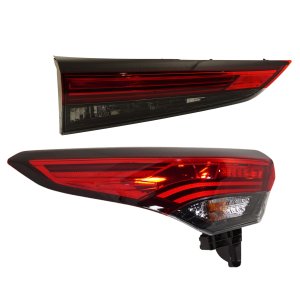
This tail light set includes both the Inner and Outer units for the Left (Driver) side.
The lights use LED technology.
OEM #s: 815900E180, 815600E230

This Assembly includes the Inner lights for the Right (Passenger) and Left (Driver) sides.
It uses LED bulbs.
OEM #s: 815900E120, 815800E120

OEM #s: 815800E120, 815500E160
OEM #s: 815800E180, 815500E230
Partslink #s: TO2803156, TO2805156
OEM #s: 5215948904, 8156148090, 8155148090
This is a complete assembly.
OEM #s: 815800E120
Partslink #s: TO2803139
OEM #s: 815900E120, 815600E250
Partslink #s: TO2802139, TO2804153
OEM #s: 8156148130, 8155148130
Partslink #s: TO2801162, TO2800162
Assembly.
OEM #s: 815800E190
This is a complete assembly.
OEM #: 815800E120
OEM #s: 815900E180, 815800E180
OEM #s: 815900E060, 815800E050, 815600E100, 815500E100
Partslink #s: TO2805120, TO2804120, TO2803115, TO2802115
OEM #s: 5215948904, 8156148130, 8155148130
OEM #s: 815900E120, 815800E120
Partslink #s: TO2802139, TO2803139
OEM #s: 815900E180, 815800E180, 815600E230, 815500E230
Partslink #s: TO2802156, TO2803156, TO2804156, TO2805156


Browse our selection of quality tail light assembly parts designed specifically for your Toyota Highlander. We carry options across multiple trim levels, body styles, and engine configurations to ensure a perfect fit.
Base · Base Premium · Hybrid · Hybrid Bronze Edition · Hybrid LE · Hybrid LE Nightshade · Hybrid Limited · Hybrid Limited 25th Edition · Hybrid Limited Platinum · Hybrid Platinum · Hybrid XLE · Hybrid XLE Nightshade · L · LE · LE Plus · Limited · Limited Platinum · Platinum · Plus · SE · Sport · Sport Premium · XLE · XSE
Sport Utility
2.4L L4 · 2.5L L4 · 2.7L L4 · 3.0L V6 · 3.3L V6 · 3.5L V6 · L4 2.4L · L4 2.7L · V6 3.3L · V6 3.5L
Automatic · Automatic CVT