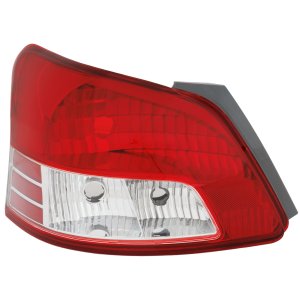
OEM Part Number: 8156152680
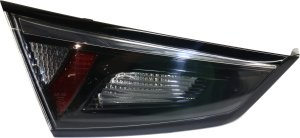
This part is for the 2 door hatchback model.
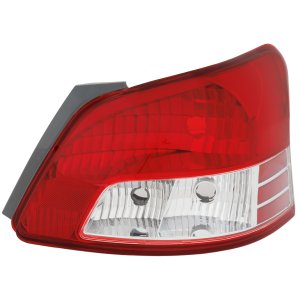
OEM #8156152460
This part is for the 2 door hatchback model.
OEM #8155152520
OEM Part Number: 8155152770
OEM Part Number: 8155152600
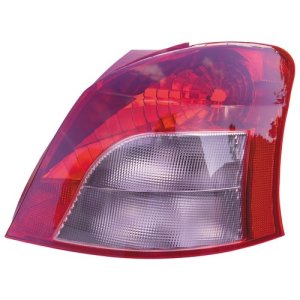
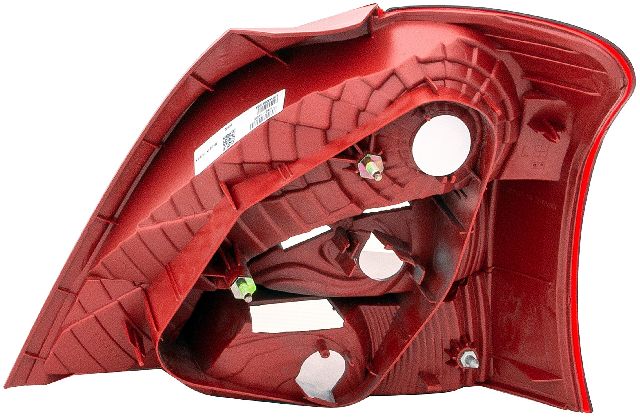
This is a high-quality TYC/DEPO-brand item.
It includes the lens, cover, and housing.
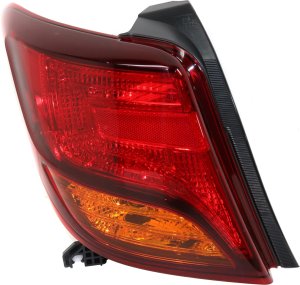
The OEM number is 8155152820.
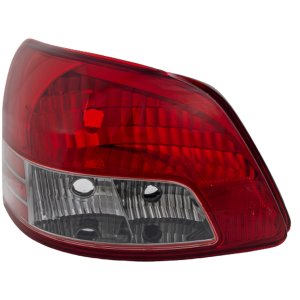
OEM Part Number: 8156152550
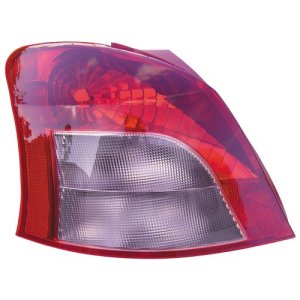
This is a high-quality TYC/DEPO-brand item.
It includes the lens, cover, and housing.
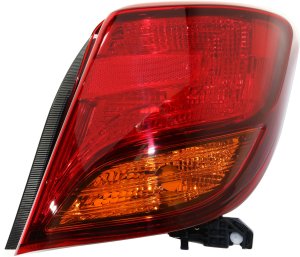
The OEM number is 8156152760.
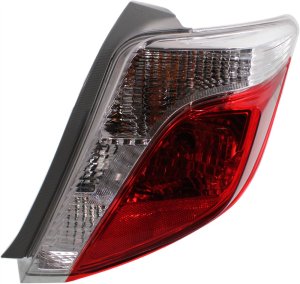
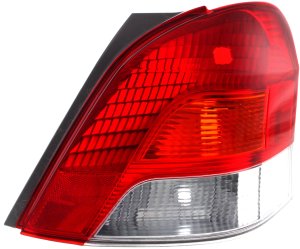
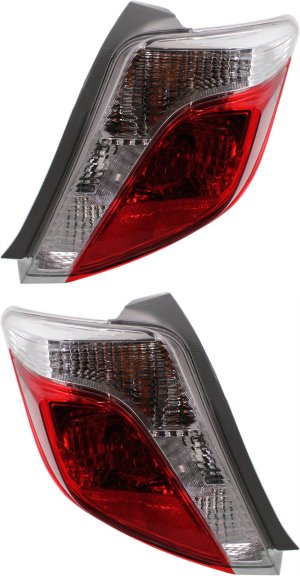
This light is designed for the Sedan body style.
OEM #: 81590-WB002
The OEM number is 8155152780.
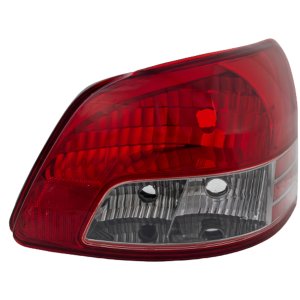
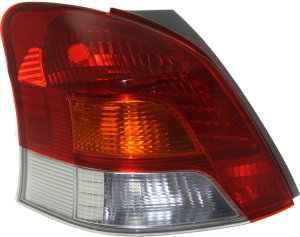
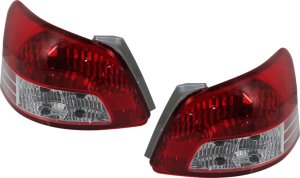
This Tail Light includes the Lens and Housing.
It is designed for the Hatchback body style.
OEM #: 81561-0D620
Fits Hatchback models only.
Includes the Lens and Housing.
OEM #: 81551-0D620
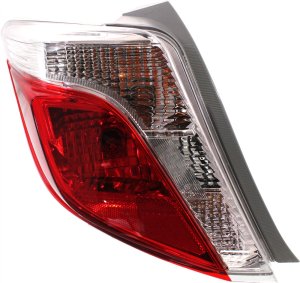
The OEM number is 8156152700.
Fits Sedan models only.
OEM #: 81580-WB002
This fits the Sedan model.
OEM #: 81560-WB004
The OEM # is 81550-WB004.
OEM #s: 8156152550, 8155152600
OEM #s: 8156152760, 8155152820


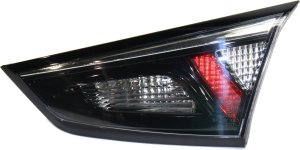
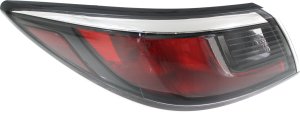
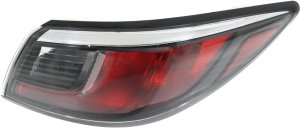
Browse our selection of quality tail light assembly parts designed specifically for your Toyota Yaris. We carry options across multiple trim levels, body styles, and engine configurations to ensure a perfect fit.
Base · CE · Core · L · LE · Premium · RS · S · SE · XLE
Hatchback · Sedan
1.5L L4 · L4 1.5L
Automatic · Manual