
1994-2005 Ford & Mazda A/C Compressor Failure: Noises, Leaks, and Replacement Costs
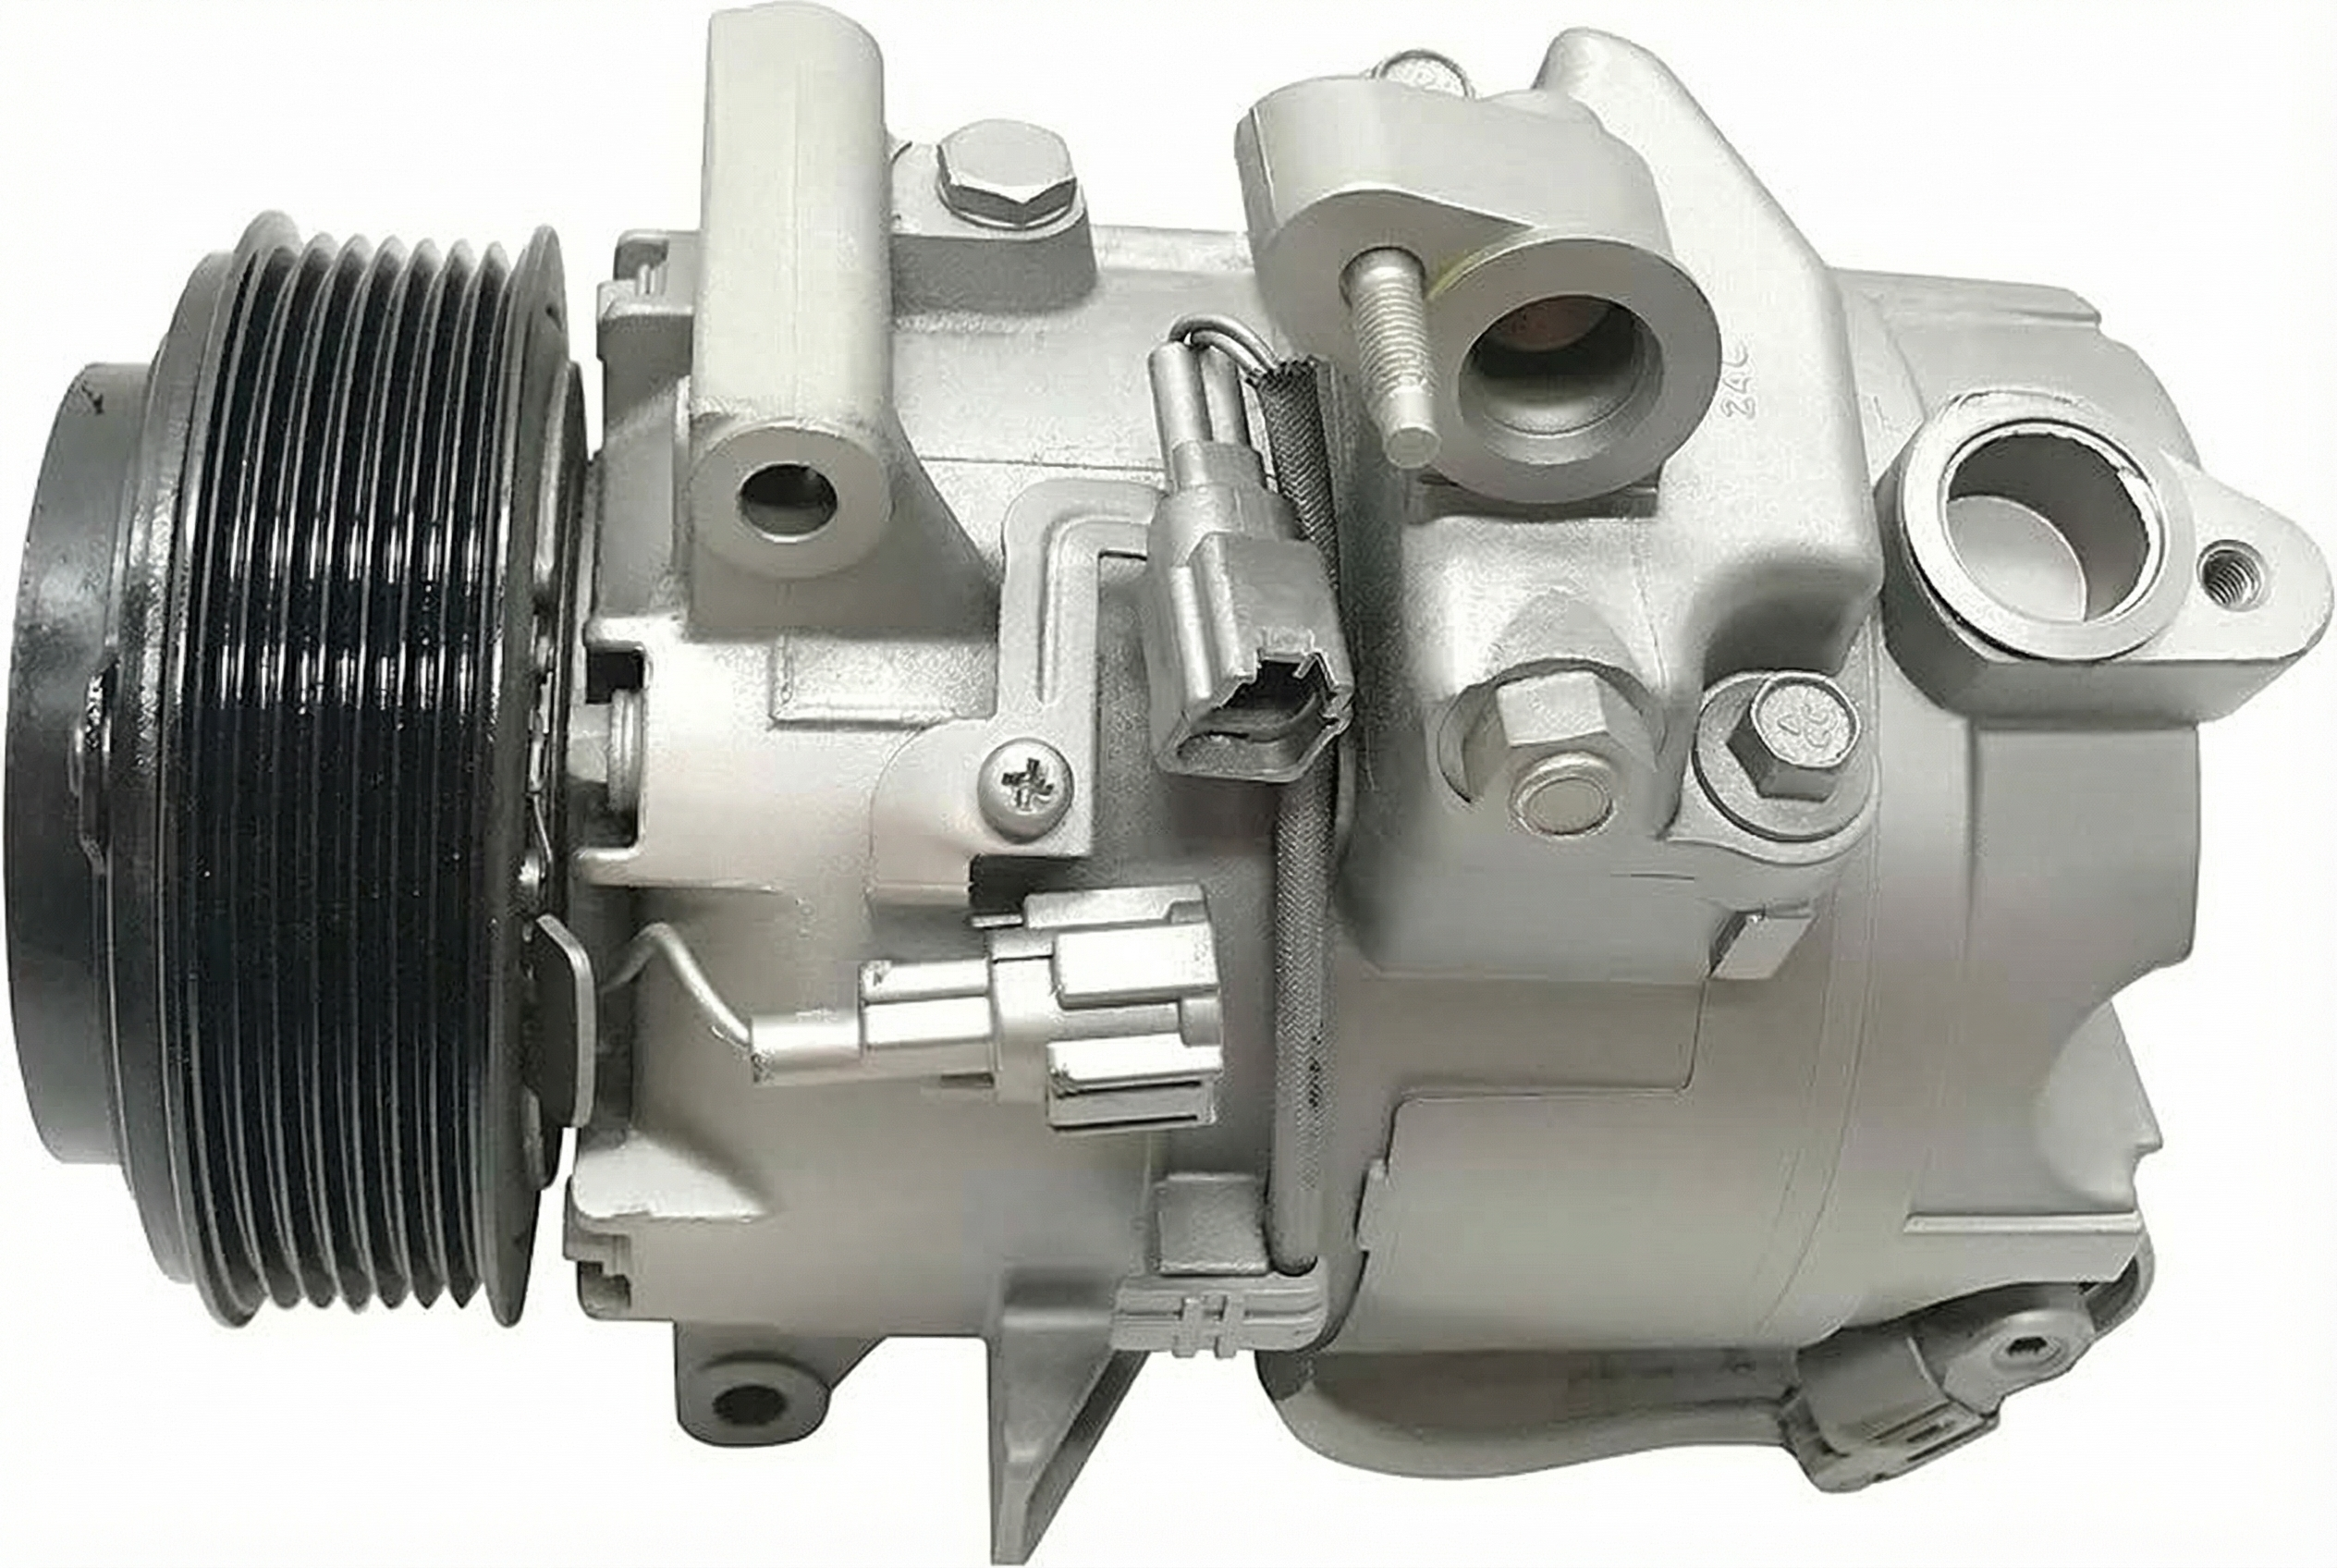
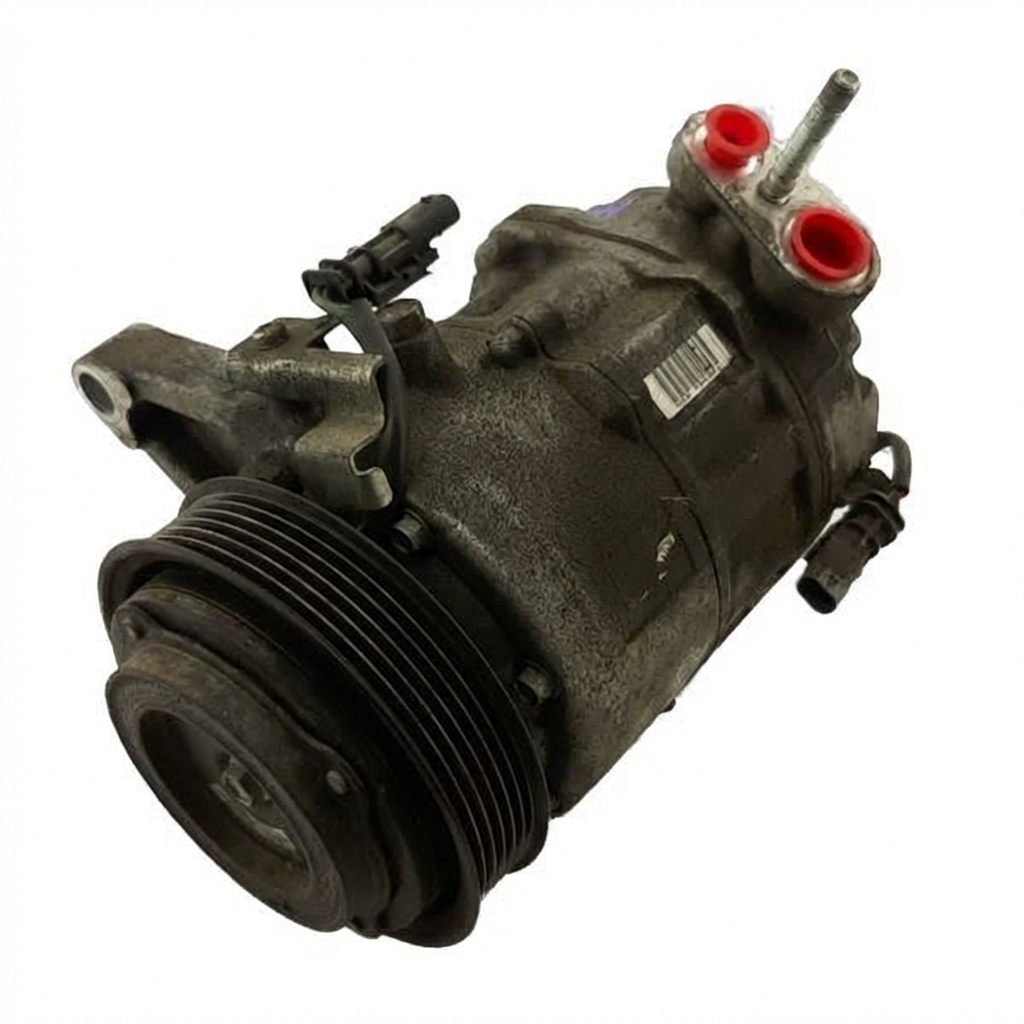
This guide covers the common FS10-style A/C compressor used in the Ford Explorer, Ranger, E-Series Econoline vans, Windstar, and Mazda B-Series trucks, focusing on symptoms, diagnosis, and buying a quality used replacement.
- Internal failure can send metal debris through the entire A/C system, requiring replacement of the compressor, condenser, accumulator, and orifice tube.
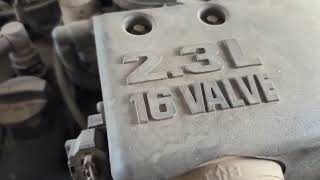
- This compressor is highly specific to your vehicle's engine (3.0L, 3.8L, or 4.0L V6). Always verify the engine before purchasing.
- DIY replacement is possible, but you MUST have the refrigerant professionally evacuated before starting and vacuumed/recharged after finishing.
- When buying a used compressor, always inspect the ports for metal shavings and test the clutch with a 12V source before installation.
Symptoms of a Failing A/C Compressor
When the A/C compressor begins to fail on your Ford Explorer, Ranger, E-Series van, or Mazda B-Series truck, it will usually provide several warning signs. Ignoring these can lead to more extensive and costly damage to the entire A/C system.
1. Grinding, Squealing, or Rattling Noises
Unusual noises from the engine bay, especially when the A/C is turned on, are a primary symptom. A grinding or rattling sound often indicates failing internal bearings or other components inside the compressor. A loud squeal can point to a seized compressor pulley bearing or a slipping clutch. These noises may be constant or only appear when the A/C clutch engages.
2. A/C Blows Warm or Only Cool Air
The most obvious symptom is a lack of cold air from the vents. If the compressor is weak, it cannot adequately pressurize the refrigerant, leading to poor cooling performance. You might notice the air is only slightly cool, or completely warm. This can also be caused by a refrigerant leak, which is another potential failure point of the compressor itself.
3. Visible Refrigerant or Oil Leaks
The compressor has several seals that can fail over time, leading to leaks. You may see a puddle of fluid under the vehicle or notice a greasy, oily residue on the body of the compressor. The refrigerant contains a specific type of oil (PAG 46 oil for these systems) to lubricate the internal parts, and a leak starves the compressor of this vital lubrication, accelerating its failure.
4. The A/C Clutch Does Not Engage
When you turn on the A/C, you should hear a distinct 'click' from the engine bay as the compressor clutch engages. This clutch connects the compressor's pulley to its internal pump. If the clutch does not engage, it could be due to a failed clutch coil, an incorrect air gap, or an electrical issue. The system's pressure switches can also prevent the clutch from engaging if the refrigerant level is too low, often due to a leak.
Known Issues and Recalls
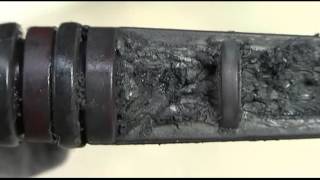
While there are no widespread recalls for this specific A/C compressor on these vehicles, a well-known and severe failure mode is often referred to by mechanics as "black death."
This occurs when the compressor's internal components catastrophically fail, grinding themselves into fine metal shavings. These shavings, along with contaminated oil, are then circulated throughout the entire A/C system. This debris clogs the condenser's small passages, the orifice tube, and contaminates the evaporator and accumulator. If this happens, simply replacing the compressor is not enough. The new compressor will quickly be destroyed by the debris left in the system. A complete repair requires replacing the compressor, condenser, accumulator/drier, and orifice tube, as well as thoroughly flushing all refrigerant lines.
Compatibility Warning: This compressor is highly specific to the engine in your vehicle. It was used with the 3.0L, 3.8L, and 4.0L V6 engines across different models. Always verify your engine size before ordering. Additionally, for 1995 Ford E-350 models, this part is specified for vans with a DIESEL engine only.
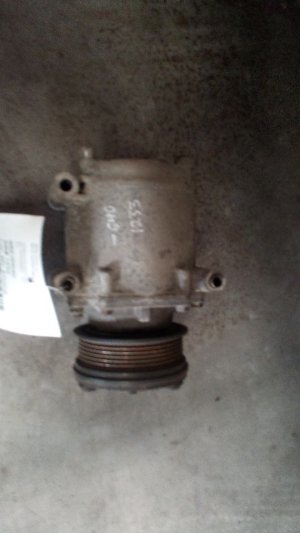
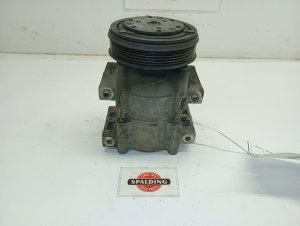
Buying a Used A/C Compressor: What to Check
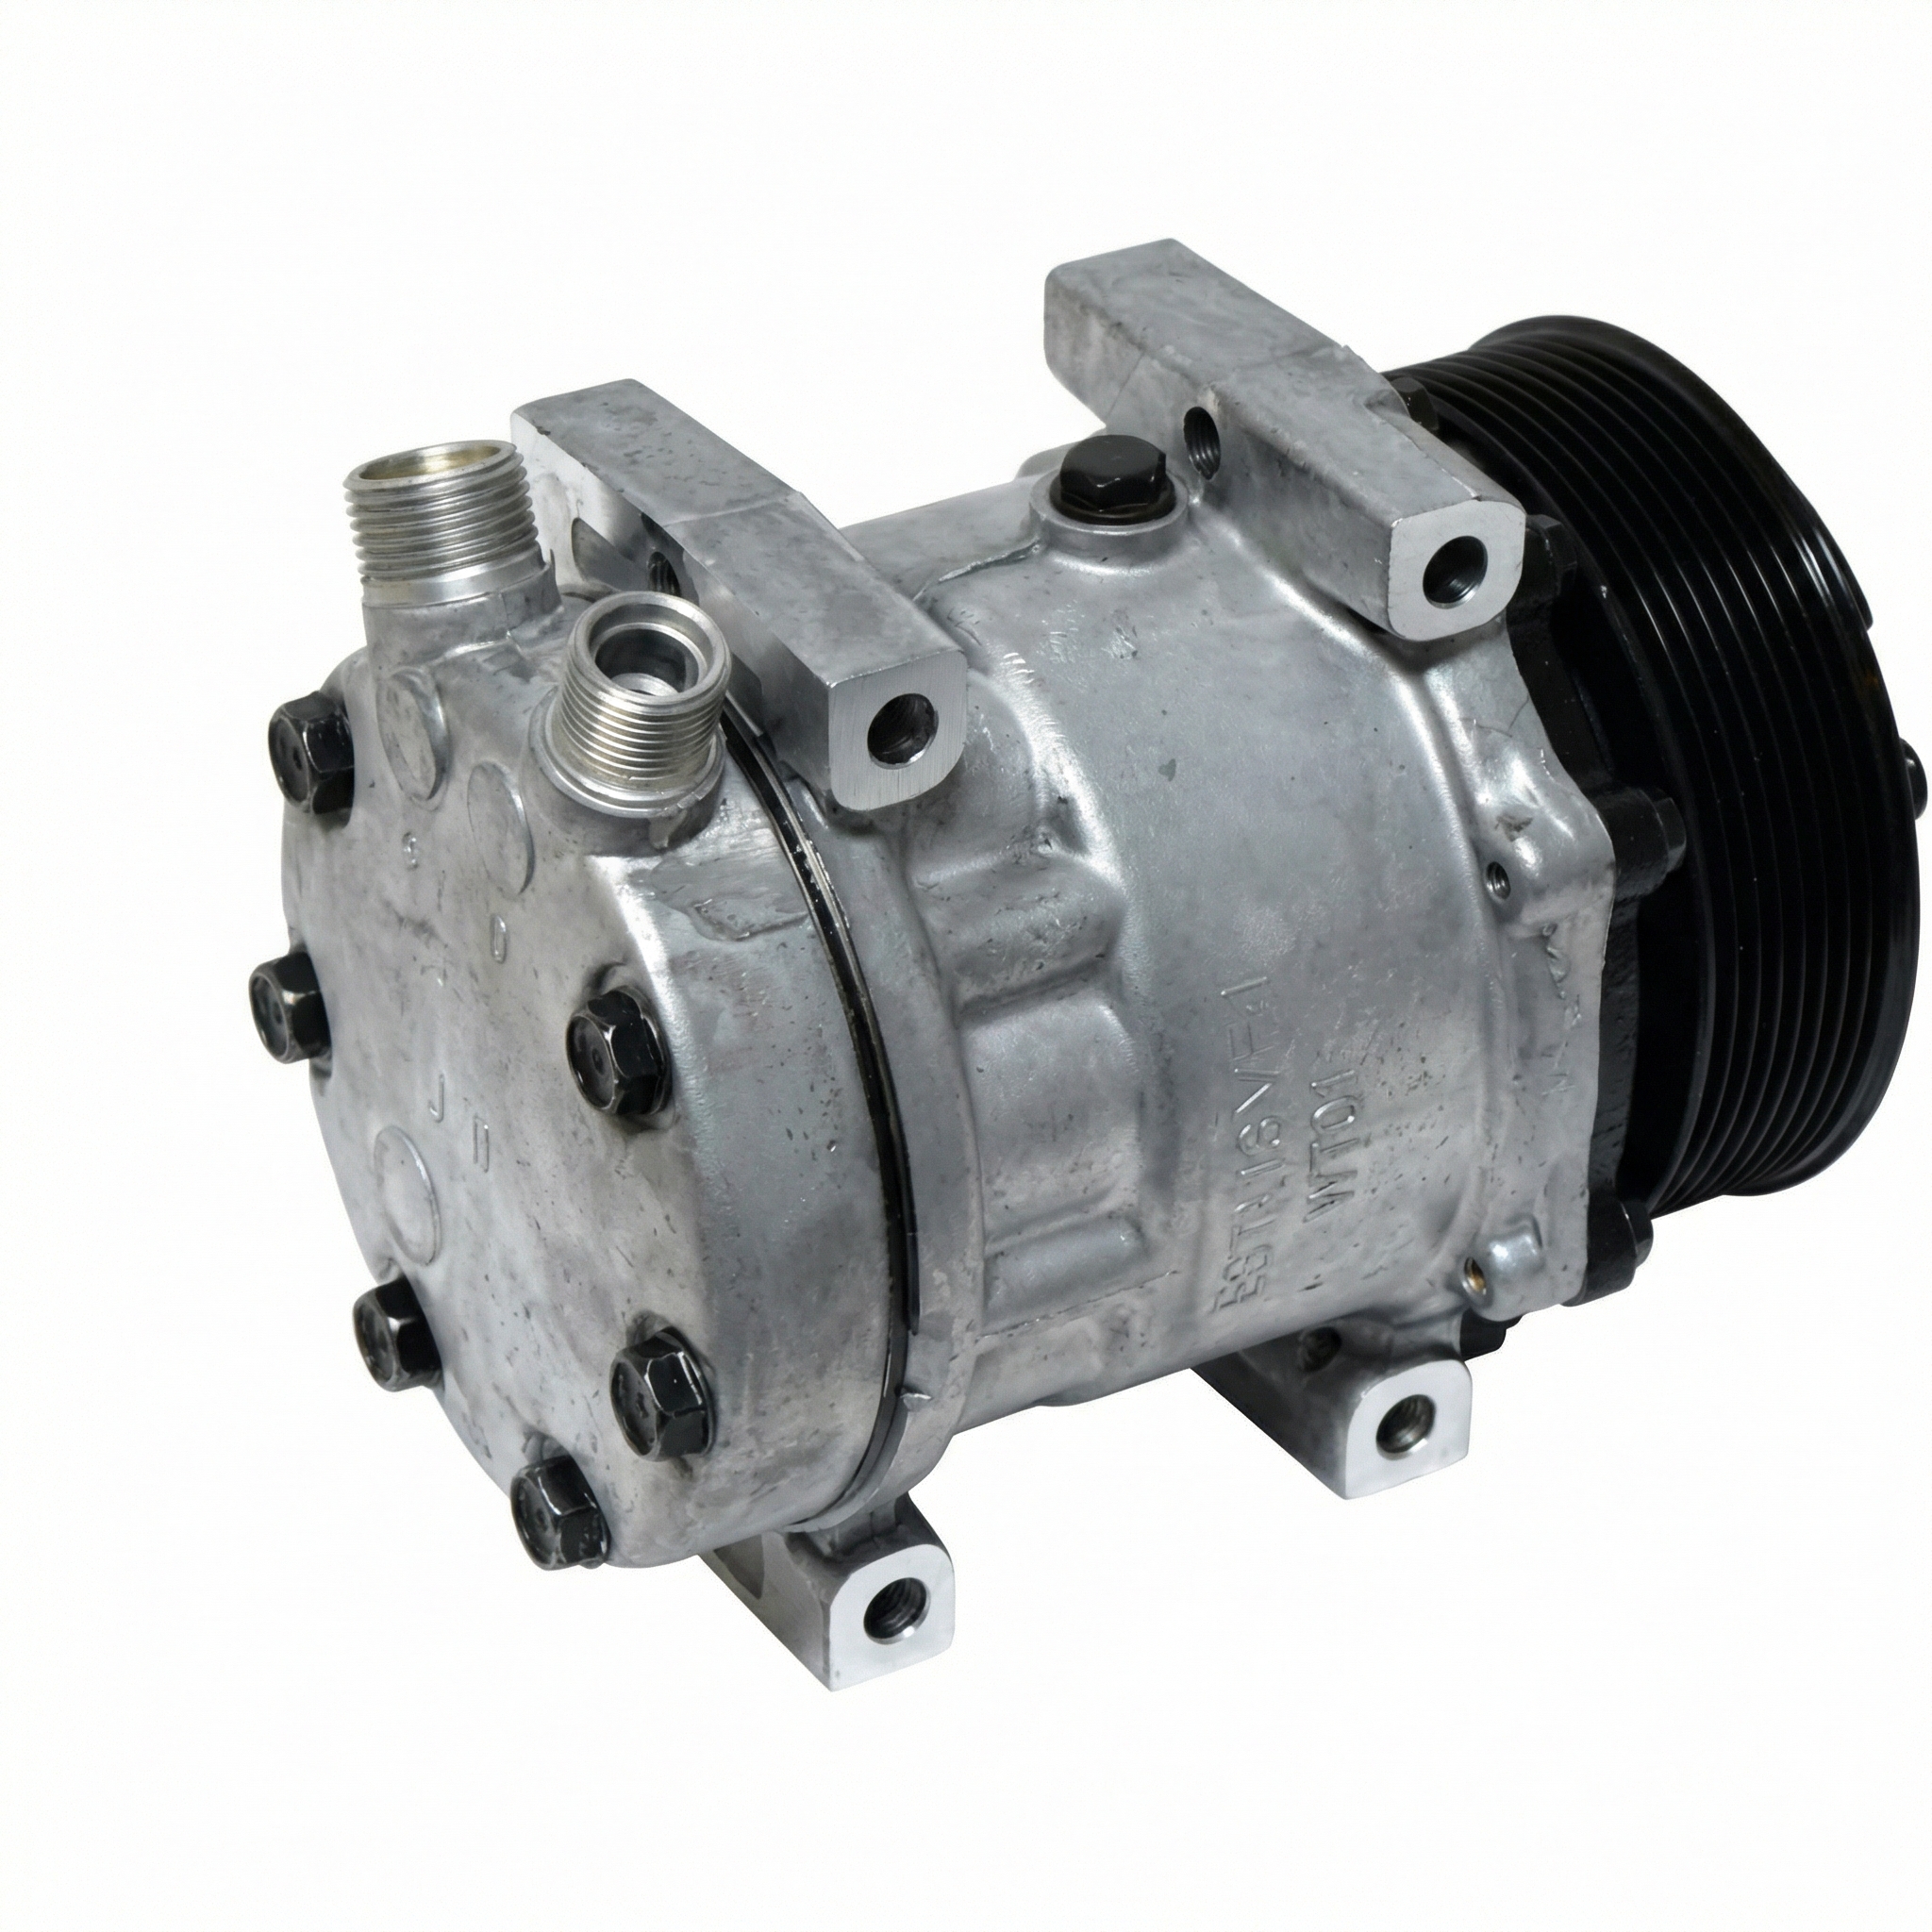
A quality used OEM compressor can be a reliable and cost-effective alternative to a new aftermarket part. However, a thorough inspection is critical to avoid buying a part that is already failing. Here’s what to look for:
- Check for Physical Damage: Inspect the compressor housing for any cracks, deep gouges, or broken mounting tabs. Check that the electrical connector is intact and not corroded.
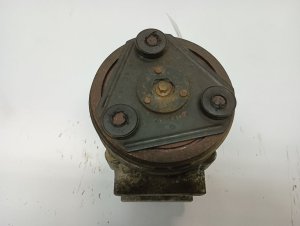
- Spin the Pulley and Clutch Plate: With the compressor on a bench, turn the outer pulley by hand. It should spin smoothly and quietly. If you hear grinding or feel resistance, the pulley bearing is bad. Next, try to turn the inner clutch plate (the very front part). It should be difficult to turn, but should move with some effort, indicating the internal components are not seized.
- Inspect the Ports for Debris: Look inside the suction and discharge ports where the A/C lines connect. The presence of any metallic shavings or black, gritty oil is a major red flag indicating an internal failure ("black death"). The oil inside should be clean.
- Bench Test the Clutch: You can test the electromagnetic clutch with a 12V power source. Carefully apply power to the single pin on the electrical connector and ground the compressor body. You should hear a sharp 'click' as the clutch plate is pulled tight against the pulley. If it doesn't engage or smells burnt, the clutch has failed.
- Verify Part Numbers: If possible, match the part number on the used compressor to your original one to ensure correct fitment.
Cost of Replacement
The cost to replace the A/C compressor can vary significantly based on the parts you choose and the labor required. If the compressor failed internally and contaminated the system, expect costs to be on the higher end due to the need for additional parts and labor.
| Part/Service | Estimated Cost |
|---|---|
| New OEM Compressor | $300 - $550 |
| New Aftermarket Compressor | $150 - $250 |
| Used OEM Compressor | $75 - $150 |
| Remanufactured Compressor | $120 - $200 |
| Shop Labor | $150 - $350 |
| Total Professional Installation (Aftermarket Part) | $650 - $1,200+ |
Note: Costs are estimates and can vary by location and the extent of necessary repairs (e.g., system flush, condenser replacement).
Installation Guide and Difficulty
Replacing the A/C compressor is a moderately difficult job. While the mechanical steps are straightforward for someone with experience, the A/C system itself requires special tools and procedures for handling refrigerant.
- Difficulty: 3 out of 5
- DIY Feasible: Yes, but with a major caveat. It is illegal to release R-134a refrigerant into the atmosphere. You must have the system professionally evacuated at a shop before you begin work, and professionally vacuumed and recharged after you are finished.
- Estimated Time: 1.5 - 3 hours, depending on the vehicle.
Vehicle-Specific Replacement Notes:
- Ford Ranger / Mazda B-Series: This is generally considered the easiest of the listed vehicles for this job. The entire A/C system is located under the hood, providing good access to the compressor, accumulator, and lines without needing to work inside the dashboard.
- Ford E-Series Vans: Access is significantly more challenging. The compressor is typically removed from underneath the vehicle, which may require removing a steering stabilizer or other components to create enough clearance to drop it out.
- Ford Explorer / Sport Trac / Windstar: Access is generally from the top of the engine bay, but can be tight depending on the engine and accessories.
Essential Replacement Steps:
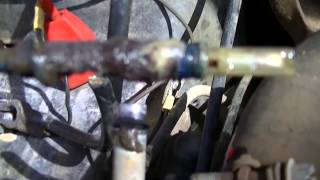
- Evacuate Refrigerant: Take the vehicle to a licensed A/C shop to have the refrigerant professionally recovered.
- Disconnect Battery: Disconnect the negative battery terminal.
- Remove Serpentine Belt: Use a breaker bar or belt tensioner tool to release tension on the serpentine belt and slide it off the A/C compressor pulley.
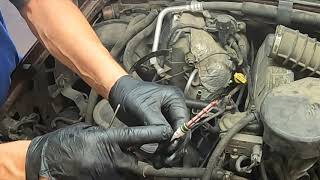
- Disconnect Lines & Connector: Unplug the electrical connector to the A/C clutch. Then, unbolt the refrigerant line manifold from the back of the compressor. Be prepared for a small amount of residual oil to drip out. Cap the open lines immediately to prevent moisture and debris from entering.
- Unbolt and Remove Compressor: Remove the 3 or 4 mounting bolts holding the compressor to the engine bracket and carefully remove it from the vehicle.
- Replace Related Parts: It is highly recommended to also replace the A/C accumulator (or receiver/drier) and the orifice tube anytime the system is opened. Failure to do so can void the warranty on a new compressor and lead to premature failure.
- Install New Compressor: Before installing, add the correct amount and type of PAG 46 oil if it's not pre-filled. Bolt the new compressor in place, using new O-rings on the refrigerant lines lubricated with PAG oil. Reconnect the lines and electrical connector.
- Vacuum and Recharge: Reinstall the serpentine belt. The vehicle must then be taken back to a shop to have the system vacuumed to remove all air and moisture, and then recharged with the correct amount of R-134a refrigerant.
Pro Tip: If your old compressor failed internally, flushing the system is not optional. Renting a flush kit from an auto parts store can be a cost-effective way to clean the evaporator and lines before installing new components. The condenser, with its very small passages, is nearly impossible to flush effectively and should always be replaced after a catastrophic compressor failure.
Frequently Asked Questions (FAQ)
Can I just replace the A/C clutch and not the whole compressor?
Sometimes, yes. If the compressor itself is still good but the clutch coil has failed or the pulley bearing is noisy, you can replace just the clutch assembly. However, sometimes the cost of a clutch kit and the special tools required can be close to the price of a complete remanufactured or used compressor assembly, which is often an easier repair.
Do I need to add oil to the new compressor?
Maybe. Many new and remanufactured compressors come pre-filled with oil, but you must verify this. The packaging or instructions will specify if oil is included. If not, you must add the correct amount of PAG 46 oil before installation. When replacing multiple components, you need to distribute the total system oil capacity among the new parts according to the service manual.
What is an orifice tube and why do I need to replace it?
The orifice tube is a small filter and expansion device located in the high-pressure liquid line, usually near the evaporator. It's a common collection point for debris from a failing compressor. It is a cheap part and is considered a mandatory replacement item whenever the system is serviced to ensure proper refrigerant flow and to filter out any residual contaminants.
My A/C stops blowing when I accelerate up a hill. Is that the compressor?
This is a common issue on older Ford trucks and vans, but it's usually not the compressor. This symptom is typically caused by a vacuum leak. The vents in the dashboard are controlled by vacuum-actuated doors. When you accelerate, engine vacuum drops, and if there's a leak in the system (often a cracked vacuum line or a bad check valve), the doors default to the defrost position, redirecting the airflow.
Helpful Videos

Technical Specifications
OEM Part Numbers: 4L2Z19V703AA 4R3Z19703A 6F3Z19D786BA F10Y19D798A F20Y19D784A F4DH19D623BA F4DHBA F4DZ19703A F5DH19D623AA F67H19D623AA F6DZ19703AA F77Z19703AB F79Z19703AA YC2523 YCC154
Compressor Type: Ford FS10 Style, Refrigerant: R-134a, Clutch Voltage: 12V, Oil Type: PAG 46, Pulley Grooves: 6
We Have This Part in Stock

The information in this article is provided for general reference and educational purposes only. Vehicle specifications, procedures, and part compatibility can vary by production date, trim level, and region. Always consult your vehicle's factory service manual and verify part numbers before purchasing or performing repairs. Safety-critical components such as airbags, seat belts, and braking systems should be installed by a qualified professional.
- Ford E-150 Econoline:
- Ford E-250 Econoline:
- Ford E-350 Econoline:
- Ford E-350 Super Duty:
- Ford Explorer:
- Ford Explorer Sport Trac:
- Ford Ranger:
- Ford Windstar:
- Mazda B3000:
- Mazda B4000:
- Mercury Mountaineer:
- 🎬 Helpful Videos
- 🛍️ Shop This Part
- Symptoms of a Failing A/C Compressor
- 1. Grinding, Squealing, or Rattling Noises
- 2. A/C Blows Warm or Only Cool Air
- 3. Visible Refrigerant or Oil Leaks
- 4. The A/C Clutch Does Not Engage
- Known Issues and Recalls
- Buying a Used A/C Compressor: What to Check
- Cost of Replacement
- Installation Guide and Difficulty
- Vehicle-Specific Replacement Notes:
- Essential Replacement Steps:
- Frequently Asked Questions (FAQ)
- 🎟️ Get 5% Off