
2015-2024 Sonata & 2021-2025 K5 A/C Compressor: Engine-Specific Parts and Failure Guide
This guide clarifies the confusing A/C compressor options for your Hyundai Sonata or Kia K5 and shows you how to diagnose common failures before you buy a replacement.
- Compressor compatibility is engine-specific. You MUST match the part number to your Sonata or K5's engine (2.0T/2.4L, 1.6T/2.5L, or 2.5T).
- When replacing the compressor, it is mandatory to also replace the A/C system's receiver/drier and expansion valve.
- The entire A/C system must be professionally flushed to remove contaminants from the old compressor before installing a new one.
- This is not a beginner-friendly DIY job due to the legal requirement to recover and recharge refrigerant with specialized equipment.
Symptoms of a Failing A/C Compressor
A bad A/C compressor will give you clear warning signs. Ignoring them can lead to more expensive repairs, as a failing compressor can send metal debris throughout the entire A/C system.
- No Cold Air or Warm Air: This is the most obvious symptom. If the compressor isn't pressurizing the refrigerant, the system can't cool the air.
- Strange Noises: Grinding, rattling, or squealing sounds when the A/C is turned on often point to failing internal bearings or a bad clutch. A loud humming could also indicate the compressor is starting to fail.
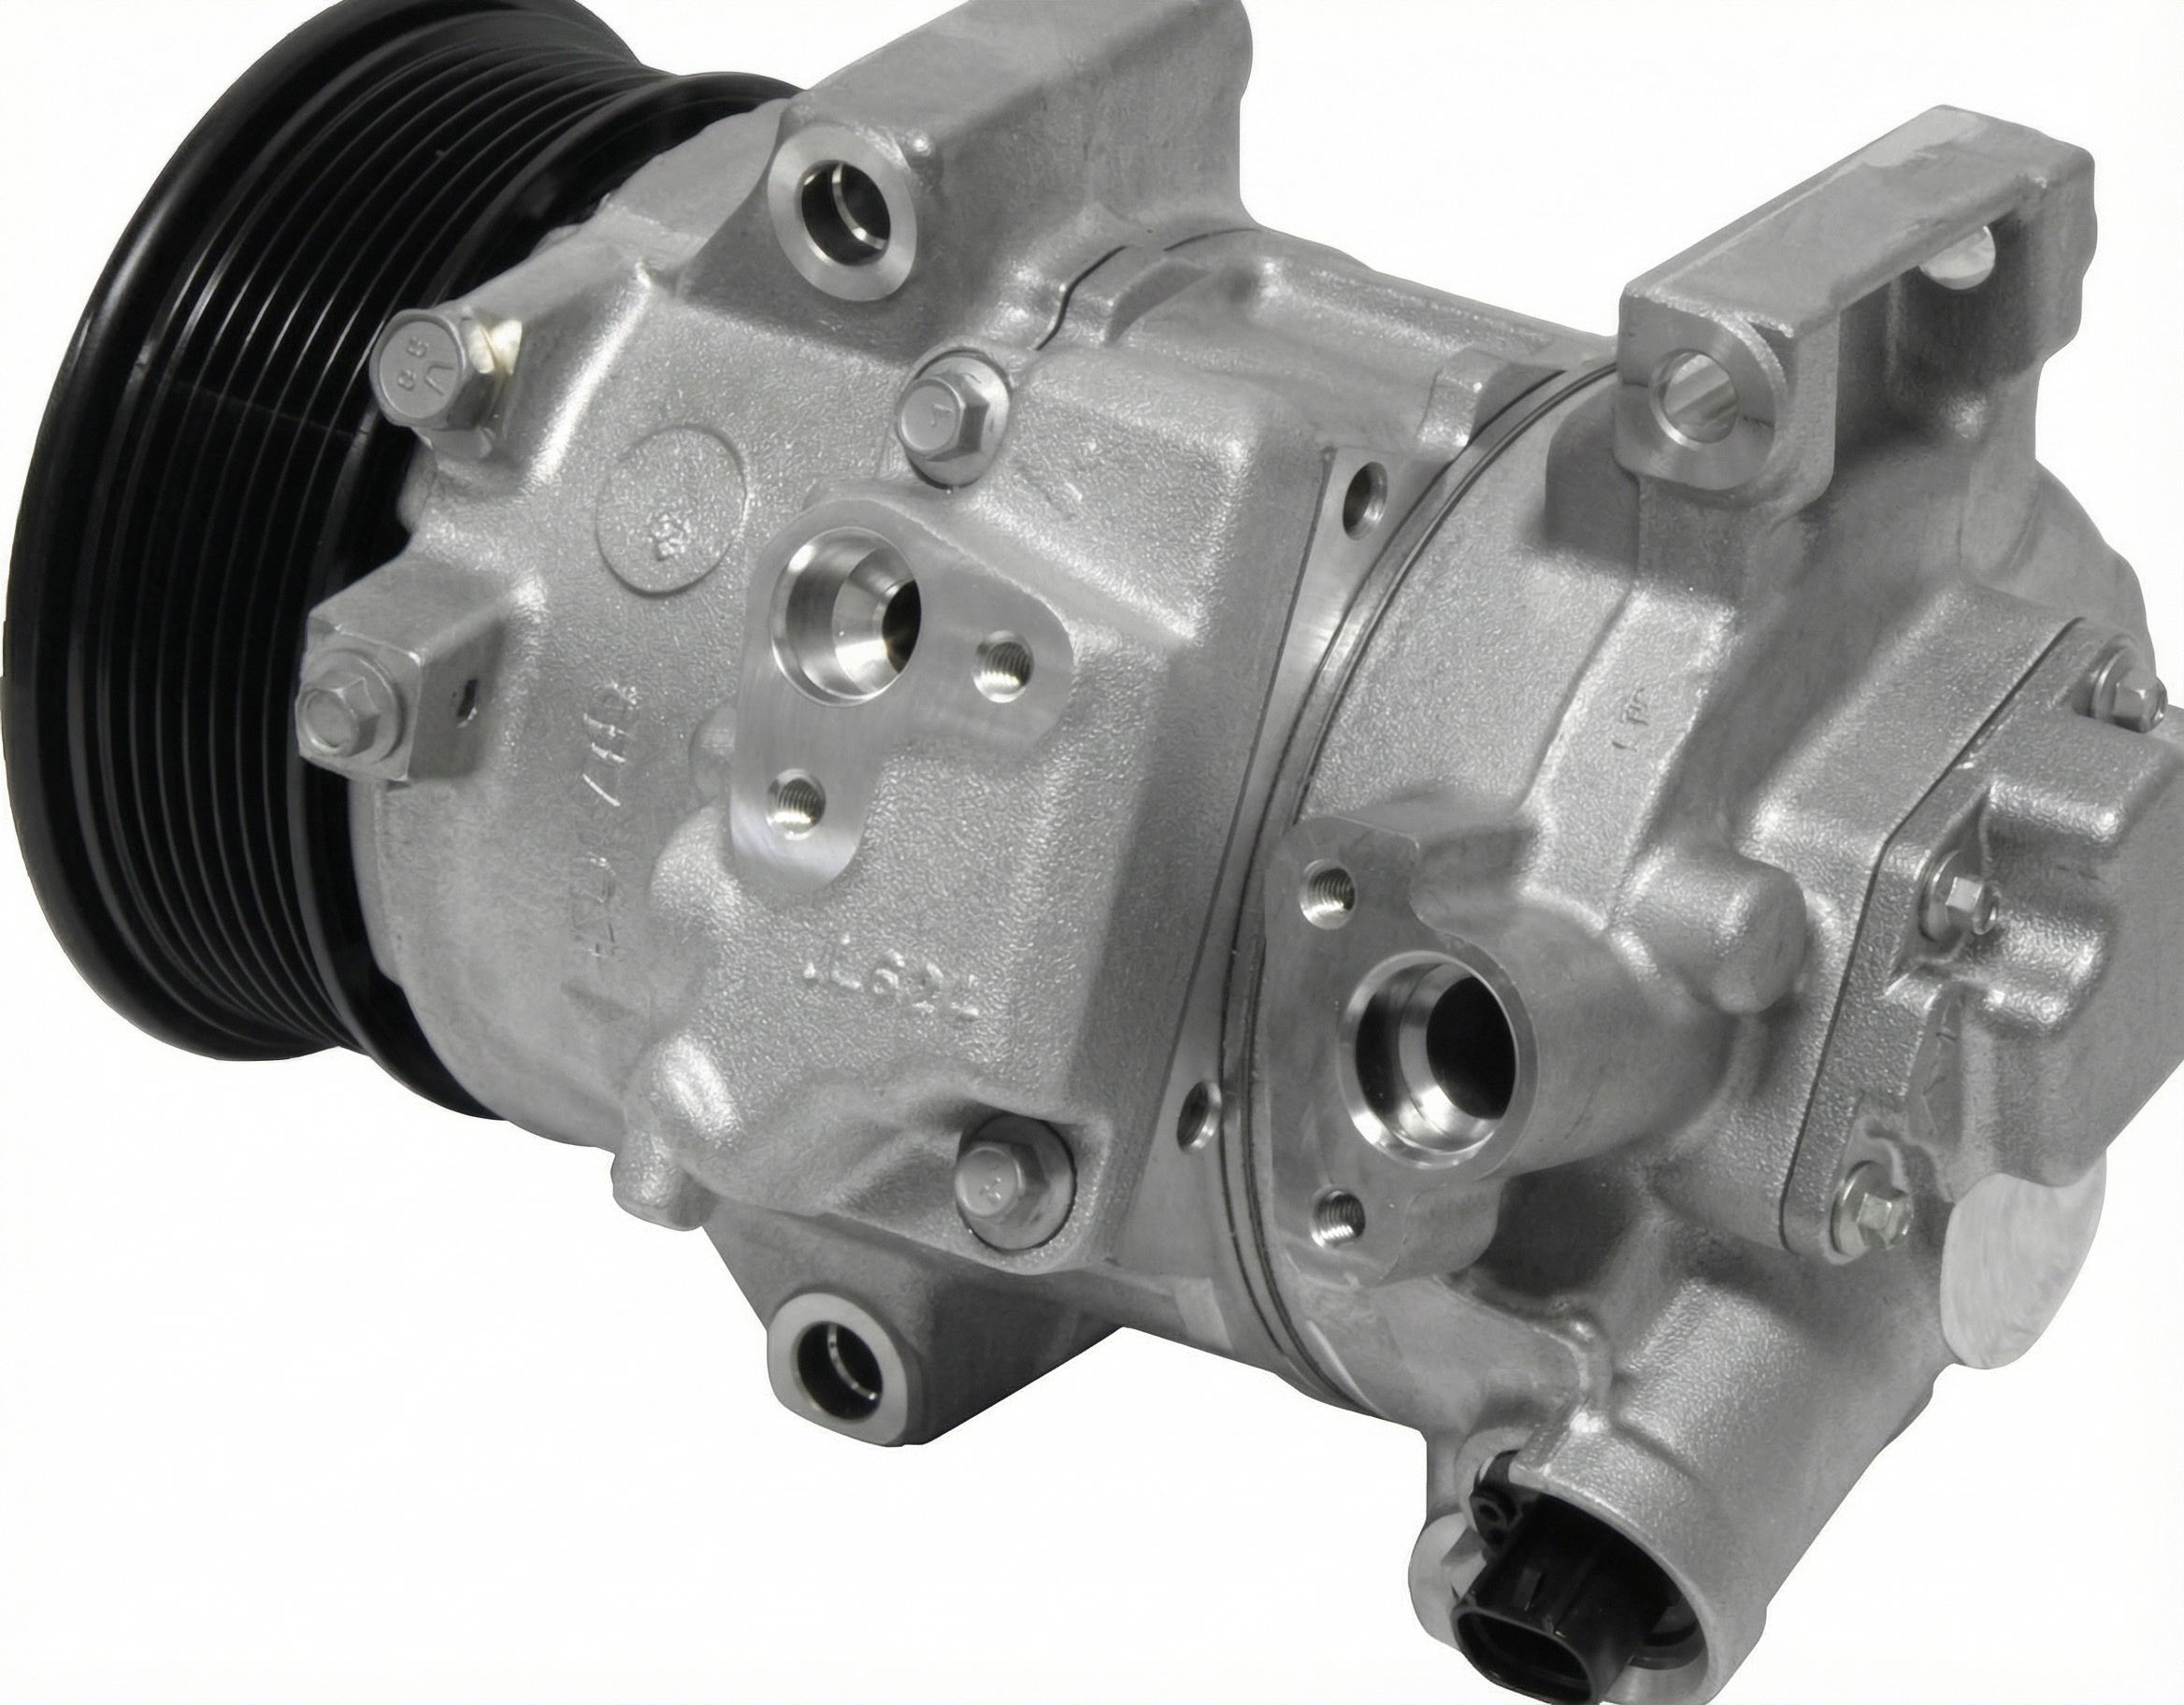
- Compressor Clutch Not Engaging: The outer pulley of the compressor spins with the engine belt at all times, but the internal compressor only engages when you turn on the A/C. You should hear a distinct 'click' when it engages. If the clutch doesn't engage, it could be a problem with the clutch itself, a blown fuse, or low refrigerant pressure preventing it from activating.
- Visible Refrigerant Leaks: The compressor has seals that can fail over time, leading to leaks. You might see a greasy, oily residue on the body of the compressor.
Compatibility Guide: Which Compressor Fits Your Sonata or K5?
This is the most critical part of buying a replacement A/C compressor for these vehicles. Hyundai and Kia used different compressors for different engines. Installing the wrong one will not work. Always match the OEM part number from your original compressor to the replacement part.
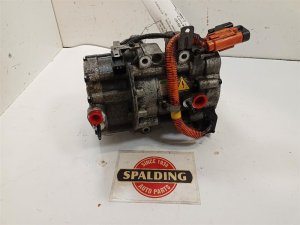
Warning: These vehicles do NOT use the same compressor across all engine options. Hybrid models use a completely different high-voltage electric compressor and are not covered here. You must verify your vehicle's engine to select the correct part.
| Part Number | Vehicles | Engine(s) | Notes |
|---|---|---|---|
| 97701-C2000 | 2015-2017 Hyundai Sonata | 2.0L Turbo & 2.4L Gasoline | Fits the LF generation Sonata. |
| 97701-L0000 | 2020-2023 Hyundai Sonata | 1.6L Turbo & 2.5L (non-turbo) | Fits the DN8 generation Sonata. |
| 97701-L1750 | 2020-2025 Hyundai Sonata 2021-2025 Kia K5 |
2.5L Turbo | Fits Sonata N-Line and K5 GT models. |
Known Issues, TSBs, and Recalls
While there are no widespread formal recalls specifically for the A/C compressors on these models at this time, owners have reported premature failures. Some Kia K5 models have experienced general air conditioning failures, which can be related to the compressor, belts, or electrical wiring. Additionally, a class-action lawsuit was filed concerning premature A/C system failures on several Hyundai models, including the Sonata, from 2018-2022. In some cases, the issue may not be the compressor itself but a less expensive component like the A/C compressor control valve (solenoid) or a relay.
🎬 Watch: Top 5 reasons your Sonata A/C is blowing hot airBuying a Used A/C Compressor: What to Check
A used OEM compressor can be a reliable and cost-effective alternative to expensive new parts. Here’s what to look for to ensure you get a good one.
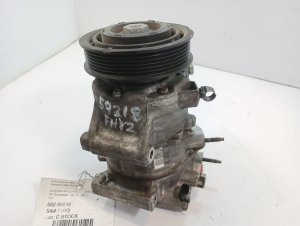
- Verify the Part Number: This is non-negotiable. Physically check the sticker on the used compressor and make sure the OEM part number exactly matches the one for your vehicle's engine as listed in the table above.
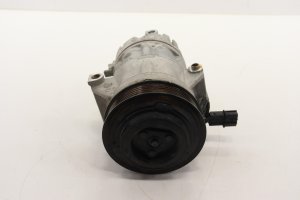
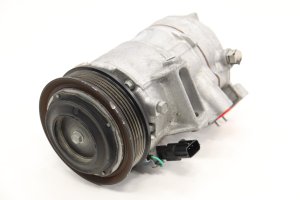
- Inspect the Pulley and Clutch: Spin the outer pulley by hand. It should spin freely and smoothly with minimal noise. Check the clutch plate (the very front of the unit) for any signs of heat damage, warping, or cracks.
- Check the Connectors: Ensure the electrical connector is intact, not cracked, and free of corrosion.
- Look for Leaks: Inspect the body of the compressor, especially around the seals where the two halves of the case meet, for any oily residue that would indicate a refrigerant leak.
- Confirm Ports are Capped: A reputable seller will cap the inlet and outlet ports to prevent moisture and debris from entering the compressor during storage and shipping. If the ports are open, the compressor may be contaminated.
- Ask About the Donor Vehicle: If possible, find out the mileage of the vehicle the compressor came from. Lower mileage is always better. Also, ask if the A/C was working when the part was removed.
Pro Tip: When you replace your compressor, you MUST also replace the receiver/drier (or desiccant bag) and the expansion valve. You should also have the system professionally flushed to remove any debris from the old compressor. Skipping these steps is the #1 cause of premature failure of a replacement compressor.
Replacement Overview and Difficulty
Replacing the A/C compressor is a moderately difficult job that requires specialized tools. While mechanically straightforward for someone with experience, handling the refrigerant requires professional equipment and certification.
- Difficulty Rating: 4 out of 5
- DIY Feasible: Not recommended for beginners. The refrigerant must be legally and safely recovered with a professional machine before starting, and the system must be put under a vacuum and recharged correctly after installation.
- Key Steps:
- Recover refrigerant from the system.
- Disconnect the battery.
- Loosen the serpentine belt and remove it from the compressor pulley.
- Disconnect the electrical connector and the refrigerant lines from the compressor.
- Unbolt the compressor from the engine block and remove it.
- Add the correct amount and type of PAG oil to the new compressor.
- Installation is the reverse of removal.
- Vacuum, leak test, and recharge the system with the correct amount of refrigerant.
Cost Comparison
The cost to replace an A/C compressor can vary significantly based on the part source and labor rates.
| Part/Service | Estimated Cost | Notes |
|---|---|---|
| New OEM Compressor | $725 - $1,300+ | Highest cost, but an exact match for your vehicle. |
| New Aftermarket Compressor | $250 - $500 | Prices from major online retailers. Quality can vary. |
| Used OEM Compressor | $125 - $250 | A cost-effective option that retains OEM quality. |
| Remanufactured Compressor | $200 - $400 | An old OEM unit that has been rebuilt with new seals and bearings. |
| Shop Labor | $170 - $450 | Includes refrigerant recovery, system vacuum, and recharge. |
| Total Professional Job (New OEM Part) | $900 - $1,500+ | This is the typical price you can expect at a dealership or independent shop. |
Frequently Asked Questions (FAQ)
Can I just replace the A/C clutch and not the whole compressor?
Sometimes, but it's often not practical. If the clutch failed due to a worn-out bearing creating excessive heat, the compressor's front seal is likely damaged as well. Furthermore, the cost of a clutch kit plus the special tools and labor required to install it often approaches the cost of a complete used or aftermarket compressor assembly.
My A/C works sometimes and not others. Is it the compressor?
It could be. An intermittent problem can be caused by a failing compressor clutch that doesn't always engage. However, it could also be an electrical issue, like a faulty relay, or the system could be slightly low on refrigerant, causing the low-pressure switch to cycle the compressor off.
Do I need to add oil to my new compressor?
Yes, this is a critical step. Most new and used compressors ship with only a small amount of assembly oil. You must drain this oil and add the correct type (PAG oil) and amount for your specific vehicle. Check the vehicle's service manual or a sticker under the hood for the total system capacity. You may need to drain the oil from the old compressor to measure how much was in it to help calculate the correct amount for the new one.
Why did my replacement compressor fail after only a few months?
The most common reason for a replacement compressor to fail quickly is contamination from the old one. If the original compressor failed internally, it likely sent tiny metal shavings throughout the system. If the system was not thoroughly flushed and the receiver/drier and expansion valve were not replaced, that debris will destroy the new compressor.
Helpful Videos
Technical Specifications
OEM Part Numbers: 97701C2000 97701-C2000 97701L0000 97701-L0000 97701L1750 97701-L1750
Uses PAG (Polyalkylene Glycol) oil. Specific viscosity and capacity are dependent on the exact model and year; consult the vehicle's service manual or under-hood sticker.
We Have This Part in Stock

The information in this article is provided for general reference and educational purposes only. Vehicle specifications, procedures, and part compatibility can vary by production date, trim level, and region. Always consult your vehicle's factory service manual and verify part numbers before purchasing or performing repairs. Safety-critical components such as airbags, seat belts, and braking systems should be installed by a qualified professional.
- Hyundai Sonata:
- Kia K5:
- 🎬 Helpful Videos
- 🛍️ Shop This Part
- Symptoms of a Failing A/C Compressor
- Compatibility Guide: Which Compressor Fits Your Sonata or K5?
- Known Issues, TSBs, and Recalls
- Buying a Used A/C Compressor: What to Check
- Replacement Overview and Difficulty
- Cost Comparison
- Frequently Asked Questions (FAQ)
- 🎟️ Get 5% Off