
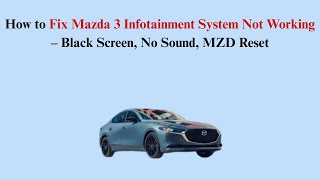
2008-2009 Mazda 3 Fading or Blank Radio Information Display: A Buyer's and DIY Guide
This guide covers the common failures, replacement costs, and DIY steps for the audio and climate information screen in 2008-2009 Mazda 3 models.
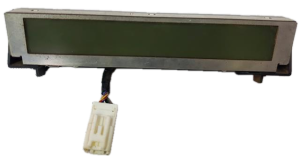
- Compatibility is critical: This display (BAP5-61-1J0) is ONLY for models WITHOUT the in-dash 6-disc CD changer.
- This part is plug-and-play and does NOT require any dealer programming, making it an excellent DIY replacement.
- The most common failure is a fading or blank screen, especially in hot or cold weather, due to the LCD panel aging.
- A used OEM display is the most economical repair, costing a fraction of a new part from the dealer.
Symptoms of a Failing 2008-2009 Mazda 3 Information Display
Failure of the information display is a very common issue on this generation of Mazda 3. The symptoms are almost always visual and rarely affect the actual function of the radio or climate control. You just can't see what you're doing.
- Fading or Unreadable Screen: The most frequent complaint is that the display becomes dim, pixelated, or completely unreadable, especially in hot or cold weather. The liquid crystal display (LCD) itself degrades over time.
- Blank Screen: The display may fail to turn on at all, showing nothing. This can happen intermittently at first and then become permanent. Sometimes, this can be temporarily fixed by a battery disconnect to reset the car's electrical systems.
- Flickering: The screen may flicker on and off randomly while driving, indicating a loose connection or failing internal components.
- Display Reads "Audio OFF": In some cases, the display might incorrectly show "Audio OFF" even when the radio is playing, pointing to a communication glitch between the radio and the screen.
Pro Tip: A failing display will almost never cause a Check Engine Light. Any issues are typically isolated to the screen itself, and you won't be able to read diagnostic codes with a standard OBD-II scanner.
Known Issues, TSBs, and Recalls
There are no active recalls from the National Highway Traffic Safety Administration (NHTSA) for this specific information display unit. The failures are considered a wear-and-tear issue rather than a safety defect. Likewise, there are no specific Technical Service Bulletins (TSBs) addressing the display's tendency to fade or go blank. The problem is widely documented in owner forums as a common part failure due to the aging of the LCD panel.
Warning: Some forum posts mention a simple fuse pull might solve a blank screen. While this can sometimes work by resetting the module, it often points to an underlying electronic failure, and the problem is likely to return.
Buying a Used Information Display: What to Look For
Because a new OEM display is extremely expensive, a used unit is the most popular and cost-effective solution. Here’s what you need to know to buy the right part.
1. Verify Compatibility Above All Else
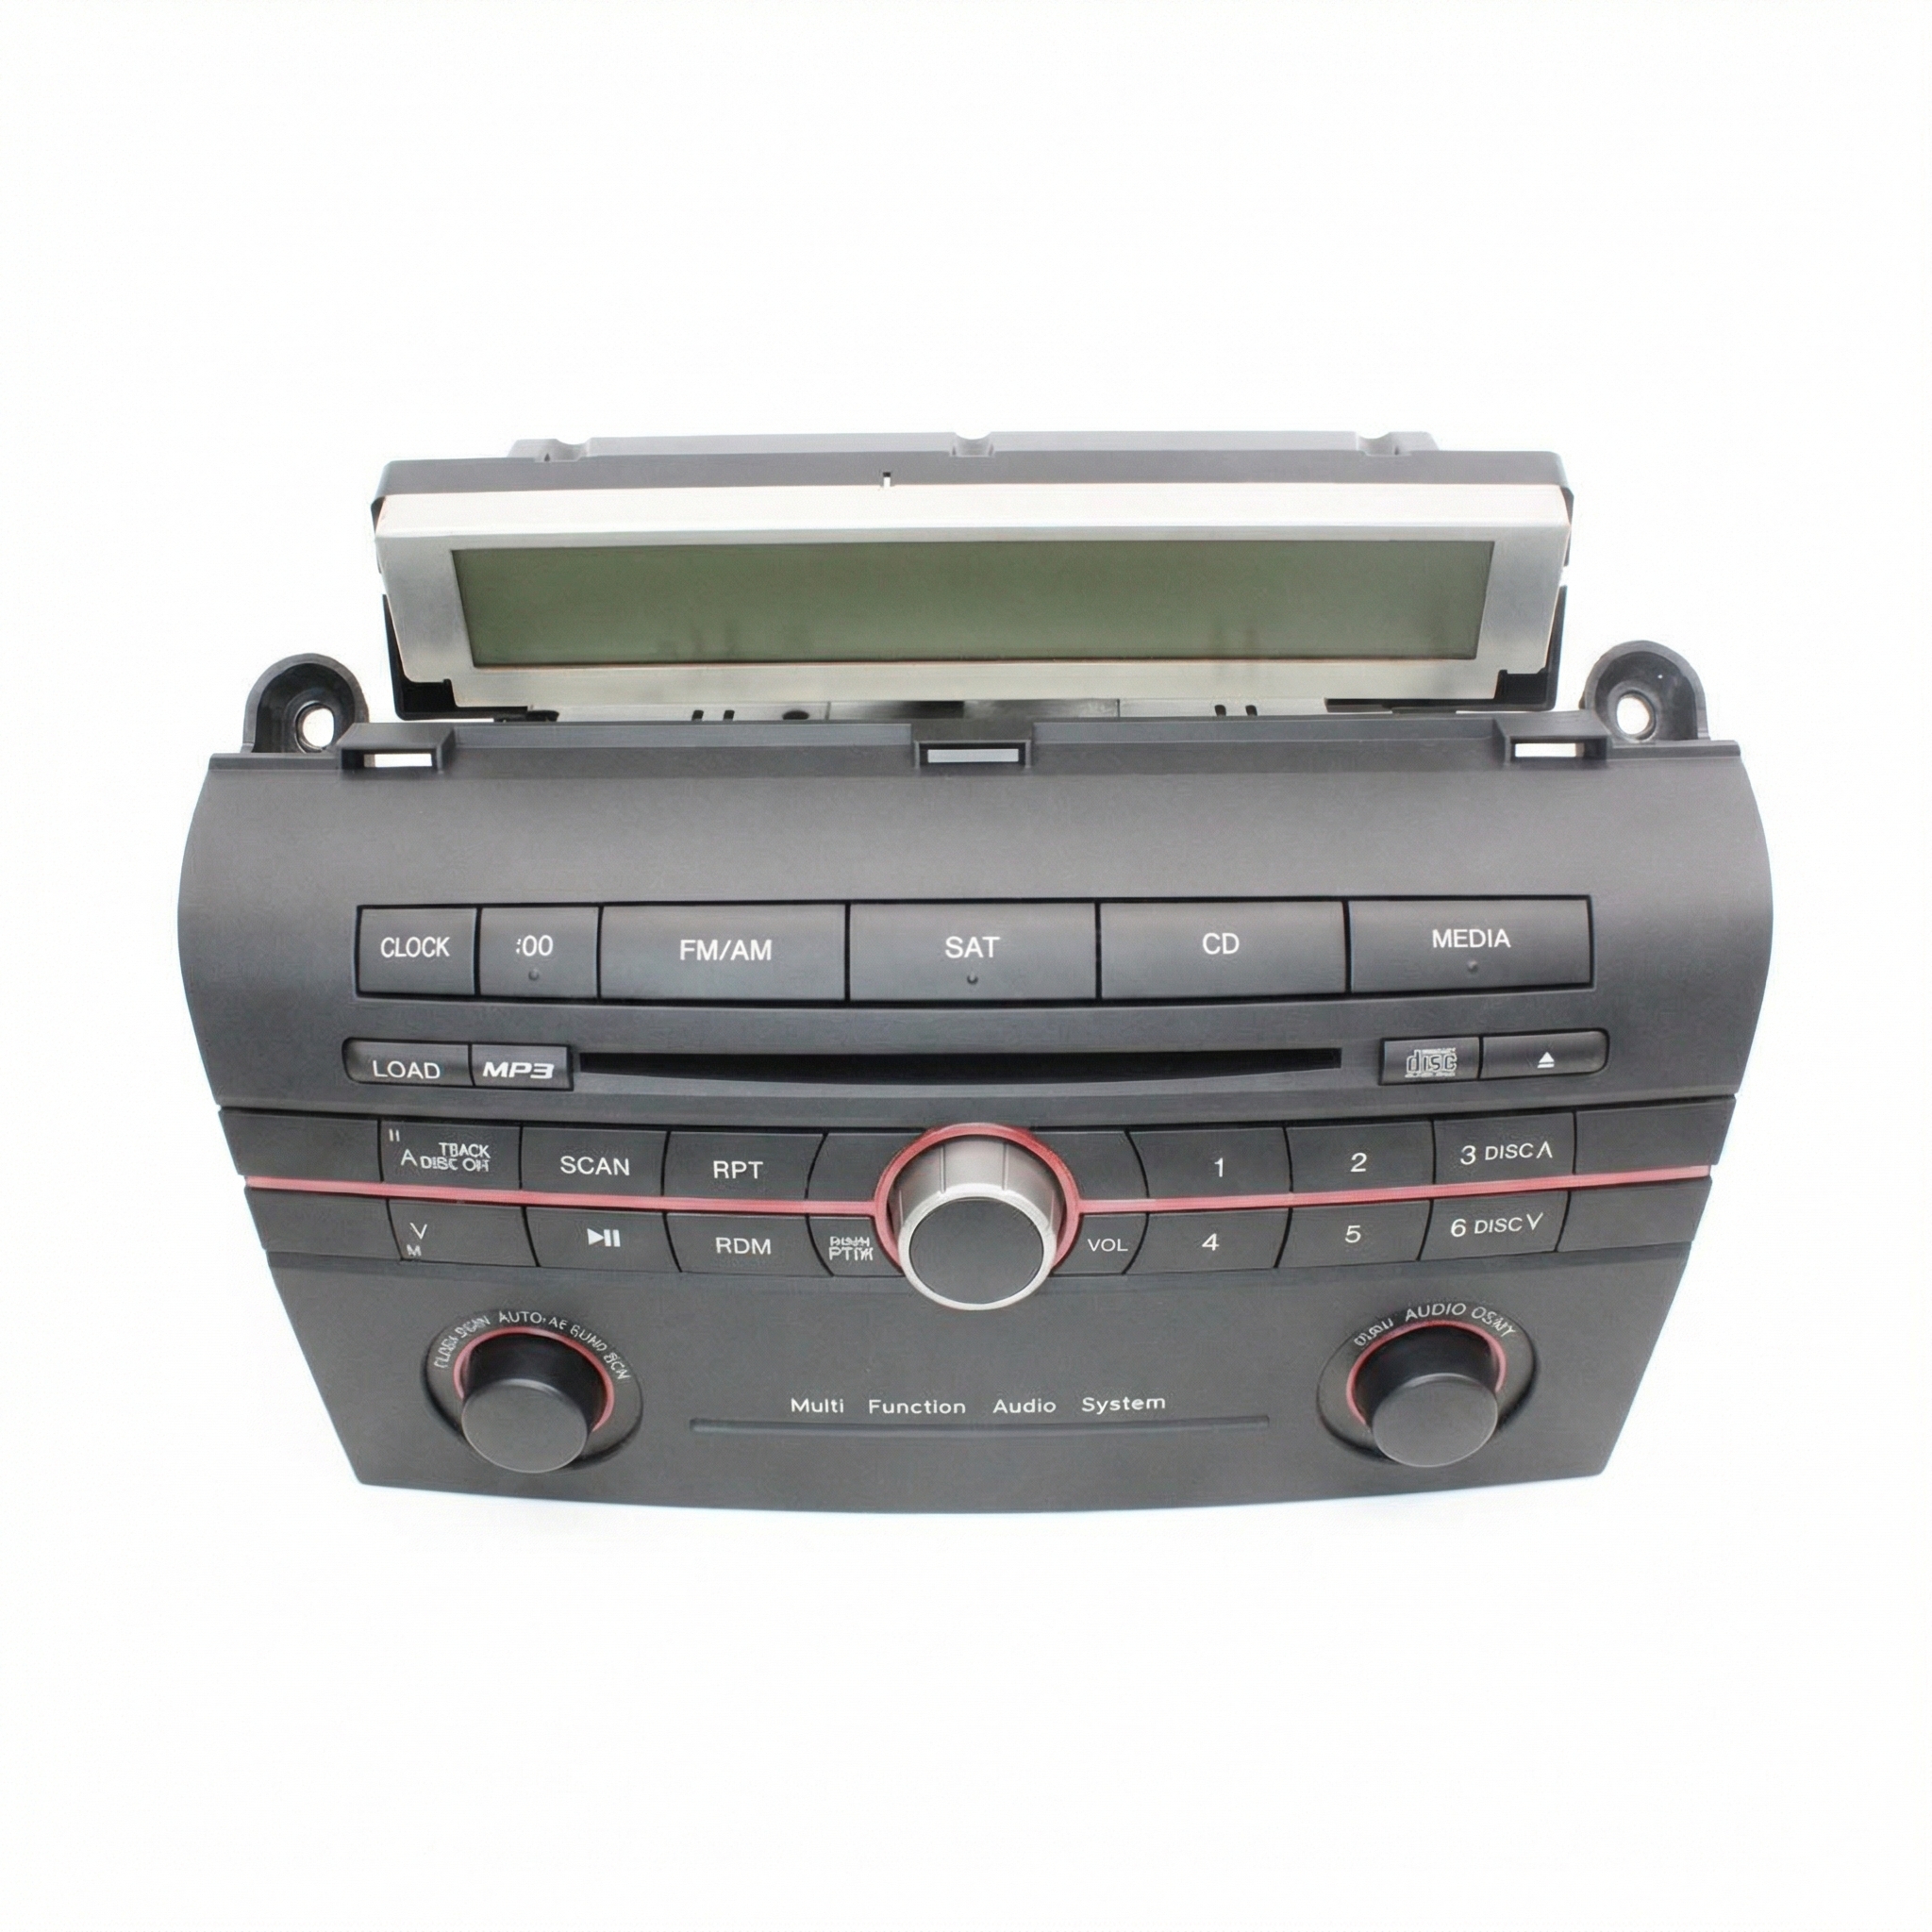
This is the most critical step. This specific display, part number BAP5-61-1J0 (sometimes listed as BAP5611J0), is ONLY compatible with 2008-2009 Mazda 3 models that have the standard radio WITHOUT the in-dash 6-disc CD changer. The display for a car with the CD changer looks identical but uses different software and wiring and will not work. Before ordering, you must verify the part number on your original screen.
2. Physical Inspection
When buying a used display, ask the seller for a photo of the unit powered on, if possible. This allows you to check for:
- Dead Pixels: Look for black or bright spots that don't change.
- Fading or Dim Areas: Ensure the display is evenly lit and clearly legible.
- Scratches or Delamination: Check the screen surface for physical damage that could obstruct the view.
If you can't see it powered on, buy from a reputable seller that offers a warranty and a good return policy.
3. No Programming Required
A major advantage of replacing this part is that it is plug-and-play. It does not need to be programmed, flashed, or coded to your vehicle's VIN. You can install the replacement yourself without needing a trip to the dealership, saving significant cost and hassle.
Step-by-Step Replacement Guide (DIY)
Replacing the information display is a beginner-friendly job that typically takes less than 30 minutes.
- Tools Needed: Phillips head screwdriver, plastic trim removal tool (or a flathead screwdriver wrapped in tape to prevent scratching).
- Disconnect the Battery: As a safety precaution, disconnect the negative terminal of your car's battery using a 10mm wrench.
- Remove the Trim: The display is housed under a long trim piece on top of the dashboard. Carefully pry this trim piece up and towards you using a plastic trim tool. It is held in by clips.
- Unscrew the Display: Once the trim is off, you will see two Phillips head screws securing the display unit to the dashboard. Remove these screws.
- Disconnect and Replace: Pull the old display unit out. There is a single electrical connector on the back. Press the tab on the connector to release it. Plug the new display in, making sure the connector clicks securely into place.
- Test and Reassemble: Reconnect the battery and turn the key to the 'ON' position to test the new display. If it works correctly, screw the new unit back into place and snap the dashboard trim piece back on.
Cost of Replacement
The cost difference between new and used parts for this display is substantial.
| Part Source | Estimated Cost |
|---|---|
| New OEM | $675 - $1,012 |
| New Aftermarket | Not commonly available |
| Used OEM | $50 - $150 |
| Shop Labor | $100 - $180 (approx. 1 hour) |
Frequently Asked Questions
Does the replacement information display need to be programmed by a dealer?
No, this part is plug-and-play. It does not require any programming or special tools for installation. You can swap it yourself and it will work immediately.
Will this part fix my radio if it has no sound?
No. This is only a display screen. It shows information from the radio but is not part of the radio's audio-producing circuitry. If you have no sound, the problem is likely with the radio head unit itself or the amplifier.
Why does my display only work when it's cold outside?
This is a classic symptom of a failing LCD panel or failing solder joints on the circuit board. Temperature changes cause components to expand or contract, which can temporarily make or break an electrical connection. Ultimately, the part is failing and will need to be replaced.
Can I use a display from a Mazda 3 with the 6-disc CD changer?
No, you cannot. The display for models with the in-dash CD changer is not compatible with the standard single-CD or base radio system. You must match the part number BAP5-61-1J0.
My screen went blank after my battery died or was disconnected. Is it broken?
Not necessarily. Sometimes a power interruption can cause the display to lock up. Before buying a new one, try disconnecting the negative battery terminal for about 5-10 minutes and then reconnecting it. This full reset can sometimes bring a non-responsive screen back to life.
🎬 Watch: How to reset your Mazda infotainment systemHelpful Videos
Technical Specifications
OEM Part Numbers: BAP5-61-1J0 BAP5611J0
Amber monochrome Liquid Crystal Display (LCD)
We Have This Part in Stock

The information in this article is provided for general reference and educational purposes only. Vehicle specifications, procedures, and part compatibility can vary by production date, trim level, and region. Always consult your vehicle's factory service manual and verify part numbers before purchasing or performing repairs. Safety-critical components such as airbags, seat belts, and braking systems should be installed by a qualified professional.
- Mazda MAZDA 3:
- 🎬 Helpful Videos
- 🛍️ Shop This Part
- Symptoms of a Failing 2008-2009 Mazda 3 Information Display
- Known Issues, TSBs, and Recalls
- Buying a Used Information Display: What to Look For
- 1. Verify Compatibility Above All Else
- 2. Physical Inspection
- 3. No Programming Required
- Step-by-Step Replacement Guide (DIY)
- Cost of Replacement
- Frequently Asked Questions
- 🎟️ Get 5% Off