
1991-1994 Ford Explorer Front Coil Springs: Solving Sag & Decoding Spring Code 'J'
This guide covers the common causes of front-end sag in first-generation Explorers, explaining how to identify your vehicle's specific spring code and choose the right replacement.
- Fitment is critical: You MUST verify your Explorer has front spring ID code 'J' by checking the driver's door jamb sticker before buying.
- Sagging is the #1 symptom. A low front end, leaning, and clunking noises are clear signs of worn or broken coil springs.
- Replacement is dangerous. Due to the need for a spring compressor, this job is not recommended for beginners and is best left to a professional.
- Always replace in pairs. To ensure proper ride height and safe handling, both front coil springs must be replaced at the same time.
Symptoms of Failing Coil Springs
Coil springs typically fail gradually from metal fatigue, corrosion, or being overloaded. The signs are often noticeable and can significantly impact how your Explorer drives. Look for one or more of the following symptoms:
- Vehicle Sagging: The most common symptom is a noticeable drop in the front ride height. The front end may look low, or one corner may sag more than the other. This is often called "Explorer lean."
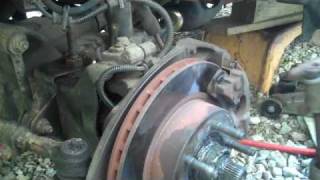
- Clunking or Squeaking Noises: As the spring weakens or breaks, you may hear clunking, creaking, or squeaking sounds, especially when going over bumps or turning. A broken piece of the spring can rattle around in the spring seat.
- Excessive Bouncing: If your Explorer continues to bounce up and down after hitting a bump, it's a sign the springs are no longer able to properly dampen road impacts. This can also indicate worn-out shock absorbers, which often fail alongside the springs. 🎬 See this walkthrough on replacing your front shock absorbers
- Poor Handling and Instability: Worn springs can cause the vehicle to feel unstable, sway excessively around turns, or have reduced steering control. This is a serious safety concern.
- Uneven Tire Wear: Incorrect ride height from sagging springs throws off the wheel alignment, leading to rapid and uneven wear on the inside or outside edges of the front tires.
Known Issues, Recalls, and TSBs for 1991-1994 Explorer Suspension
While there are no specific NHTSA recalls or Technical Service Bulletins (TSBs) for the coil springs themselves on this generation of Explorer, several related suspension issues were noted. These problems can put extra stress on the springs or present similar symptoms.
- Radius Arm Bushings: A known issue involved the synthetic-rubber radius-arm bushings separating internally. This could 🎬 Watch: See what a failed radius arm looks like cause noise and degraded steering control.
- Frame Rivets: Ford issued guidance that loose frame rivets in the suspension area should be replaced with bolts, indicating a potential weak point.
- Developmental Changes: During the Explorer's design phase, internal Ford documents show that engineers stiffened the front springs and lowered the front end slightly to improve stability compared to its predecessor, the Bronco II.
The 'J' Code: Verifying Your Spring ID is Critical
Ford used several different coil springs on these trucks to account for variations in weight (engine, transmission, 2WD vs 4WD, and options). Fitment is determined by a single-letter Spring Identification Code. This article's part, F1TZ5310A, corresponds to spring code 'J'.
You MUST verify your vehicle's spring code before ordering a replacement. Installing the wrong spring can result in incorrect ride height, poor handling, and alignment problems.
How to Find Your Spring Code:
- Open the driver's door and locate the Vehicle Certification Label on the door jamb.
- Look for the letters "SPR" on the label. Next to it, you will see a multi-character code.
- The spring code is a two-part code. The first character (or first two characters on some models) identifies the front springs. For this part to be correct, the first letter of your SPR code must be J.
Pro Tip: If the label is missing or unreadable, you will need to get the part number directly from a Ford dealer using your VIN. Do not guess, as other spring codes will not fit or perform correctly.
Buying a Used 1991-1994 Explorer Coil Spring
A used OEM coil spring can be an excellent value, as original Ford parts often have superior steel quality and durability compared to budget aftermarket options. However, a thorough inspection is crucial before buying.
What to Check:
- Verify the Spring Code: First and foremost, ensure you are buying a 'J' code spring. If buying online, get a clear photo of the seller's vehicle certification label or a guarantee of the code.
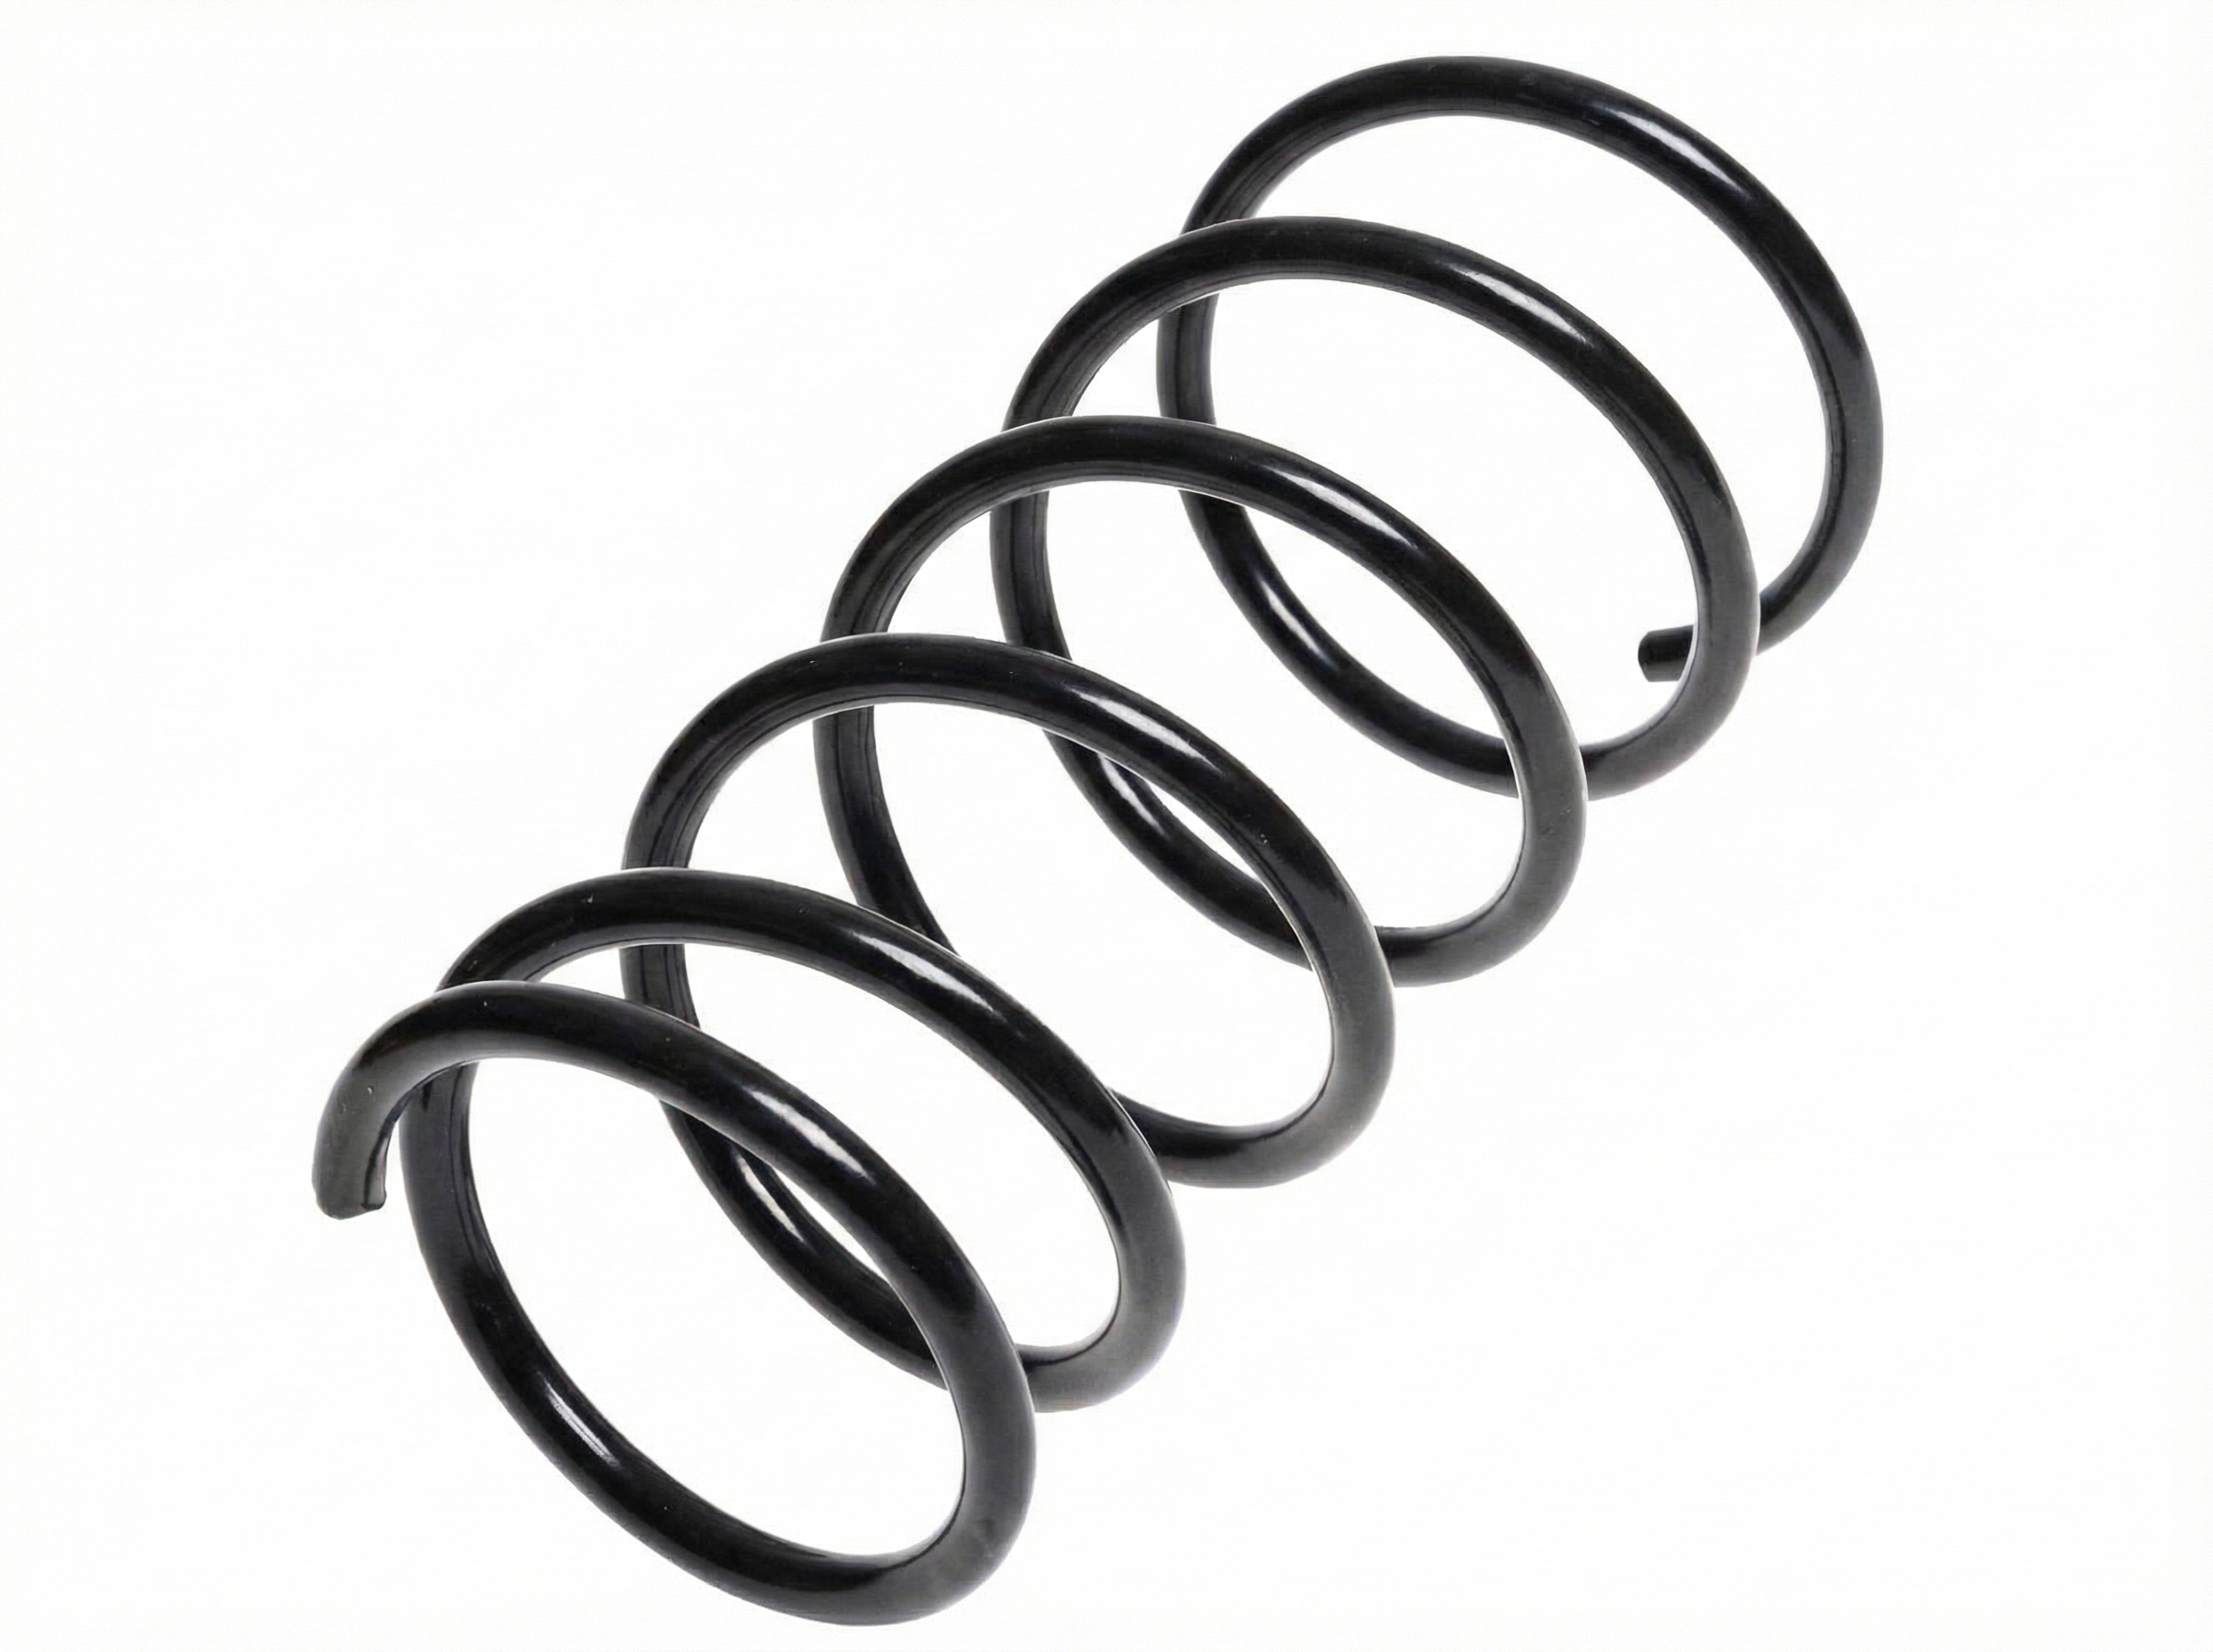
- Inspect for Cracks: Carefully examine the entire spring, especially the top and bottom coils where they sit in the mount. This is where breaks most often occur. A crack can be a hairline fracture, so clean the spring and use a flashlight.
- Check for Heavy Corrosion: Surface rust is normal, but avoid springs with deep, pitting rust or flaking. Heavy corrosion weakens the steel and can lead to a sudden fracture.
- Measure Free Height: If possible, get the free (uninstalled) height of the spring. Compare it to the one you are replacing or to published specs if available. A used spring that is significantly shorter has likely lost its spring rate and will sag.
- Look for Flat Spots/Deformation: The coils should be evenly spaced. Any signs of being overheated (discoloration) or compressed flat are red flags.
- Buy in Pairs: It is essential to replace coil springs in pairs (both front springs at the same time) to ensure an even ride height and predictable handling. A new spring on one side and an old one on the other will cause the vehicle to lean and handle poorly.
Cost Comparison: New vs. Used Coil Springs
Prices can vary by location and supplier. Labor costs are for replacing a pair of front springs.
| Part Type | Estimated Cost (Pair) |
|---|---|
| New OEM (Ford) | $250 - $400+ |
| New Aftermarket | $70 - $200 |
| Used OEM | $50 - $120 |
| Shop Labor Cost | $150 - $300 |
Replacement Overview & Difficulty
- Difficulty: 5/5 (Very Difficult/Dangerous)
- DIY Feasible: Not Recommended for Beginners
- Estimated Time: 2-4 hours
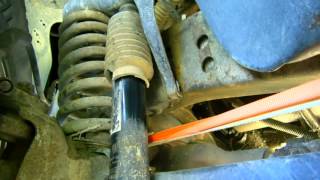
Replacing front coil springs on a first-generation Explorer is a challenging and potentially dangerous job. The springs are held under extreme compression. A special tool called a coil spring compressor is required to remove and install them safely. If this tool slips or is used incorrectly, the spring can be released with violent, life-threatening force. The procedure also requires disconnecting the brake calipers, shock absorbers, and potentially the ball joints.
Warning: Due to the extreme danger involved with compressed coil springs, this repair should only be attempted by experienced mechanics with the proper tools and safety knowledge. For most DIY mechanics, this job is best left to a professional shop.
🎬 Watch: Professional walkthrough of the coil spring replacement processFrequently Asked Questions (FAQ)
Can I just add a spacer instead of replacing my sagging springs?
Spacers (or "leveling kits") can restore ride height, but they do not fix the underlying problem of a weak spring. A worn-out spring will still provide a bouncy, poorly controlled ride even with a spacer. For proper handling and safety, replacing the springs is the correct solution.
Do I need a wheel alignment after replacing the coil springs?
Yes, absolutely. Changing the coil springs directly affects the vehicle's ride height, which in turn changes the camber and toe alignment settings. A full front-end alignment is required after replacement to prevent rapid tire wear and ensure the vehicle tracks straight.
What's the difference between constant rate and variable rate springs?
OEM springs are typically constant rate, meaning they compress a set amount for a given amount of weight. Some aftermarket springs are 'variable rate', designed to provide a softer ride when unloaded and a stiffer ride when compressed (like during cornering or with heavy loads). For a stock replacement, a constant rate spring that matches the original 'J' code is recommended.
My Explorer has 4WD. Does it use the same coil springs as a 2WD model?
Not always. The spring codes account for drivetrain differences. While both 2WD and 4WD models from 1991-1994 use front coil springs, the specific spring rate needed can differ. This is why verifying the 'J' code on your specific vehicle's door tag is so important.
Helpful Videos


Technical Specifications
OEM Part Numbers: F1TZ5310A
Fitment determined by Spring Identification Code 'J' found on the vehicle's certification label.
We Have This Part in Stock

The information in this article is provided for general reference and educational purposes only. Vehicle specifications, procedures, and part compatibility can vary by production date, trim level, and region. Always consult your vehicle's factory service manual and verify part numbers before purchasing or performing repairs. Safety-critical components such as airbags, seat belts, and braking systems should be installed by a qualified professional.
- Ford Explorer:
- 🎬 Helpful Videos
- 🛍️ Shop This Part
- Symptoms of Failing Coil Springs
- Known Issues, Recalls, and TSBs for 1991-1994 Explorer Suspension
- The 'J' Code: Verifying Your Spring ID is Critical
- How to Find Your Spring Code:
- Buying a Used 1991-1994 Explorer Coil Spring
- What to Check:
- Cost Comparison: New vs. Used Coil Springs
- Replacement Overview & Difficulty
- Frequently Asked Questions (FAQ)
- 🎟️ Get 5% Off