
2011-2016 Nissan Murano Console Guide: Fixing Latches, Trim, and Compatibility
This guide clarifies the different console parts in your 2011-2016 Murano, focusing on the most common failures like broken latches, peeling trim, and how to buy the right used replacement.
- The most common failure is a broken armrest latch or hinge; check this first when buying used.
- A 'console panel' can mean the floor console, overhead console, or individual trim pieces; identify the exact part you need.
- Used OEM assemblies are the most cost-effective option, as new OEM parts are very expensive and aftermarket options are limited to small components.
- You may need to swap your original shifter trim bezel onto the replacement console, as it can vary by trim level.
Key Console Variants in the 2011-2016 Murano

Before diagnosing problems or buying parts, it's important to know which "console" you're dealing with. The term is often used for two main, distinct assemblies, as well as their smaller components.
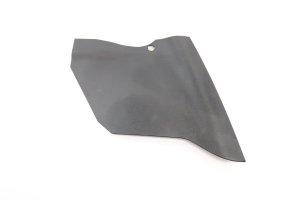
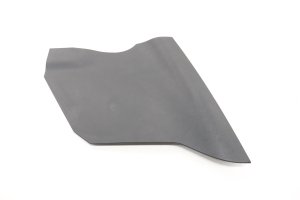
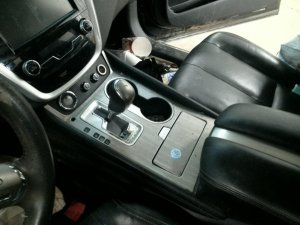
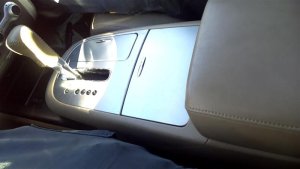
- Front Floor Console: This is the large assembly between the front seats. It includes the main storage box, the armrest lid, cupholders, and the trim surrounding the gear shifter. Most wear-and-tear issues occur here.
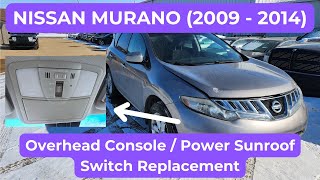
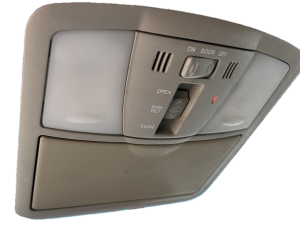
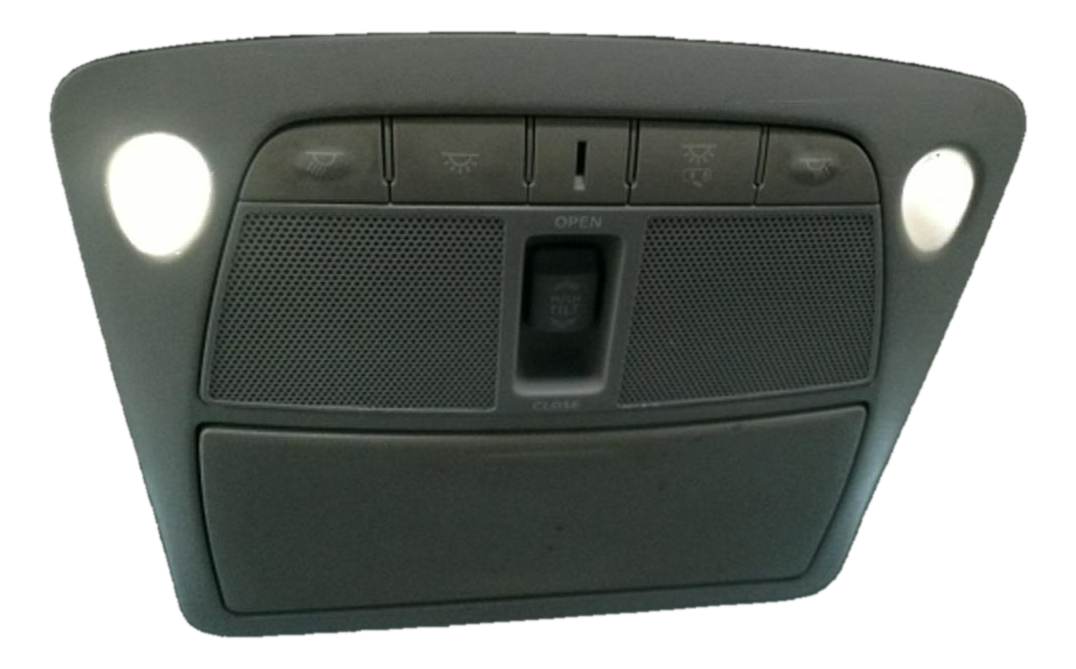
- Overhead Console: Located on the roof between the sun visors, this smaller unit contains map lights and a sunglasses storage compartment. Failures here are less common but typically involve the sunglasses holder door.
- Individual Components: Many parts of the console can be purchased separately, such as the armrest lid, shifter trim bezel, and rear storage pockets. Identifying the specific broken piece can save you from buying a whole assembly.
Symptoms of Console Failure

Console failures are almost always mechanical or cosmetic, resulting from physical wear and tear. Here are the most common problems owners experience.
1. Broken Armrest Latch or Hinge
This is the single most common failure point. The plastic latch that keeps the armrest lid closed can break, causing the lid to pop open or not close at all. The hinges can also crack from stress, making the lid loose, misaligned, or completely detached. An armrest that rattles when you drive is an early warning sign of a failing hinge.
2. Damaged Upholstery and Peeling Trim
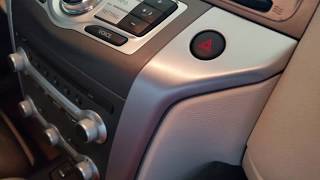
Constant contact from arms and elbows wears down the armrest. The leather or vinyl can crack and tear, and the underlying foam can collapse. The silver-painted trim on the console, especially around the cupholders and shifter, 🎬 Watch this guide to replacing your damaged center panel trim. is prone to scratching and peeling, which can leave sharp edges and look unsightly.
3. Broken Overhead Console Sunglass Holder
For the overhead console, the typical failure is the latch or spring mechanism for the sunglass storage compartment. The door may refuse to stay closed or may not open when the button is pressed.
4. Cracked Plastic Panels
The main body and side panels of the floor console can crack from impacts (e.g., from passengers' feet or dropped items). This is primarily a cosmetic issue, but severe cracks can compromise mounting points, leading to rattles and a loose fit.
Compatibility Warning: The automatic transmission shift bezel can vary by trim level. When replacing the entire floor console, you may need to carefully remove your original bezel and install it on the replacement unit to ensure a perfect match and function.
Known Issues, TSBs, and Recalls

As of early 2026, there are no official NHTSA recalls or Technical Service Bulletins (TSBs) specifically for the console panels, latches, or trim on the 2011-2016 Nissan Murano. Recalls for this vehicle generation focus on major safety systems like ABS actuator pumps and passenger airbag sensors. The absence of TSBs indicates that while console wear is common, it is not considered a widespread, warrantable defect by the manufacturer.
Buying a Used Console Panel: What to Check

Due to the high cost of new OEM console assemblies, a used part is often the most economical solution. However, you must inspect a used console carefully to avoid buying a part with the same problems you're trying to fix.
Inspection Checklist:
- Armrest Latch & Hinge: This is the #1 priority. Open and close the lid multiple times. It should latch with a solid click and require the button to release. Wiggle the lid; there should be very little side-to-side play in the hinge.
- Upholstery Condition: Check the armrest for rips, tears, or collapsed foam. Minor discoloration can be cleaned, but physical damage cannot.
- Mounting Points: Turn the console over and inspect every screw hole and plastic mounting tab. Broken tabs are a deal-breaker, as they will prevent the console from being secured properly, leading to squeaks and rattles.
- Trim Finish: Look for deep scratches or peeling paint on the visible trim surfaces. Minor scuffs may be acceptable, but widespread peeling is not.
- Completeness: Does it include the rear trim panel and air vents? Does it have the internal storage trays? Ensure you are getting all the pieces you need.
- Part Number & Color Match: Verify the part came from a Murano with the same interior color. If possible, match the OEM part number from your original console to the replacement.
Replacement Difficulty
- Overhead Console: 1/5 (Very Easy). The overhead console is typically held in by clips only. It can be carefully pried down using a plastic trim removal tool. No screws are involved, and the electrical connectors are simple to unplug. The job takes less than 15 minutes. 🎬 Watch this quick walkthrough on removing the overhead console and switches.
- Floor Console (Full Assembly): 3/5 (Moderate). Replacing the entire floor console is more involved. It requires removing side trim panels, the rear console panel, and screws located inside the storage compartment. You will also need to disconnect wiring for power outlets and heated seat switches. While achievable for a DIYer with basic tools, it requires patience to avoid breaking plastic clips. Expect 1-2 hours for the job.
- Armrest Lid Only: 2/5 (Easy). If only your lid is broken, you can often replace just that piece. This usually involves removing a trim cover on the back of the console to access the hinge screws.
Pro Tip: If only your armrest latch is broken, aftermarket replacement latches are available for a fraction of the cost of a new lid. This is a very common and inexpensive repair if the rest of your console is in good shape.
Cost Comparison
| Part Type | Estimated Cost |
|---|---|
| New OEM (Full Assembly) | $450 - $1000+ (Varies by component, e.g., a new lid can cost over $800) |
| New Aftermarket | $15 - $50 (Generally only available for small parts like latches or armrest covers) |
| Used OEM (Full Assembly) | $150 - $400 (Dependent on condition and source) |
| Shop Labor to Install | $120 - $250 |
Frequently Asked Questions (FAQ)
Can I just replace my ripped armrest cover?
Yes. You can either buy a pre-made aftermarket cover that slips over the existing lid, or you can take the lid to an automotive upholstery shop to have it professionally re-covered for a perfect match.
Will a console from a different trim level fit?
Physically, the main console box will likely fit, but you may run into issues. The shifter bezel might be different, and you may have blank cutouts where switches for options your car doesn't have (like heated seats) would go. It is always best to find a console from a vehicle with the same trim and options.
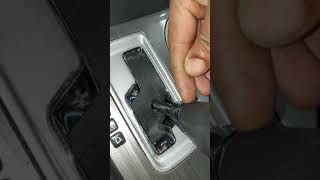
How do I remove the shifter knob to swap the console?
On many Murano models, you slide the collar at the base of the knob down, which exposes a small retaining clip. You can then use a small screwdriver to pry this clip off, allowing the knob to be pulled straight up.
🎬 See how to safely remove the shifter knob in this video.My console is just scratched. Can it be repaired?
For painted plastic trim, some owners have had success with sanding, filling, and repainting the pieces. This can be a good low-cost option for cosmetic issues if the underlying plastic is not cracked.
Helpful Videos
Technical Specifications
OEM Part Numbers: 264305AA2A 264305AC2A 96906-5AA0A 969065AA0A 969101AA5B 96911-5AA0A 96911-5AA1A 969115AA1A 969205AA0A 96925-5AA1A 969255AA0A 969411GR0B 969411SX0B 969411SX1B 96950-5AA5A
Part compatibility is dependent on interior color (Black, Beige, Brown/Cashmere), trim level (S, SV, SL, LE, Platinum), and specific options like heated seats or sunroof.
We Have This Part in Stock

The information in this article is provided for general reference and educational purposes only. Vehicle specifications, procedures, and part compatibility can vary by production date, trim level, and region. Always consult your vehicle's factory service manual and verify part numbers before purchasing or performing repairs. Safety-critical components such as airbags, seat belts, and braking systems should be installed by a qualified professional.
- Nissan Murano:
- 🎬 Helpful Videos
- 🛍️ Shop This Part
- Key Console Variants in the 2011-2016 Murano
- Symptoms of Console Failure
- 1. Broken Armrest Latch or Hinge
- 2. Damaged Upholstery and Peeling Trim
- 3. Broken Overhead Console Sunglass Holder
- 4. Cracked Plastic Panels
- Known Issues, TSBs, and Recalls
- Buying a Used Console Panel: What to Check
- Inspection Checklist:
- Replacement Difficulty
- Cost Comparison
- Frequently Asked Questions (FAQ)
- 🎟️ Get 5% Off