
2011-2014 Hyundai Sonata Headlight Failure: Why New Bulbs Won't Fix Your Dim Projectors
This guide explains the common internal failure that causes dangerously dim low beams and why replacing the entire assembly is often the only solution.
- The most common cause of dim low beams on 2011-2014 Sonatas is the failure of the internal projector reflector, not the bulb. The only fix is replacing the entire assembly.
- These assemblies are for factory HALOGEN models only. They are not compatible with factory HID/Xenon systems or Sonata Hybrid models.
- Headlights for 2009-2010 Sonatas are NOT interchangeable with 2011-2014 models. Verify your model year before purchasing.
- Replacement requires removing the front bumper cover, and the new assembly must be professionally aimed after installation.
Critical Compatibility Warnings: 2009-2010 vs. 2011-2014 Models

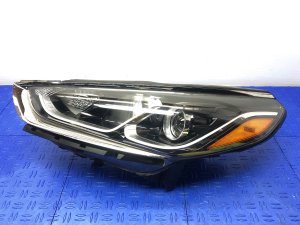
Warning: The Hyundai Sonata had a major body style change for the 2011 model year. Headlight assemblies for 2009-2010 models are NOT interchangeable with 2011-2014 models. This guide primarily focuses on the 2011-2014 (YF generation) Sonata.
- 2011-2014 Sonata (YF): Uses part numbers like 92101-3Q000, 92101-3Q100, and PartsLink HY2502159.
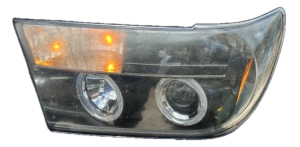
- 2009-2010 Sonata (NF): Uses part number 92101-0A500. These parts are physically different and will not fit.
Symptoms of a Failing Headlight Assembly

While a simple burnt-out bulb is the most common headlight issue, a failing assembly can cause more complex and frustrating problems. The most significant issue for the 2011-2014 Sonata is a design flaw within the projector itself.
1. Extremely Dim Low Beams (Even With New Bulbs)
This is the most common and widely reported complaint for these vehicles. Owners will notice their low-beam headlights are dangerously dim, making nighttime driving difficult. You may replace the H7 halogen bulbs with new, high-quality ones, but see little to no improvement in light output. This is not a bulb or electrical problem; it is a physical failure inside the assembly.
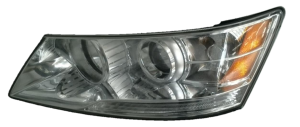
The Cause: The low beam is a projector-style headlight. Inside the projector, a small, curved bowl is coated with a reflective chrome material. Over time, the heat from the halogen bulb causes this reflective coating to burn, dull, and flake off. Once this coating is damaged, it can no longer reflect the light from the bulb out through the lens, resulting in a massive loss of light output. The high beam, which uses a simpler reflector design, is usually unaffected.
2. Condensation or Moisture Inside the Lens
If you see fogging, water droplets, or a hazy film on the inside of the headlight lens, it means the seal on the assembly has failed. This can be caused by age, UV damage, or physical impact. Moisture inside the housing will dramatically reduce light output, cause corrosion on electrical connectors, and can lead to bulbs burning out prematurely.
3. Yellowed, Hazy, or Peeling Outer Lens
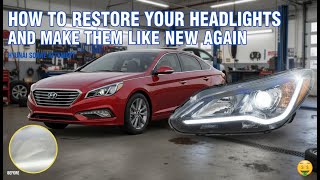
The clear polycarbonate lens is exposed to years of UV radiation from the sun. This breaks down the factory protective coating, causing the lens to become yellow, cloudy, and opaque. This oxidation on the surface scatters the light beam, significantly reducing the amount of light that reaches the road. While lens restoration kits can sometimes temporarily improve this, a heavily damaged lens may require full assembly replacement.
🎬 Watch: How to restore hazy lenses for a clearer finish.4. Flickering or Intermittent Headlight Operation
If a headlight is flickering or cutting out, it could be a sign of a loose or corroded internal wiring harness, a failing bulb socket, or a bad ground connection within the assembly. While you should first check the bulb and external connectors, intermittent issues often point to a problem inside the sealed housing.
Known Issues, Recalls, and Technical Service Bulletins (TSBs)
While there are numerous recalls for the 2011-2014 Sonata concerning engines, seat belts, and airbags, there are no official recalls or TSBs from Hyundai for the common issue of dim headlights caused by failing projector reflector bowls. This means that repair is not covered by the manufacturer, and the only reliable solution is to replace the faulty headlight assembly.
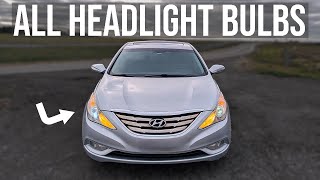
🎬 Watch: A detailed look at the weak headlight projector failure.Buying a Used Headlight Assembly: What to Look For

Purchasing a used OEM headlight can be a great way to save money, but it requires careful inspection. For this specific part, the internal condition is more important than the external appearance.
Buyer Beware: The primary failure point—the burnt projector reflector bowl—is completely hidden from view. A used headlight can look perfect on the outside but still produce dangerously dim light. The only way to be sure is to know the history of the part.
- Prioritize Low-Mileage Donors: Heat and time are the enemies of the projector bowl. An assembly from a low-mileage vehicle is much less likely to have a burnt-out reflector. Ask for the VIN and mileage of the vehicle the part came from.
- Check All Mounting Tabs: Inspect every mounting tab and bracket for cracks or breaks. These are made of plastic and are easily broken during minor accidents or careless removal. A broken tab will cause the headlight to vibrate or be misaligned.
- Inspect the Lens Condition: Look for deep scratches, cracks, and signs of internal moisture. Check for yellowing and hazing. Minor hazing can be polished, but a lens that is peeling or cracking cannot be saved.
- Verify the Bezel Color: The 2011-2014 Sonata came with different internal bezel colors depending on the trim level. The GLS often had a standard chrome or white bezel, while the SE and Limited trims used a dark chrome bezel (sometimes called 'C type'). Match this to your existing headlight to ensure a consistent look.
- Confirm Halogen Type: Ensure the assembly is for a vehicle with factory halogen bulbs. It will not work on a car originally equipped with HID/Xenon headlights.
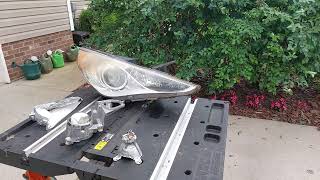
Replacement Process Overview

Replacing the headlight assembly on a 2011-2014 Sonata is a feasible DIY project for someone with moderate experience, but it is more involved than a simple bulb change.
- Difficulty: 3/5
- Estimated Time: 1.5 - 2.5 hours
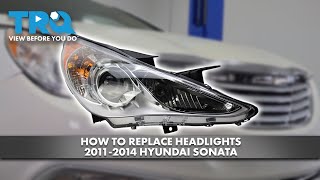
- Key Steps: The front bumper cover must be removed to access the bolts that hold the headlight assembly in place. This involves removing numerous clips, screws, and bolts in the wheel wells, under the engine, and in the grille area. Once the bumper is off, the headlight assembly itself is only held on by a few bolts. 🎬 See this step-by-step guide to removing the bumper and headlights.
Pro Tip: After installing the new assembly, perform a preliminary function test of all lights (low beam, high beam, turn signal, parking light) BEFORE you reinstall the bumper cover. This will save you a lot of time if there is a connection issue.
Aiming is Required
Any time you replace a headlight assembly, you MUST have the headlights professionally aimed. Do not skip this step. Improperly aimed headlights can be dangerous, either by failing to illuminate the road properly or by blinding oncoming drivers. A shop can perform this service quickly. The adjustment should be made with the vehicle on a level surface with a half-full tank of gas and no heavy loads.
Cost Comparison
| Part Type | Price Range (per side) |
|---|---|
| New OEM | $380 - $570 |
| New Aftermarket | $75 - $250 |
| Used OEM | $100 - $300 |
| Shop Labor (Installation & Aiming) | $200 - $350 |
Frequently Asked Questions (FAQ)
Why are my headlights still dim after I installed new, expensive bulbs?
Because the problem is not the bulb. The reflective coating inside the low beam projector housing has likely failed due to heat and age. No matter how bright the bulb is, if the reflector can't capture and project the light, the output will be extremely poor. The only fix is to replace the entire headlight assembly.
Can I just replace the projector bowl inside my original headlight?
Technically, yes, but it is a highly advanced DIY project known as 'retrofitting'. It requires baking the headlight assembly in an oven to soften the adhesive, carefully prying it open, sourcing and installing a new projector, and then resealing the unit to be watertight. For most people, replacing the entire assembly is the more practical and reliable option.
Can I install an LED or HID bulb in my halogen assembly to make it brighter?
While many kits are sold for this purpose, it is generally not recommended. Halogen projector housings are specifically designed and shaped to focus light from a halogen filament. LED and HID light sources have a different size and shape, which causes them to produce uncontrolled glare, blinding other drivers and often creating a less effective beam pattern on the road. For a safe and legal upgrade, it's better to use a high-performance halogen bulb or replace the entire assembly with a new one that has a fresh reflector.
Do I need to replace my headlights in pairs?
It is highly recommended. If one headlight's projector has failed, the other is likely not far behind. Replacing both at the same time ensures even light output and appearance. A new, clear headlight next to an old, hazy one will look mismatched.
Will a headlight from a Sonata Hybrid fit my non-hybrid model?
No, it is not recommended. While they may look similar, Hybrid models often have different wiring harnesses and may include features like LED accents that are not compatible with the standard wiring on GLS, SE, or Limited models. Always buy the part specified for your exact model and trim.
Helpful Videos
Technical Specifications
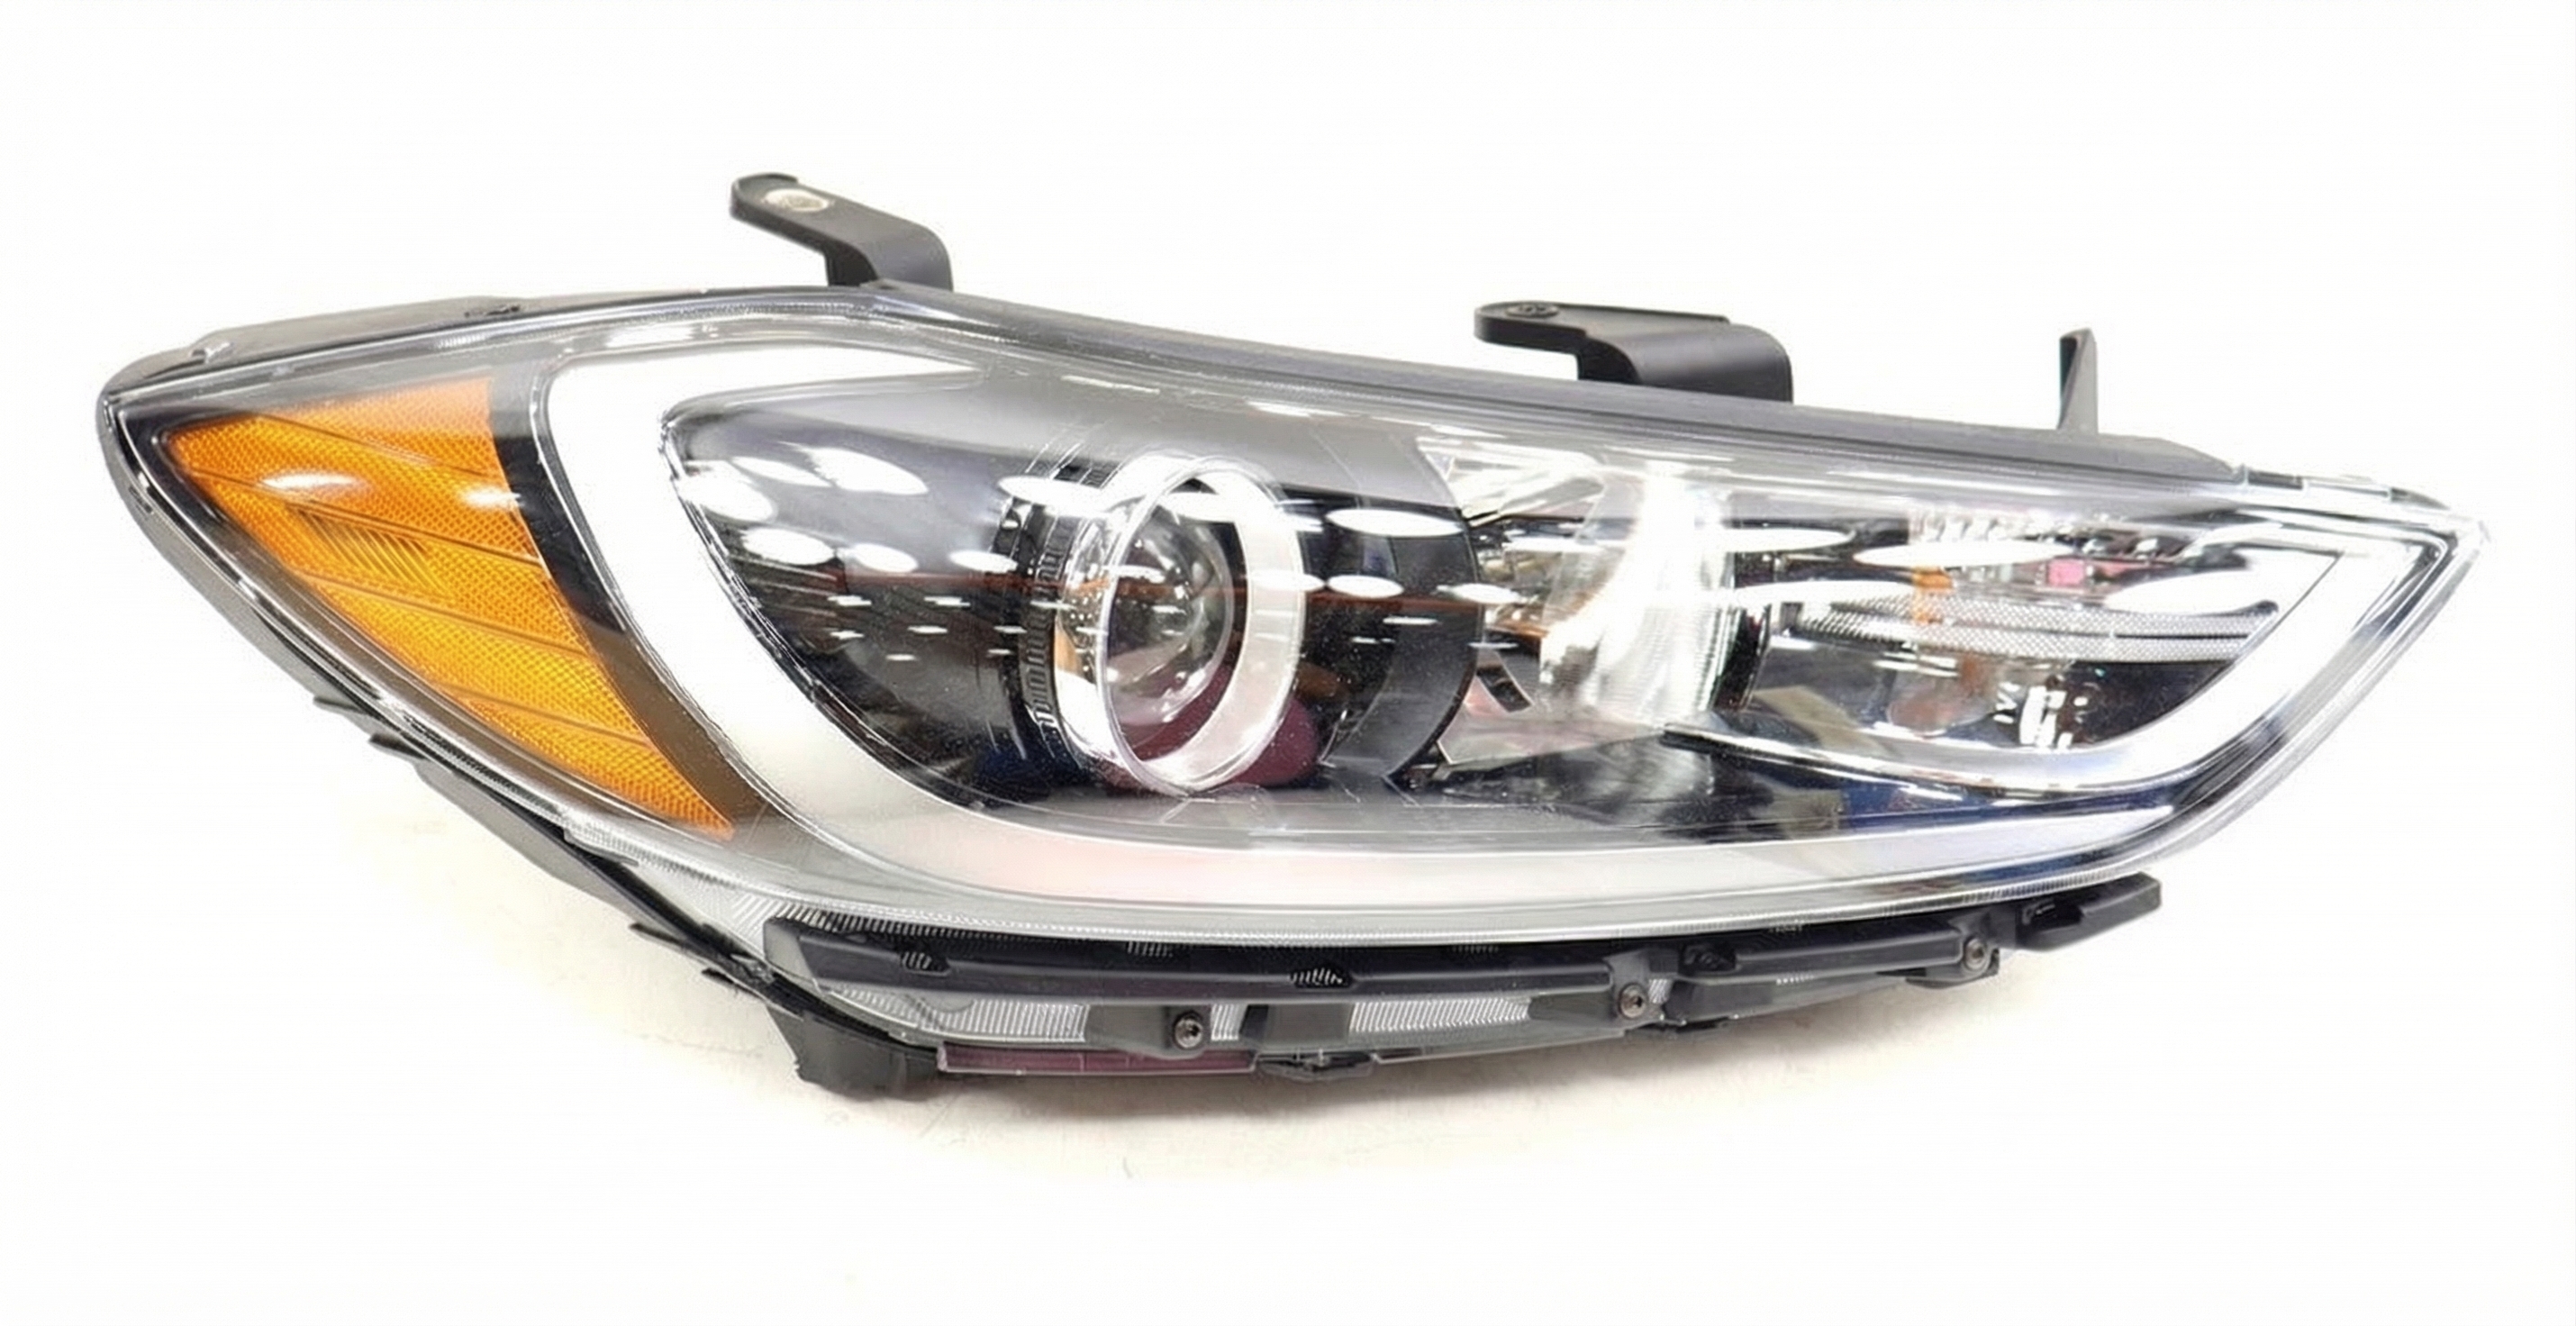
OEM Part Numbers: 92101-3Q000 92101-3Q100 921013Q000
Vehicle Fitment: 2011-2014 Hyundai Sonata (Non-Hybrid) Bulb Type (Low Beam): H7 Halogen Bulb Type (High Beam): H7 Halogen Technology: Projector Low Beam, Reflector High Beam Compatibility: For vehicles with factory halogen headlights only.
We Have This Part in Stock

The information in this article is provided for general reference and educational purposes only. Vehicle specifications, procedures, and part compatibility can vary by production date, trim level, and region. Always consult your vehicle's factory service manual and verify part numbers before purchasing or performing repairs. Safety-critical components such as airbags, seat belts, and braking systems should be installed by a qualified professional.
- Hyundai Sonata:
- 🎬 Helpful Videos
- 🛍️ Shop This Part
- Critical Compatibility Warnings: 2009-2010 vs. 2011-2014 Models
- Symptoms of a Failing Headlight Assembly
- 1. Extremely Dim Low Beams (Even With New Bulbs)
- 2. Condensation or Moisture Inside the Lens
- 3. Yellowed, Hazy, or Peeling Outer Lens
- 4. Flickering or Intermittent Headlight Operation
- Known Issues, Recalls, and Technical Service Bulletins (TSBs)
- Buying a Used Headlight Assembly: What to Look For
- Replacement Process Overview
- Aiming is Required
- Cost Comparison
- Frequently Asked Questions (FAQ)
- 🎟️ Get 5% Off