
Mazda3 & Mazdaspeed3 HVAC Control Guide (2007-2013): Solving Temp, Fan & Mode Issues
This guide covers common failures, replacement costs, and critical compatibility checks for the HVAC control unit in the 2007-2013 Mazda3 and 2010-2013 Mazdaspeed3.
- The biggest mistake is buying the wrong type; you must match Manual vs. Automatic controls and the Heated Seats option.
- Units for 2007-2009 (Gen 1) and 2010-2013 (Gen 2) are not interchangeable. Units for 2014+ models are completely different.
- If the fan only works on high, the problem is the blower motor resistor, not the main control unit.
- Clicking from the dash points to a failing actuator motor, while a stuck knob on a manual unit often means a disconnected cable or jammed door.
Generational Differences: 2007-2009 vs. 2010-2013
Before diagnosing or buying, it's crucial to understand that the HVAC control unit is NOT the same across all 2007-2016 Mazda3 models. The parts are specific to their generation.
- First Generation (2007-2009 Mazda3): These models use a distinct control unit. Part numbers often begin with 'BA' or 'BP'.
- Second Generation (2010-2013 Mazda3 & 2010-2013 Mazdaspeed3): These models share a different control unit. Part numbers for this era frequently start with 'BBM'.
- Third Generation (2014-2016 Mazda3): These vehicles use a completely different, non-interchangeable HVAC control system and are not covered by the part numbers in this guide.
Warning: The most common purchasing error is buying a unit for the wrong generation or option package. Always match your vehicle's year and features exactly.
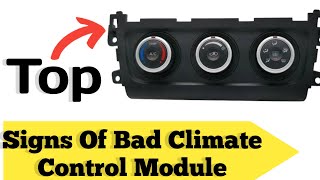
Symptoms of a Failing HVAC Control Unit
Problems with the HVAC control unit can range from minor annoyances to a complete loss of heating or cooling. Here are the most common symptoms:
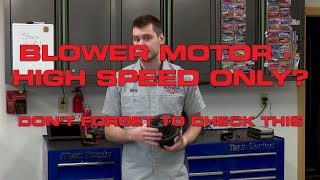
- Fan Speed Only Works on High: If your fan only blows on setting 4 (high), this is a classic symptom of a failed blower motor resistor, not the control unit itself. 🎬 Watch: How to diagnose and fix a failed blower motor resistor. The highest setting bypasses the resistor, which is why it's the only one that works.
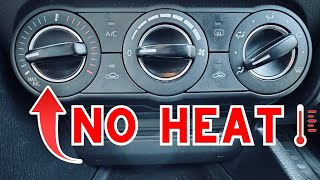
- Temperature is Stuck Hot or Cold: You turn the temperature knob, but the air coming from the vents doesn't change. This can be caused by a failed blend door actuator, a disconnected control cable on manual systems, or a fault within the control unit itself.
- Air Blows from the Wrong Vents: You select the face vents, but air only comes out of the defrost or floor vents. This points to a problem with the mode door actuator or, on manual units, a disconnected or jammed control cable. 🎬 See how to fix a stuck selector knob on 2nd gen models.
- Knobs are Stuck or Hard to Turn (Manual Controls): This often indicates that a foreign object has fallen into the vents and is jamming the blend or mode doors, or that the control cable itself has become disconnected or broken.
- No Response from Buttons or Knobs: The unit is completely dead, with no lights and no function when you press buttons or turn knobs. This could be a simple fuse, a bad electrical connector, or a total failure of the control unit's internal circuit board. Sometimes a voltage spike from jump-starting the car can cause this.
- Clicking or Popping Noises from the Dash: On models with automatic climate control, a repetitive clicking sound when you start the car or change settings is a tell-tale sign of a failing blend door or mode door actuator with stripped plastic gears.
Buying a Used HVAC Control: What to Check
Purchasing a used OEM control unit is a cost-effective solution, but careful inspection is key to avoid getting the wrong part. Here’s your checklist:
- Match the Control Type: Automatic vs. Manual. This is the most critical check. They are not interchangeable. Upgrading from manual to automatic controls is extremely difficult and requires changing wiring harnesses, sensors, and actuators.
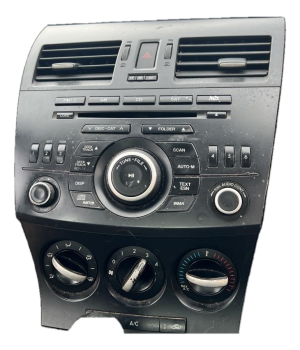
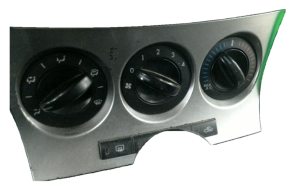
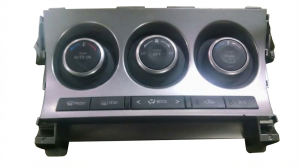
- Manual Controls: Have three simple knobs for fan speed, temperature, and airflow direction.
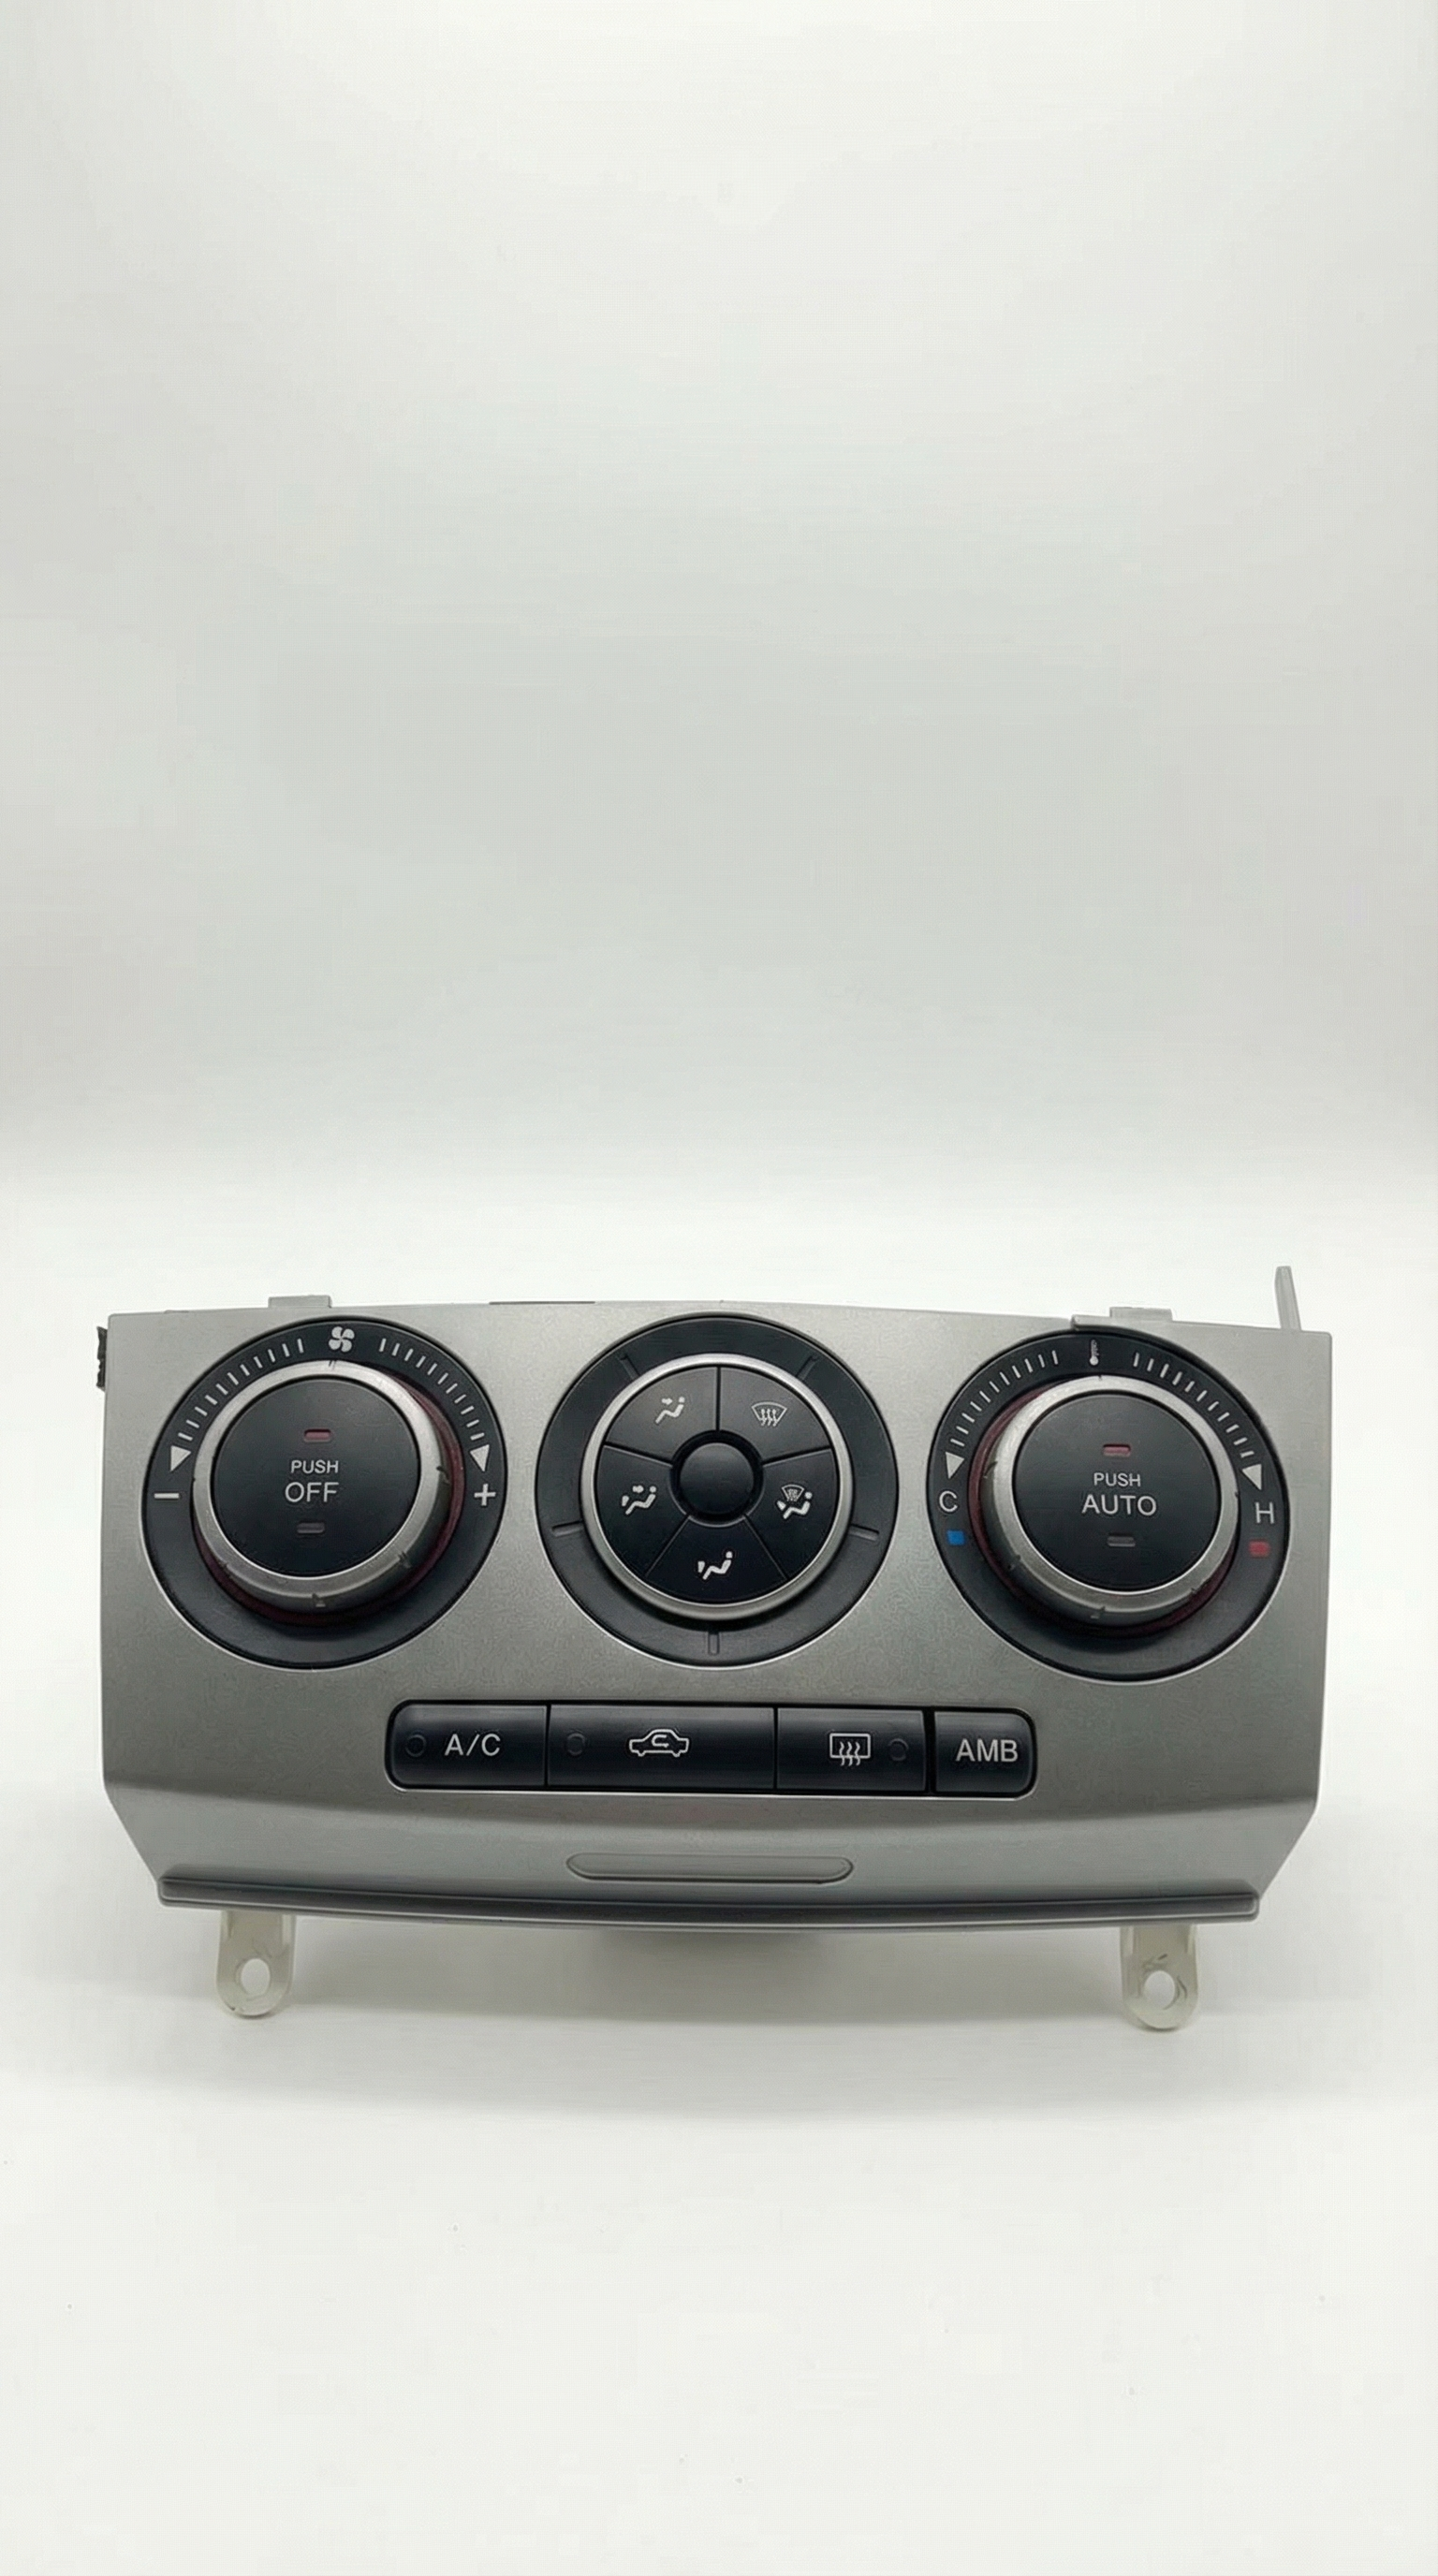
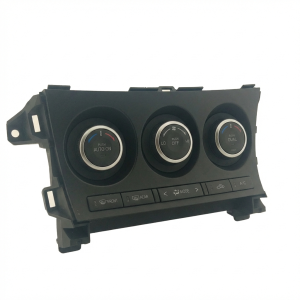
- Automatic Controls: Have an "AUTO" button and a digital display showing the set temperature.
- Verify Heated Seats Option: If your car has factory heated seats, the replacement control unit MUST have the heated seat buttons. A unit without these buttons will not have the internal circuitry to operate them.
- Inspect the Faceplate: Check for deep scratches, worn-off button graphics, or peeling clear coat. While cosmetic, it affects the interior's appearance.
- Test the Knobs and Buttons: Turn each knob through its full range of motion. They should move smoothly without sticking or feeling loose. Press every button to ensure it has a positive click and doesn't stick.
- Examine Electrical Connectors: Look at the back of the unit. The plastic connectors and the pins inside should be clean, straight, and free of any green or white corrosion or signs of melting.
- Check the Cable Mounts (Manual Units): For manual A/C units, inspect the plastic levers and mounting points where the control cables attach. Ensure they aren't cracked or broken, as this is a common failure point.
Pro Tip: When buying online, ask the seller to provide a picture of the part number sticker on the unit. You can compare this to your original unit to be certain of a match.
Cost Comparison
Prices can vary based on condition and source. Here are typical price ranges:
| Part Type | Estimated Cost |
|---|---|
| New OEM | $350 - $600+ |
| New Aftermarket (Dorman, etc.) | $150 - $250 |
| Used OEM | $50 - $150 |
| Shop Labor for Replacement | $100 - $200 |
Replacement Guide (Overview)
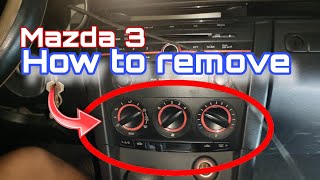
Replacing the HVAC control unit is a moderately easy DIY job that requires basic tools and patience.
- Difficulty: 2/5
- Estimated Time: 1 hour
- Tools Needed: Phillips screwdriver, plastic trim removal tools, needle-nose pliers (for manual controls). 🎬 Watch this step-by-step walkthrough on how to remove the control unit.
Basic Steps:
- Disconnect the battery.
- Carefully pry off the center console and shifter trim pieces.
- Remove screws securing the ashtray/12v outlet and the trim piece above the radio.
- Remove the screws holding the radio and the HVAC unit. Gently pull the radio out to gain access.
- For Manual Controls: Carefully disconnect the metal control rods/cables from the back of the unit. They are held by small clips.
- For All Units: Unplug the electrical connectors from the back of the control unit.
- Installation is the reverse of removal. Be sure to reconnect the control cables and electrical plugs securely before reassembling the dash. Test all functions before putting all the trim back on.
Frequently Asked Questions (FAQ)
Can I install an automatic climate control unit in my car that has manual controls?
No, this is not a simple plug-and-play swap. The automatic system uses multiple electronic actuators and in-cabin temperature sensors that the manual system lacks. It would require a complex and expensive conversion of the wiring harness and HVAC box.
My fan only works on the highest setting. Do I need a new control unit?
No, this is almost always caused by a failed blower motor resistor, not the control unit. The resistor is a separate, inexpensive part located near the blower motor itself, usually behind the glove box.
My replacement unit isn't working at all. What should I check?
First, check the fuses related to the climate control system. Second, ensure all electrical connectors are fully seated in the back of the unit. Third, confirm you purchased the correct unit for your car's year, model, and options (manual vs. auto, heated seats). A complete lack of power can sometimes happen after a battery jump.
Why is my temperature knob stuck or not changing the temperature?
On manual A/C units, this is often because the control cable has popped off the blend door lever behind the glove box, or an object is jamming the door. On automatic units, it usually means the blend door actuator motor has failed.
Helpful Videos

Technical Specifications
OEM Part Numbers: BAP261190A BAR161190 BAR161190A BBM461190B BBM461190E BBM461190F BBM461190G BBM461190H BBM461190J BBM561190D BBM561190E BBM561190F BBM561190G BBM561190H BBM561190J
Control units are vehicle-specific based on generation (2007-2009 vs. 2010-2013), climate control type (Manual vs. Automatic), and options (with or without heated seats).
We Have This Part in Stock


The information in this article is provided for general reference and educational purposes only. Vehicle specifications, procedures, and part compatibility can vary by production date, trim level, and region. Always consult your vehicle's factory service manual and verify part numbers before purchasing or performing repairs. Safety-critical components such as airbags, seat belts, and braking systems should be installed by a qualified professional.
- Mazda MAZDA3:
- Mazda MAZDASPEED3: