
2013-2019 Ford Escape Luggage Rack: Fixing the Inevitable Water Leak
This guide explains the real cause of water-stained headliners and how to properly inspect, install, and seal the roof rack side rails on your 2013-2019 Ford Escape.
- The primary failure is water leaking into the cabin, caused by cracked factory seam sealer under the rack, not just the bolt holes.
- To fix or prevent leaks, you must remove the rails and apply a new, generous layer of RTV silicone or butyl sealant along the entire roof channel.
- When buying used, inspect the plastic mounting feet for cracks and confirm the color (Black vs. Silver) and components (Side Rails vs. Crossbars).
- Replacement is a feasible DIY job (2.5/5 difficulty) that does not require removing the headliner if you seal it from the top.
The Biggest Problem: Water Leaks and Stained Headliners
The most significant and widely-reported issue with the 2013-2019 Ford Escape's factory roof rack is not the rack itself, but the way it attaches to the vehicle. Many owners experience water leaking into the cabin, which appears as stains on the headliner, typically above the front A-pillars or in the rear corners near the liftgate.
The common assumption is that water is seeping past the mounting bolts. However, the true culprit is often the factory seam sealer located in the roof channel, underneath the rack's mounting feet. This sealer can become brittle and crack over time, or get disturbed when installing or removing the rack. Once cracked, it creates a direct path for water to enter the vehicle's body structure, eventually soaking the headliner. 🎬 Watch: Locate and fix the roof seam leak Simply tightening the bolts or adding sealant only to the bolts will not fix this underlying issue.
Symptoms of a Failing Luggage Rack Assembly
- Water Stains on Headliner: This is the most obvious sign. Brownish or discolored patches on the fabric headliner near the front windshield or rear hatch are a clear indication of a leak from the roof rack mounting points.
- Visible Water Dripping: In heavy rain, you may see water actively dripping from the A-pillar grab handles or the edge of the headliner.
- Musty Odor: A persistent damp or musty smell inside the vehicle can signal trapped moisture in the headliner or carpeting due to a slow, long-term leak.
- Whistling or Rattling Noises: Excessive wind noise, whistling, or rattling from the roof at highway speeds can indicate loose mounting bolts, cracked plastic end caps, or a damaged rail.
- Cosmetic Damage: The finish on the rails, whether black paint or chrome, can peel, bubble, or corrode. The plastic mounting feet and end caps can also fade, become brittle, and crack from sun exposure.
Warning: Do not confuse the luggage rack with recalls for this vehicle. There are no NHTSA recalls for the roof rack itself. Recalls for the 2013-2019 Escape pertain to other issues like the engine block heater.
Buying a Used 2013-2019 Escape Luggage Rack: What to Check
A used OEM luggage rack can be a great value, but a thorough inspection is critical to avoid buying someone else's problems. Pay close attention to the following areas.
Step 1: Confirm Compatibility
Before you buy, know exactly what your vehicle needs. The luggage rack was available in two main finishes:
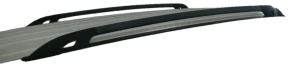
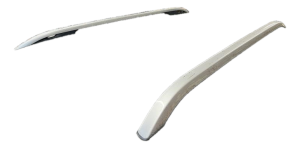
- Black (sometimes called Carbon Black)
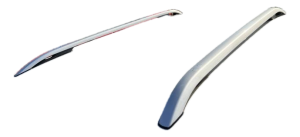
- Silver / Chrome
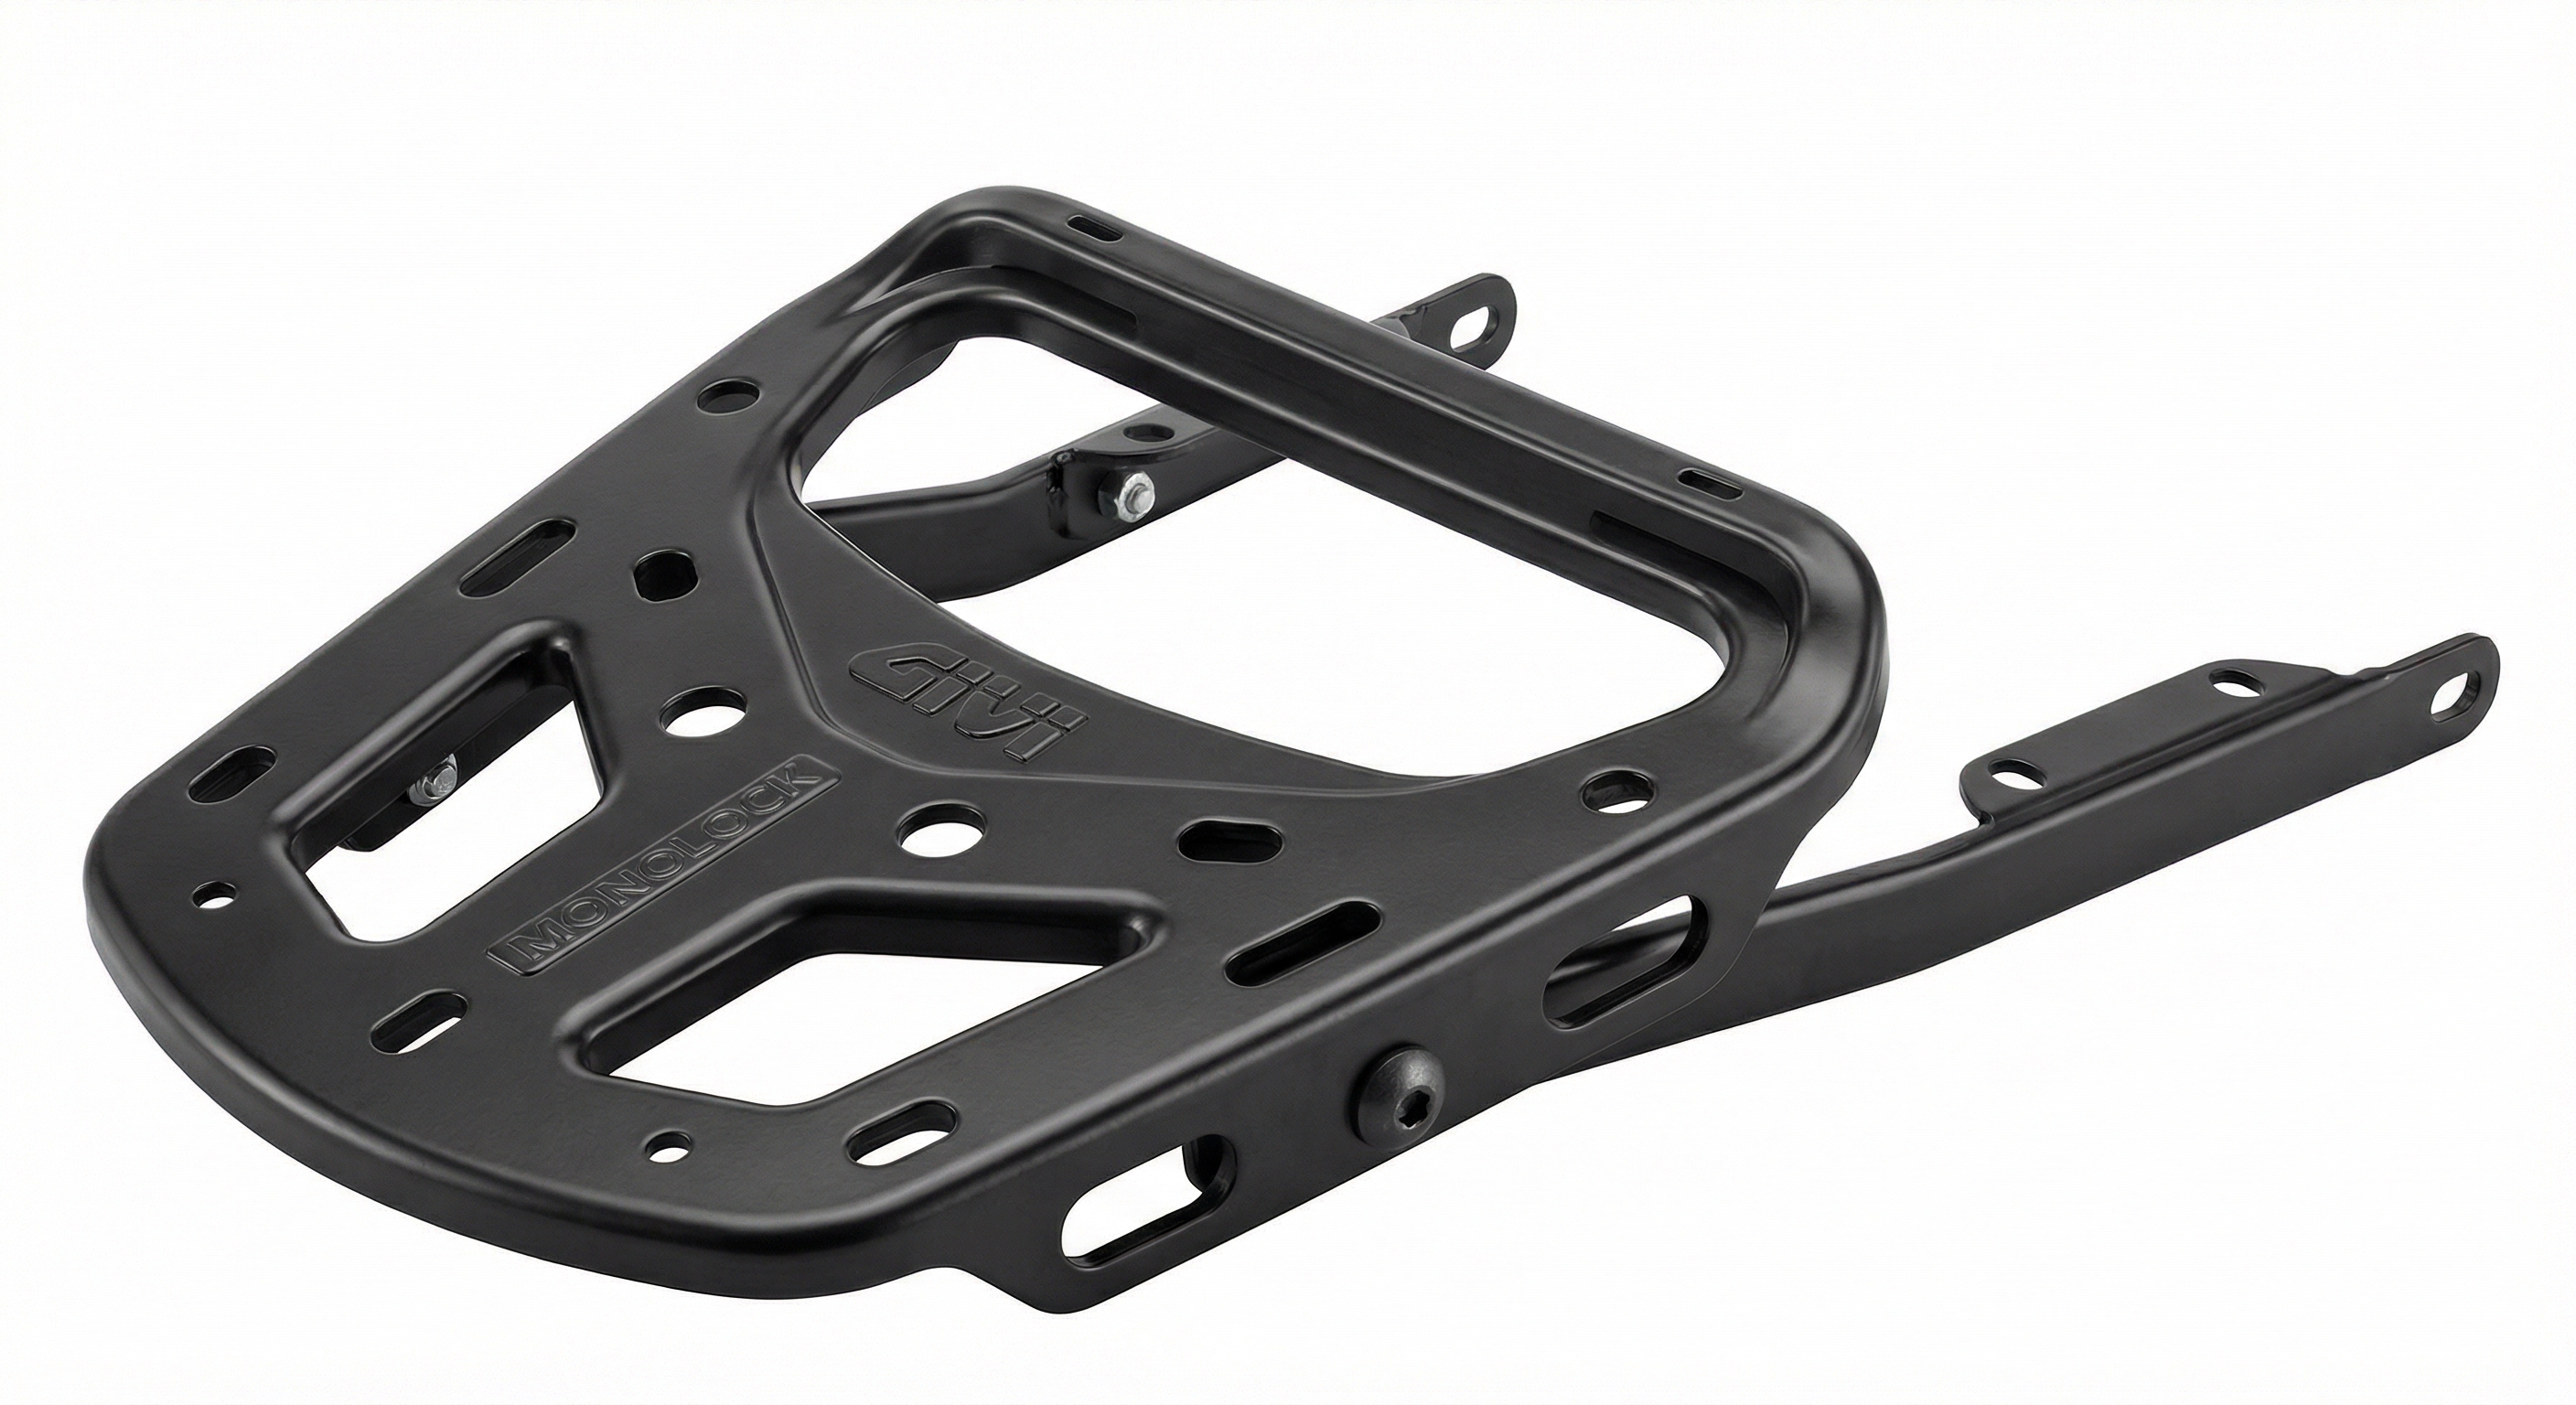
Also, be crystal clear about what you are buying. Most online listings for a "luggage rack" are for the side rails only (the parts that run front-to-back). The side-to-side crossbars are almost always sold separately.
Step 2: Physical Inspection Checklist
When inspecting a used rack, whether in person or through detailed photos, check these key points:
- Check for Cracks: The plastic mounting feet and end caps are the most vulnerable parts. Inspect them closely for any cracks, especially around the bolt holes. A cracked foot compromises the entire rack's integrity.
- Inspect the Finish: Look for more than just light scratches. Significant peeling, bubbling, or heavy corrosion on the rails can be a sign of long-term neglect.
- Verify Mounting Studs are Intact: If the rack is already removed from the donor vehicle, ensure the mounting studs are present and that their threads are not stripped or damaged.
- Ask About Hardware: The original mounting bolts and any associated seals or gaskets are often lost. Ask the seller if they are included. If not, you will need to source new hardware.
Pro Tip: If you are adding a factory rack to an Escape that did not come with one, your vehicle should have mounting points under the black plastic strips in the roof channels. However, one user reported a rare issue where a factory kit did not align with their vehicle's holes, suggesting a possible mid-generation variance. It's wise to confirm the mounting hole pattern 🎬 See this OEM roof rack installation walkthrough on your specific vehicle before purchasing.
Replacement and Installation Guide
Replacing the side rails is a manageable DIY job that does not require removing the headliner if done correctly. The key is to work from the top of the vehicle and focus on creating a new, waterproof seal.
- Difficulty: 2.5 out of 5
- Estimated Time: 2 hours
- Tools Needed: Trim removal tool, 8mm socket or T40 Torx (depending on hardware), cleaning supplies, high-quality RTV silicone or butyl rubber sealant.
Installation Steps Overview
- Remove the end caps from the existing rails and unbolt them from the roof. If you have blank molding strips, carefully pry them up with a plastic trim tool to expose the mounting channels.
- Thoroughly clean the roof channels and around the bolt holes. Remove all old sealant, dirt, and debris. This step is critical for a good seal.
- Apply a generous bead of high-quality black RTV silicone or butyl sealant along the entire roof channel, not just around the bolt holes. This recreates the waterproof barrier that likely failed.
- Carefully place the new or used roof rail into the channel, pressing it firmly into the fresh sealant.
- Install and tighten the mounting bolts to secure the rack. Do not overtighten, as this can damage the plastic feet or the roof itself.
- Clean up any excess sealant that squeezed out and reinstall the end caps.
Warning: Always use new sealant. Re-installing a rack with old, compressed seals or without adding a new layer of RTV is a guaranteed way to cause a major water leak.
🎬 Watch: Step-by-step leaky roof rack repair guideCost of a 2013-2019 Ford Escape Luggage Rack
Prices can vary based on condition and source. Labor costs are highly dependent on whether the shop chooses to drop the headliner or use the more efficient top-down reseal method.
| Part Type | Estimated Price Range |
|---|---|
| New OEM Side Rail Kit (Black) | $330 - $370 |
| New Aftermarket Side Rail Kit | $180 - $250 |
| Used OEM Side Rail Kit | $150 - $200 |
| Shop Labor (Top-Down Reseal) | $200 - $350 (2-3 hours) |
| Shop Labor (Headliner Removal) | $500 - $700+ |
OEM Part Numbers
These are some of the common OEM part numbers for the side rails. Always verify fitment with a VIN before purchasing.
- DJ5Z-7855100-BA: Kit, Black Roof Rails (2-piece set)
- CJ5Z-7855114-A: Right Side Rail, Black
- CJ5Z-7855114-AA: Right Side Rail, Black (revision)
- CJ5Z-7855114-B: Right Side Rail, Silver
- CJ5Z-7855115-A: Left Side Rail (corresponding part)
Frequently Asked Questions (FAQ)
Can I add a factory roof rack to an Escape that didn't come with one?
Yes, in most cases. Escapes without a factory rack have blank molding strips in the roof channels. These can be removed to access the factory mounting points underneath. However, it is crucial to properly seal the entire channel during installation to prevent leaks.
My headliner is stained. Does that mean I need a new roof rack?
Not necessarily. The rack itself is likely fine, but the seal has failed. You need to remove the rack, clean the channels, and reinstall it with a new, generous application of RTV silicone or butyl sealant to fix the leak.
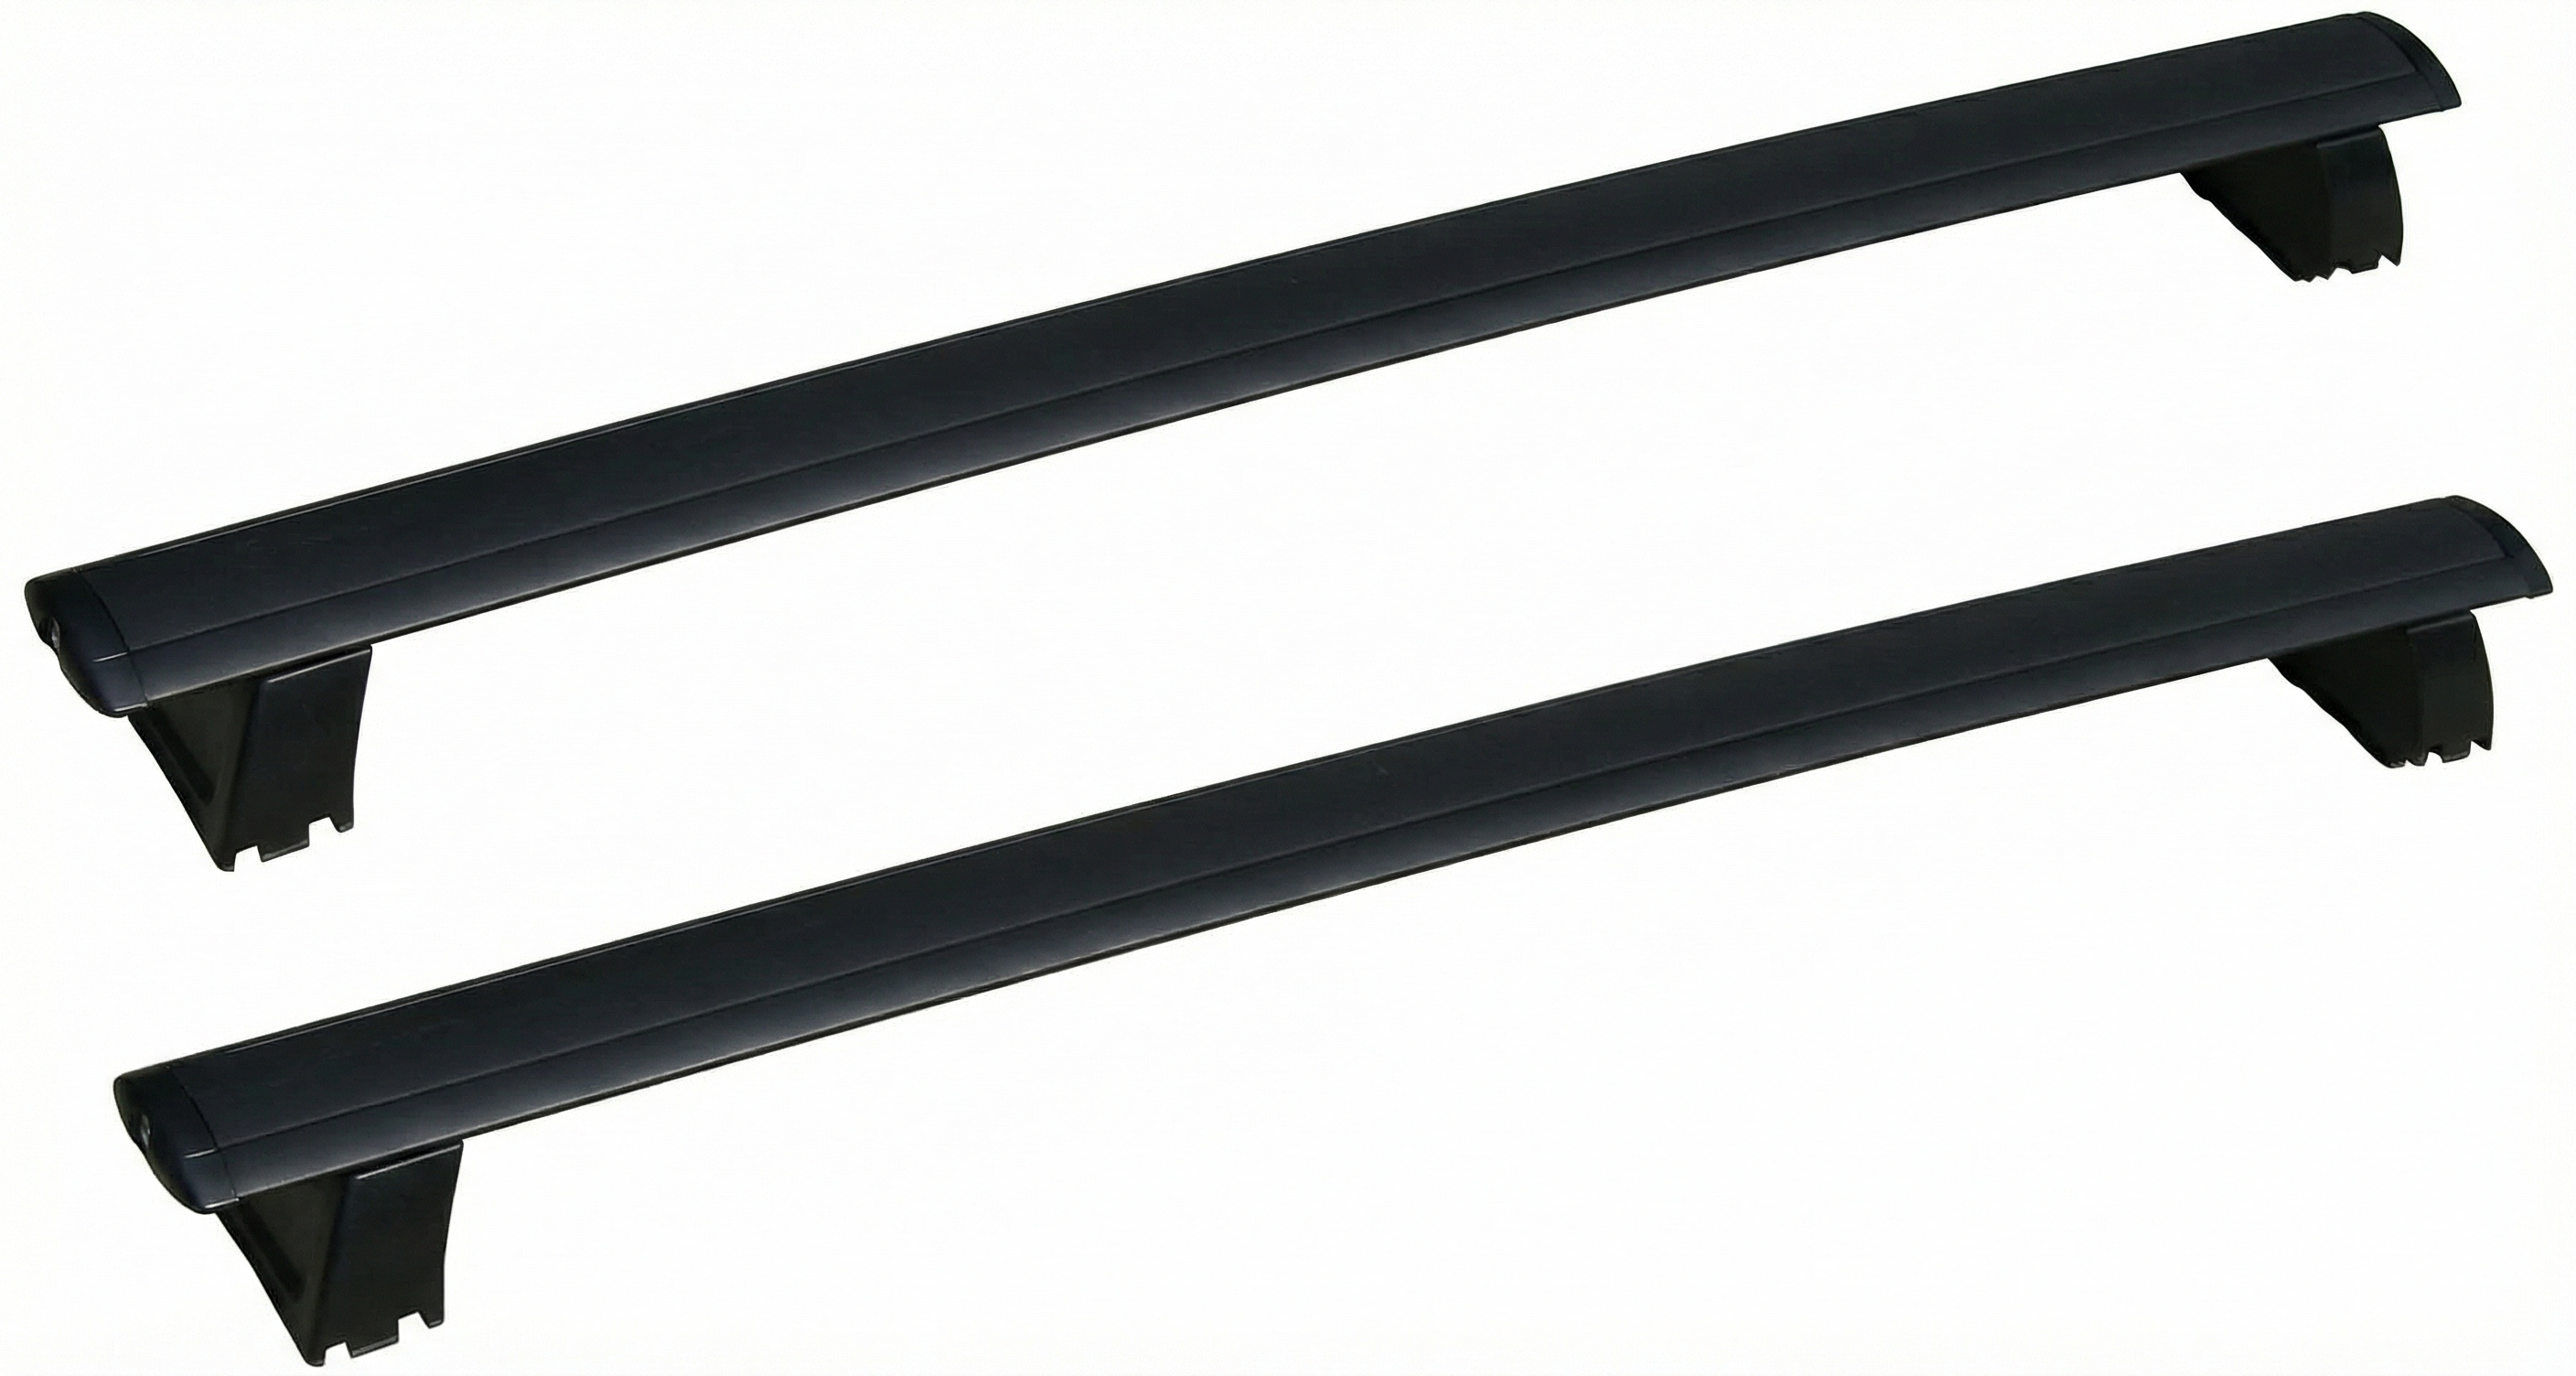
What is the difference between side rails and crossbars?
Side rails are the parts that run from the front of the roof to the back. They are permanently bolted to the car. Crossbars run from the driver's side to the passenger's side and attach to the side rails. Crossbars are used to mount accessories and are often removable. Most used listings are for side rails ONLY.
My roof rack's finish is peeling. Can I just paint it?
Yes. If the rack is structurally sound, you can refinish it. For best results, you should remove the rails from the vehicle, sand them down to remove all the old, peeling finish, prime them, and then repaint with a durable automotive-grade paint. This is also a good opportunity to reseal the mounting channels to prevent future leaks.
Helpful Videos
Technical Specifications
OEM Part Numbers: CJ54-S550A63-AGW CJ5Z-7855114-A CJ5Z-7855114-AA CJ5Z-7855114-B CJ5Z-7855115-A DJ5Z-7855100-BA EJ5Z-7855100-AA
Available in Black (paint) or Silver (chrome-like) finishes. Designed to mount in the factory roof channels.
We Have This Part in Stock

The information in this article is provided for general reference and educational purposes only. Vehicle specifications, procedures, and part compatibility can vary by production date, trim level, and region. Always consult your vehicle's factory service manual and verify part numbers before purchasing or performing repairs. Safety-critical components such as airbags, seat belts, and braking systems should be installed by a qualified professional.
- Ford Escape:
- 🎬 Helpful Videos
- 🛍️ Shop This Part
- The Biggest Problem: Water Leaks and Stained Headliners
- Symptoms of a Failing Luggage Rack Assembly
- Buying a Used 2013-2019 Escape Luggage Rack: What to Check
- Step 1: Confirm Compatibility
- Step 2: Physical Inspection Checklist
- Replacement and Installation Guide
- Installation Steps Overview
- Cost of a 2013-2019 Ford Escape Luggage Rack
- OEM Part Numbers
- Frequently Asked Questions (FAQ)
- 🎟️ Get 5% Off