
B1008 (Symptom 4B) on 2017-2020 Chevrolet Bolt EV: Front Camera Calibration Fault
On a 2017-2020 Chevy Bolt EV, code B1008 with symptom byte 4B almost always means the front camera for the driver-assist systems has failed its calibration check. This is most commonly caused by an improperly installed or non-OEM aftermarket windshield that physically misaligns the camera, preventing it from learning. The fix requires professional diagnosis, likely starting with an ADAS camera recalibration, and may require replacing the windshield with a genuine GM part.
- B1008 on a Bolt EV is a calibration failure code for the front camera, not necessarily a broken part.
- Before paying for any repairs, check your windshield for a 'GM' logo. An aftermarket windshield is the number one cause of this code.
- The fix always requires a professional-level scan tool to perform a dynamic 'driving' calibration procedure.
- Do not replace the camera module unless all other possibilities, especially the windshield and its installation, have been ruled out.
What's Unique About the 2017-2020 Chevrolet BOLT EV
The Chevrolet Bolt EV relies heavily on its front camera for modern safety features. This system is notoriously sensitive to the optical quality and physical mounting of the windshield. Unlike many other vehicles, simply replacing the windshield on a Bolt EV without ensuring it is a genuine GM part and performing a precise electronic calibration is a very common trigger for this specific code. GM TSBs note that factory windshields use specific alignment/locating pins to ensure proper positioning, which most aftermarket windshields lack, making a correct installation difficult. An improper installation can change the camera's viewing angle enough to make it see the edge of the hood, which prevents the calibration from ever completing.
Diagnostic Flowchart
Tap your situation to follow the diagnostic path that matches what you're seeing on this vehicle.
Symptoms You May Notice
- "Service Front Camera" message on the driver information center
- "Service Lane Departure Warning" message
- "Service Lane Keep Assist" message
- Lane Keep Assist (LKA) is inoperative or the button will not activate
- Forward Collision Alert system is disabled
- IntelliBeam (auto high-beam) headlights may not function correctly
- Replacing the front camera module unnecessarily. The TSBs specifically advise NOT to replace the module for a B1008 code alone, as the cause is almost always related to the windshield, obstruction, or calibration.
Most Likely Causes
- Aftermarket or Improperly Installed Windshield 🔴 High Probability → Shop Windshield The camera bracket on non-OEM (Original Equipment Manufacturer) windshields is often misaligned, even by a millimeter. GM TSBs specifically note that aftermarket glass often lacks the factory alignment pins, leading to poor installation where the camera angle is incorrect and may see the vehicle's hood, making calibration impossible. Even OEM-supplier brands like Fuyao can have fitment issues with their aftermarket glass; one owner noted the original glass was Fuyao, but a replacement Pilkington-branded windshield had a bracket that required modification to fit.
How to confirm: Check the corner of the windshield for a 'GM' logo; its absence indicates an aftermarket part. A technician can also inspect the gap between the top of the windshield and the roof sheet metal, which should be uniform and sub-flush.
Typical fix: Replace the aftermarket windshield with a genuine GM-branded part, followed by a professional ADAS camera dynamic calibration.
Est. part cost: $800-$1500 - Front Camera View is Obstructed 🟡 Medium Probability Anything on the windshield inside or out can block the camera's view and prevent it from learning the road scene during a calibration cycle.
How to confirm: Visually inspect the area around the camera (behind the rearview mirror) for dirt, stickers, window tint strips, cracks, or debris. TSBs also mention performing a detailed cleaning of the camera lens and the inside of the windshield.
Typical fix: Clean the windshield thoroughly inside and out. Remove any obstructions.
Est. part cost: $0 - Lost or Corrupt Calibration Data 🟡 Medium Probability
How to confirm: This requires a professional scan tool (like GDS2) to attempt the 'Front View Camera Module Calibration' procedure. If the procedure fails repeatedly with a known-good OEM windshield and a clean view, the module's data is likely the issue.
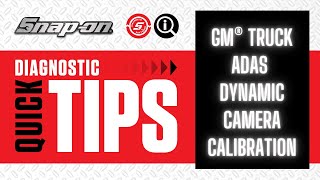
Typical fix: A dealership or qualified shop must perform the camera calibration procedure, which is a dynamic 'learn' process done while driving. 🎬 Watch: A quick tip on performing the GM dynamic calibration procedure. In some cases, the module may need to be reprogrammed (flashed) before it will accept the calibration.
Est. part cost: $0 (service only) - Improperly Mounted Camera ⚪ Low Probability
How to confirm: Visually inspect the camera module to ensure it is fully seated and secured in its bracket on the windshield. TSB PIT5535B provides diagrams showing how the module should be clipped into the windshield pins.
Typical fix: Reseat the camera module correctly in its bracket.
Est. part cost: $0
Rare But Worth Checking
- Failed Front Camera Module: → Shop Video Camera While less common than calibration or windshield issues, the module itself can fail internally. This is usually the last resort after all other diagnostic steps have been exhausted. If reprogramming and calibration attempts fail with a known good setup, the module is likely faulty.
- Software Glitch Causing Parasitic Drain: A separate issue covered by TSB 23-NA-095 describes a software fault where the front camera module fails to enter sleep mode, causing a dead battery. While this TSB is primarily for a battery drain, it involves camera module malfunction and is fixed with a software update, which could be a related factor in some cases.
Diagnosis Steps
- Read the DTCs with a scan tool to confirm B1008 with symptom byte 4B is present.
- Visually inspect the windshield for any obstructions like dirt, decals, or damage in the camera's line of sight.
- Check the lower corner of the windshield for the 'GM' logo to verify it is an OEM part.
- Inspect the windshield installation quality. Check that the gap between the top of the glass and the roof is uniform and that the glass is sub-flush to the roof sheet metal.
- Inspect the camera module behind the rearview mirror to ensure it is securely clipped into its mounting bracket.
- If any of the above are found, correct the issue (clean glass, replace aftermarket windshield).
- If no physical issues are found, a shop will connect a scan tool (GDS2) to attempt the 'Front View Camera Module Calibration' procedure. This is a dynamic learn, not a static one.
- The dynamic calibration requires driving the vehicle on a straight, two-lane road with clear lane markings at a speed between 35-56 mph (56-90 km/h) until the learn process completes.
- If calibration fails, the technician should check for any TSBs related to the yaw rate sensor and perform a 'Yaw Rate Sensor Relearn' using GDS2 before re-attempting camera calibration, as this is a required prerequisite.
- If calibration continues to fail, the technician will follow GM's diagnostic procedures, which may include a full three-step reprogram (SPS Programming, SPS Configuration, GDS2 Learn), or, as a final step, replacing the camera module.
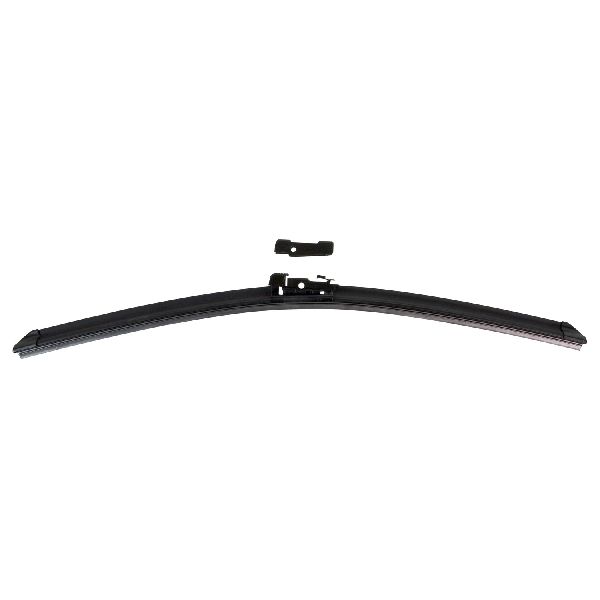
Parts You'll Likely Need
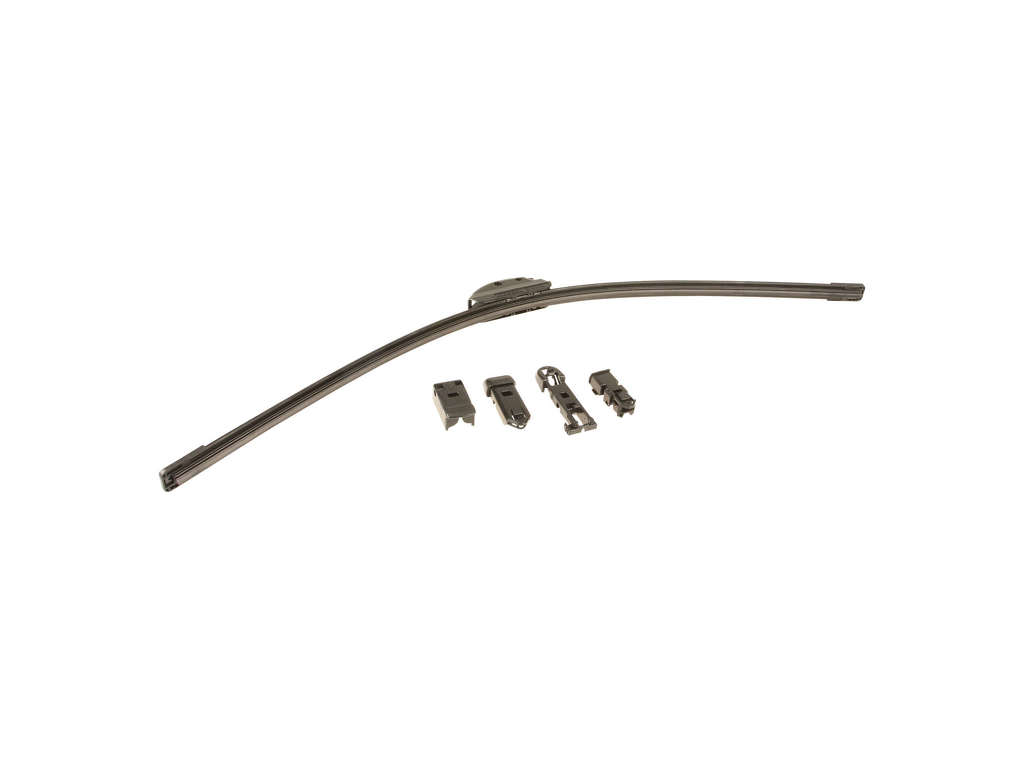
- Windshield — An aftermarket windshield is the most frequent cause of failed camera calibration. Only a genuine GM windshield guarantees the correct optical properties and bracket placement via alignment pins.
Trusted brands: GM Genuine Parts
OEM price range: $800-$1500
Aftermarket price range: $400-$800 - Front View Camera Module
(OEM #42489890)— This part is only needed in the rare event that the module itself has failed and will not accept a reprogram or calibration after all other causes are ruled out.
Trusted brands: ACDelco, GM Genuine Parts
OEM price range: $250-$400
Aftermarket price range: $150-$300
Technical Service Bulletins (TSBs) & Recalls
- PIT5535E (Oct 25, 2019): Service Front Camera... with DTC B1008 Sym 4B... Technician will need to check the windshield to ensure it is not aftermarket. Also inspects for proper windshield mounting, including the gap to the roof sheet metal and ensuring it is sub-flush.
- PIT5535B (July 7, 2017): Explicitly states 'Do NOT replace the Front View Camera Module if it is only setting DTC B1008 SYM4B.' Lists a wide range of affected GM vehicles and points to improper mounting or view blockage as the cause. Also recommends a yaw sensor relearn.
- PIT5535 (Dec 2016): An early version explaining that the B1008 Sym 4B code sets when the camera learn procedure fails because the module determines it is improperly mounted or its view is blocked.
Platform-Specific Known Issues
- GM has issued multiple Technical Service Bulletins (TSBs), including #PIT5535E, #PIT5535C, and #PIT5535B, specifically addressing DTC B1008 Sym 4B. They all point towards aftermarket windshields and camera obstructions as the primary causes. The TSBs explain that aftermarket glass often lacks the locating pins used by the factory, making it difficult to align properly. This can cause the camera to see the vehicle's hood, which prevents the dynamic learn procedure from completing.
Mechanic-Grade Diagnostic Values
- Front View Camera Module (K115) voltage supply — expected: > 10 Volts. Failure: Voltage below 10V indicates an issue with the power supply circuit (check fuses) or BCM.
- Front View Camera Module (K115) ground circuit resistance — expected: < 5 Ohms. Failure: Resistance above 5 Ohms indicates a poor ground connection, which can cause intermittent or total failure.
Hidden / Shadow Codes Worth Checking
- U3000 (Sym 44, 49, 54, or 57): These Control Module codes may be set in the Front View Camera Module in relation to software issues, such as a parasitic battery drain described in TSB 23-NA-095. While B1008 relates to calibration, these codes indicate a deeper module or software fault. (see via GM GDS2 Scan Tool or equivalent professional scanner.)
Scan Tool Commands That Help
- GDS2: Yaw Rate Sensor Relearn — This should be performed before attempting camera calibration if calibration fails, or after certain service procedures. TSB PIT5535B lists this as a diagnostic step for B1008 to rule out prerequisite sensor issues.
- GDS2 / SPS: SPS Programming, SPS Configuration, GDS2 Learn — This is the complete, three-step process for reprogramming and calibrating the front view camera module, often required after module replacement or if a simple calibration fails.
- GDS2: Reset / Cancel Camera Learn — If the camera module gets stuck in 'Learn Mode' and the dynamic calibration procedure fails to complete, this function can be used to reset the status before attempting the learn procedure again.
Wiring & Ground Locations
- Cabin Ground Stud — In the driver or passenger footwell, there are often factory ground studs bolted to the chassis. One user identified a suitable ground point on a stud below the cabin fuse box.. A poor ground connection to the K115 Front View Camera Module can cause low voltage, data corruption, and calibration failures. Verifying a clean, tight ground is a key electrical diagnostic step.
Real Owner Repair Stories
- Reddit user /u/CauliflowerTop2464 (2020 Chevrolet Bolt EV) — Cracked windshield needed replacement.
❌ Tried (didn't work) Direct installation of a Pilkington aftermarket windshield.
✅ What actually fixed it The user reported that the bracket for the sensors on the Pilkington glass would not clip into place correctly. The fix required modifying the bracket to get it to fit. They noted the original OEM glass was from the manufacturer Fuyao. - Reddit user on /r/BoltEV (Chevrolet Bolt EV with lane keep assist) — Cracked windshield requiring replacement.
✅ What actually fixed it The owner had the windshield replaced by a local auto glass shop for approximately $1,300. The shop confirmed the high cost was due to the significant labor required to properly calibrate the lane keep assist camera system after installation, confirming the complexity of the repair.
"I Checked Everything" — The Actual Cause
- A common scenario is when the front camera calibration repeatedly fails even with a confirmed OEM windshield and a clear view. Before replacing the camera module, TSB PIT5535B advises technicians to perform a 'Yaw Rate Sensor Relearn' using a GDS2 scan tool. The yaw sensor provides data the camera system uses for context, and if its calibration is off, it can prevent the camera from learning its position correctly, even though the camera and windshield are perfectly fine.
OEM Part Supersession History
42489890→N/A
Heads up: Part number 42489890 appears to be the correct and current part for the entire 2017-2020 model year range. No supersessions were found during research.
Model Year Variations Within This Range
- 2020: For the 2020 model year, Chevrolet upgraded the Bolt's camera systems, including the rear vision and surround vision cameras, to High-Definition (HD). While the TSBs for B1008 apply across the range, the 2017-2019 models use lower-resolution cameras compared to the 2020 model.
Helpful Videos
We Have This Part in Stock


The information in this article is provided for general reference and educational purposes only. Vehicle specifications, procedures, and part compatibility can vary by production date, trim level, and region. Always consult your vehicle's factory service manual and verify part numbers before purchasing or performing repairs. Safety-critical components such as airbags, seat belts, and braking systems should be installed by a qualified professional.
- Chevrolet BOLT EV:
- 🧭 Diagnostic Flowchart
- 🎬 Helpful Videos
- 🛍️ Shop This Part
- What's Unique About the 2017-2020 Chevrolet BOLT EV
- Symptoms You May Notice
- Most Likely Causes
- Rare But Worth Checking
- Diagnosis Steps
- Parts You'll Likely Need
- Technical Service Bulletins (TSBs) & Recalls
- Platform-Specific Known Issues
- Mechanic-Grade Diagnostic Values
- Hidden / Shadow Codes Worth Checking
- Scan Tool Commands That Help
- Wiring & Ground Locations
- Real Owner Repair Stories
- "I Checked Everything" — The Actual Cause
- OEM Part Supersession History
- Model Year Variations Within This Range
- 🎟️ Get 5% Off