
C0755 on 2015-2022 Chevrolet Malibu: Right Front TPMS and RCDLR Faults
Code C0755 on a 2015-2022 Chevy Malibu indicates a fault with the right front tire pressure sensor. The most common fix is to replace the sensor and perform a relearn procedure. If your key fob is also malfunctioning, the problem may be the Remote Control Door Lock Receiver (RCDLR) module, a known issue on this platform.
- Code C0755 on your Malibu points directly to a problem with the right front tire pressure sensor.
- The most common fix is to replace the TPMS sensor in that wheel, as its internal battery has likely died.
- Before buying parts, check your other symptoms. If your key fob has also stopped working, the problem is likely the Remote Control Door Lock Receiver (RCDLR), a known issue covered by a TSB.
- Diagnosing this issue is much easier with a TPMS activation tool, which can quickly determine if the sensor is transmitting a signal.
- If the RCDLR needs to be replaced, it must be programmed by a dealer or a properly equipped independent shop.
What's Unique About the 2015-2022 Chevrolet MALIBU
A key characteristic of this Malibu generation (and its platform mates) is that the Tire Pressure Monitoring System is integrated with the Remote Control Door Lock Receiver (RCDLR). This single module handles signals from both the 433MHz tire sensors and the key fobs. Because of this shared architecture, a fault in the RCDLR can simultaneously cause TPMS warnings (like C0755) and a complete failure of all key fob functions, a specific scenario outlined in GM Technical Service Bulletin #16-NA-396. Another TSB, #16-NA-061, notes that a disconnected RCDLR antenna or coax cable can also cause these exact symptoms.
Diagnostic Flowchart
Tap your situation to follow the diagnostic path that matches what you're seeing on this vehicle.
Generation note: The 2015-2022 year range covers the end of the 8th generation (2013-2016, including the 'Malibu Limited' in 2016) and the 9th generation (2016-2023). The underlying TPMS architecture, which uses the RCDLR to receive sensor signals, is consistent across these generations, making the diagnostic process nearly identical. The RCDLR is typically located in the trunk area, often behind the right-side trim panel or under the rear deck shelf.
Symptoms You May Notice
- Tire pressure monitor (TPMS) warning light illuminated on the dashboard.
- Driver Information Center (DIC) shows dashes (---) for the right front tire pressure reading.
- DIC displays a "Service Tire Monitor System" message.
- Key fob functions (lock, unlock, remote start, panic) are intermittent or completely inoperative.
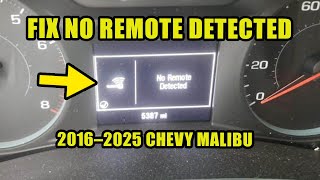
- "No Remote Detected" message on the DIC, preventing the vehicle from starting. 🎬 See how to start your Malibu using the key fob pocket.
- Reduced operating range for the key fob.
- Potential no-start or start-and-stall conditions with the security light on, though less common.
- Replacing the key fob battery when the RCDLR is the actual cause of both the fob and TPMS issues.
- Replacing the Body Control Module (BCM) when the fault lies within the less expensive RCDLR or the TPMS sensor itself.
- Replacing a TPMS sensor when the actual fault is a disconnected RCDLR antenna cable.
Most Likely Causes
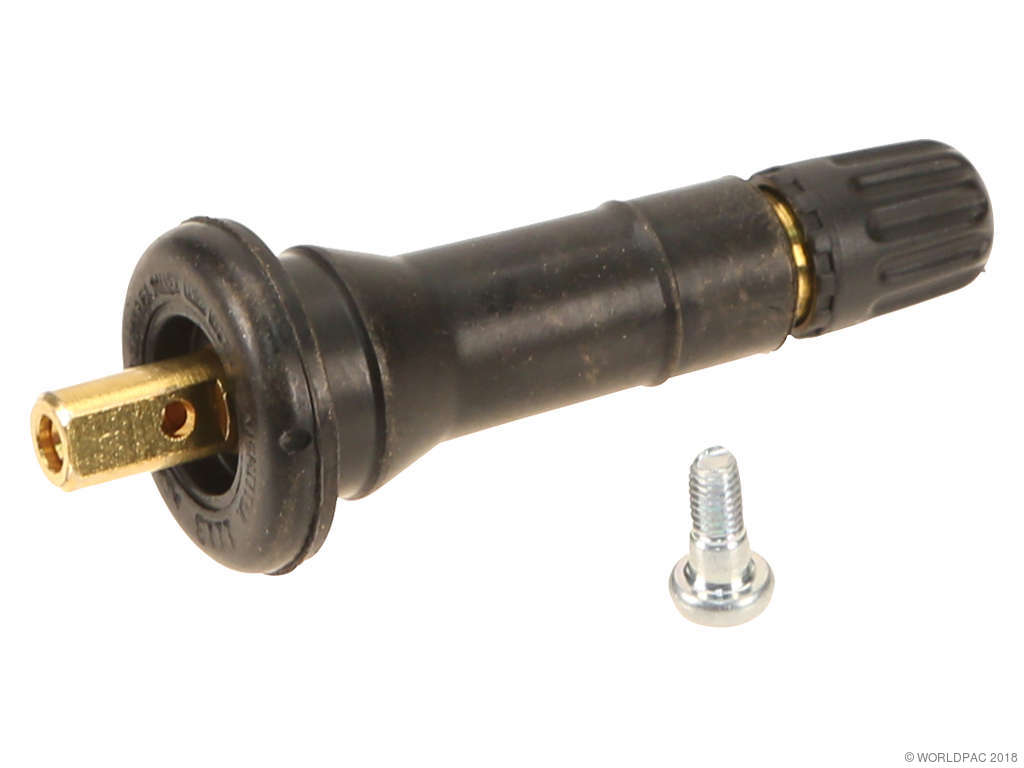
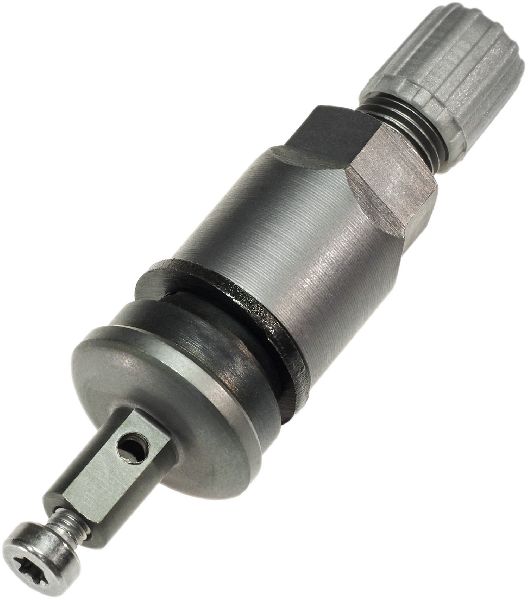
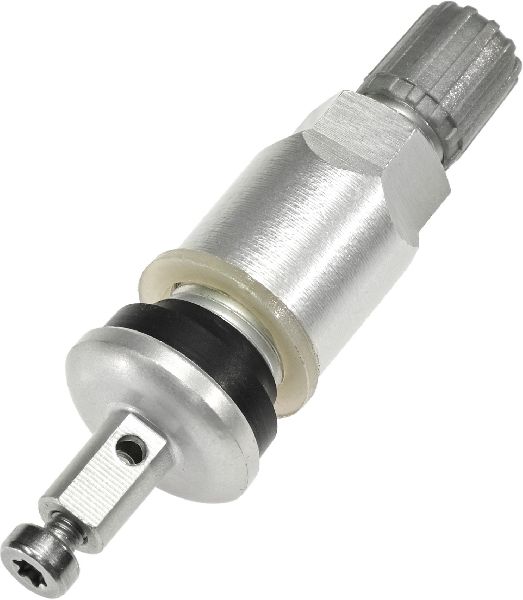
- Failed Right Front TPMS Sensor 🔴 High Probability → Shop Tire Pressure Monitoring System (TPMS) Sensor TPMS sensor batteries have a finite lifespan, typically 7-10 years. As the 2015-2022 models age, battery failure is becoming very common. Physical damage from tire service or road hazards can also cause failure.
How to confirm: Use a TPMS activation tool to attempt to read the sensor. If the tool cannot get a reading, the sensor is almost certainly bad (dead battery or internal failure). If only the C0755 code is present and key fobs work perfectly, the sensor is the primary suspect.
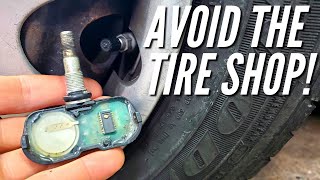
Typical fix: Replace the right front TPMS sensor and perform the TPMS relearn procedure. 🎬 Watch: How to replace TPMS sensors without a tire machine.
Est. part cost: $30-$90 - Faulty Remote Control Door Lock Receiver (RCDLR) 🟡 Medium Probability → Shop Keyless Entry Receiver Internal failures of the RCDLR are a known issue documented by GM in TSB #16-NA-396. This is especially likely if multiple TPMS codes (C0750, C0755, C0760, C0765) are present and key fob functions are also lost.
How to confirm: If a new, known-good TPMS sensor cannot be learned by the vehicle, and key fob issues are also present, the RCDLR is the primary suspect. A temporary fix can sometimes be achieved by disconnecting the car's battery for 15 minutes to reset the module. A professional scan tool can check for communication with the module and may show low voltage readings for the RCDLR even with a good battery.
Typical fix: Replace the RCDLR module and have it programmed to the vehicle by a dealer or a shop with GM SPS software.
Est. part cost: $50-$150 - Radio Frequency Interference (RFI) ⚪ Low Probability As noted in GM TSB #PIC5650M, aftermarket electronic devices like phone chargers, LED lights, or dash cams can emit radio frequencies that interfere with the 433MHz signals from the TPMS sensor or key fob.
How to confirm: Remove all non-factory electronic devices from the vehicle (unplug them from power ports) and see if the symptoms disappear. If the problem is intermittent, try driving without these devices plugged in to see if the issue reoccurs.
Typical fix: Remove or replace the interfering aftermarket device.
Est. part cost: $0 - Poor RCDLR Antenna Connection ⚪ Low Probability TSB #16-NA-061 describes how the RCDLR's antenna system (coax cable, amplifier, glass antenna connection) can become disconnected, causing the same symptoms as a failed RCDLR. This can happen from vibrations or after interior work has been performed in the rear of the vehicle.
How to confirm: Visually inspect the coax cable connection at the RCDLR module (often in the trunk) and the antenna amplifier (often near the rear glass). Ensure connections are secure. A disconnected coax at the RCDLR will cause all TPMS and fob functions to fail. A disconnect further away at the amplifier may only cause intermittent issues with sensors farthest from the module.
Typical fix: Securely reconnect the disconnected coax cable or antenna connector.
Est. part cost: $0
Diagnosis Steps
- Scan the vehicle for all diagnostic trouble codes. Note if C0755 is alone or accompanied by other TPMS codes (C0750, C0760, C0765) and/or key-related 'B' codes.
- Observe the vehicle's symptoms. Is only the TPMS light on, or are key fob functions also inoperative or showing reduced range?
- If key fobs are also failing, check for RFI. Unplug all aftermarket chargers, dash cams, and LED lights. Test again.
- Using a TPMS activation tool, attempt to trigger the right front sensor. If the tool gets no response, the sensor is the most likely culprit.
- If the sensor responds to the tool, attempt the vehicle's TPMS relearn procedure. This is often initiated through the DIC menu. 🎬 Watch: A quick guide to the TPMS relearn procedure. For some older models, holding lock/unlock on the fob initiates it.
- If the right front sensor will not relearn but the other three will, the RF sensor is faulty.
- If multiple sensors will not relearn AND the key fob is not working, suspect the RCDLR system. Before replacing the module, locate it (typically in the right rear of the trunk or under the rear deck) and inspect the antenna coax connection for looseness per TSB #16-NA-061.
- Check the fuse for the RCDLR. On 9th gen Malibus, this is often fuse F27 in the trunk fuse box.
- As a last resort before replacement, perform a hard reset by disconnecting the vehicle's negative battery terminal for 15-20 minutes to reset the RCDLR.
- If the RCDLR is suspected after these steps, replacement and programming by a qualified technician is the final step.
Parts You'll Likely Need
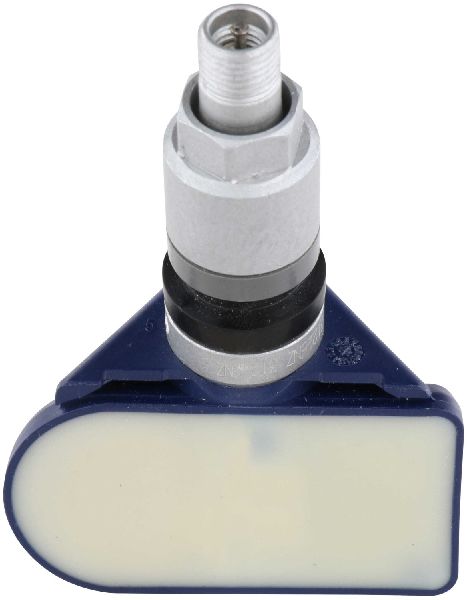
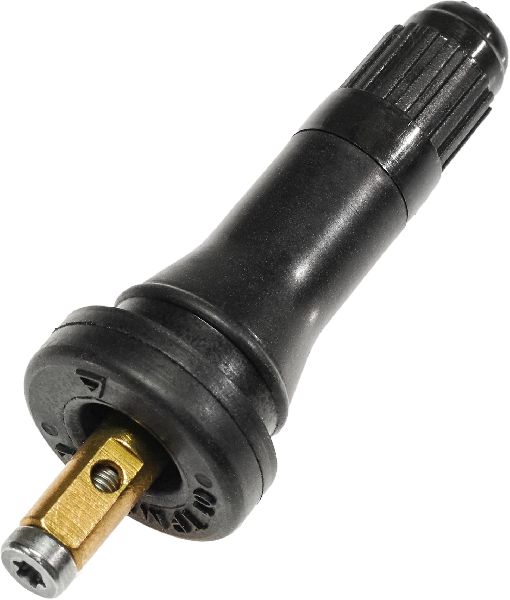
- Tire Pressure Monitoring System (TPMS) Sensor
(OEM #13540602)— This is the most common failure point due to battery life. It's the direct cause of the C0755 code when it fails for the right front wheel. This part number has superseded many previous numbers like 13598773 and 13581561.
Trusted brands: ACDelco (OEM), Schrader, Bosch, VDO
OEM price range: $50-$90
Aftermarket price range: $30-$60 - Remote Control Door Lock Receiver (RCDLR)
(OEM #13540045)— This module is the central receiver for TPMS and key fob signals. A known failure point documented in TSB #16-NA-396, it's the likely cause if multiple TPMS codes are present and key fobs don't work. This part number supersedes 13509518, 13523281, and 13595511.
Trusted brands: ACDelco (OEM)
OEM price range: $50-$100
Aftermarket price range: $40-$80
Related Codes That Often Appear With This One
- C0750 — Relates to the Left Front TPMS sensor. If seen with C0755 and other TPMS codes, it strongly suggests a central problem like a faulty RCDLR or antenna issue.
- C0760 — Relates to the Left Rear TPMS sensor. If seen with C0755 and other TPMS codes, it strongly suggests a central problem like a faulty RCDLR or antenna issue.
- C0765 — Relates to the Right Rear TPMS sensor. If seen with C0755 and other TPMS codes, it strongly suggests a central problem like a faulty RCDLR or antenna issue.
- B3055, B3060, B3935 — These are security and key-related codes that can appear alongside TPMS codes when there is a no-start or security system fault, as mentioned in TSB #PIC5650M.
Technical Service Bulletins (TSBs) & Recalls
- 16-NA-396: Intermittent Operation of Key Fobs, Door Unlock Inoperative “No Remote Detected” Message with Possible TPM MIL.
- PIC5650M: Diagnostic Tip for various intermittent issues including no-start, security light, and poor RKE/TPMS performance, often related to Radio Frequency Interference.
- 16-NA-061: Service Tire Monitor System/ Tire Pressures Display Dashes/ RKE Short Range/ No Fob Detected Message.
Platform-Specific Known Issues
- TSB #16-NA-396: This bulletin directly addresses C0755 (along with C0750, C0760, and C0765) appearing with inoperative key fobs and a "No Remote Detected" message. It identifies the cause as an internal failure of the Remote Control Door Lock Receiver and instructs technicians to replace the module.
- TSB #PIC5650M: This bulletin lists C0755 as one of several codes that may be found in relation to a no-crank, no-start, or start/stall c
Mechanic-Grade Diagnostic Values
- RCDLR Battery Positive Voltage — expected: Should be equal to battery voltage (approx. 12.6V with engine off).. Failure: A scan tool showing a lower voltage (e.g., 11.89V) at the RCDLR despite a fully charged car battery points to a wiring or internal module issue.
- Voltage Drop Test on RCDLR Ground Circuit — expected: Less than 0.1V (100mV).. Failure: A reading higher than 0.1V indicates high resistance in the ground circuit, which can cause intermittent module operation. This is tested by placing one DVM lead on the RCDLR ground pin and the other on a known good chassis ground.
Hidden / Shadow Codes Worth Checking
- C0755 with Symptom Byte 29: Indicates 'Too Few Pulses' received from the sensor. This is the specific sub-code mentioned in TSB #16-NA-396 when the RCDLR is failing. (see via GM's GDS2 or a comparable professional scan tool that can read manufacturer-specific symptom codes.)
- C0755 with Symptom Byte 39: Indicates an 'Internal Malfunction' within the TPMS sensor itself. (see via GM's GDS2 or a comparable professional scan tool.)
- C0755 with Symptom Byte 03: Indicates 'Low Voltage', typically pointing to a dying sensor battery. (see via GM's GDS2 or a comparable professional scan tool.)
Scan Tool Commands That Help
- GDS2 / Tech2Win: Module Setup / RCDLR Setup — This function is required after installing a new RCDLR to integrate it with the vehicle's other modules before programming keys or TPMS sensors.
- GDS2 / Tech2Win (via SPS): Service Programming System (SPS) - RCDLR Programming — This is the main programming event required when replacing the RCDLR. It flashes the module with the correct software and vehicle-specific information. It requires an online subscription to GM's services.
- GDS2 / Tech2Win: Tire Pressure Monitor Learn — This procedure must be performed after replacing a TPMS sensor or the RCDLR to make the vehicle recognize the sensors in their specific locations.
Wiring & Ground Locations
- G304 — Located in the right kick panel area, in the passenger footwell.. This is a major interior ground point. While not the primary ground for the RCDLR, a poor connection here can cause a host of strange electrical issues with various interior modules.
- G401 — Located in the left rear of the trunk area.. This is a primary ground point for components in the rear of the vehicle. Since the RCDLR is typically located in the trunk, checking the integrity of this ground is a critical step if you suspect a wiring issue.
- RCDLR Connector Pin H (Circuit 2440) — At the main electrical connector for the RCDLR module.. This pin provides the main 'Battery Positive Voltage' to the RCDLR. It should have constant battery voltage. Probing this pin is a direct way to confirm the module is receiving power.
- RCDLR Connector Pin S — At the main electrical connector for the RCDLR module.. This is the primary ground pin for the RCDLR. Performing a voltage drop test on this pin can confirm the integrity of the ground circuit back to the chassis.
OEM Part Supersession History
13509518, 13523281, 13595511→13540045— Standard part evolution for improved reliability or manufacturing changes.
Heads up: While physically similar, using an older RCDLR from a salvage yard may have different firmware and could cause programming issues. It is critical to use the correct, most up-to-date part number for the replacement.
Model Year Variations Within This Range
- 2016: In 2016, Chevrolet sold both the redesigned 9th generation Malibu (VIN Z) and the older 8th generation as the 'Malibu Limited'. While the RCDLR/TPMS architecture is similar, part numbers and module locations may differ slightly. The TSB #16-NA-396 specifically applies to the 9th generation Malibu (VIN Z). It is crucial to correctly identify the vehicle to ensure the correct diagnostic procedures and parts are used.
Helpful Videos

We Have This Part in Stock


The information in this article is provided for general reference and educational purposes only. Vehicle specifications, procedures, and part compatibility can vary by production date, trim level, and region. Always consult your vehicle's factory service manual and verify part numbers before purchasing or performing repairs. Safety-critical components such as airbags, seat belts, and braking systems should be installed by a qualified professional.
- Chevrolet MALIBU:
- 🧭 Diagnostic Flowchart
- 🎬 Helpful Videos
- 🛍️ Shop This Part
- What's Unique About the 2015-2022 Chevrolet MALIBU
- Symptoms You May Notice
- Most Likely Causes
- Diagnosis Steps
- Parts You'll Likely Need
- Related Codes That Often Appear With This One
- Technical Service Bulletins (TSBs) & Recalls
- Platform-Specific Known Issues
- Mechanic-Grade Diagnostic Values
- Hidden / Shadow Codes Worth Checking
- Scan Tool Commands That Help
- Wiring & Ground Locations
- OEM Part Supersession History
- Model Year Variations Within This Range
- 🎟️ Get 5% Off