
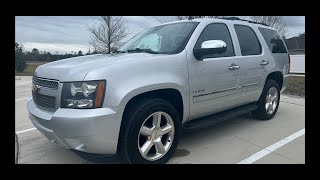
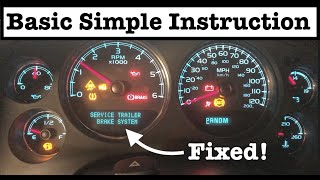
C1114 Chevrolet Suburban: "Service Trailer Brake System" Causes and Fixes (2009-2016)
This code indicates a fault in the integrated trailer brake system, often triggering a "Service Trailer Brake System" message. The most common causes are issues with the trailer's own wiring, a poor connection at the 7-pin connector, or corrosion on the truck's trailer wiring harness, especially the ground (G401) and the module/harness above the spare tire. Start by testing with a known-good trailer or a circuit tester.
- Code C1114 almost always relates to the connection between the truck and the trailer.
- Before buying any parts for your Suburban, test with a different trailer to isolate the problem.
- Thoroughly inspect and clean the truck's 7-pin connector and the trailer's plug; this solves the problem in many cases.
- If the problem persists, inspect the vehicle's trailer wiring harness and grounds before suspecting a failed control module.
- Towing with this message is unsafe due to the potential for having no trailer brakes.
What's Unique About the 2009-2016 Chevrolet SUBURBAN
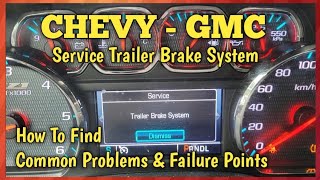
The GM integrated trailer brake control (ITBC) system in this era of Suburban is designed to be compatible with both standard electromagnetic trailer brakes and electric-over-hydraulic (E/H) systems. The Chassis Control Module must first identify which type of trailer is connected before it can apply the brakes correctly. This sensitivity to the trailer's electrical signature means that poor trailer-side wiring, incompatible aftermarket trailer accessories, or even a loose 7-pin connector can easily confuse the system and trigger a C1114 code. On GMT900 models (2009-2014), the Trailer Brake Control Module (TBCM) is integrated into the Fuel Pump Control Module (FPCM) and mounted above the spare tire, making it highly vulnerable to moisture and corrosion 🎬 Watch: A mechanic explains common failure points and system diagnostics. from road spray.
Diagnostic Flowchart
Tap your situation to follow the diagnostic path that matches what you're seeing on this vehicle.
Generation note: This range covers the end of the 10th generation (GMT900, 2009-2014) and the beginning of the 11th generation (GMT K2XX, 2015-2016). The integrated trailer brake control system (RPO JL1) is a common feature, and the causes of code C1114 are largely the same across both generations, as evidenced by TSBs that cover models from both platforms. A key difference is the vulnerable location of the TBCM/FPCM above the spare tire on GMT900 models. On K2XX models (2015-2016), the module is also located above the spare tire, continuing its exposure to road spray and moisture.
Symptoms You May Notice
- "Service Trailer Brake System" message on the DIC
- "Check Trailer Wiring" message on the DIC
- Trailer brakes do not engage or engage erratically
- The trailer brake controller gain adjustment seems to have no effect
- Message appears intermittently, sometimes even without a trailer connected
- Message appears when hitting bumps or in wet weather, indicating a loose connection or water intrusion
- Replacing the in-dash trailer brake controller switch. While this switch can fail, it is more often a wiring or module issue. The switch itself is a simple input to the TBCM and less likely to be the root cause of a C1114 fault code, which relates to the output circuit.
Most Likely Causes
- Trailer Wiring or Connector Issues 🔴 High Probability The system's sensitivity makes it susceptible to faults originating from the trailer, which often have less robust wiring standards than the vehicle. Poor grounds, internal shorts, non-sealed splices, or non-standard connectors on the trailer are very common culprits.
How to confirm: The easiest way to confirm is to connect a different, known-good trailer or a dedicated trailer circuit tester made with actual brake magnets. If the code does not return, the fault lies with the original trailer.
Typical fix: Inspect and repair the trailer's wiring harness, ground connections, and 7-pin plug. Ensure all connections are clean and secure. Using a quality, SAE-compliant trailer plug like a Pollak is recommended by GM to ensure the best possible connection.
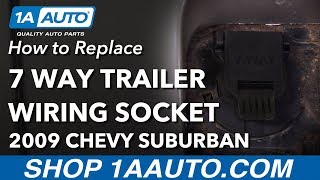
Est. part cost: $15-$50 - Poor Connection at Vehicle's 7-Pin Connector 🔴 High Probability The rear-mounted connector is exposed to weather, leading to corrosion on the terminals. The connector pins can also become loose or deformed, and the door spring can weaken, causing intermittent contact, especially with heavy 5th-wheel harnesses.
How to confirm: Visually inspect the 7-pin connector on the Suburban for green or white corrosion, bent pins, or a loose-fitting door. Wiggle the trailer plug while connected to see if it triggers the message. Check the back of the connector for corroded wires.
Typical fix: Thoroughly clean the terminals with a wire brush and electrical contact cleaner. Apply dielectric grease to prevent future corrosion. If the terminals are damaged or the fit is loose, replace the vehicle-side 7-pin connector socket. The updated GM part with a stronger door spring is #23404450 for 2014-2018 models. Many owners opt for the robust Pollak 11-893P as a replacement.
Est. part cost: $25-$75 - Damaged or Corroded Vehicle Wiring Harness 🟡 Medium Probability The wiring harness running to the rear bumper can be damaged by road debris, improper jack placement, or water intrusion into splices. Water can wick through the harness, causing corrosion far from the entry point, especially in the harness above the spare tire on its way to the TBCM.
How to confirm: Inspect the entire visible length of the trailer wiring harness for cuts, abrasions, or shoddy-looking aftermarket splices. Pay close attention to the ground connection G401 (located on the driver's side frame rail behind the rear tire) and the area above the spare tire where the harness connects to the module.
Typical fix: Repair any damaged sections of wire using heat-shrink butt connectors. Disassemble, clean, and secure any corroded ground connections. A common fix involves cleaning ground G401 thoroughly.
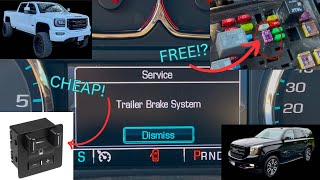
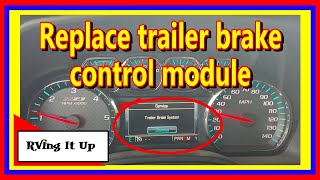
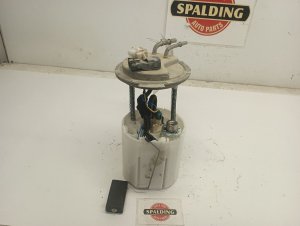
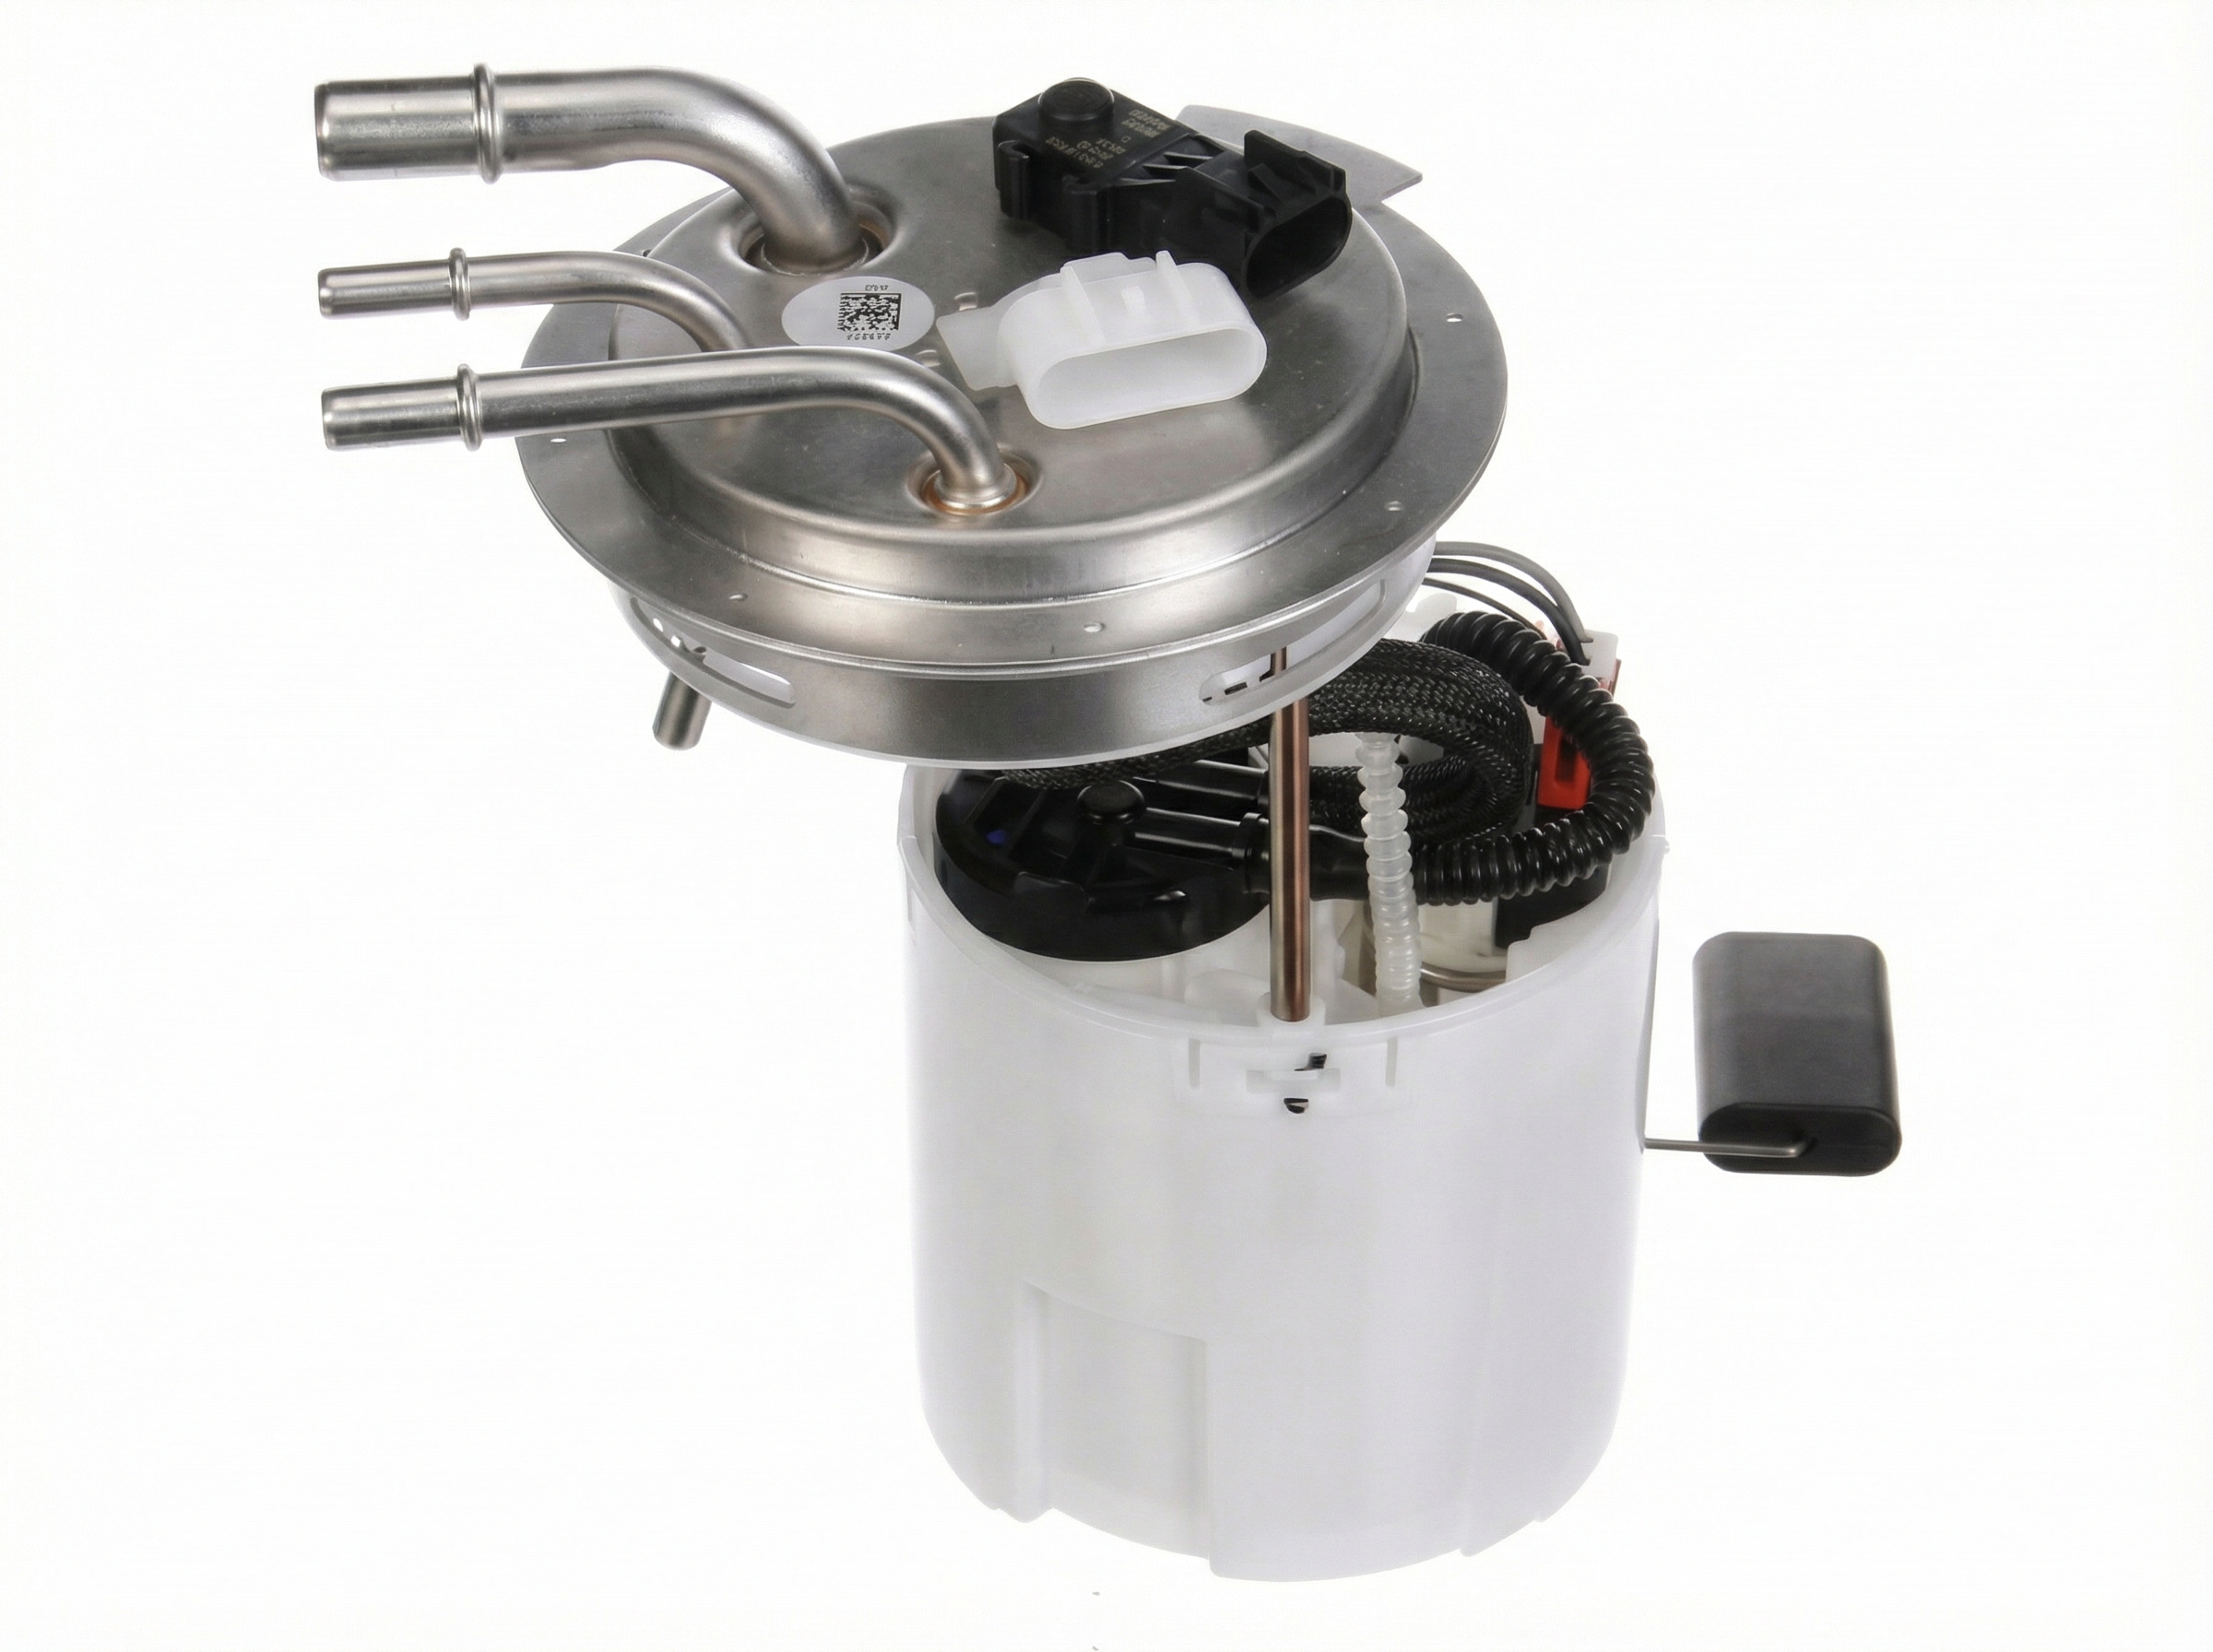
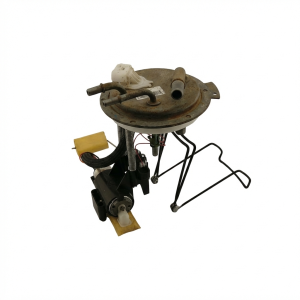
Est. part cost: $5-$25 - Faulty Trailer Brake Control Module (TBCM) ⚪ Low Probability → Shop Trailer Brake Control Module On GMT900 models (2009-2014), the TBCM is integrated with the Fuel Pump Control Module (FPCM) and located above the spare tire, an area highly exposed to moisture and road salt, which can lead to internal failure or connector corrosion. TSB PIT5529A also notes that water can enter the module connector if a cavity plug is missing.
How to confirm: After definitively ruling out all trailer-side issues, connector problems, and wiring faults, the module itself becomes the primary suspect. This is often a process of elimination. A scan tool may show a loss of communication with the module.
Typical fix: Replace the Trailer Brake Control Module. On GMT900 models, this means replacing the entire FPCM/TBCM assembly (Part #20964299 is a common number). After replacement, the new module must be programmed by a dealer or a properly equipped shop, though some vendors sell pre-programmed modules.
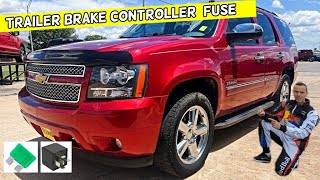
Est. part cost: $80-$250 - Blown Trailer Brake Fuse ⚪ Low Probability A short circuit in the trailer or vehicle wiring can cause a fuse to blow, disabling the system. This often happens when hooking up a trailer with faulty wiring.
How to confirm: Check the fuses related to the trailer brake system in the under-hood fuse block. On GMT900 Suburbans, these are often large J-case fuses for STUD 1 and STUD 2, which power the trailer circuits. On K2XX models, check fuses labeled 'TRLR BATT' and 'TRLR BRK'.
Typical fix: Replace the blown fuse. If the new fuse blows immediately, it indicates a persistent short circuit that must be diagnosed and repaired before proceeding.
Est. part cost: $5-$15
Rare But Worth Checking
- Incompatible Aftermarket Trailer Equipment: Some aftermarket trailer-mounted sway control systems or electric-over-hydraulic brake adapters can interfere with the GM system's ability to detect the trailer type, causing a C1114 code. TSB #PIT6212 specifically calls out Hydrastar E/H systems causing voltage spikes. TSB #PIT5509J mentions that Dexter E/H systems may require a compatibility adapter (p/n K58-036-00).
- Low Vehicle Battery Voltage: → Shop Vehicle Battery TSB #PIT5529A advises that low system voltage from a failing battery can cause a variety of trailer brake system codes, including C1114. Before extensive diagnostics, the battery's state of health should be tested and confirmed to be good.
Diagnosis Steps
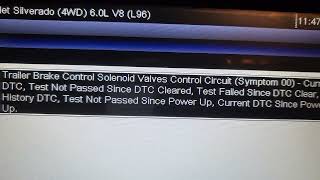
- Read all DTCs from the Chassis Control Module. Note any other codes present, especially C1112 or communication codes.
- If a trailer is connected, disconnect it. Clear the codes. If the code does not return, the fault is almost certainly on the trailer side.
- Test with a known-good trailer or a trailer circuit load tester (GM recommends one made with actual brake magnets) to confirm the vehicle is or is not the source of the problem.
- If the code appears without a trailer, or with a known-good trailer, begin inspecting the truck.
- Thoroughly inspect the vehicle's 7-pin connector for corrosion, bent pins, or moisture. Clean and apply dielectric grease. Ensure the door provides a tight seal.
- Inspect the under-hood fuses related to the trailer brake system, including the large J-case fuses for the trailer power studs.
- Inspect the main vehicle-to-trailer wiring harness for physical damage, especially where it runs along the frame and above the spare tire.
- Locate and inspect the Trailer Brake Control Module (TBCM/FPCM on GMT900s) and its connectors for corrosion or pushed-out pins. On many models, this is above the spare tire.
- Locate and inspect the main ground for the trailer harness (G401) on the driver's side frame rail behind the rear tire and clean as required.
Parts You'll Likely Need
- 7-Pin Trailer Connector Socket — The original connector's door spring can weaken, and the terminals corrode, causing a poor connection. The updated GM part or a quality Pollak replacement provides a more secure fit.
- Trailer Brake Control Module / Fuel Pump Control Module (GMT900) — On 2009-2014 models, this integrated module is in a vulnerable location above the spare tire and is a common failure point due to moisture intrusion. Requires programming after installation.
- Trailer Power Fuse (J-Case) — A short in the trailer or vehicle wiring can blow the main fuse for the trailer brake power circuit in the under-hood fuse block.
Related Codes That Often Appear With This One
- C1112 — This code for the 'Trailer Brake Control Relay' is frequently mentioned alongside C1114 in technical service bulletins, often pointing to the same wiring harness issues between the relay and the 7-pin connector.
- C1113, C111B, U1556, U1505 — TSB #PIT5529A lists these codes as potentially appearing with C1114, indicating broader electrical or communication issues within the chassis and trailer brake systems, often stemming from corrosion at the Trailer Brake Power Module connector or low battery voltage.
Technical Service Bulletins (TSBs) & Recalls
- PIT5509L: Diagnostic tip for 'Check Trailer Wiring' or 'Service Trailer Brake System' message with DTC C1114. Explains how the module detects trailer type and how different faults (open, short to ground, short to power) produce different DIC messages.
- PIT5529A: Links C1114 with other codes (C1112, C1113, C111B, U1556, U1505) and points to two primary causes: low battery voltage and water intrusion into the Trailer Brake Power Module connector.
- PIT4595J: Provides diagnostic tips for C1114 and C1112, emphasizing inspection of wiring between the trailer brake relay and the 7-pin connector for damage and poor splices. Mentions a TBCM calibration update and checking the 'TBCM Relay Feedback Signal' voltage.
- PIT6212: Specifically identifies Hydrastar Electric-Over-Hydraulic trailer brake systems as a potential cause of voltage spikes that set a C1114 code.
Platform-Specific Known Issues
- TSB #PIT5529A highlights corrosion on the Trailer Brake Power Module connector as a specific point of failure on 2015 models.
- TSB #PIT5509-series documents a wide range of issues, from poor 7-pin connections to incompatibilities with certain trailer sway control or E/H brake systems.
- TSB #PIT4595J notes that many modules are replaced unnecessarily when the actual fault is in the wiring between the relay and the 7-pin bumper connector.
Mechanic-Grade Diagnostic Values
- TBCM Relay Feedback Signal / Trailer Brake Output Circuit Voltage (Dark Blue Wire, Circuit 47) with no trailer connected. — expected: 3.2 - 4.1 Volts (some sources say 3.7 - 4.4 V). Failure: A voltage higher than this range may indicate a short to power. A voltage lower than this range may indicate a short to ground, open, or high resistance.
- Ground circuit resistance at the trailer brake control relay connector. — expected: Less than 5 ohms between the ground circuit terminal (Terminal B) and a good chassis ground.. Failure: Resistance greater than 5 ohms indicates an open or high resistance in the ground circuit.
- Control circuit voltage at the trailer brake control relay connector. — expected: 3.2 - 4.1 Volts between the control circuit (Terminal C, Tan wire) and ground with ignition on.. Failure: A reading outside this range when other circuits test normal points towards a faulty Trailer Brake Control Module (TBCM).
Scan Tool Commands That Help
- GDS2 / Tech 2: Data Display -> Trailer Brake Type — When a trailer is connected, use this to verify the Chassis Control Module (CCM) is correctly identifying the trailer as 'Electro-magnetic' or 'Electro-over hydraulic brakes'. If it shows 'Undefined' or the wrong type, it points to a communication or trailer wiring issue.
- GDS2 / Tech 2: Data Display -> Trailer Brake Control Output Circuit — This parameter helps pinpoint the specific fault detected by the module. It will display 'Okay', 'Short to Ground', or 'Short to Power', guiding the technician to the correct diagnostic path without having to guess based on the DIC message alone.
- GDS2 / Tech 2: Data Display -> TBCM Relay Feedback Signal — This allows monitoring of the key voltage on the dark blue wire (circuit 47). Watching this value while wiggling harnesses can help identify intermittent shorts or opens that are hard to catch with a static multimeter test.
- SPS (Service Programming System): Programming -> Trailer Brake Control Module — This is required after replacing the Trailer Brake Control Module (TBCM) to load the correct software and VIN for the vehicle. Failure to program the new module will result in it not functioning correctly.
Wiring & Ground Locations
- TBCM / FPCM (GMT900) or TBCM (K2XX) — Located above the spare tire, mounted to a crossmember. The spare tire must be lowered for access.. This is the brain of the system. Its location makes it extremely vulnerable to water, salt, and mud kicked up by the rear tires, leading to connector corrosion and internal module failure.
- G401 — The main ground for the trailer wiring harness, located on the driver's side frame rail, typically behind the rear tire.. A poor ground at this location can cause a variety of strange electrical issues with the trailer brake system, including the 'Service Trailer Brake System' message, as the module may interpret the poor ground as a fault.
- Circuit 47 (Dark Blue Wire) — Runs from the Trailer Brake Control Module (or relay on some models), along the frame rail, to the 7-pin trailer connector at the bumper. It is the specific circuit for the trailer brake output.. This is the primary circuit monitored for faults that set code C1114. A short to ground, short to power, or open/high resistance on this wire is the direct cause of the code.
- 7-Pin Trailer Connector — At the rear bumper. The relevant pins are the brake controller output (usually pin 2, dark blue wire) and the ground (usually pin 1, white wire).. This is the most common point of failure due to exposure. Corrosion or loose pins here directly impact Circuit 47, causing the fault code.
Real Owner Repair Stories
- YouTube user 'fix it right' (2008 GM 2500HD) — Service Trailer Brake System message on the DIC. Codes C1112, C1114, C1119 were present.
❌ Tried (didn't work) Replacing the trailer brake control relay., Testing wiring for shorts to ground (tests showed no shorts)., Checking voltages, which were within spec (3.6V on the tan wire).
✅ What actually fixed it The problem was two crossed wires in the trailer brake relay plug/connector itself. After trying three different control modules which all set different codes, the technician identified and corrected the swapped wires in the connector, which resolved all codes. - YouTube user 'biker mike' (2015 GMC Sierra) — 'Service Trailer Brake System' notification on the DIC.
❌ Tried (didn't work) Visual inspection of the wiring harness.
✅ What actually fixed it The owner used a BlueDriver OBD2 scanner which pointed to a faulty module. He replaced the Trailer Brake Control Module located above the spare tire. This resolved the issue. The video shows the location and replacement process on a K2XX platform truck.
OEM Part Supersession History
20850923→20964299— Standard part update/revision.
Heads up: The parts are interchangeable, with 20964299 being the newer revision for the GMT900 platform (2009-2014 Suburban 2500, Silverado/Sierra HD).Older 7-pin connector sockets→23404450— The updated part has a stronger door/cover spring to ensure a more secure connection with the trailer plug, reducing intermittent disconnects.
Heads up: This is the recommended replacement for 2014-2018 models to combat loose connections, a common cause of C1114.
Model Year Variations Within This Range
- 2009-2014 (GMT900): The Trailer Brake Control Module (TBCM) is integrated with the Fuel Pump Control Module (FPCM) into a single unit (p/n 20964299). A failure requires replacing the entire assembly, which must be programmed.
- 2015-2016 (K2XX): The Trailer Brake Control Module is a separate module, though still located in the same vulnerable position above the spare tire. The diagnostic approach and common causes (wiring, connector, module failure) remain largely the same as the GMT900 platform.
Helpful Videos
We Have This Part in Stock


The information in this article is provided for general reference and educational purposes only. Vehicle specifications, procedures, and part compatibility can vary by production date, trim level, and region. Always consult your vehicle's factory service manual and verify part numbers before purchasing or performing repairs. Safety-critical components such as airbags, seat belts, and braking systems should be installed by a qualified professional.
- Chevrolet SUBURBAN:
- 🧭 Diagnostic Flowchart
- 🎬 Helpful Videos
- 🛍️ Shop This Part
- What's Unique About the 2009-2016 Chevrolet SUBURBAN
- Symptoms You May Notice
- Most Likely Causes
- Rare But Worth Checking
- Diagnosis Steps
- Parts You'll Likely Need
- Related Codes That Often Appear With This One
- Technical Service Bulletins (TSBs) & Recalls
- Platform-Specific Known Issues
- Mechanic-Grade Diagnostic Values
- Scan Tool Commands That Help
- Wiring & Ground Locations
- Real Owner Repair Stories
- OEM Part Supersession History
- Model Year Variations Within This Range
- 🎟️ Get 5% Off