
P0030 on 2011-2015 Kia Sorento 2.4L: HO2S Heater Circuit Causes and Fixes
This code almost always means the heater inside the upstream oxygen sensor (Bank 1, Sensor 1) has failed. The most common fix is replacing the sensor, located on the exhaust manifold. Before replacing, check the 15A 'SENSOR 1' fuse in the engine bay fuse box. Expect to pay $70-$150 for an aftermarket part and $150-$250 for an OEM sensor. It's a common DIY repair.
- P0030 points to a failure in the heater circuit of the upstream oxygen sensor, located on the exhaust manifold.
- The most probable cause is the oxygen sensor itself has failed and needs to be replaced.
- Before buying a new sensor, always check the 'SENSOR 1' 15A fuse in the engine bay fuse box.
- This is a DIY-friendly repair that requires basic tools and a special oxygen sensor socket.
- Ignoring this code will lead to poor fuel mileage and can eventually damage your catalytic converter.
What's Unique About the 2011-2015 Kia Sorento
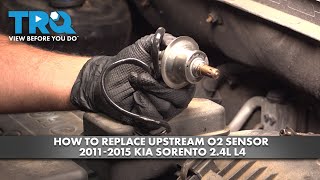
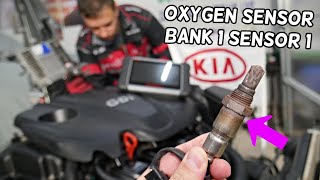
On the 2.4L GDI engine in the second-generation (XM) Sorento, this is a straightforward and common component failure. There are no widespread design flaws or complex issues associated with P0030. The Bank 1, Sensor 1 is easily accessible on the exhaust manifold at the rear of the engine bay, 🎬 See this video to locate the Bank 1 Sensor 1. making it a very common DIY repair for owners. The diagnosis is typically simple, often boiling down to a bad sensor or, less commonly, a blown fuse. However, it is important to inspect the wiring harness, as the plastic clips securing it can become brittle, allowing the harness to contact the hot exhaust and melt.
Symptoms You May Notice
- Check Engine Light is on.
- Decreased fuel economy as the engine runs in a default 'rich' mode until the sensor heats up naturally.
- Rough idle, especially during a cold start.
- Guaranteed failure of an emissions inspection.
- Possible hesitation during acceleration while the engine is cold.
- Replacing the downstream (Bank 1, Sensor 2) oxygen sensor. P0030 specifically refers to Sensor 1, which is the upstream sensor before the catalytic converter.
- Replacing the sensor without checking the fuse first. A blown fuse will prevent the new sensor's heater from working and the code will return immediately.
Most Likely Causes
- Failed Oxygen Sensor Heater Element 🔴 High Probability → Shop Oxygen Sensor The internal heating element is a common failure point in all heated oxygen sensors due to constant thermal cycling. It is the most frequent cause for P0030.
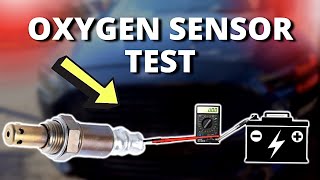
How to confirm: Disconnect the sensor and measure the resistance across the two heater circuit pins (usually the two same-colored wires) with a multimeter. A reading of infinite resistance ('OL') confirms an open circuit. 🎬 Watch: How to test an oxygen sensor with a multimeter. A good sensor should have a low resistance, typically between 2.5 and 10 Ohms when cold.
Typical fix: Replace the Bank 1, Sensor 1 (upstream) oxygen sensor. Using an OEM, Denso, or NTK sensor is highly recommended for reliability.
Est. part cost: $70-$250 - Blown Fuse ⚪ Low Probability
How to confirm: Check the fuse labeled 'SENSOR 1' (15A) in the engine compartment fuse box. Some diagrams for related models may label it 'SENSOR 5' (15A) or 'SENSOR 4' (15A). Visually inspect the fuse and test for continuity.
Typical fix: Replace the blown fuse. If it blows again immediately, there is a short circuit in the wiring or the sensor itself that must be diagnosed.
Est. part cost: $1-$5 - Damaged Wiring or Connector ⚪ Low Probability
How to confirm: Visually inspect the wiring harness and connector for the upstream O2 sensor for any signs of melting, corrosion, chafing, or broken wires. The harness clips can fail, allowing wires to touch the hot exhaust manifold. Use a multimeter to check for 12V power and a good ground at the connector with the key on, engine off.
Typical fix: Repair the damaged section of the wiring harness or clean/replace the connector.
Est. part cost: $10-$50
Rare But Worth Checking
- Faulty Engine Control Module (ECM): → Shop Engine Control Module (ECM) This is extremely rare. The ECM should only be considered after all other possibilities (sensor, fuse, wiring) have been definitively ruled out.
Diagnosis Steps
- Read the code with an OBD-II scanner to confirm P0030 is the primary code.
- Inspect the 'SENSOR 1' fuse (15A) in the engine bay fuse box. Replace if blown.
- If the fuse is good, locate the upstream oxygen sensor on the exhaust manifold at the rear of the engine.
- Visually inspect the sensor's wiring harness and connector for any obvious damage, such as melting on the exhaust pipe, frayed wires, or corrosion in the connector pins. Ensure harness clips are intact.
- Disconnect the sensor. With the ignition on (engine off), use a voltmeter to verify that there are approximately 12 volts at the heater power pin in the vehicle-side harness connector.
- Using a multimeter set to Ohms, measure the resistance between the two heater pins on the sensor itself (typically the two wires of the same color). A reading of infinite resistance (open circuit) or a value far from the 2.5-10 Ohm range indicates the heater has failed.
- If wiring and the fuse are good, but the sensor's heater resistance is out of spec, replace the oxygen sensor. An O2 sensor socket is highly recommended for removal. 🎬 Watch: Step-by-step guide to replacing the upstream O2 sensor.
Parts You'll Likely Need
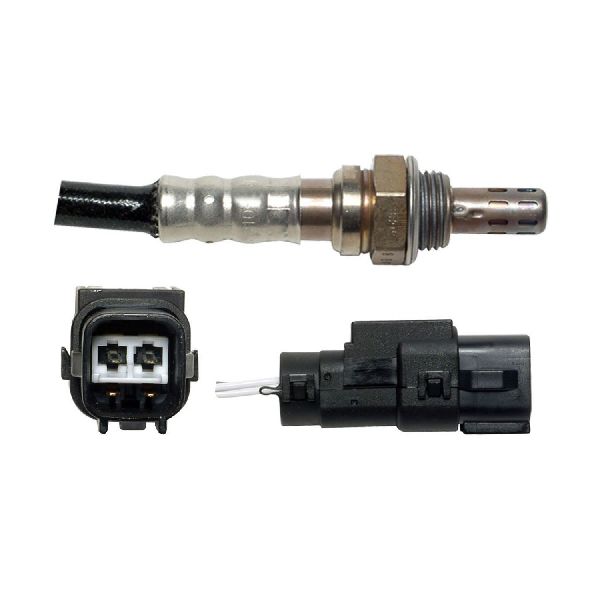
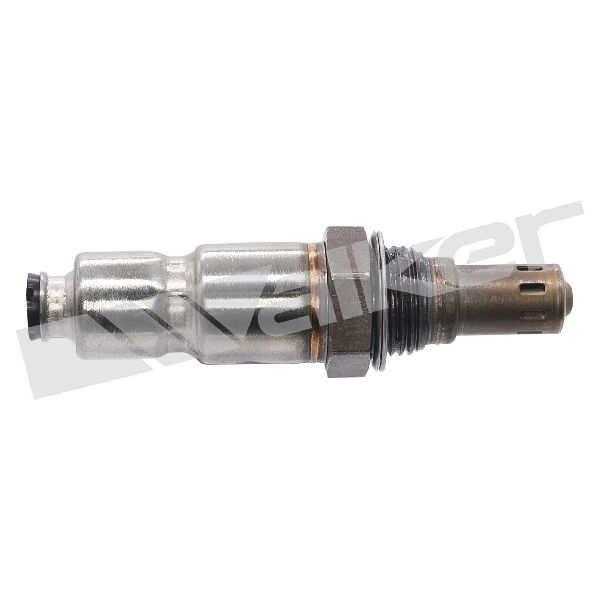
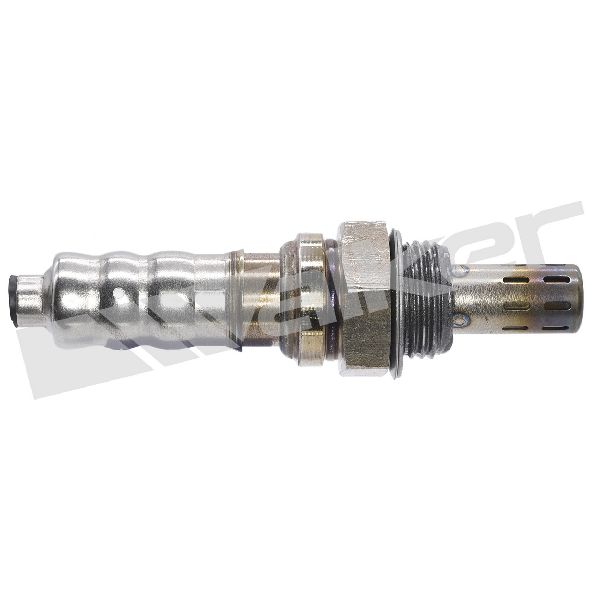
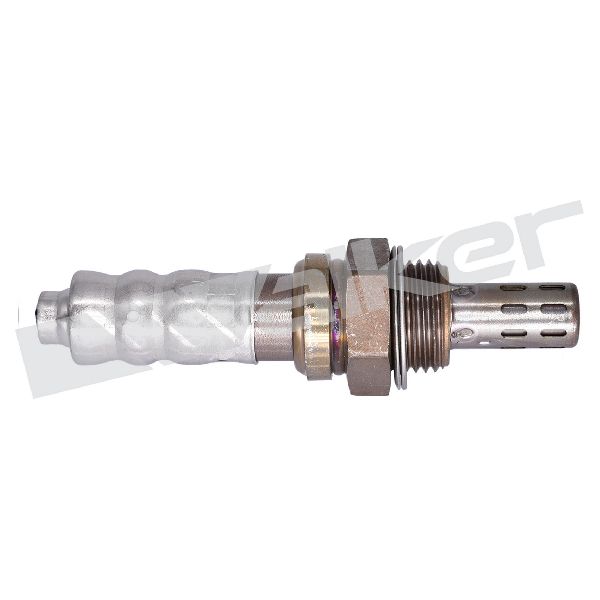
- Upstream Oxygen Sensor / Air-Fuel Ratio Sensor (Bank 1, Sensor 1)
(OEM #39210-2G100)— The internal heater element fails from age and heat cycles, which is the direct cause of the P0030 code in most cases.
Trusted brands: Kia (OEM), Denso, NGK/NTK, Bosch
OEM price range: $150-$250
Aftermarket price range: $70-$150
Related Codes That Often Appear With This One
- P0031 — This code indicates low voltage in the same heater circuit, often caused by a short to ground in the sensor or wiring.
- P0032 — This code indicates high voltage in the same heater circuit, often caused by an open circuit in the sensor heater or wiring.
- P0135 — A generic code for 'O2 Sensor Heater Circuit Malfunction (Bank 1 Sensor 1)'. It points to the exact same failure.
Platform-Specific Known Issues
- Melted Wiring Harness: On the 2.4L GDI engine, the plastic clips that secure the O2 sensor wiring harness away from the exhaust can become brittle and break. This can allow the harness to fall onto the hot exhaust manifold, melting the wires and causing a short, which can trigger P0030, P0031, or P0032 and blow the fuse. A thorough visual inspection of the harness routing is a critical diagnostic step.
Mechanic-Grade Diagnostic Values
- Upstream O2 Sensor (B1S1) Heater Element Resistance — expected: Approx. 9.0 Ω at 20°C (68°F). A wider acceptable range is often cited as 2.5-10 Ω.. Failure: A reading of infinite resistance ('OL') indicates an open circuit. A reading near 0 Ω indicates a short circuit. A reading over 1100 Ω is a definitive failure threshold used by the ECM.
- Heater Circuit Power at Harness Connector (Key On, Engine Off) — expected: Battery Voltage (~12V) on Pin 3 (often a Red wire) of the sensor connector.. Failure: 0V indicates a problem upstream, such as a blown fuse or a break in the power wire from the main relay.
- Heater Circuit Control Signal (Live Data) — expected: The ECM/PCM controls the ground side of the circuit using a Pulse-Width Modulated (PWM) signal. On a scan tool, the 'Heater Duty Cycle' PID should show a high percentage on a cold start and decrease as the sensor warms up.. Failure: A steady 0% or 100% duty cycle reading when the engine is cold points to a control circuit fault or a failed command from the ECM.
- Heater Circuit Current Draw — expected: Approximately 0.52 ± 0.1 Amps when tested at 13.5V with the exhaust at 450°C (842°F).. Failure: Current significantly below this value indicates high resistance or an open circuit. High current suggests a short circuit.
Scan Tool Commands That Help
- Kia GDS or equivalent professional scan tool: Live Data PID Monitoring for 'HO2S Heater Duty Cycle' — This is a critical step to determine if the ECM is attempting to control the heater. After confirming the fuse and wiring are good, observing the duty cycle helps differentiate between a failed sensor and a rare ECM driver issue. If the ECM commands the heater on (duty cycle > 0%) but the sensor doesn't heat up (verified by resistance or temperature), the sensor is bad. If the ECM never commands the heater on (duty cycle is always 0%), the problem may be with the ECM or its inputs.
Wiring & Ground Locations
- B1S1 Connector Pins — The 4-pin electrical connector for the upstream oxygen sensor, located at the top rear of the engine, connected to the sensor on the exhaust manifold.. These are the specific pins for testing. Pin 3 (often Red) is the 12V power feed. Pin 4 (often White) is the PWM ground control from the ECM. Testing voltage and control signals at these specific pins is the core electrical diagnostic step.
- Fuse: 'SENSOR 1' / 'SENSOR 4' / 'SENSOR 5' — In the main engine compartment fuse box.. This 15A fuse provides power to the O2 sensor heater circuit. It can be labeled differently depending on the model year and specific vehicle configuration, making it crucial to check multiple labels if one is not present.
- Engine Ground Wire (Harness Assembly) — A ground cable assembly connecting the engine/transmission to the chassis. The specific part number for 2013-2015 2.4L models is 91860-1U510.. A corroded or loose main engine ground can cause unstable voltage references for the ECM and its sensors, potentially leading to erratic behavior in circuits like the O2 sensor heater, although other codes would likely be present as well.
- ECM Pins 93 & 94 — At the main Engine Control Module (ECM) connector.. On similar G4KE engines, Pin 93 is for the upstream O2 sensor heater and Pin 94 is for the downstream. This allows for end-to-end continuity testing of the control wire from the ECM to the sensor connector if a break in the harness is suspected.
Real Owner Repair Stories
- Aggregated Owner Experience via Go-Parts.com (2012 Kia Optima EX (same 2.4L GDI engine and platform)) — Check Engine Light with P0030 code.
❌ Tried (didn't work) Replacing the upstream oxygen sensor (Bank 1, Sensor 1).
✅ What actually fixed it The code returned immediately after sensor replacement. The owner then discovered the 15A 'SENSOR 1' fuse was blown. Replacing the fuse resolved the issue permanently.
OEM Part Supersession History
39210-2G100→N/A— This part number appears to be consistent for the entire 2011-2015 Sorento 2.4L model range.
Heads up: While no supersession is noted, a different part number (39210-2GBA0) is listed for the next generation starting in 2015, so it is critical to verify the part number by VIN for 2015 models, as it could be a transition year.
Model Year Variations Within This Range
- 2011-2015: The fuse label for the O2 sensor heater circuit may vary. While often labeled 'SENSOR 1' (15A), it has also been documented as 'SENSOR 4' (15A) or 'SENSOR 5' (15A) in diagrams for the same platform.
- 2013-2015: The engine ground wire assembly has a specific part number for these years: 91860-1U510. Earlier models may use a different part.
Diagnostic Flowchart
Other Known Issues on This Vehicle
Issues unrelated to this code that are worth knowing about as an owner of this generation:
- Catastrophic Engine Failure (Rod Bearing Failure) 🔴 High — Widespread across the Theta II GDI engine family, leading to class-action lawsuits. Can occur at various mileages, often before 100,000 miles. Failure is often preceded by a knocking noise. (Ref: Multiple recalls (e.g., NHTSA 17V-224) and a settlement extending a lifetime warranty on the engine short block for this specific failure, contingent on a software update (KSDS).)
- Excessive Oil Consumption 🟠 Medium — Commonly reported by owners, sometimes exceeding 1 quart per 1,000 miles. Can be a symptom of piston ring issues or lead to engine damage if the oil level is not maintained. (Ref: Kia has issued TSBs (e.g., TSB ENG223) outlining procedures for dealers to conduct oil consumption tests.)
- Engine Compartment Fire Risk 🔴 High — A significant number of non-collision fires were reported, leading to investigations and recalls. The cause can be linked to the engine seizing and leaking oil onto hot components, or separately, a faulty ABS hydraulic control unit (HECU). (Ref: Multiple recalls have been issued to address fire risks from different causes.)
- Faulty Door Lock Actuators 🟡 Low — A common annoyance where an internal spring in the door lock actuator breaks, preventing the door from being opened from the outside handle.
- Headlight Bulbs / Connectors Failing Prematurely 🟡 Low — Owners frequently report headlight bulbs burning out quickly. The root cause is often the connector itself overheating and melting, requiring replacement of the connector pigtail, not just the bulb.
Used vs. New Parts: Buying Guide for This Vehicle
When a used part is the smart pick: For this repair, a used part is only recommended for passive components like the wiring harness pigtail or a fuse box if they are damaged. A used oxygen sensor is never recommended.
Donor-vehicle mileage cap: roughly under 80000 miles for the part to have meaningful remaining life.
What to inspect on the donor part:
- For a wiring harness or connector, ensure there is no visible corrosion, melting, or brittle plastic.
- Verify the donor vehicle is from a dry climate to minimize corrosion risk.
- Check that the locking tabs on connectors are intact and not broken.
OEM-only on this vehicle (don't cheap out):
- While not strictly OEM-only, it is highly advised to avoid generic, unbranded 'white box' oxygen sensors. These frequently have incorrect resistance values that will cause the P0030 code to return.
Aftermarket brands forum-validated for this vehicle:
- Denso (e.g., 234-5029)
- NGK / NTK
- Bosch
- Mando (An OE supplier for Kia/Hyundai)
Brands owners have reported issues with on this vehicle:
- Unbranded, low-cost sensors from online marketplaces are frequently cited by owners and technicians as not working correctly with the Kia/Hyundai engine computer logic.
Real Owner Stories
Aggregated from forums and TSBs cited above. Mileages and costs reflect what owners reported in those sources.
2011-2015 Kia Sorento 2.4L GDI
Symptoms: The plastic clips that secure the O2 sensor wiring harness away from the exhaust became brittle and broke, allowing the harness to fall onto the hot exhaust manifold.
What fixed it: Repairing the melted section of the wiring harness and replacing the blown fuse.
Source hint: vehicle_specific_issues - Melted Wiring Harness
2011-2015 Kia Sorento 2.4L GDI
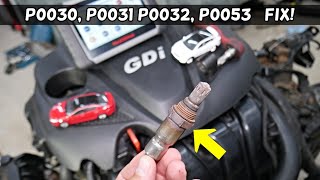
Symptoms: Check engine light on with codes P0030, P0031, or P0032; the video demonstrates the location of the Bank 1 Sensor 1 and common failure points.
What fixed it: Replacement of the Bank 1 Sensor 1 (upstream) oxygen sensor and inspection of wiring and fuses.
Source hint: YouTube - World Mechanics: CODE P0030, P0031, P0032 OXYGEN SENSOR ENGINE LIGHT HYUNDAI KIA 2.4 GDI ENGINE
Related OBD-II Codes
Frequently Asked Questions
Which fuse should I check for a P0030 code on my 2011-2015 Kia Sorento 2.4L?
Is there a specific brand of oxygen sensor recommended for the Theta II GDI engine?
My Sorento has P0030 and a blown fuse; could this be related to the wiring harness?
Where is the Bank 1 Sensor 1 located on the 2.4L Sorento?
Does the engine settlement for rod bearing failure cover P0030 repairs?
Can I use a used oxygen sensor from a donor Kia Optima or Hyundai Sonata?
Helpful Videos
We Have This Part in Stock


The information in this article is provided for general reference and educational purposes only. Vehicle specifications, procedures, and part compatibility can vary by production date, trim level, and region. Always consult your vehicle's factory service manual and verify part numbers before purchasing or performing repairs. Safety-critical components such as airbags, seat belts, and braking systems should be installed by a qualified professional.
- Kia Sorento:
- 🧭 Diagnostic Flowchart
- 🎬 Helpful Videos
- 🛍️ Shop This Part
- What's Unique About the 2011-2015 Kia Sorento
- Symptoms You May Notice
- Most Likely Causes
- Rare But Worth Checking
- Diagnosis Steps
- Parts You'll Likely Need
- Related Codes That Often Appear With This One
- Platform-Specific Known Issues
- Mechanic-Grade Diagnostic Values
- Scan Tool Commands That Help
- Wiring & Ground Locations
- Real Owner Repair Stories
- OEM Part Supersession History
- Model Year Variations Within This Range
- Other Known Issues on This Vehicle
- Used vs. New Parts: Buying Guide for This Vehicle
- Real Owner Stories
- 2011-2015 Kia Sorento 2.4L GDI
- 2011-2015 Kia Sorento 2.4L GDI
- Related OBD-II Codes
- Frequently Asked Questions
- 🎟️ Get 5% Off