
P0030 on 2007-2012 Lexus ES350: A/F Sensor Heater Circuit Causes and Fixes
On a 2007-2012 Lexus ES350, code P0030 almost always means the heater element inside the Bank 1, Sensor 1 Air/Fuel Ratio sensor has failed. This is the upstream sensor on the rear cylinder bank (near the firewall), which is notoriously difficult to access. Replacing it with a Denso sensor (Part No. 234-9008) is the most common fix, costing around $80-$150 for the part. Always check the 25A 'A/F HTR' fuse first.
- P0030 points to a failed heater in the Bank 1, Sensor 1 Air/Fuel Ratio sensor.
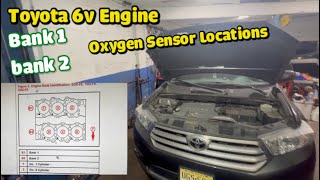
- Bank 1 is the rear cylinder bank, near the firewall, making access difficult.
- The most probable fix is replacing the sensor. Using an OEM Denso part (234-9008) is highly recommended.
- Before replacing the sensor, always check the 25A 'A/F HTR' fuse and the associated A/F HTR relay in the engine bay.
- A special 22mm offset oxygen sensor socket is needed for this job due to tight access.
What's Unique About the 2007-2012 Lexus ES350
On the transverse-mounted 2GR-FE V6 engine, 'Bank 1' is the cylinder bank located towards the rear of the vehicle, against the firewall. This makes accessing and replacing the Bank 1, Sensor 1 (upstream) sensor notoriously difficult compared to the Bank 2 sensor at the front of the engine bay. Many owners and technicians remove the strut tower brace and sometimes the plastic cowl assembly to gain better access from the top. The most common fix is replacing the sensor itself, and using the OEM supplier, Denso, is highly recommended for compatibility and to avoid repeat issues.
Symptoms You May Notice
- Check Engine Light is on
- VSC (Vehicle Stability Control) light may also illuminate
- Decreased fuel economy
- Vehicle will fail an emissions test
- Potentially rough idle on a cold start
- Hesitation during acceleration
- Replacing the wrong sensor (e.g., Bank 2 Sensor 1, or the downstream Sensor 2). It is critical to correctly identify Bank 1 (rear/firewall side) 🎬 Watch: How to locate Bank 1 and Bank 2 sensors and Sensor 1 (upstream/before converter).
- Replacing the sensor without checking the A/F HTR fuse first. If the fuse is blown, a new sensor will not fix the problem and may be damaged by an existing short circuit.
Most Likely Causes
- Failed Air/Fuel Ratio Sensor (Bank 1, Sensor 1) 🔴 High Probability → Shop Oxygen Sensor The internal heater element is a common wear item and simply burns out over time, which is the most frequent cause for this code. This is a well-documented failure on the 2GR-FE engine across many Toyota and Lexus models.
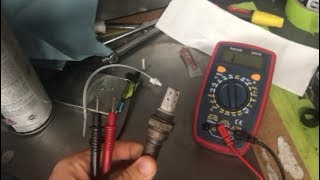
How to confirm: Disconnect the sensor and use a multimeter to test the resistance between the two heater pins on the sensor (usually the two wires of the same color, often black). 🎬 See this guide on testing the AFR heater circuit A reading of 'OL' (Open Loop) or infinite resistance indicates a burned-out heater element. A good sensor's heater circuit should have a very low resistance, typically between 0.8 and 1.4 ohms when cold.
Typical fix: Replace the Bank 1, Sensor 1 Air/Fuel Ratio sensor. Due to difficult access, this repair can be time-consuming. An offset 22mm (7/8") oxygen sensor socket is highly recommended.
Est. part cost: $80-$180 - Blown A/F Heater Fuse 🟡 Medium Probability An electrical short in the sensor or its wiring can cause the fuse to blow as a protective measure. This can sometimes happen if a new sensor's wires are twisted and shorted during installation.
How to confirm: Locate and inspect the 'A/F HTR' fuse, typically a 25A fuse, in the engine bay fuse box. If it's blown, the circuit has a short that must be found before simply replacing the fuse.
Typical fix: Replace the blown fuse after diagnosing and repairing the underlying short circuit. Do not simply replace the fuse without finding the cause, as it will likely blow again.
Est. part cost: $1-$5 - Damaged Wiring or Connector ⚪ Low Probability The wiring harness is close to hot exhaust components, making it susceptible to melting or heat-related damage over time. Rodents can also chew wires, a common issue in many vehicles.
How to confirm: Visually inspect the wiring harness and connector leading to the Bank 1 sensor for any signs of melting, fraying, corrosion, or loose pins. Trace the harness as far back as possible.
Typical fix: Repair the damaged section of the wiring harness or replace the connector pigtail.
Est. part cost: $15-$50
Rare But Worth Checking
- Faulty Engine Control Module (ECM): → Shop Engine Control Module (ECM) This is extremely rare. The ECM's internal driver for the heater circuit can fail, but all other possibilities (sensor, fuse, wiring) must be exhaustively ruled out before condemning the ECM.
- Failed A/F Heater Relay: The A/F sensor heater circuit is controlled by a dedicated relay, often labeled 'A/F HTR' or similar, located in the engine room relay block. While less common than a sensor or fuse failure, this relay can fail, preventing power from reaching the heater circuit. This should be tested after confirming the fuse is good.
Diagnosis Steps
- Verify the P0030 code is present using an OBD-II scanner.
- Check the 'A/F HTR' 25A fuse in the engine bay fuse box. If it is blown, investigate for a short circuit before replacing it.
- If the fuse is good, locate and test the 'A/F HTR' relay, typically found in the engine room relay block.
- Locate the Bank 1, Sensor 1 A/F sensor. It is the upstream sensor on the rear exhaust manifold, near the firewall.
- Visually inspect the sensor's wiring harness and connector for any signs of damage, melting, or corrosion.
- Disconnect the sensor connector. Using a multimeter set to Ohms (Ω), measure the resistance across the two pins for the heater circuit on the sensor side. These are typically the two black wires.
- A reading of Open Loop (OL) or infinite resistance confirms the heater element inside the sensor has failed. A good sensor will have a low resistance value, typically between 0.8 and 1.4 ohms when cold.
- If the sensor's resistance is good, check for 12V power at the B+ terminal and a good ground on the harness-side connector with the ignition key in the 'ON' position. The ECM provides a pulse-width modulated ground to control the heater, so a simple ground test may not be conclusive without a scope; however, power should be constant.
- If the sensor heater has failed, replace the Air/Fuel Ratio sensor. Apply anti-seize compound to the new sensor's threads if not pre-applied, and torque to approximately 32 ft-lbs.
- Clear the trouble code and perform a drive cycle to ensure the repair was successful.
Parts You'll Likely Need
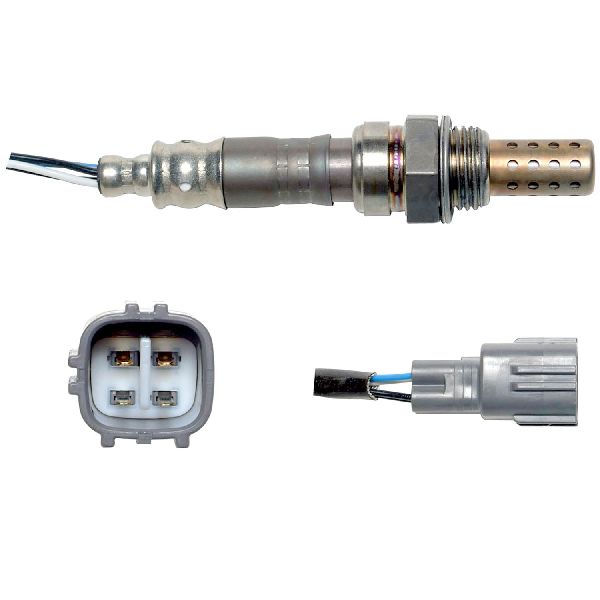
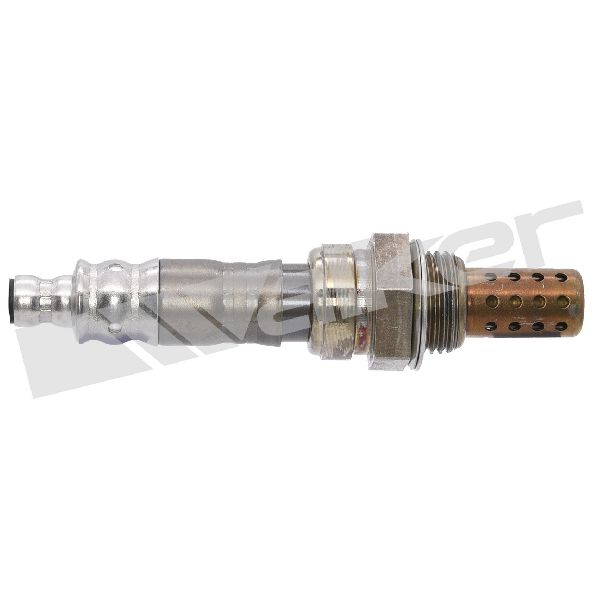
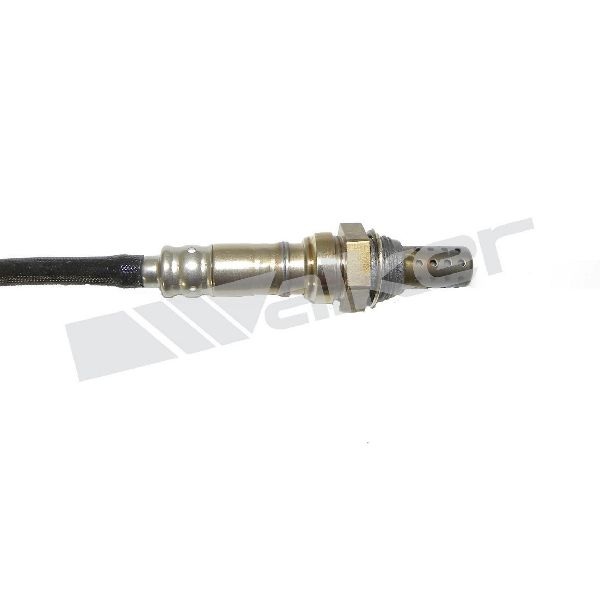
- Air/Fuel Ratio Sensor (Bank 1, Sensor 1)
(OEM #89467-06030)— This is the component that contains the heater element that fails, directly causing the P0030 code. The Denso aftermarket part is the OEM equivalent.
Trusted brands: Denso (Part No. 234-9008)
OEM price range: $140-$200
Aftermarket price range: $80-$150 - Oxygen Sensor Socket Set — A special 22mm (7/8") offset socket with a slot for the wire is required to remove and properly torque the sensor without damaging it, especially in the tight space for Bank 1.
Trusted brands: Lisle, OEMTOOLS, Gearwrench
OEM price range: $15-$30
Aftermarket price range: $10-$25
Platform-Specific Known Issues
- The primary platform-specific issue is the difficult access to the Bank 1 Sensor 1 due to its location on the rear of the engine against the firewall. Removal of the engine strut tower brace is often required to gain access.
- Some DIYers report that removing the plastic cowl and wiper assembly provides much better top-down access, though it adds time to the job.
- Due to the tight space, care must be taken not to twist or damage the wires of the new sensor during installation, which can cause a short and blow the A/F HTR fuse.
Mechanic-Grade Diagnostic Values
- A/F Sensor Heater Resistance — expected: 1.8 to 3.4 Ω at 20°C (68°F) for some similar Toyota/Lexus models, though the 0.8-1.4 Ω range is also commonly cited. The key is to not have an open circuit.. Failure: A multimeter reading of 'OL' (Open Loop) or infinite resistance across the two heater pins (same color wires).
- A/F Sensor Harness Voltage (Key On, Engine Off) — expected: 12V+ battery feed at the power pin on the harness side of the connector.. Failure: No voltage indicates a problem upstream, such as the A/F HTR fuse, relay, or wiring.
- Techstream Live Data - AFS Voltage B1S1 — expected: On hard acceleration, voltage should drop below 2.8V. On sudden deceleration (fuel cut), voltage should rise above 4.0V. At idle, it should hover around a central value, often 3.3V, with lambda at 1.00.. Failure: A sensor that is stuck at a specific voltage or does not respond to changes in engine load and fuel trim.
Scan Tool Commands That Help
- Toyota Techstream: Active Test: Control the Injection Volume for A/F Sensor — This test allows a technician to manually command a rich (+12.5% or +25%) or lean (-12.5%) condition and observe the A/F sensor's voltage response (AFS Voltage B1S1). It's used to confirm if the sensor is responsive to air/fuel changes, which helps differentiate a dead sensor from an intermittent wiring issue. A healthy sensor's voltage will change predictably during this test.
- Toyota Techstream: Active Test: A/F Heater — Some Toyota/Lexus ECMs support an active test to directly command the A/F sensor heater ON or OFF. This is the most direct way to test the entire heater circuit. When commanded ON, you can check for voltage at the sensor connector and monitor current draw to verify the integrity of the fuse, relay, wiring, and ECM driver.
Wiring & Ground Locations
- A/F HTR Relay — Located in the 'Engine Room R/B Assembly' (main fuse/relay box in the engine compartment, typically on the driver's side).. This relay provides power to the A/F sensor heater circuit. If the relay fails, the heater will not receive power, triggering P0030 even if the fuse and sensor are good.
- A/F HTR Fuse (25A) — Located in the 'Engine Room J/B Assembly' (engine bay fuse box).. This is the primary fuse for the heater circuit. A short in the sensor or wiring will cause this fuse to blow, cutting power to the circuit.
- ECM (Engine Control Module) — Located in the engine compartment, inside a protective case, typically on the driver's side.. The ECM provides the pulse-width modulated ground signal that controls the heater's operation. All circuit tests ultimately trace back to the ECM connector pins for continuity and short-to-ground checks.
OEM Part Supersession History
89467-33080→89467-06030— Part number consolidation and potential minor revision by Toyota.
Heads up: The new part number (89467-06030) is the correct and current replacement for the original.
Model Year Variations Within This Range
- 2007-2009 vs 2010-2012: The ES350 received a mid-cycle refresh for the 2010 model year which included cosmetic updates and a switch to a hard-drive-based navigation system. However, the 2GR-FE engine and the emissions control system, including the A/F sensors and their circuitry, remained mechanically the same. Early models (especially 2007) were more prone to issues like VVT-i oil line failure and transmission shifting problems, which were largely resolved by the 2012 model year, but these are unrelated to the P0030 code. For the purpose of diagnosing P0030, the 2007-2012 models are identical.
- 2011-2012: For the 2011 model year, Lexus changed the recommended fuel from premium to regular unleaded, with a slight drop in the official horsepower rating. This was a tuning change in the ECM and did not involve any physical changes to the engine or the A/F sensors.
Diagnostic Flowchart
Other Known Issues on This Vehicle
Issues unrelated to this code that are worth knowing about as an owner of this generation:
- VVT-i Oil Line Rupture 🔴 High — Common on 2007-2008 models. The original rubber hose section degrades and can burst, leading to rapid oil loss and potential engine seizure. (Ref: LSC 9LH was a Limited Service Campaign to replace the rubber hose with an all-metal line. This campaign has been extended but may have expired.)
- Melting / Sticky Dashboard 🟡 Low — Very common in hot climates. The dashboard material degrades, becoming shiny, sticky, and soft to the touch. (Ref: Lexus issued a Warranty Enhancement Program (ZLD) to replace affected dashboards, but this program has likely expired for most vehicles.)
- Water Pump Failure 🟠 Medium — Prone to premature failure, sometimes as early as 60,000-80,000 miles. A leak from the pump can lead to overheating if not addressed.
- Timing Cover Oil Leak 🟠 Medium — A well-documented oil leak from the timing chain cover sealant. Not a critical failure, but a very labor-intensive and expensive repair as the engine often needs to be removed.
Used vs. New Parts: Buying Guide for This Vehicle
When a used part is the smart pick: For this specific repair, using a used Air/Fuel ratio sensor is almost never a smart choice. The heater element is a known wear item, and a used sensor from a junkyard has an unknown amount of life left and may fail shortly after installation, forcing you to repeat the difficult replacement job.
Donor-vehicle mileage cap: roughly under 20000 miles for the part to have meaningful remaining life.
What to inspect on the donor part:
- If forced to use a used part, source it from the lowest-mileage donor vehicle possible.
- Inspect the part for any physical damage, corrosion on the connector pins, or fraying of the wires.
- Test the resistance of the heater circuit on the used sensor before purchasing or installing it. It must be within spec (not an open circuit).
OEM-only on this vehicle (don't cheap out):
- Air/Fuel Ratio Sensor
Aftermarket brands forum-validated for this vehicle:
- Denso (This is the Original Equipment Manufacturer; the Denso aftermarket part is identical to the Toyota-branded part).
- NTK (Also a highly-regarded OEM supplier for many Japanese vehicles).
Brands owners have reported issues with on this vehicle:
- Generic, unbranded, or unusually cheap sensors. While some users report success with brands like Bosch, others have noted different warm-up characteristics that can cause issues when mixed with OEM sensors on other banks, potentially affecting cold-start performance. Sticking with Denso or NTK is the safest option for this vehicle.
Real Owner Stories
Aggregated from forums and TSBs cited above. Mileages and costs reflect what owners reported in those sources.
2007-2012 Lexus ES350 3.5L V6
Symptoms: The owner noted the Bank 1 Sensor 1 is difficult to reach because it is located on the rear of the engine against the firewall, requiring specific tools for removal.
What fixed it: Replacement of the Bank 1, Sensor 1 Air/Fuel Ratio sensor using an offset 22mm (7/8") oxygen sensor socket.
Source hint: vehicle_specific_issues
Lexus RX350 2GR-FE (Platform Mate)
Symptoms: Heater circuit failure on the Air/Fuel sensor; testing confirmed through resistance measurement on the two black wires.
What fixed it: Replacing the sensor after measuring resistance and finding it outside the 0.8-1.4 ohms range.
Source hint: ClubLexus.com - 'DIY: Measuring air/fuel sensor resistance'
Related OBD-II Codes
Frequently Asked Questions
Where is the Bank 1 Sensor 1 located on my 2007-2012 Lexus ES350?
Why did my VSC light come on at the same time as the P0030 Check Engine Light?
Can I just replace the 25A fuse to fix the P0030 code?
What are the specific resistance specs for testing the A/F sensor heater on my ES350?
Is there a trick to accessing the rear sensor on the 2GR-FE engine?
Should I use a used sensor from a junkyard to save money?
Helpful Videos


We Have This Part in Stock


The information in this article is provided for general reference and educational purposes only. Vehicle specifications, procedures, and part compatibility can vary by production date, trim level, and region. Always consult your vehicle's factory service manual and verify part numbers before purchasing or performing repairs. Safety-critical components such as airbags, seat belts, and braking systems should be installed by a qualified professional.
- Lexus ES350:
- 🧭 Diagnostic Flowchart
- 🎬 Helpful Videos
- 🛍️ Shop This Part
- What's Unique About the 2007-2012 Lexus ES350
- Symptoms You May Notice
- Most Likely Causes
- Rare But Worth Checking
- Diagnosis Steps
- Parts You'll Likely Need
- Platform-Specific Known Issues
- Mechanic-Grade Diagnostic Values
- Scan Tool Commands That Help
- Wiring & Ground Locations
- OEM Part Supersession History
- Model Year Variations Within This Range
- Other Known Issues on This Vehicle
- Used vs. New Parts: Buying Guide for This Vehicle
- Real Owner Stories
- 2007-2012 Lexus ES350 3.5L V6
- Lexus RX350 2GR-FE (Platform Mate)
- Related OBD-II Codes
- Frequently Asked Questions
- 🎟️ Get 5% Off