
P0030 on 2013-2018 Toyota RAV4 2.5L: A/F Sensor Heater Circuit Causes and Fixes
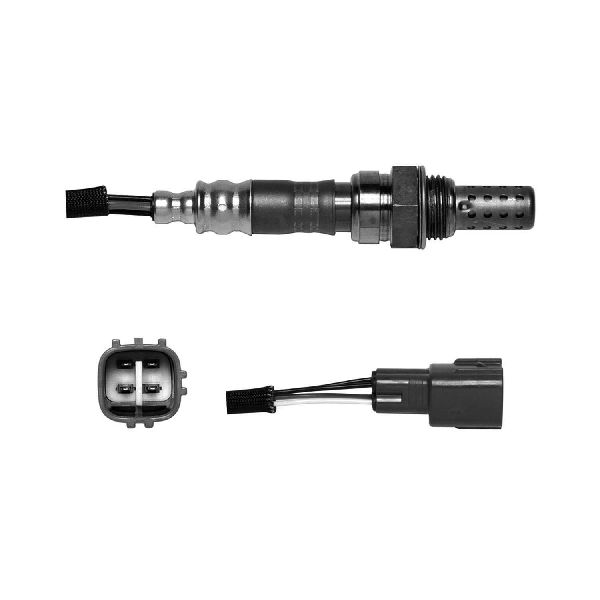
On a 2013-2018 RAV4, code P0030 almost always means the heater inside the upstream Air/Fuel Ratio (A/F) sensor has failed. The fix is to replace the sensor, which is located on the exhaust manifold. An OEM Denso part costs around $150-$250, and this is a very DIY-friendly repair.
- P0030 on this RAV4 almost always means you need a new upstream Air/Fuel Ratio sensor (Bank 1, Sensor 1).
- Before buying any parts, take a moment to check the 'A/F HEATER' or 'EFI' fuses in the engine bay fuse box.
- The correct OEM part number is 89467-0R050. Denso is the original manufacturer; their aftermarket part #234-9136 is a reliable, cost-effective option.
- This is a DIY-friendly job that requires basic hand tools and a special 22mm (or 7/8") oxygen sensor socket.
- Confirm the failure by testing the resistance of the two same-colored wires on the sensor; a good one reads ~1.8-3.4 Ohms, a bad one reads open (OL).
What's Unique About the 2013-2018 Toyota RAV4
For the 2013-2018 RAV4 with the 2AR-FE engine, this code is a very common and straightforward issue. There are no major generational changes or complex system variations to worry about within this year range. The failure is almost always due to the natural end-of-life for the sensor's internal heater element after 80,000-120,000 miles. Unlike some other manufacturers, Toyota has not issued any specific recalls or technical service bulletins for this code on this platform, reinforcing that it's typically a simple wear-and-tear component failure rather than a design flaw.
Symptoms You May Notice
- Check Engine Light is on
- Slightly reduced fuel economy (5-10% drop)
- Failure to pass an emissions inspection
- Slightly rough idle on a cold start
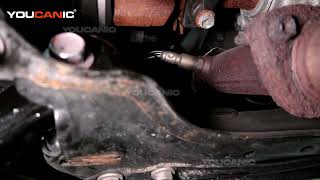
- Replacing the downstream oxygen sensor (Bank 1, Sensor 2). P0030 specifically points to the upstream sensor 🎬 Watch: How to identify and replace the downstream sensor instead. (Sensor 1) before the catalytic converter.
Most Likely Causes
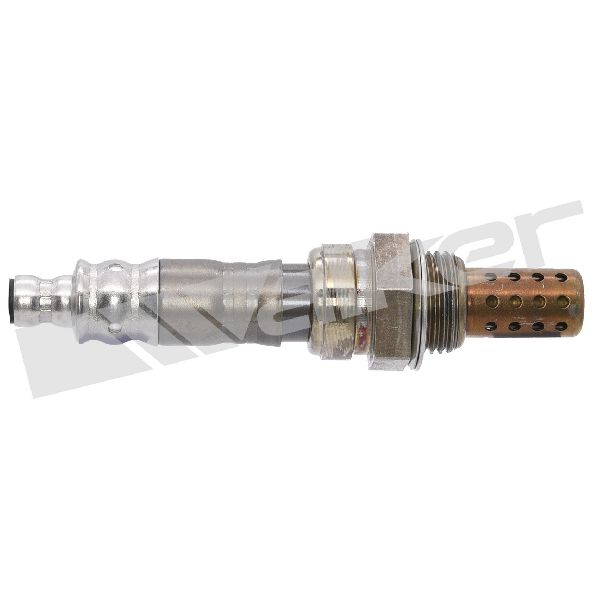
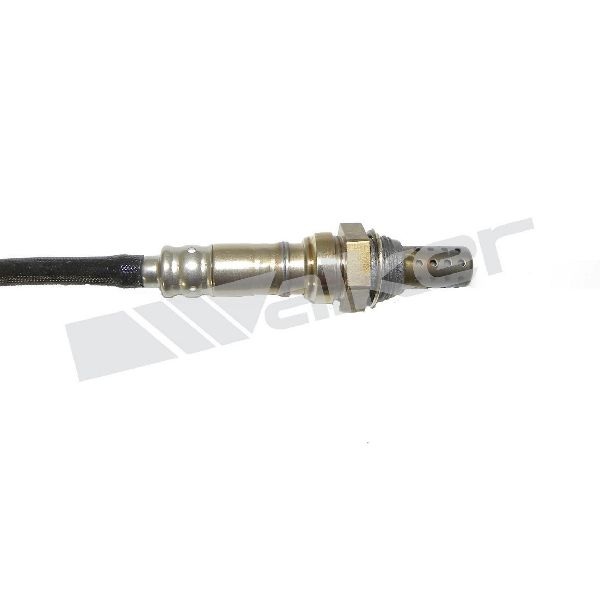
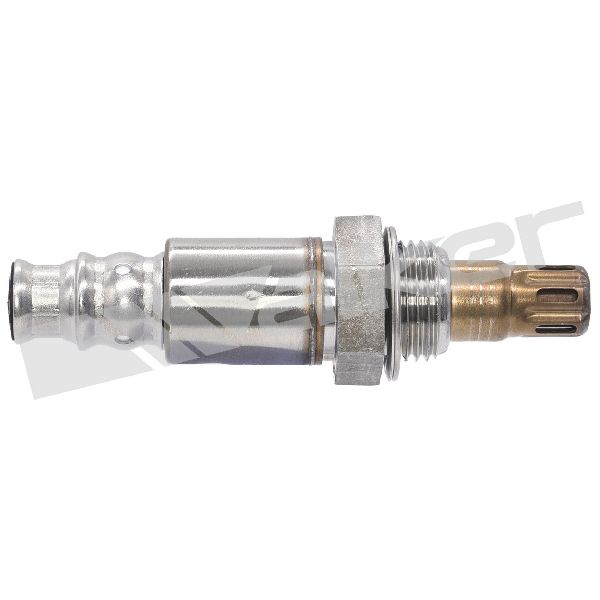
- Failed Air/Fuel Ratio Sensor (Bank 1, Sensor 1) 🔴 High Probability → Shop Oxygen Sensor The internal heater element is a common failure point due to constant, rapid heat cycles over many years and miles. It's considered a wear item.
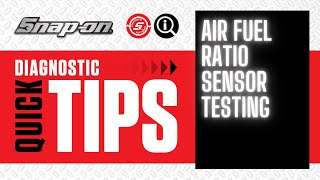
How to confirm: Disconnect the sensor and test the resistance between the two heater pins (usually the two same-colored wires, often black). A good sensor will have a very low resistance, typically between 1.8 and 3.4 Ohms at room temperature for this specific Denso sensor. A failed sensor will show an open circuit (infinite resistance or 'OL' on a multimeter).
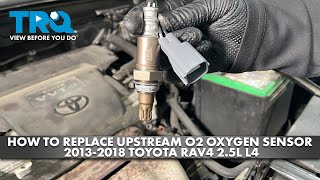
Typical fix: Replace the Air/Fuel Ratio Sensor located on the exhaust manifold. 🎬 Watch: Step-by-step guide to replacing the upstream sensor. A 22mm (or 7/8") offset oxygen sensor socket is highly recommended for removal.
Est. part cost: $80-$250 - Blown Fuse ⚪ Low Probability
How to confirm: Check the fuses in the engine bay fuse box. On many Toyotas, this circuit is protected by a fuse labeled 'A/F HEATER' or is tied into the 'EFI' or 'IGN' fuses. A visual inspection or a multimeter can confirm if a fuse is blown.
Typical fix: Replace the blown fuse with one of the same amperage rating.
Est. part cost: $1-$5 - Damaged Wiring or Connector ⚪ Low Probability The wiring harness is close to the hot exhaust manifold and can become brittle or melt if a retaining clip breaks and it makes contact.
How to confirm: Visually inspect the wiring and connector leading to the A/F sensor for any signs of melting, fraying, corrosion, or rodent damage. Check for secure connection and intact locking tab.
Typical fix: Repair the damaged section of the wire or replace the connector pigtail.
Est. part cost: $10-$40
Rare But Worth Checking
- Faulty Engine Control Module (ECM): → Shop Engine Control Module (ECM) This is extremely rare. The ECM should only be considered after all other possibilities (sensor, fuse, wiring) have been exhaustively tested and ruled out. A failure of the ECM's internal driver for the heater circuit is uncommon.
Diagnosis Steps
- Scan the vehicle for any other stored trouble codes. Address other codes first if present.
- Visually inspect the A/F sensor's wiring harness and connector. The sensor is located on the front of the engine, screwed into the exhaust manifold. Look for any signs of melting, chafing, or corrosion.
- Check the fuses in the engine bay fuse box. Specifically inspect fuses labeled 'A/F HEATER', 'IGN', or 'EFI'.
- If the fuse and wiring are okay, disconnect the sensor's electrical connector.
- Using a multimeter set to Ohms, measure the resistance across the two heater pins on the sensor side of the connector (these are typically the two wires of the same color, often black).
- A reading of infinite resistance (Open Loop or 'OL') indicates a failed heater element, and the sensor must be replaced. A good sensor should read between 1.8 and 3.4 Ohms.
- To be certain, you can also check for 12V power at the harness connector (vehicle side) with the ignition on and engine off. If there is no power, it confirms a wiring or fuse issue upstream.
Parts You'll Likely Need
- Air/Fuel Ratio Sensor (Bank 1, Sensor 1)
(OEM #89467-0R050)— This is the upstream sensor, and its internal heater element is the most common failure point for code P0030.
Trusted brands: Denso (OEM Manufacturer, Part #234-9136), NGK/NTK
OEM price range: $210-$250
Aftermarket price range: $80-$180 - Oxygen Sensor Socket — A special 22mm (7/8") socket with a cutout for the wire is often necessary to get enough leverage to remove the old sensor without damaging the wire.
Trusted brands: Lisle, OEMTOOLS
Aftermarket price range: $10-$25
Platform-Specific Known Issues
- On the RAV4, the sensor is easily accessible from the top of the engine bay, making it a very straightforward DIY job compared to vehicles where it's located underneath or behind engine components.
Mechanic-Grade Diagnostic Values
- A/F Sensor Heater Current Draw — expected: 5 to 7 amps during initial warm-up, then duty-cycle controlled.. Failure: A current draw of less than 0.8 A may set a P0031 (low), while a draw over 10 A may set a P0032 (high). P0030 indicates a general circuit fault detected by the ECM.
- A/F Sensor Heater Resistance — expected: 1.8 - 3.4 Ω at 20°C (68°F).. Failure: Infinite resistance (Open circuit) or near 0 Ω (short circuit).
- Voltage at A/F Sensor Connector (Harness Side, Heater Pins) — expected: Battery Voltage (~12V) on one pin and a pulse-width modulated ground on the other with Key On, Engine On.. Failure: 0V on the power pin indicates a problem upstream (fuse, EFI relay, wiring). A constant ground or no ground signal on the control pin points to a wiring or ECM driver issue.
Scan Tool Commands That Help
- Toyota Techstream: Active Test: Control the A/F Sensor Heater (Bank 1 Sensor 1) — This allows a technician to manually command the A/F sensor heater ON and OFF. It is used to verify that the EFI MAIN relay, fuse, wiring, and the ECM's driver circuit are all functioning correctly. If the heater can be activated with Techstream but the code returns during normal operation, it points towards an intermittent connection or a sensor that fails only when hot.
- Toyota Techstream: Utility: Reset Memory (A/F Learning Value) — After replacing the A/F sensor, it is best practice to reset the learned fuel trim values. This forces the ECM to immediately start learning with the data from the new sensor, rather than trying to adjust from old, potentially skewed data. A manual procedure involving disconnecting the MAF sensor also exists.
Wiring & Ground Locations
- ECM Connector C62, Pins 15 (HA1A) and 29 (E1) — The Engine Control Module (ECM) is located in the engine bay on the driver's side, near the firewall.. Pin 15 (HA1A) is the ECM pin that provides the pulse-width modulated ground signal to control the A/F sensor heater. Pin 29 (E1) is one of the main ECM ground points. A technician would test for continuity and signal at these pins to diagnose a suspected ECM or wiring harness fault after ruling out the sensor and fuses.
- EFI MAIN Relay — Located in the engine compartment fuse/relay box.. The EFI MAIN relay supplies battery voltage to the A/F sensor heater circuit (and other critical engine components like fuel injectors). While a failure of this relay would likely cause more codes and a no-start condition, a corroded or failing contact specific to the heater circuit power feed is a rare but possible cause for P0030.
- Engine Ground Points (e.g., EB, EC) — There are multiple critical ground points on the cylinder block (EB) and cylinder head (EC).. While P0030 is for a dedicated heater circuit, a poor main engine ground can cause electrical noise and voltage drops, potentially affecting various sensors. A bad ground is unlikely to be the sole cause of P0030 but could cause it to appear with other codes.
Real Owner Repair Stories
- RAV4World Forums (2017 Toyota RAV4) — Check Engine Light with code P0031 (Heater Circuit Low), which is closely related to P0030.
❌ Tried (didn't work) Replacing the original A/F sensor with a new, non-Denso aftermarket sensor.
✅ What actually fixed it The user initially replaced the sensor with a cheap aftermarket part, but the code persisted. After advice from the forum, they purchased and installed a Denso (OEM) sensor (part #234-9136), which resolved the issue immediately. This highlights that the ECM can be sensitive to the specific resistance and performance characteristics of the heater element, making OEM parts the most reliable fix.
Diagnostic Flowchart
Other Known Issues on This Vehicle
Issues unrelated to this code that are worth knowing about as an owner of this generation:
- Torque Converter Shudder 🟠 Medium — Common on 2013-2015 models, typically manifests as a vibration/shudder under light load between 25-50 mph. (Ref: T-SB-0023-15 (later revised). The fix involves a software update for the ECM and, in persistent cases, replacement of the torque converter.)
- HVAC Evaporator Drain Clog 🟡 Low — A design issue can cause the AC evaporator drain to clog, leading to water leaking into the passenger-side footwell. Can cause a musty smell. (Ref: T-SB-0140-17 describes the issue and the fix, which involves installing an updated drain hose elbow.)
- Power Liftgate Malfunction 🟡 Low — Some owners report the power liftgate becoming inoperative or stopping mid-operation, particularly in cold weather. (Ref: T-SB-0023-16 addresses this issue for some Highlander models which share components, but RAV4 owners report similar behavior. The fix often involves replacing the power strut assemblies.)
- Replacement 12V Battery Short Circuit Risk 🔴 High — An issue with certain replacement batteries not fitting the tray correctly, potentially causing a short circuit. (Ref: NHTSA Recall 23V-723 (Toyota Recall 23TA12). Affects all 2013-2018 RAV4s.)
- Oil Seeping from Timing Cover / Valve Cover 🟡 Low — Noted on higher-mileage (150k+) 2AR-FE engines. Typically a slow seep rather than a major leak, but can be expensive to repair due to labor.
Used vs. New Parts: Buying Guide for This Vehicle
When a used part is the smart pick: For this specific repair, buying a used Air/Fuel ratio sensor is almost never a smart choice. The heater element is a wear item with a finite lifespan, similar to a spark plug or a filter. A used sensor has unknown hours and heat cycles on it and could fail shortly after installation, wasting time and money.
What to inspect on the donor part:
- Not applicable as used sensors are not recommended.
OEM-only on this vehicle (don't cheap out):
- Air/Fuel Ratio Sensor (Bank 1, Sensor 1)
Aftermarket brands forum-validated for this vehicle:
- Denso (This is the Original Equipment Manufacturer; their aftermarket part #234-9136 is identical to the Toyota-branded part without the dealership markup).
- NGK/NTK (A highly reputable alternative, though Denso is the direct OEM for this application).
Brands owners have reported issues with on this vehicle:
- Generic, unbranded, or 'white-box' sensors from online marketplaces. Forum discussions frequently show these parts failing to resolve the code or failing prematurely due to incorrect heater resistance values that the Toyota ECM rejects.
Real Owner Stories
Aggregated from forums and TSBs cited above. Mileages and costs reflect what owners reported in those sources.
Toyota RAV4 (2AR-FE 2.5L)
Symptoms: The user experienced a heater circuit code after replacing the sensor with a cheap alternative.
What fixed it: Replacing the cheap sensor with a quality Denso sensor and checking for wiring issues.
Source hint: RAV4World Forums - "P0031 after replacing O2 sensor"
Toyota (2AR-FE engine family)
Symptoms: Multiple O2 sensor heater codes including P0031 and P0051.
What fixed it: Replacing the indicated sensor with a Denso part, which is noted as the correct fix 99% of the time for this engine family.
Source hint: Toyota Nation Forums - "P0031, P0051, P0138, P0158 - O2 sensor questions"
Related OBD-II Codes
Frequently Asked Questions
Where is the Air/Fuel Ratio Sensor located on my 2013-2018 RAV4?
Can I use a generic aftermarket sensor to fix code P0030?
What should the resistance be for a healthy A/F sensor on the 2AR-FE engine?
Is there a fuse I should check before replacing the sensor?
Does my RAV4 have any recalls that might be related to electrical issues?
What tools do I need to replace the sensor myself?
Helpful Videos


We Have This Part in Stock


The information in this article is provided for general reference and educational purposes only. Vehicle specifications, procedures, and part compatibility can vary by production date, trim level, and region. Always consult your vehicle's factory service manual and verify part numbers before purchasing or performing repairs. Safety-critical components such as airbags, seat belts, and braking systems should be installed by a qualified professional.
- Toyota RAV4:
- 🧭 Diagnostic Flowchart
- 🎬 Helpful Videos
- 🛍️ Shop This Part
- What's Unique About the 2013-2018 Toyota RAV4
- Symptoms You May Notice
- Most Likely Causes
- Rare But Worth Checking
- Diagnosis Steps
- Parts You'll Likely Need
- Platform-Specific Known Issues
- Mechanic-Grade Diagnostic Values
- Scan Tool Commands That Help
- Wiring & Ground Locations
- Real Owner Repair Stories
- Other Known Issues on This Vehicle
- Used vs. New Parts: Buying Guide for This Vehicle
- Real Owner Stories
- Toyota RAV4 (2AR-FE 2.5L)
- Toyota (2AR-FE engine family)
- Related OBD-II Codes
- Frequently Asked Questions
- 🎟️ Get 5% Off