
P0031 on 2011-2014 Ford F-150 5.0L V8: Heater Circuit Fixes
This code almost always means the passenger-side upstream oxygen sensor has failed. Before replacing it, check Fuse 76 (15A) in the under-hood fuse box (also called the Battery Junction Box). Expect to pay $50-$120 for a quality aftermarket sensor (Bosch, NTK/NGK); replacement is a 2/5 DIY difficulty but can be tight, often requiring a 22mm (or 7/8") slotted O2 sensor socket.
- P0031 on your 5.0L F-150 points to a problem with the passenger side, upstream O2 sensor's heater.
- Always check Fuse #76 (15A) in the under-hood fuse box before buying any parts, especially if you also have a P0051 code.
- The most likely fix is replacing the Bank 1, Sensor 1 oxygen sensor, which often requires a 22mm (7/8") O2 sensor socket and access through the passenger wheel well.
- If a new sensor and fuse don't fix the issue, carefully inspect the wiring harness for melting or chafing near the exhaust.
What's Unique About the 2011-2014 Ford F-150
On the 2011-2014 F-150 with the 5.0L V8, the P0031 code is a straightforward electrical fault. Unlike the EcoBoost models where wiring is often melted by hot turbo components, the 5.0L's primary failure point is simply the oxygen sensor's internal heater element burning out over time. However, the sensor's location on the passenger-side exhaust manifold can make access challenging, often requiring removal of the front wheel and inner fender liner for a clear path. Some owners have also reported that the wiring harness can occasionally get brittle or chafe near the exhaust manifold, even without the extreme heat of turbos.
Symptoms You May Notice
- Check Engine Light is on
- Decreased fuel economy
- Rough idle, especially on cold starts
- Failure to pass an emissions test
- Noticeable smell of gasoline from the exhaust due to a rich fuel mixture
- Replacing the oxygen sensor without first checking Fuse #76. If a blown fuse is the only issue, the new sensor will not fix the problem and the fuse may blow again if the old sensor caused a short.
- Replacing the wrong oxygen sensor. P0031 is specific to Bank 1 (passenger side) and Sensor 1 (upstream/pre-catalyst). Do not replace the driver's side (Bank 2) or downstream (Sensor 2) sensors.
- Assuming a code means the part is bad without testing. A wiring or fuse issue can set a code for a perfectly good sensor.
Most Likely Causes
- Failed Bank 1, Sensor 1 Oxygen Sensor 🔴 High Probability → Shop Oxygen Sensor The internal heater element within the oxygen sensor has a finite lifespan and can burn out or short internally after many heat cycles, typically after 80,000-100,000 miles.
How to confirm: After confirming the fuse and wiring are intact, test the resistance of the heater circuit pins on the sensor itself using a multimeter. A good sensor typically reads between 3-30 Ohms. A reading of near zero (short) or infinite (open/OL) confirms the sensor is bad. The heater pins are usually the two same-colored wires on the sensor's pigtail.
Typical fix: Replace the Bank 1, Sensor 1 (passenger side, upstream) oxygen sensor. A 22mm or 7/8" slotted oxygen sensor socket is highly recommended for removal and installation.
Est. part cost: $50-$120 - Blown Fuse 🟡 Medium Probability A short circuit in the sensor's heater element or its wiring can cause the corresponding fuse to blow as a protective measure. This is a common occurrence when the sensor fails internally.
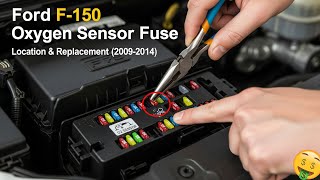
How to confirm: Check the fuse for the oxygen sensor heater circuit in the under-hood fuse box (Battery Junction Box). On 2011-2014 F-150s, this is Fuse #76, a 15A mini fuse. 🎬 See how to locate and replace the O2 sensor fuse. Visually inspect the fuse to see if the filament is broken or test for continuity with a multimeter.
Typical fix: Replace the blown fuse. If the new fuse blows immediately, a persistent short circuit exists in the wiring or the sensor that must be found and repaired before proceeding. Do not install a larger fuse.
Est. part cost: $1-$5 - Damaged Wiring or Connector ⚪ Low Probability
How to confirm: Visually inspect the wiring harness leading to the Bank 1 Sensor 1. Look for any signs of melting, chafing against the engine block or frame, or corrosion in the connector pins. Pay close attention to the area where the harness runs near the hot exhaust manifold. Perform a continuity test on the heater circuit wires from the PCM connector to the sensor connector to check for breaks.
Typical fix: Repair the damaged section of the wire harness or clean/replace the connector. Sourcing a connector pigtail from a parts store or junkyard is a common repair if the connector itself is melted or damaged.
Est. part cost: $10-$50
Rare But Worth Checking
- Faulty Powertrain Control Module (PCM): This is extremely rare. The PCM should only be considered after all other possibilities, including the sensor, fuse, and wiring, have been definitively ruled out. A faulty PCM driver for the heater circuit would be the cause. Advanced diagnostics using a tool like FORScan to command the heater on/off can help isolate a PCM issue.
Diagnosis Steps
- Read codes with an OBD-II scanner to confirm P0031 is the active code.
- Check the Fuse First: Open the under-hood fuse box (Battery Junction Box) and inspect Fuse #76 (15A). This is the easiest and cheapest potential fix and a very common point of failure.
- Inspect Wiring: If the fuse is good, locate the Bank 1, Sensor 1 oxygen sensor on the passenger side exhaust manifold. Trace its wiring harness as far as you can, looking for obvious signs of melting, chafing, or damage. Check that the connector is secure and free of corrosion.
- Test the Sensor: Disconnect the sensor. Using a multimeter set to Ohms, measure the resistance between the two heater pins on the sensor side (they are often the two same-colored wires, e.g., two white wires). A good sensor should have a resistance between 3 and 30 Ohms. An infinite reading (OL) or a reading near zero indicates a failed sensor.
- Test the Circuit: If the sensor tests good, check the harness-side connector. With the key on and engine off, use a multimeter to verify there is battery voltage (approx. 12V) on the heater power wire (typically Violet/Orange). The other wire (typically White/Brown) is the control wire, which the PCM pulses to ground to activate the heater.
- Replace the Component: Based on your findings, replace the failed oxygen sensor, repair the wiring, or replace the fuse. After replacement, clear the codes and perform a drive cycle.
Parts You'll Likely Need
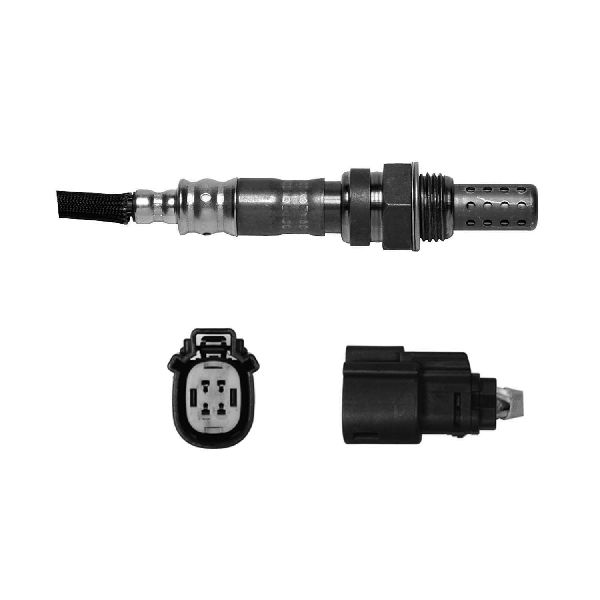
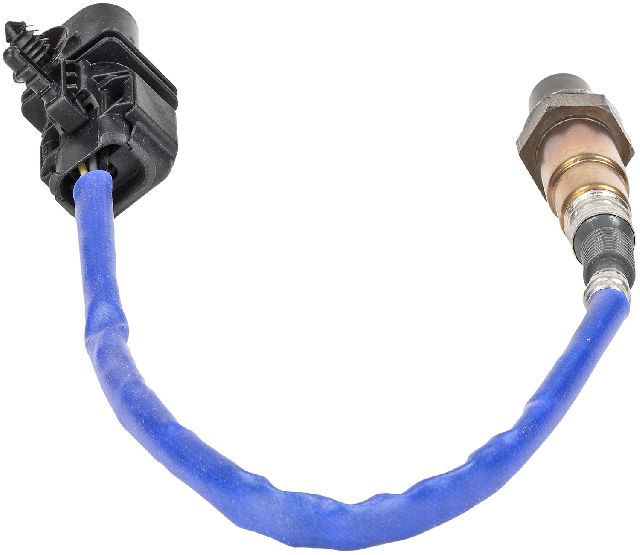
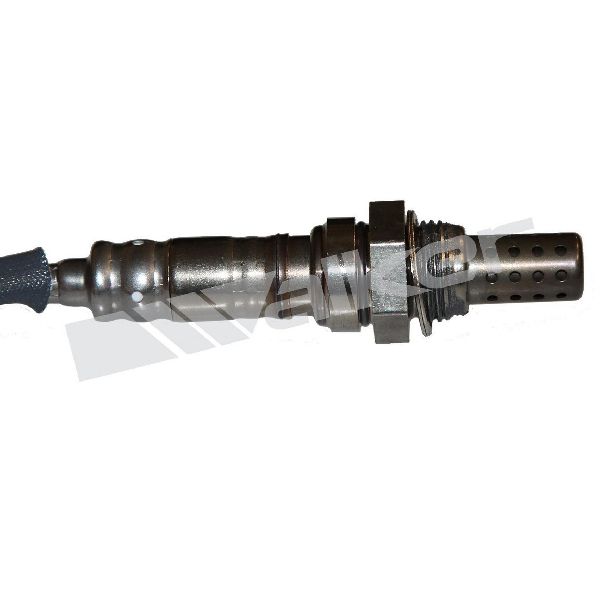
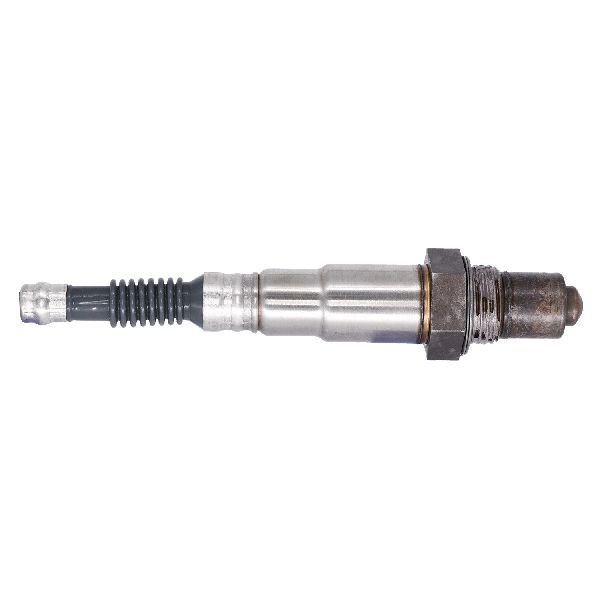
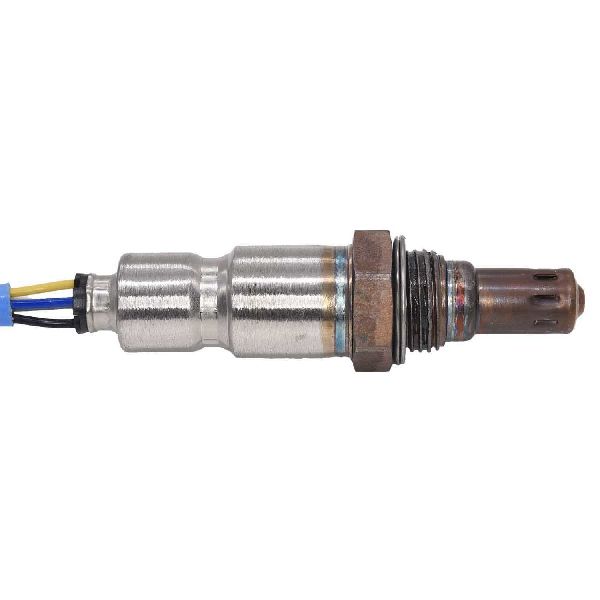
- Upstream Oxygen Sensor (Bank 1, Sensor 1)
(OEM #8F9A-9Y460-GA)— The internal heater element is the most common failure point for this code. This is the passenger side, pre-catalytic converter sensor.
Trusted brands: Motorcraft, Bosch (e.g., 17025), Denso, NTK
OEM price range: $90-$150
Aftermarket price range: $50-$120
Related Codes That Often Appear With This One
- P0135 — This is the generic OBD-II code for 'O2 Sensor Heater Circuit Malfunction (Bank 1 Sensor 1)'. P0031 is a more specific version of this fault, and some scanners may show both.
- P0051 — This is the same 'Heater Control Circuit Low' code but for Bank 2 (driver's side). If P0031 and P0051 appear together, it almost certainly points to a shared power problem, like a single blown fuse (Fuse #76) that controls both sensor heaters, not two failed sensors.
Platform-Specific Known Issues
- Real-World Repair Story: Fuse #76: A user on f150forum.com with a 2012 5.0L reported getting both P0031 and P0051 codes simultaneously. Following advice, they checked the under-hood fuse box and found that fuse #76 (15A), which powers the heaters for both upstream O2 sensors, was blown. Replacing the fuse cleared both codes, preventing the unnecessary replacement of two oxygen sensors. 🎬 Watch this quick video to find your O2 sensor fuse.
- Accessing the Sensor: Multiple owners confirm that while the sensor is visible from the top of the engine bay, getting a tool on it is difficult. The most common and successful method involves jacking up the passenger side, removing the front wheel, and pulling back the plastic inner fender liner to gain direct access to the sensor on the exhaust manifold. This makes applying torque with an O2 sensor socket much easier. 🎬 Watch: Step-by-step guide to replacing the upstream O2 sensors.
Mechanic-Grade Diagnostic Values
- O2 Sensor Heater Element Resistance — expected: 3 to 30 Ohms at ambient temperature. Failure: A reading of infinity/OL (Open Loop) or near 0 Ohms (short circuit) indicates a failed heater element.
- Heater Circuit Power Supply Voltage (KOEO) — expected: 11V - 12V+ (Battery Voltage) at the power supply pin (VT-OG wire) on the harness-side connector.. Failure: No voltage or significantly low voltage indicates a problem with Fuse 76 or the wiring from the fuse box.
- Heater Control Circuit Voltage (KOEO) — expected: Approx. 12V at the control pin (WH-BN wire) on the harness-side connector. The PCM supplies a ground to this circuit to activate it, so voltage should be present when it's inactive.. Failure: 0V could indicate a short to ground in the harness or a PCM that is stuck 'on'.
- Scan Tool PID: HO2SHTR11 — expected: A duty cycle percentage (e.g., 0-100%) that is active during cold start and then cycles as needed.. Failure: A value of 0% when the heater should be active, or a fault flag associated with the PID, points to a circuit or PCM issue.
Hidden / Shadow Codes Worth Checking
- Mode $06, TID $81: Mode $06 provides access to the results of the PCM's self-tests. Test ID (TID) $81 often corresponds to the O2 Sensor Heater test for Bank 1, Sensor 1. A failing value here can indicate a marginal heater that hasn't yet triggered a persistent P0031 code. (see via An advanced scan tool capable of displaying Mode $06 data.)
Scan Tool Commands That Help
- FORScan / Ford IDS: On-Demand Self-Test (ODST) or KOER/KOEO tests — This forces the PCM to run a comprehensive check of all sensors and circuits, including the O2 heater. It can quickly confirm if the fault is currently present after a repair or during intermittent fault diagnosis.
- FORScan / Ford IDS: Active Command: O2 Heater Duty Cycle (e.g., HO2SHTR11) — Allows a technician to manually command the heater circuit on (e.g., to 50%). This is used to verify the PCM driver is working and that the wiring can carry a load. While commanding it on, you can check for a voltage drop at the sensor connector to confirm the entire circuit is intact.
Wiring & Ground Locations
- PCM Connector C175B, Pin 11 — C175B is the largest of the three main PCM connectors, located on the passenger side firewall.. This specific pin is the termination point for the heater control wire (typically White/Brown) from the Bank 1, Sensor 1 O2 sensor. Testing for continuity between this pin and the sensor connector pin is the definitive way to rule out a wiring break.
- G104 — Passenger side of the engine bay, on the front of the engine block or nearby frame rail.. This is a primary engine ground. While a failure here would likely cause multiple codes, a corroded or loose G104 can create intermittent and strange electrical issues, including sensor faults. Cleaning this ground is a good practice when diagnosing any electrical code on this platform.
- BJB Fuse 76 (15A) — In the Battery Junction Box (the main fuse box) under the hood.. This fuse provides the 12V power for the heater elements of BOTH upstream oxygen sensors (Bank 1 and Bank 2). It is the first place to check, especially if codes for both banks (P0031 and P0051) are present.
Real Owner Repair Stories
- f150forum.com user report (2011 F-150 5.0L) — Persistent P0031 code, Check Engine Light.
❌ Tried (didn't work) Replacing the Bank 1 Sensor 1 oxygen sensor
✅ What actually fixed it The wiring harness for the O2 sensor had rubbed against the frame rail, wearing through the insulation on the heater control wire and causing an intermittent short to ground. The fix was to repair the damaged section of wire and re-route the harness slightly to prevent future chafing.
OEM Part Supersession History
8F9A-9Y460-GA (Engineering Number)→Motorcraft DY-1153 (Service Part Number)— Standard engineering-to-service part number conversion.
Heads up: While other sensors may physically fit, using non-OEM or cheap aftermarket sensors can sometimes lead to persistent codes due to incorrect heater resistance values. Sticking with Motorcraft, NTK, or Bosch is highly recommended.
Model Year Variations Within This Range
- 2011-2012 vs 2013-2014: There are different part numbers for the main engine wiring harness between 2011-2012 and 2013-2014 models. While the O2 sensor circuit itself, including wire colors and pinouts, is believed to be the same, this difference could affect harness repair or replacement if a larger section is damaged.
Diagnostic Flowchart
Other Known Issues on This Vehicle
Issues unrelated to this code that are worth knowing about as an owner of this generation:
- Upper Radiator Hose T-Connector Coolant Leak 🟠 Medium — Very common. The plastic connector becomes brittle and the O-rings fail, typically causing a slow leak noticeable when the engine is cold. Often occurs after 60,000 miles.
- 6R80 Transmission Molded Lead Frame Failure 🔴 High — Common on 2011-2013 models. Can cause sudden downshifting to 1st or 5th gear, loss of speedometer, and various warning lights. The output speed sensor (OSS) within the lead frame fails. (Ref: TSB 16-0008 (supersedes earlier versions) addresses this by calling for the replacement of the molded leadframe (Part AL3Z-7G276-B).)
- Electronic Throttle Body (ETB) Failure 🟠 Medium — Can occur intermittently, causing the truck to enter 'limp mode' with no throttle response, often accompanied by a wrench light. May be caused by internal electronic failure. (Ref: While TSBs exist for other engines (like 16-0139 for the 3.5L EcoBoost), the issue is also reported by 5.0L owners.)
- Abnormal Intake Valve Wear (Early Models) 🔴 High — Primarily affects 2011-2012 models. Excessive wear on intake valve faces can lead to loss of compression and misfires, often requiring cylinder head removal and valve replacement.
- Fuel Pump Fuse #27 Relocation 🟡 Low — The original 20A micro-fuse in position 27 of the under-hood fuse box can overheat and melt the fuse box housing, causing a crank-no-start condition. It is a well-documented issue across many F-150 engines of this generation. (Ref: TSB 15-0137 describes the issue and a common fix is installing a fuse relocation kit.)
Used vs. New Parts: Buying Guide for This Vehicle
When a used part is the smart pick: For this repair, a used part is almost never a smart choice. The only exception might be sourcing a used wiring harness connector pigtail from a junkyard if the original is melted or physically damaged.
Donor-vehicle mileage cap: roughly under 150000 miles for the part to have meaningful remaining life.
What to inspect on the donor part:
- For a connector pigtail, ensure the plastic isn't brittle, the locking tab is intact, and there's no sign of corrosion on the pins.
- Ensure there is at least 6 inches of wire attached to the connector for easier splicing.
OEM-only on this vehicle (don't cheap out):
- While not strictly 'OEM-only', it is strongly advised to avoid unbranded, 'white-box' oxygen sensors. Their heater elements often have incorrect resistance values or fail prematurely.
Aftermarket brands forum-validated for this vehicle:
- NTK (NGK)
- Bosch
- Denso
Brands owners have reported issues with on this vehicle:
- Unbranded sensors from online marketplaces like eBay or Amazon are frequently reported by owners to be dead-on-arrival or fail within a few months.
Real Owner Stories
Aggregated from forums and TSBs cited above. Mileages and costs reflect what owners reported in those sources.
2012 Ford F-150 5.0L V8
Symptoms: Getting both P0031 and P0051 codes simultaneously.
What fixed it: Checked the under-hood fuse box and found that fuse #76 (15A) was blown. Replacing the fuse cleared both codes.
Source hint: f150forum.com thread mentioned in vehicle_specific_issues
2009 Ford F-150
Symptoms: Slow sensor response as the sensors aged, even before a code was set.
What fixed it: Replacing O2 sensors with Bosch widebands to restore peak performance and efficiency.
Source hint: https://www.f150forum.com/f38/why-bosch-wideband-02-sensors-466388/
Related OBD-II Codes
Frequently Asked Questions
Where is the Bank 1 Sensor 1 oxygen sensor located on my 2011-2014 F-150 5.0L?
Which fuse should I check for a P0031 code on my 2012 F-150 5.0L?
What is the easiest way to access the passenger side upstream O2 sensor for replacement?
What resistance should I see when testing the heater circuit on a new sensor?
My truck has a crank-no-start issue and a melted fuse box; is this related to P0031?
Can I use a standard deep-well socket to remove the sensor?
Helpful Videos

We Have This Part in Stock


The information in this article is provided for general reference and educational purposes only. Vehicle specifications, procedures, and part compatibility can vary by production date, trim level, and region. Always consult your vehicle's factory service manual and verify part numbers before purchasing or performing repairs. Safety-critical components such as airbags, seat belts, and braking systems should be installed by a qualified professional.
- Ford F-150:
- 🧭 Diagnostic Flowchart
- 🎬 Helpful Videos
- 🛍️ Shop This Part
- What's Unique About the 2011-2014 Ford F-150
- Symptoms You May Notice
- Most Likely Causes
- Rare But Worth Checking
- Diagnosis Steps
- Parts You'll Likely Need
- Related Codes That Often Appear With This One
- Platform-Specific Known Issues
- Mechanic-Grade Diagnostic Values
- Hidden / Shadow Codes Worth Checking
- Scan Tool Commands That Help
- Wiring & Ground Locations
- Real Owner Repair Stories
- OEM Part Supersession History
- Model Year Variations Within This Range
- Other Known Issues on This Vehicle
- Used vs. New Parts: Buying Guide for This Vehicle
- Real Owner Stories
- 2012 Ford F-150 5.0L V8
- 2009 Ford F-150
- Related OBD-II Codes
- Frequently Asked Questions
- 🎟️ Get 5% Off