
P0061 on 2013-2016 Land Rover Range Rover: HO2S Heater Resistance Fixes
This code indicates a fault in the heater circuit of the Bank 2, Sensor 3 oxygen sensor. The most common cause on these Range Rovers is a failed sensor, often due to a known manufacturing defect. Replacing the sensor is the typical fix. In some cases, a PCM software update may be required after replacement.
- P0061 on a 2013-2016 Range Rover almost always points to a failed Bank 2, Sensor 3 oxygen sensor.
- This is a known issue backed by multiple Land Rover TSBs, which cite a manufacturing defect in the sensors.
- Diagnosis is straightforward: test the resistance of the sensor's heater circuit. If it's out of spec, replace the sensor.
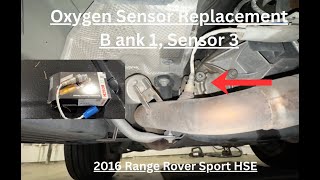
- The sensor is located on the driver's side exhaust, near the transfer case.
- While wiring or fuse issues are possible, they are much less likely to be the cause on this specific vehicle.
What's Unique About the 2013-2016 Land Rover RANGE ROVER
For the 2013-2016 (L405) Range Rover and its platform mates with the AJ126 V6 and AJ133 V8 engines, this code is frequently linked to a known quality issue with the oxygen sensors themselves. Land Rover issued several Technical Service Bulletins (TSBs) acknowledging that a 'manufacturing fault at the supplier' and 'parts quality issue' led to a high rate of sensor failures. [SSM72556, SSM63157] This means that unlike in many other vehicles where wiring might be a common culprit, on this specific platform, the sensor itself is the most probable cause of the fault. Some TSBs also call for a PCM software update after sensor replacement to prevent recurrence.
Diagnostic Flowchart
Tap your situation to follow the diagnostic path that matches what you're seeing on this vehicle.
Symptoms You May Notice
- Check Engine Light is on
- Vehicle fails emissions/smog test
- Slightly decreased fuel economy
- Black smoke from exhaust on cold starts (rich condition)
- Rough idle or hesitation on cold starts
- Delayed engine start-ups
- Replacing the wrong oxygen sensor. These vehicles have multiple sensors (up to six on the V8 SC). 🎬 Watch this complete guide to replacing all six sensors. It is critical to correctly identify Bank 2 (driver's side in the US) and Sensor 3 (the rearmost, post-catalyst sensor).
- Using incorrect or low-quality aftermarket sensors. A Reddit user reported getting heater resistance codes immediately after replacing sensors with non-OEM parts, suggesting the vehicle is sensitive to the specific resistance of the original equipment.
- Forgetting to update the PCM software. Some TSBs indicate that a software update is necessary after sensor replacement to fully resolve the issue and prevent it from recurring.
Most Likely Causes
- Faulty Bank 2, Sensor 3 Oxygen Sensor 🔴 High Probability → Shop Oxygen Sensor Multiple manufacturer TSBs (SSM72556, SSM63157) point to a 'parts quality issue' and 'manufacturing fault at the supplier' causing premature failure of the sensor's internal heater element. [SSM72556, SSM63157] This is a widely acknowledged weakness on this JLR engine platform.
How to confirm: Disconnect the sensor and use a multimeter to test the resistance across the two heater circuit pins. An open circuit (infinite resistance) or a reading outside the manufacturer's specified range (typically 5-15 Ohms, with some sources suggesting a tighter range of 5-7 Ohms for a good sensor) confirms a failed heater element.
Typical fix: Replace the Bank 2, Sensor 3 oxygen sensor. It is also recommended to check for and perform any related PCM software updates as per TSBs like LTB00671NAS6 to prevent the issue from returning.
Est. part cost: $50-$150 - Damaged Wiring or Connector ⚪ Low Probability The wiring is routed near the hot exhaust and rotating driveshaft, making it susceptible to melting, chafing, or corrosion. However, TSB SSM72448 notes that often no fault is found with the wiring, pointing back to the sensor. [SSM72448]
How to confirm: Visually inspect the wiring harness and connector for the sensor, looking for any signs of burns, breaks, or corrosion. Perform a voltage and ground check at the connector with the ignition on. You should see battery voltage at the heater power wire.
Typical fix: Repair or replace the damaged section of the wiring harness or the connector.
Est. part cost: $10-$50 - Blown Fuse ⚪ Low Probability
How to confirm: Locate and test the fuse for the oxygen sensor heater circuit in the vehicle's fuse box. Consult the owner's manual for the specific fuse location.
Typical fix: Replace the blown fuse. If it blows again, a short circuit in the wiring or sensor is likely.
Est. part cost: $1-$5
Rare But Worth Checking
- Faulty Engine Control Module (ECM): → Shop Engine Control Module (ECM) This is very rare. The ECM's internal driver for the heater circuit can fail, but this should only be considered after the sensor, wiring, and fuses have been thoroughly tested and ruled out.
- ECM Software Error: TSB JTB00497NAS6 for related Jaguar models indicates that a software error can cause various post-catalyst HO2S codes, including P0061. The fix is to replace the affected sensor and then update the PCM software. This suggests the logic for monitoring the sensor can be faulty.
Diagnosis Steps
- Read the trouble codes with an OBD-II scanner to confirm P0061 is present.
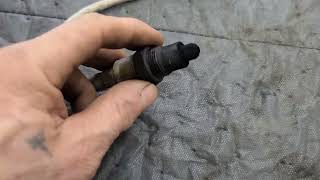
- Visually inspect the Bank 2, Sensor 3 oxygen sensor, which is located on the driver's side exhaust pipe, near the transfer case, 🎬 See exactly where Bank 2 Sensor 3 is located. after the rearmost catalytic converter. Check its wiring harness and connector for any signs of melting, chafing, or corrosion.
- Check the fuse for the oxygen sensor heater circuit. Consult the vehicle's service manual or fuse box diagram for its location.
- If the fuse and wiring appear intact, disconnect the sensor's electrical connector.
- Use a multimeter set to Ohms (Ω) to measure the resistance between the two heater pins on the sensor side of the connector. A reading of infinite resistance (open loop) or a value significantly outside the typical 5-15 Ohm range indicates a failed heater element.
- If the sensor resistance is good, test for battery voltage and a good ground at the vehicle-side harness connector with the ignition on. Lack of voltage or ground points to a wiring, fuse, or ECM issue.
- If the sensor's heater circuit has failed the resistance test, replacement of the sensor is necessary.
- After replacement, clear the codes and perform a drive cycle. Check if a PCM software update is recommended by relevant TSBs (e.g., LTB00671NAS6) to prevent recurrence.
Parts You'll Likely Need
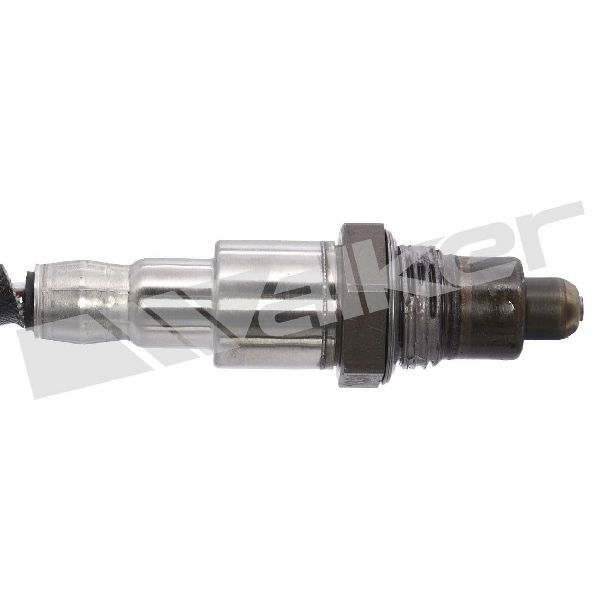
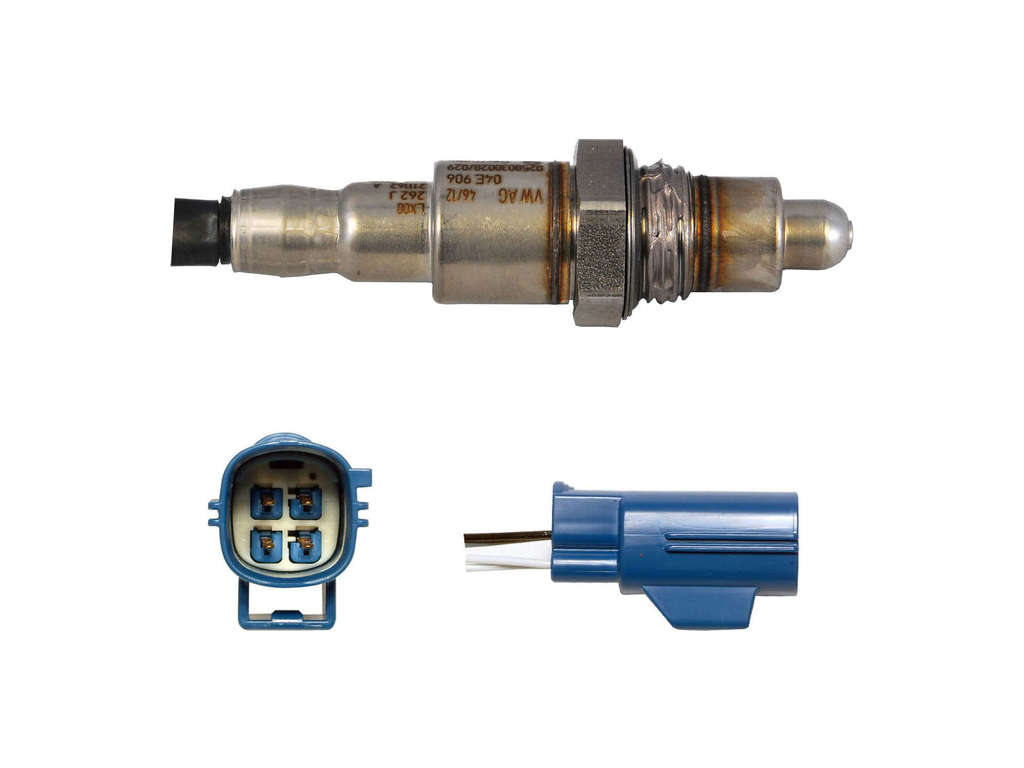
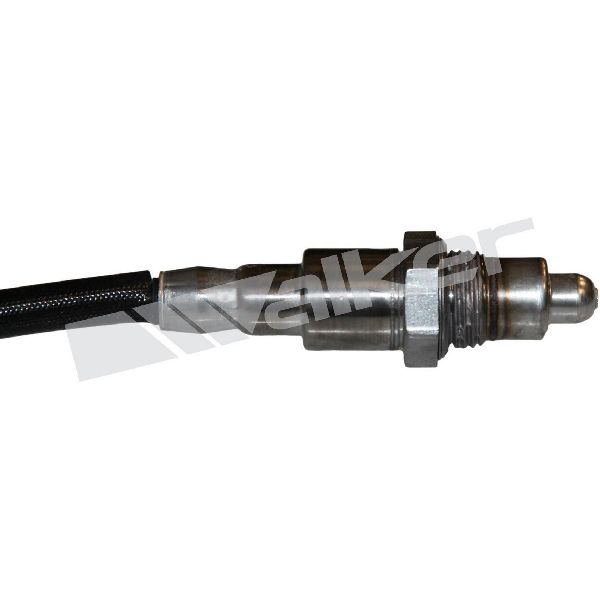
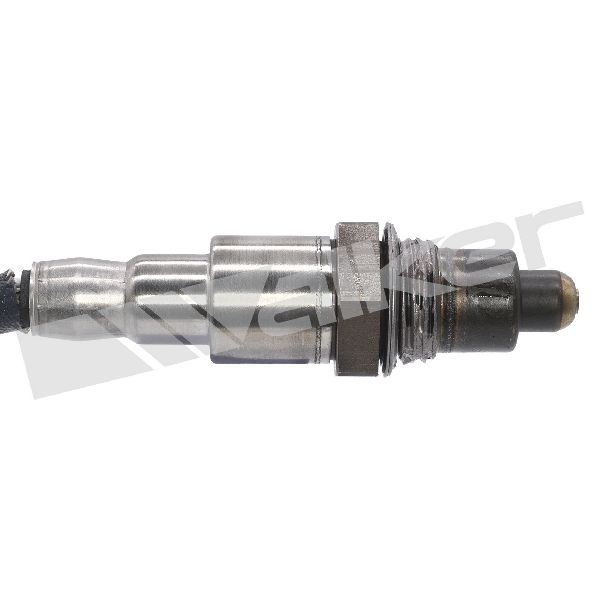
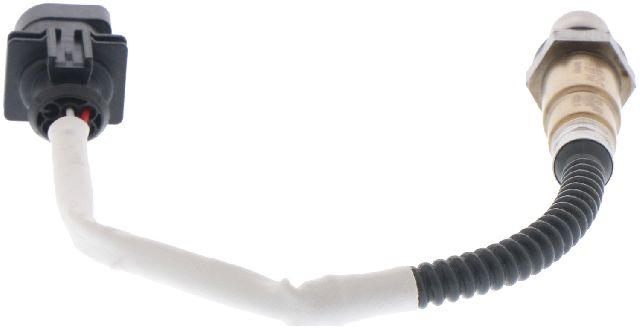
- Oxygen Sensor (Bank 2, Sensor 3)
(OEM #LR140073)— This is the component that contains the heater element that fails, triggering the P0061 code. Due to the known manufacturing defects cited in TSBs, this part has a high failure rate on this platform. [SSM72556, SSM63157]
Trusted brands: Bosch (e.g., 16035 for some applications), NGK, Denso, Genuine Land Rover
OEM price range: $120-$180
Aftermarket price range: $60-$110
Related Codes That Often Appear With This One
- P0062 — This code relates to the heater control circuit for the same sensor (Bank 2, Sensor 3). They often appear together as they both point to a malfunction in the same component or its circuit.
- P0162 — This code indicates a malfunction in the signal circuit (not the heater) of the same Bank 2, Sensor 3. It's common to see both heater and signal circuit codes when a sensor fails internally, as noted in TSB LTB00671NAS3. [LTB00671NAS3]
- P0042 — This code is for the Bank 1, Sensor 3 heater circuit. It's common for these sensors to fail around the same time due to the widespread manufacturing defect mentioned in TSBs.
- P0055 — This is the corresponding heater resistance code for Bank 1, Sensor 3. It is common for sensors on both banks to fail around the same time due to the manufacturing defect.
Technical Service Bulletins (TSBs) & Recalls
- SSM72556: Notes P0061 is likely caused by a parts quality issue.
- LTB00671NAS3: Lists P0061 among many other post-catalyst oxygen sensor DTCs.
- SSM63157: Cites a manufacturing fault within the sensor as the cause.
- SSM72448: Confirms that diagnosis often reveals no fault with wiring, pointing to the sensor itself as the problem.
- JTB00497NAS6: A TSB for Jaguar platform-mates that recommends a software update after sensor replacement for a group of HO2S codes including P0061.
Platform-Specific Known Issues
- TSB #SSM72556 explicitly states that P0061 is likely caused by a 'parts quality issue' with the HO2S sensor.
- TSB #SSM63157 describes the root cause as a 'manufacturing fault at the supplier' leading to misalignment and stress on the sensor's internal ceramic element, causing it to fail.
- TSB #LTB00671NAS3 and #SSM72448 group P0061 with a long list of other oxygen sensor codes, indicating a widespread problem with these components across the model years.
- TSB #JTB00497NAS6, for sibling Jaguar models with the same engines, recommends replacing the affected sensor and then performing a PCM software update, suggesting a combined hardware and software fix may be necessary.
Mechanic-Grade Diagnostic Values
- O2 Sensor Heater Element Resistance — expected: 5 to 7 Ohms when cold. Some general sources cite up to 15 or 20 Ohms, but tighter specs are more reliable.. Failure: An open circuit (infinite resistance, or 'OL' on a multimeter) or a reading significantly higher than the expected range indicates a failed heater element.
- Heater Circuit Voltage Drop — expected: Less than 0.5 Volts.. Failure: A reading above 0.5 Volts indicates excessive resistance in the wiring or connectors, which could be caused by corrosion or a damaged wire.
- Heater Circuit Power Supply — expected: Battery voltage (approx. 12V) at the power supply pin on the harness-side connector with the key on, engine off.. Failure: No voltage or low voltage points to a problem upstream of the sensor, such as a blown fuse or a break in the power wire.
Scan Tool Commands That Help
- Land Rover SDD (Symptom Driven Diagnostics): Configure existing module - Powertrain control module — After replacing a faulty oxygen sensor, some TSBs for the JLR platform recommend running this function. It ensures the ECM software is updated and adapted to the new component, which can prevent the code from returning.
Wiring & Ground Locations
- B2S3 Heater Circuit Wires — Within the 4-wire connector for the Bank 2, Sensor 3 oxygen sensor.. The two wires for the heater circuit are typically the same color. Measuring resistance between these two pins on the sensor side is the primary method for confirming a failed heater element.
- Engine/Chassis Ground Straps — Key ground points include from the battery negative terminal to the chassis/inner fender, from the engine block to the chassis (often near the starter), and from the cylinder head to the firewall.. While not a primary cause, a corroded or loose main engine ground strap can cause a variety of strange electrical issues, including erratic sensor readings or fault codes. Ensuring these are clean and tight is a good practice during diagnosis.
Real Owner Repair Stories
- Reddit r/RangeRover (2016 Range Rover V8 Supercharged) — Check Engine Light with codes P0061 (B2S3 Heater Resistance) and P0055 (B1S3 Heater Resistance).
❌ Tried (didn't work) The user initially had a shop replace both Bank 1 Sensor 3 and Bank 2 Sensor 3 with aftermarket (non-OEM) sensors.
✅ What actually fixed it The codes returned immediately after the initial repair. The user noted that the vehicle is very sensitive to the specific resistance of the oxygen sensors. The implied fix, though not explicitly stated as completed, was to use Genuine Land Rover or OEM Bosch sensors instead of the aftermarket parts that caused the immediate recurrence of the heater codes.
OEM Part Supersession History
LR098287, LR062826→LR140073— The earlier part numbers were associated with the manufacturing defect and high failure rates described in TSBs like SSM63157. The supersession to LR140073 was likely to introduce a revised, more robust part to address the quality issues.
Heads up: While physically interchangeable, installing an older stock sensor with a pre-2013 date code will likely lead to premature failure. It is critical to use the latest part number (LR140073) or a quality OEM equivalent like Bosch.
Model Year Variations Within This Range
- 2013: According to TSB SSM63157, early production 2013 models (before VIN LG110038) were fitted with oxygen sensors prone to a specific manufacturing fault. The TSB advises that when replacing these, technicians should ensure the new part has a date code of '12th December 2012 or later' to prevent a repeat failure.
Helpful Videos


We Have This Part in Stock


The information in this article is provided for general reference and educational purposes only. Vehicle specifications, procedures, and part compatibility can vary by production date, trim level, and region. Always consult your vehicle's factory service manual and verify part numbers before purchasing or performing repairs. Safety-critical components such as airbags, seat belts, and braking systems should be installed by a qualified professional.
- Land Rover RANGE ROVER:
- 🧭 Diagnostic Flowchart
- 🎬 Helpful Videos
- 🛍️ Shop This Part
- What's Unique About the 2013-2016 Land Rover RANGE ROVER
- Symptoms You May Notice
- Most Likely Causes
- Rare But Worth Checking
- Diagnosis Steps
- Parts You'll Likely Need
- Related Codes That Often Appear With This One
- Technical Service Bulletins (TSBs) & Recalls
- Platform-Specific Known Issues
- Mechanic-Grade Diagnostic Values
- Scan Tool Commands That Help
- Wiring & Ground Locations
- Real Owner Repair Stories
- OEM Part Supersession History
- Model Year Variations Within This Range
- 🎟️ Get 5% Off