
P0101 on 2014-2017 Cadillac CTS: MAF Performance, Causes, and Fixes
On a 2014-2017 Cadillac CTS, code P0101 is often caused by a dirty Mass Airflow (MAF) sensor or an air leak in the intake system. A common, well-documented issue is casting flash inside the air duct near the MAF sensor or a bad O-ring on the charge air cooler pipe on 2.0T models. Cleaning the sensor or inspecting these specific areas is the most likely fix. Before replacing the sensor, always check for these specific, known issues first.
- Before replacing any parts for a P0101 code, first inspect and clean the Mass Airflow (MAF) sensor with a dedicated cleaner.
- On the 2014-2017 CTS, check for two known issues: excess plastic 'casting flash' inside the intake tube near the MAF, and (on 2.0T engines) a bad O-ring on the charge air cooler pipe.
- A smoke test is the most reliable way to find hidden air leaks in the intake system, which are a common cause of this code.
- P0101 is frequently accompanied by other codes like P0171 (System Lean) or P1101 (Intake Air Flow Performance), which reinforce the diagnosis of an unmetered air leak or faulty MAF reading.
What's Unique About the 2014-2017 Cadillac CTS
For the third-generation Cadillac CTS, particularly those with the 2.0L Turbo (LTG) engine, P0101 is frequently linked to specific manufacturing and design issues. GM has issued technical service bulletins that point to problems like a missing or damaged O-ring seal on the charge air cooler coupler (TSB PIP5402A/E) and excess plastic 'casting flash' inside the air intake tube near the MAF sensor (TSB PIP5446A). These issues create air leaks or turbulence that the MAF sensor cannot correctly interpret, making them a more common cause than a simple failed sensor. These TSBs apply to a wide range of GM vehicles using the same engine.
Diagnostic Flowchart
Tap your situation to follow the diagnostic path that matches what you're seeing on this vehicle.
Symptoms You May Notice
- Check Engine Light is on
- Rough or unstable idle
- Engine hesitation or sputtering, especially on acceleration
- Reduced engine power or sluggish performance
- Poor fuel economy
- Harsh shifting between gears
- Black smoke from the exhaust
- "Reduced Engine Power" message on the dash
- Replacing the MAF sensor without first cleaning it or checking for air leaks. A dirty sensor or a vacuum leak from the specific TSB-related issues are more common and cheaper to fix.
Most Likely Causes
- Casting Flash in MAF Sensor Area 🔴 High Probability → Shop Fuel Injection Air Flow Meter A specific manufacturing defect noted in TSB #PIP5446A where excess plastic molding (casting flash) is present in the air filter housing or outlet duct, disrupting airflow across the MAF sensor. This creates turbulence and causes inaccurate readings.
How to confirm: Visually inspect the inside of the air intake ducting where the MAF sensor is mounted. Look for any rough or excess plastic material that could interfere with smooth airflow. The TSB shows images of this flash for reference.
Typical fix: Carefully remove the excess plastic flashing with a deburring tool or file. GM's official fix is to replace the air cleaner assembly/lid and inspect the new part for flash before installation. Cleaning any debris before reinstalling the MAF sensor is critical.
Est. part cost: $0 - $150 (if replacing the air cleaner housing) - Missing or Damaged Charge Air Cooler (CAC) Coupler O-Ring (2.0L Turbo Engine) 🔴 High Probability → Shop Intercooler This is a known issue on the 2.0L LTG engine, documented in GM TSB PIP5402A and its revisions (e.g., PIP5402E). The seal at the charge air cooler inlet duct on the passenger side can be dislodged, damaged, or may have been missing from the factory, creating an unmetered air leak after the MAF sensor.
How to confirm: Perform a smoke test on the intake system to check for leaks, as recommended in TSB PIP5402E. Visually inspect the O-ring at the charge air cooler inlet duct on the passenger side of the vehicle. The TSB includes a picture pointing to the exact location of the O-ring.
Typical fix: Replace the damaged or missing O-ring seal and ensure the coupler is securely reinstalled. A potential OEM part number for a similar seal is GM 12640401.
Est. part cost: $10-$30 - Dirty or Contaminated MAF Sensor 🟡 Medium Probability → Shop Fuel Injection Air Flow Meter Oil vapors from the PCV system or fine dust that gets past the air filter can coat the sensor's delicate hot wire, causing inaccurate readings. This is a common issue on many modern vehicles.
How to confirm: Remove the MAF sensor (held by two T20 Torx screws) and visually inspect the small wires inside. If they appear dirty or coated, they need cleaning.
Typical fix: Clean the sensor using a dedicated Mass Airflow Sensor cleaner spray. Never touch the wires. Allow it to dry completely before reinstalling. If cleaning doesn't resolve the issue, the sensor may have failed.
Est. part cost: $10-$15 for cleaner - Vacuum Leak ⚪ Low Probability Any unmetered air that enters the engine after the MAF sensor will cause the sensor's readings to conflict with the actual amount of air entering the cylinders. This can come from cracked hoses or bad gaskets.
How to confirm: A smoke test is the most effective way to find leaks in intake hoses, gaskets, or the PCV system. You can also sometimes locate a leak by spraying carburetor cleaner near suspected areas and listening for a change in engine idle speed.
Typical fix: Replace the cracked hose, faulty gasket, or leaking component that is causing the vacuum leak.
Est. part cost: $10-$100
Rare But Worth Checking
- Faulty MAF Sensor: → Shop Fuel Injection Air Flow Meter While often suspected first, the sensor itself is less likely to fail than it is to be dirty or affected by an air leak. Only replace it after cleaning and checking for leaks has failed to solve the problem.
- Clogged Engine Air Filter: → Shop Air Cleaner Assembly A severely clogged air filter can restrict airflow enough to cause the MAF sensor readings to be out of the expected range. This is a simple and inexpensive check.
- Wiring or Connector Issue: Damaged wiring or a corroded connector for the MAF sensor can interrupt the signal to the ECM, triggering the code. Inspect the harness for any visible damage, loose pins, or corrosion.
- Clogged Catalytic Converter: In some GM vehicles, a clogged catalytic converter can restrict exhaust flow, which in turn limits intake airflow, causing the MAF to report readings outside the expected range. This is usually accompanied by a severe loss of power.
Diagnosis Steps
- Read the code with an OBD-II scanner and check for any other accompanying codes like P1101, P0171, or P0172.
- Visually inspect the air intake system for obvious cracks, loose hoses, or disconnected components.
- Inspect the engine air filter and replace if it is dirty or clogged.
- Remove the MAF sensor (T20 Torx screws). Inspect the air duct near the sensor for any plastic 'casting flash' as described in TSB #PIP5446A. Remove any flash if found.
- While the sensor is out, clean it using a dedicated MAF sensor cleaner spray. Do not touch the internal wires. Allow it to dry completely before reinstalling.
- If the vehicle has a 2.0L Turbo engine, inspect the charge air cooler coupler O-ring on the passenger side for damage or displacement as per TSB #PIP5402A/E.
- Perform a smoke test on the intake system to check for any hidden vacuum leaks. TSB PIP5402E specifically recommends this to find elusive leaks.
- Inspect the MAF sensor wiring harness and connector for damage, corrosion, or loose pins.
- If all other steps fail, test the MAF sensor's output with a multimeter or advanced scan tool to monitor live data. If it is confirmed to be faulty, replace the MAF sensor.
Parts You'll Likely Need
- Mass Air Flow Sensor Cleaner — Often, the sensor is just dirty and cleaning it is a simple, effective first step that can resolve the code.
Trusted brands: CRC, Liqui Moly
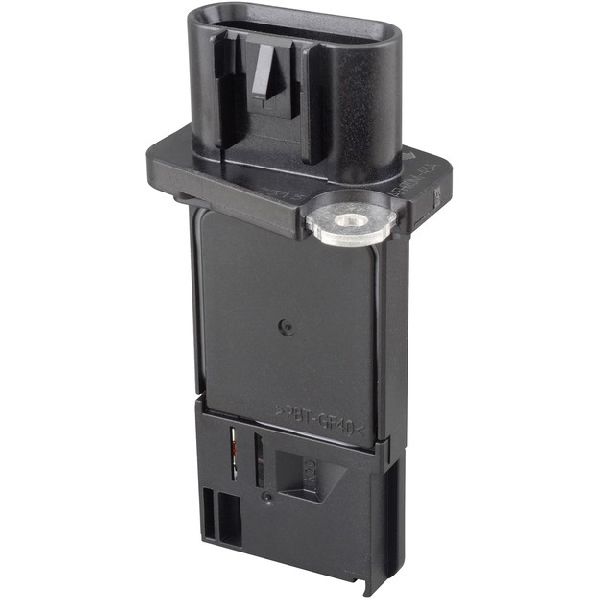
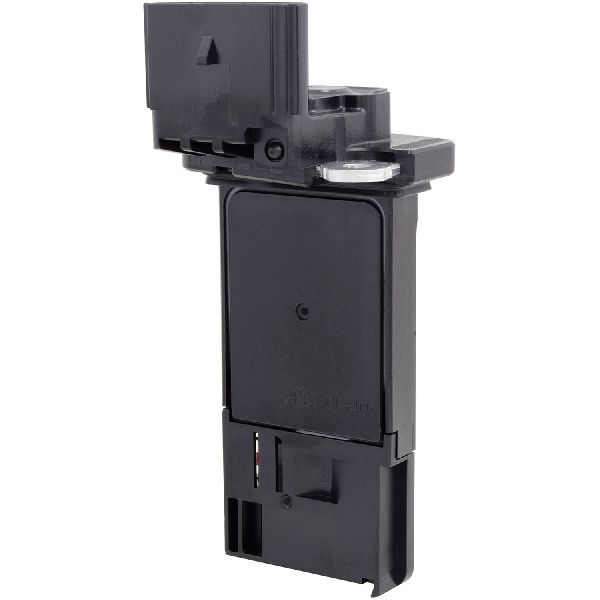
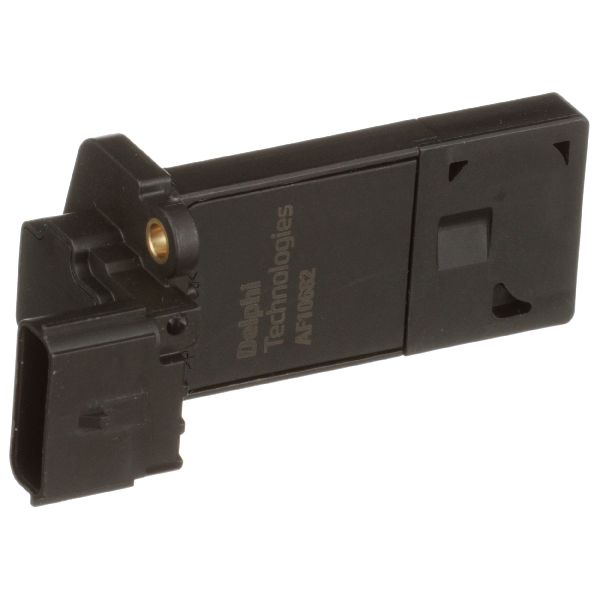
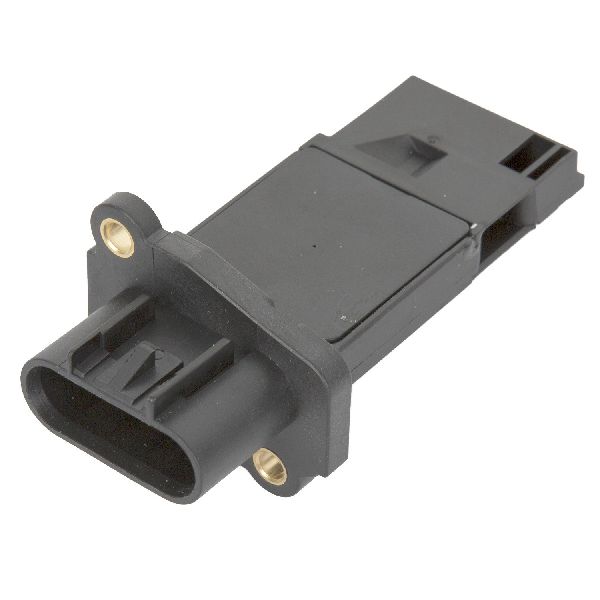
Aftermarket price range: $10-$15 - Mass Air Flow Sensor
(OEM #ACDelco 213-4222 / GM 23262344)— If cleaning the sensor and checking for air leaks doesn't fix the problem, the sensor itself may have failed.
Trusted brands: ACDelco, Delphi, GM Genuine Parts
OEM price range: $150-$250
Aftermarket price range: $70-$150 - Charge Air Cooler Coupler O-Ring
(OEM #GM 12640401 (similar application), GM 84958003 (similar application))— A common failure point on the 2.0L Turbo engine that causes an air leak and triggers P0101, as noted in TSB PIP5402A/E. Part number is not explicitly stated in TSB, but these are related seals.
Trusted brands: ACDelco, GM Genuine
OEM price range: $10-$30
Related Codes That Often Appear With This One
- P0171 — System Too Lean. Often set with P0101 because an air leak or faulty MAF reading causes the engine to run lean. TSB #PIP5446A and #PIP5529B cite these codes together.
- P0172 — System Too Rich. Can be set if the MAF sensor is under-reporting airflow, causing the ECM to inject too much fuel. TSB #PIP5446A mentions this code in conjunction with P0101.
- P1101 — Intake Air Flow System Performance. This is a GM-specific code that is very similar to P0101 and often points to an unmetered air leak, especially on the 2.0T engine. TSB #PIP5402A/E lists them together as being caused by the same charge air cooler O-ring issue.
- P0068 — MAP/MAF - Throttle Position Correlation. This code indicates a mismatch between the MAF, MAP, and throttle position sensors, which can be caused by the same faults that trigger P0101. TSB #PIP5529B lists them together.
- P0106 — Manifold Absolute Pressure (MAP) Sensor Performance. The ECM compares MAF and MAP sensor readings, so a fault in one system can trigger a performance code in the other. TSB #PIP5529B lists them together.
Technical Service Bulletins (TSBs) & Recalls
- PIP5402A / PIP5402E: Check Engine Light MIL P015B, P1101 and /or P0101 Reduce Engine Power
- PIP5446A: Harsh Shift 1/2 and 2/3 and Sputter Applying Throttle, Rough idle, P0101
- PIP5529B: General diagnostics for a combination of codes including P0101
Platform-Specific Known Issues
- Owner Experience with PCV Issues: A forum member with an older (2008) CTS reported that a P0101 code was ultimately resolved by addressing a PCV (Positive Crankcase Ventilation) system issue, as described in a separate TSB for that model year. While a different generation, it highlights that crankcase ventilation problems can sometimes manifest as MAF codes.
Mechanic-Grade Diagnostic Values
- Mass Air Flow Rate at Idle (Scan Tool PID) — expected: Approximately 3.0-6.0 grams/second (g/s) for a warmed-up 2.0L engine.. Failure: A reading significantly lower than 2.0 g/s can indicate an air leak after the sensor, while an erratic or stuck value suggests a faulty sensor.
- MAF Sensor Frequency (Scan Tool PID or Multimeter) — expected: Approximately 3.2 KHz at idle (around 680 RPM), rising with engine speed to ~4.2 KHz at 1500 RPM and ~5.2 KHz at 2500 RPM.. Failure: A frequency signal that is stuck, erratic, or does not increase smoothly with RPM.
- MAF Sensor Power Supply Voltage (at connector) — expected: 10 to 12 Volts DC with Key On, Engine Off (KOEO). Should read ~14V with the engine running due to alternator output.. Failure: No voltage or low voltage indicates a wiring or fuse issue before the sensor.
- MAF Sensor Ground Circuit (at connector) — expected: Should have good continuity to chassis ground.. Failure: High resistance or an open circuit on the ground wire will cause sensor malfunction.
Scan Tool Commands That Help
- GDS2 / High-End Scan Tool: Graph MAF Sensor (g/s or Hz) vs. Engine RPM — Use this to visually check if the MAF sensor's output is smooth and linear as RPMs increase. Any sudden spikes, drops, or flat spots point to a failing sensor or intermittent connection issue.
Wiring & Ground Locations
- MAF Sensor Connector — On the air intake tube, immediately following the air filter box.. This is the primary connection point for the sensor. Damage or corrosion on its pins can cause P0101. The typical GM wire colors are: Pink (12V Ignition Power), Black w/ White stripe (Chassis Ground), and Yellow (Signal wire to ECM).
- Engine Block Grounds — There are multiple ground wires for the ECM attached directly to the engine block.. A poor engine block ground can create a 'floating ground' for various sensors, including the MAF, causing incorrect voltage readings that the ECM interprets as a performance fault.
Real Owner Repair Stories
- Cadillac Forums user 'JETMECH' (2008 Cadillac CTS (Note: Different generation, but same principle applies to PCV system issues)) — Traction control light, Service Stabilitrak message, and OBD-II code P0101.
❌ Tried (didn't work) Replacing the MAF sensor, Inspecting for vacuum leaks, Replacing wheel speed sensors and inspecting wheel hubs
✅ What actually fixed it The user found a Technical Service Bulletin related to the PCV system and performed a modification to enlarge the PCV holes. This resolved the P0101 code and associated warning lights.
When the Usual Fixes Don't Work
- While the most common causes are air leaks (casting flash, CAC O-ring) or a dirty sensor, at least one owner story points to a resolution by addressing a faulty PCV system after replacing the MAF sensor and checking for vacuum leaks did not solve the P0101 code. This suggests that if the primary TSB-related fixes do not work, investigating the PCV system for blockages or malfunctions is a valid next step.
OEM Part Supersession History
22895480, 23144941→GM 23262344— GM regularly updates part designs to integrate new materials and technologies.
Heads up: The part listed in the Pass 2 data, ACDelco 213-4222, appears to be for earlier generation or different engine Cadillacs according to multiple fitment guides, while GM 23262344 is the correct part for the 2014-2017 CTS.
Helpful Videos


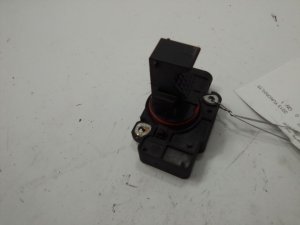
Used OEM Parts in Stock
New Aftermarket Parts Available


The information in this article is provided for general reference and educational purposes only. Vehicle specifications, procedures, and part compatibility can vary by production date, trim level, and region. Always consult your vehicle's factory service manual and verify part numbers before purchasing or performing repairs. Safety-critical components such as airbags, seat belts, and braking systems should be installed by a qualified professional.
- Cadillac CTS:
- 🧭 Diagnostic Flowchart
- 🎬 Helpful Videos
- 🛍️ Shop This Part
- What's Unique About the 2014-2017 Cadillac CTS
- Symptoms You May Notice
- Most Likely Causes
- Rare But Worth Checking
- Diagnosis Steps
- Parts You'll Likely Need
- Related Codes That Often Appear With This One
- Technical Service Bulletins (TSBs) & Recalls
- Platform-Specific Known Issues
- Mechanic-Grade Diagnostic Values
- Scan Tool Commands That Help
- Wiring & Ground Locations
- Real Owner Repair Stories
- When the Usual Fixes Don't Work
- OEM Part Supersession History
- 🎟️ Get 5% Off