
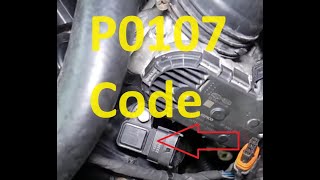
P0107 on 2019-2021 Chevrolet Silverado 1500: MAP Sensor and Wiring Harness Guide
P0107 on a 2019-2021 Silverado is often caused by a chafed engine wiring harness, not a bad MAP sensor. Before buying parts, inspect the harness for damage near the upper control arm, alternator bracket, and where it crosses the engine, as outlined in GM service bulletins like #21-NA-149.
- On a 2019-2021 Silverado, P0107 is very often a wiring problem, not a sensor problem.
- Always check for other trouble codes. A large number of unrelated codes strongly points to the wiring harness issue.
- Before buying any parts, perform a careful visual inspection of the engine wiring harness at the specific chafe points listed in GM's service bulletins.
- Do not replace the MAP sensor or ECM unless you have definitively ruled out a wiring fault.
- The repair may only require basic wiring supplies, tape, and zip ties to fix and protect the harness.
What's Unique About the 2019-2021 Chevrolet SILVERADO 1500
On this generation of Silverado and its platform mates (GMC Sierra, Tahoe, Suburban), P0107 is frequently not a sensor problem. General Motors has issued multiple Technical Service Bulletins (TSBs), with the most current being #21-NA-149, warning that the engine wiring harness is prone to chafing and damage at several specific points in the engine bay. This wiring issue can cause a P0107 code, often accompanied by a variety of other seemingly unrelated trouble codes. Technicians are specifically advised to inspect the harness thoroughly before replacing the MAP sensor or the Engine Control Module (ECM).
Diagnostic Flowchart
Tap your situation to follow the diagnostic path that matches what you're seeing on this vehicle.
Symptoms You May Notice
- Check Engine Light is on
- Reduced Engine Power message displayed
- Rough or unstable idle
- Engine stalling, especially at stops
- Poor or sluggish acceleration
- Increased fuel consumption
- Black smoke from the exhaust
- Hard starting or long crank times
- Replacing the MAP sensor without first inspecting the engine wiring harness for chafing.
- Replacing the Engine Control Module (ECM) before ruling out wiring and sensor faults.
Most Likely Causes
- Engine Wiring Harness Chafing 🔴 High Probability → Shop Engine Wiring Harness As documented in GM TSB #21-NA-149 (which supersedes PIT5677E), the engine harness routing can cause it to rub against various engine and chassis components, leading to short circuits or open circuits. This is a known manufacturing and design issue.
How to confirm: Visually inspect the engine wiring harness for signs of rubbing, exposed wires, or damage. TSB #21-NA-149 points to specific areas depending on the engine. For the 2.7L (L3B), check where the harness crosses the camshaft carrier cover, at the lower air cleaner housing, the generator bracket, and the left-front upper control arm bushing. For other engines like the 4.3L, 5.3L, and 3.0L, check near the front corner of the left cylinder head and on top of the generator.
Typical fix: Repair the damaged section(s) of wire using appropriate solder and heat-shrink methods. Protect the repaired area and the rest of the harness with anti-abrasion tape (such as Kevlar Velcro Sleeve P/N 84826758 mentioned in TSBs) and secure it away from the contact point with zip ties.
Est. part cost: $10-$30 for repair materials - Faulty MAP Sensor 🟡 Medium Probability → Shop Manifold Absolute Pressure Sensor
How to confirm: After confirming the wiring is intact, test the sensor. With the key on, engine off, back-probe the connector. You should find a 5-volt reference wire, a ground wire, and a signal wire (typically 4.5-5.0V at sea level). With the engine running at idle, the signal voltage should drop to 1.0-1.5V. If the reference voltage is present but the signal is stuck low (under 0.5V), the sensor is likely bad.
Typical fix: Replace the MAP sensor. It is typically located on the intake manifold near the throttle body and held by one bolt or a clip.
Est. part cost: $30-$80 - Vacuum Leak ⚪ Low Probability
How to confirm: Inspect all vacuum hoses connected to the intake manifold for cracks, splits, or loose connections. You can also use a smoke machine to feed smoke into the intake system and see where it escapes. A significant leak can cause various driveability codes.
Typical fix: Replace the leaking vacuum hose or gasket.
Est. part cost: $5-$50 - Poor Connection at Sensor ⚪ Low Probability
How to confirm: Disconnect the MAP sensor connector and inspect the terminals for corrosion, moisture, or damage. Ensure the connector clicks securely into place. Wiggle the connector and harness with the engine running to see if it causes a change in idle, indicating an intermittent connection.
Typical fix: Clean the terminals with an electrical contact cleaner. If the connector or wires at the pigtail are frayed or broken, replace the connector pigtail.
Est. part cost: $15-$40 for a new pigtail connector
Rare But Worth Checking
- Faulty Powertrain Control Module (PCM/ECM): → Shop Engine Control Module (ECM) This is very rare. GM TSBs specifically warn that the ECM is often replaced unnecessarily for this code when the true cause is the wiring harness. All other possibilities, especially wiring, must be exhausted before considering the ECM.
Diagnosis Steps
- Read all stored trouble codes with an OBD-II scanner. Note if multiple, unrelated codes are present, which would elevate suspicion of a wiring harness issue.
- Begin with a thorough visual inspection of the engine wiring harness. Focus on the known chafe points detailed in TSB #21-NA-149. For the 2.7L engine, this includes where the harness crosses the camshaft carrier cover, the lower air cleaner housing, the generator bracket, and the left-front upper control arm bushing.
- If harness damage is found, repair the wires, protect the harness with anti-abrasion tape, and secure it away from sharp edges.
- If no harness damage is visible, proceed to test the MAP sensor circuit. Disconnect the sensor and, with the key on (engine off), use a multimeter to verify you have a 5V reference and a good ground at the connector.
- If power and ground are good, reconnect the sensor and back-probe the signal wire. The voltage should be between 4.5V and 5.0V (depending on altitude) with the key on/engine off, and drop to 1.0V-1.5V at idle. If the signal is stuck low (under 0.5V), the sensor has likely failed.
- If the sensor and wiring test good, check for a significant vacuum leak from the intake manifold or connected hoses using a smoke machine.
- Clear the codes and perform a test drive to see if the code returns.
Parts You'll Likely Need
- Engine Wiring Harness Repair Supplies
(OEM #84826758 (Kevlar Velcro Sleeve))— Due to the high probability of a chafed harness on this vehicle, wiring repair materials are the most likely items needed.
Trusted brands: Kent Automotive, 3M
OEM price range: $10-$30
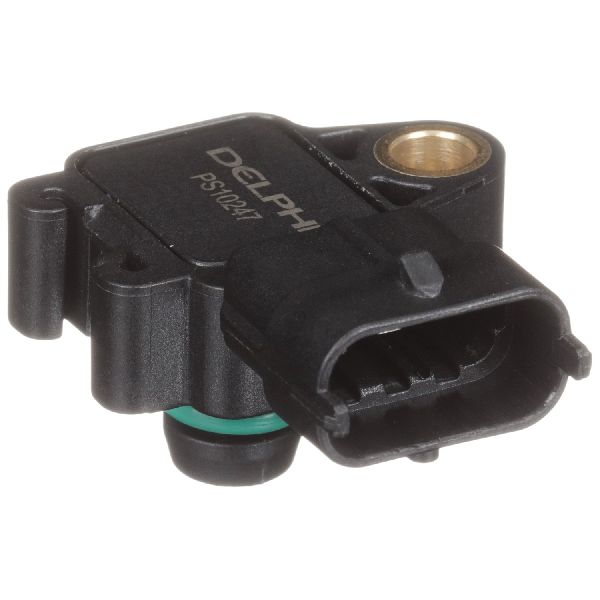
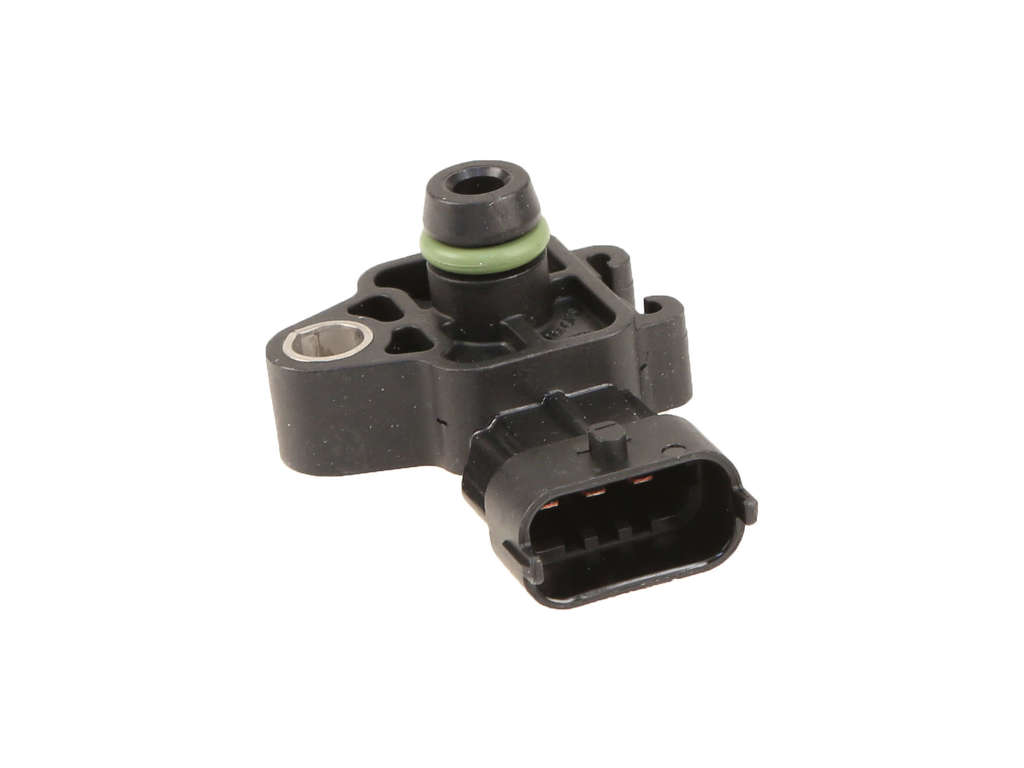
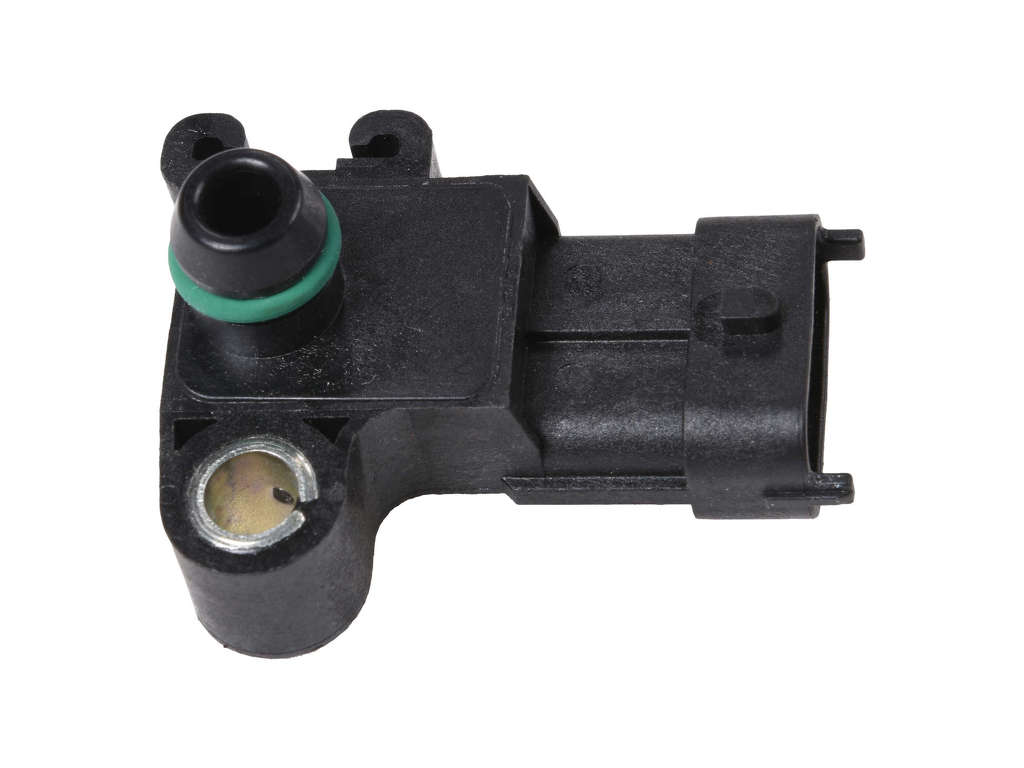
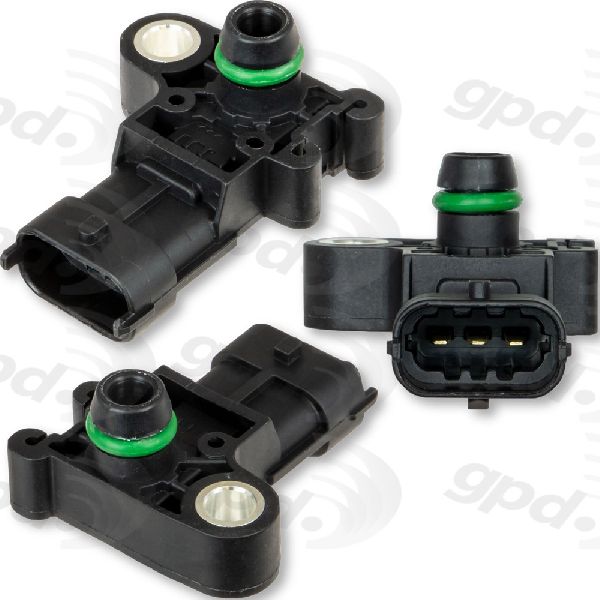
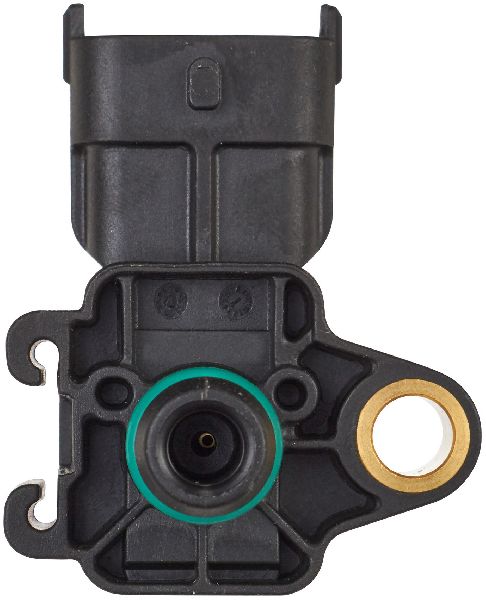
Aftermarket price range: $10-$25 - Manifold Absolute Pressure (MAP) Sensor
(OEM #12644228 (For 5.3L/6.2L Gas), 12694431 (For 2.7L Gas))— If the wiring harness is intact and the sensor fails diagnostic tests, it will need to be replaced. Note: Part number varies by engine. 12644228 is common for V8s, while 12694431 is used on the 2.7L L3B.
Trusted brands: ACDelco, NGK, Bosch
OEM price range: $50-$95
Aftermarket price range: $30-$60 - MAP Sensor Connector Pigtail
(OEM #19301717 (ACDelco PT2980))— If the connector itself or the wires directly at the connector are damaged, a replacement pigtail is needed for repair.
Trusted brands: ACDelco, Dorman, EFI Connection
OEM price range: $25-$45
Aftermarket price range: $15-$30
Related Codes That Often Appear With This One
- U0073, U0100, U0101, U0121, U0140, etc. — The presence of multiple communication (U-prefix) codes alongside P0107 strongly suggests a widespread electrical issue, such as the documented wiring harness chafing problem noted in TSB #21-NA-149 (which supersedes PIT5713A).
- P0340, P0521, P1101, P0237, P003D, etc. — A large cluster of various engine-related codes (P-prefix) points away from a single sensor failure and towards a systemic electrical fault, like the harness issue described in TSB #21-NA-149 (which supersedes PIT5677E).
Technical Service Bulletins (TSBs) & Recalls
- 21-NA-149: This is the current, primary TSB that consolidates and replaces previous bulletins like PIT5677E and PIT5713A. It provides the most comprehensive list of chafe points for various engines and the full range of DTCs that can result, including P0107.
- PIT5677E: (Superseded) Lists P0107 as a possible DTC resulting from a chafed engine wiring harness at multiple locations.
- PIT5713A: (Superseded) Also lists P0107 among many other codes that can be set due to network/electrical issues, pointing to a common cause rather than individual component failures.
Platform-Specific Known Issues
- Engine Harness Chafing (TSB #21-NA-149): This is the most critical issue for this platform. TSB #21-NA-149, which supersedes older bulletins like PIT5677E, provides extensive detail on harness chafing. Depending on the engine (2.7L, 4.3L, 5.3L, 6.2L, 3.0L), the harness can rub on multiple points. Key inspection areas for the 2.7L engine include the camshaft carrier cover, generator bracket, lower air cleaner housing, and the left front upper control arm bushing. For V8 and V6 engines, common spots include the front corner of the left cylinder head and the drive belt idler pulley bracket. The official fix involves repairing the wires and rerouting/protecting the harness with abrasion-resistant material to prevent future damage.
Mechanic-Grade Diagnostic Values
- MAP Sensor 5V Reference — expected: Approx. 5.0 Volts. Failure: Voltage significantly lower than 5.0V indicates a wiring or ECM issue.
- MAP Sensor Ground Circuit — expected: Less than 100 millivolts (0.1V). Failure: Voltage higher than 0.1V indicates a poor ground connection.
- MAP Sensor Signal (Key On, Engine Off) — expected: Approx. 4.5 - 5.0 Volts (at or near sea level). Failure: Voltage below this range, especially under 0.5V, triggers P0107.
- MAP Sensor Signal (Engine at Idle) — expected: Approx. 1.0 - 1.5 Volts (with normal engine vacuum). Failure: Voltage remains high (near KOEO reading) or is stuck low (under 0.5V).
Scan Tool Commands That Help
- GDS2 (Global Diagnostic System 2): Diagnostic Data Display — To monitor live MAP sensor voltage and pressure (kPa) data to see if it responds correctly to changes in engine load and RPM. This helps differentiate between a failed sensor and an intermittent wiring fault.
- GDS2 (Global Diagnostic System 2): Output Control Functions — While there isn't a direct command for the MAP sensor itself, GDS2 can be used to command other components (like the throttle body or solenoids) to change engine conditions, allowing a technician to observe the MAP sensor's reaction in the data display to confirm its functionality.
Wiring & Ground Locations
- MAP Sensor Connector (5.3L/6.2L) — Typically a 3-wire connector on the MAP sensor, which is located on the top of the intake manifold, near the throttle body.. This is the primary connection point to test for 5V reference, ground, and the signal wire. Corrosion or damage here can directly cause P0107.
- G102 / G104 (Varies by exact engine/year) — Engine block grounds, typically located on the rear or front corner of the left (driver's side) cylinder head.. The ECM and its sensor circuits rely on clean engine block grounds. A loose or corroded ground at G102 or G104 can introduce electrical noise or voltage drops, potentially affecting sensor readings and causing various codes, including P0107.
- G103 — Located on the cowl in the engine compartment, often above the brake booster on the driver's side.. This is a major ground point for the BCM, IPC, and the Data Link Connector (DLC). While not a direct cause for P0107, a fault here can cause widespread communication issues (U-codes) that are often seen alongside P0107 when a harness is chafed.
- ECM/TCM Bracket — The metal bracket holding the Engine Control Module and Transmission Control Module, typically on the driver's side of the engine bay.. TSB #21-NA-149 specifically identifies the sharp edges of this bracket as a primary chafe point for the engine wiring harness, which can directly short the MAP sensor circuits.
Real Owner Repair Stories
- Reddit user post (2020 Sierra AT4 3.0L Duramax) — Fan stuck on high, IMRC codes, engine mount circuit open, multiple electrical faults.
❌ Tried (didn't work) Initial diagnosis was unclear until a dealer inspection.
✅ What actually fixed it The dealer identified that the wiring harness had chafed through after several retaining clips broke, allowing the harness to rub. The repair required fixing the damaged wires and securing the harness properly. - Reddit user post (2021 Silverado 2.7L LT) — "All sorts of codes" were being thrown due to a chafed wiring harness.
❌ Tried (didn't work) An independent mechanic was unable to fix it.
✅ What actually fixed it The issue was confirmed to be the known wiring harness chafing problem documented in NHTSA bulletins. The fix is to repair or replace the affected harness section. The user was quoted nearly $4,000 for a full harness replacement at a dealership.
OEM Part Supersession History
12594942→12644228— Part has been updated by GM over time to integrate new materials or technologies.55493530→12694431— Part update by the manufacturer for the 2.7L L3B engine.
Model Year Variations Within This Range
- 2020: A specific service update, #N192287840, was issued for some 2020 models with the 2.7L L3B engine concerning incorrect harness wrapping from the factory, which could accelerate the chafing condition.
Helpful Videos

![How to Fix CHEVROLET P0107 Engine Code in 2 Minutes [1 DIY Method / Only $11.91]](https://img.youtube.com/vi/gYjEs8ciQxk/mqdefault.jpg)

We Have This Part in Stock


The information in this article is provided for general reference and educational purposes only. Vehicle specifications, procedures, and part compatibility can vary by production date, trim level, and region. Always consult your vehicle's factory service manual and verify part numbers before purchasing or performing repairs. Safety-critical components such as airbags, seat belts, and braking systems should be installed by a qualified professional.
- Chevrolet SILVERADO 1500:
- 🧭 Diagnostic Flowchart
- 🎬 Helpful Videos
- 🛍️ Shop This Part
- What's Unique About the 2019-2021 Chevrolet SILVERADO 1500
- Symptoms You May Notice
- Most Likely Causes
- Rare But Worth Checking
- Diagnosis Steps
- Parts You'll Likely Need
- Related Codes That Often Appear With This One
- Technical Service Bulletins (TSBs) & Recalls
- Platform-Specific Known Issues
- Mechanic-Grade Diagnostic Values
- Scan Tool Commands That Help
- Wiring & Ground Locations
- Real Owner Repair Stories
- OEM Part Supersession History
- Model Year Variations Within This Range
- 🎟️ Get 5% Off