
P0111 on 2014-2021 Dodge Durango: Intake Air Temp Sensor Causes and Fixes
This code means the Intake Air Temperature (IAT) sensor's reading is illogical to the engine computer. The most common fix is replacing the IAT sensor itself, an inexpensive part (Mopar #5149182AB) and an easy DIY job. However, for 2014-2016 models, a software update as per TSB #18-044-16 Rev. A is a very common and necessary fix that often gets overlooked.
- P0111 means the IAT sensor reading is illogical, not necessarily that the sensor itself has failed.
- For 2014-2016 Dodge Durangos, the first step should always be to check if TSB 18-044-16 Rev. A (PCM update) has been performed.
- If the TSB doesn't apply or has been done, the most likely fix is replacing the IAT sensor (Mopar #5149182AB), which is a simple and inexpensive DIY job.
- Always inspect the sensor's wiring and connector for damage before buying parts, as this is a common and often overlooked failure point.
What's Unique About the 2014-2021 Dodge DURANGO
For the third-generation Dodge Durango, particularly models from 2014-2016, a key issue related to P0111 is not always the sensor itself but the PCM's software logic. FCA (Fiat Chrysler Automobiles) issued Technical Service Bulletin (TSB) #18-044-16 Rev. A, which specifically addresses P0111 (and sometimes P0071) being triggered incorrectly due to overly sensitive monitoring parameters. The official fix is a mandatory PCM software update, which a dealer or qualified shop must perform using a wiTECH tool. Ignoring this TSB can lead to replacing parts that are not actually faulty, a common frustration found in owner forums.
Diagnostic Flowchart
Tap your situation to follow the diagnostic path that matches what you're seeing on this vehicle.
Symptoms You May Notice
- Check Engine Light is on
- Reduced fuel economy
- Engine hesitation or stumbling during acceleration
- Rough idle
- Hard starting
- Failed emissions test
- Replacing the MAP (Manifold Absolute Pressure) sensor. While sometimes located near the IAT, it performs a different function and will not fix a P0111 code.
- Replacing the IAT sensor when a PCM software update is what's actually required per TSB #18-044-16 Rev. A, especially on 2014-2016 models.
Most Likely Causes
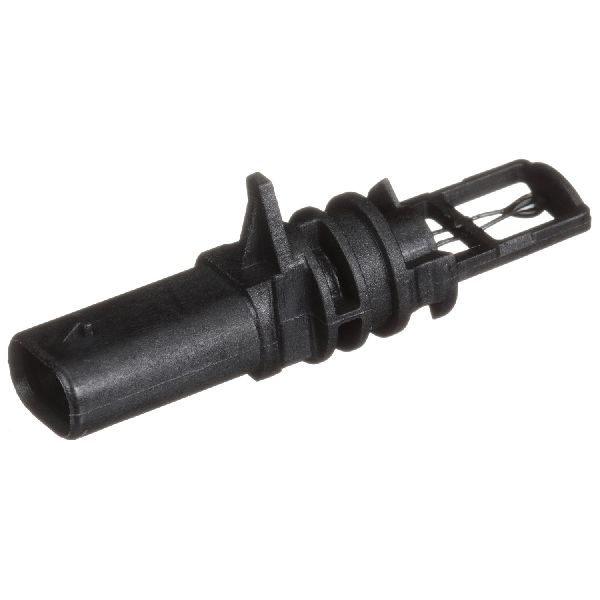
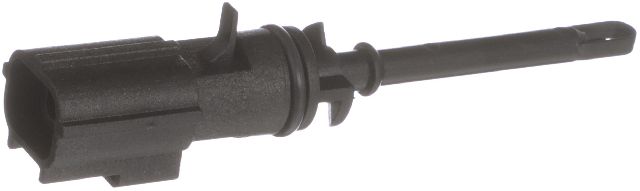
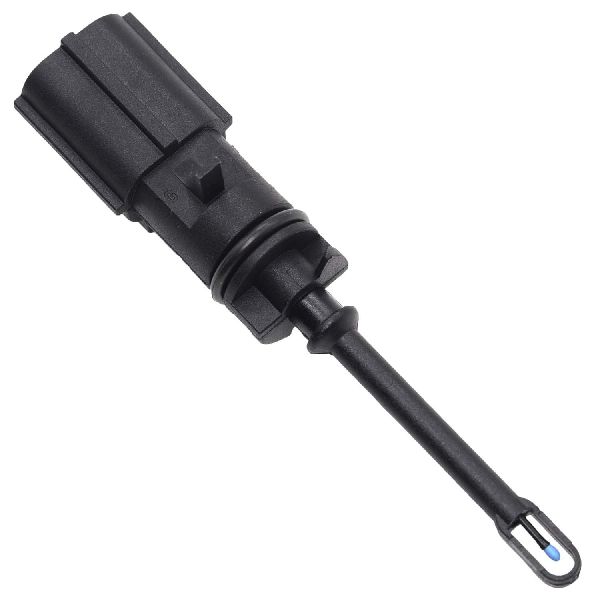
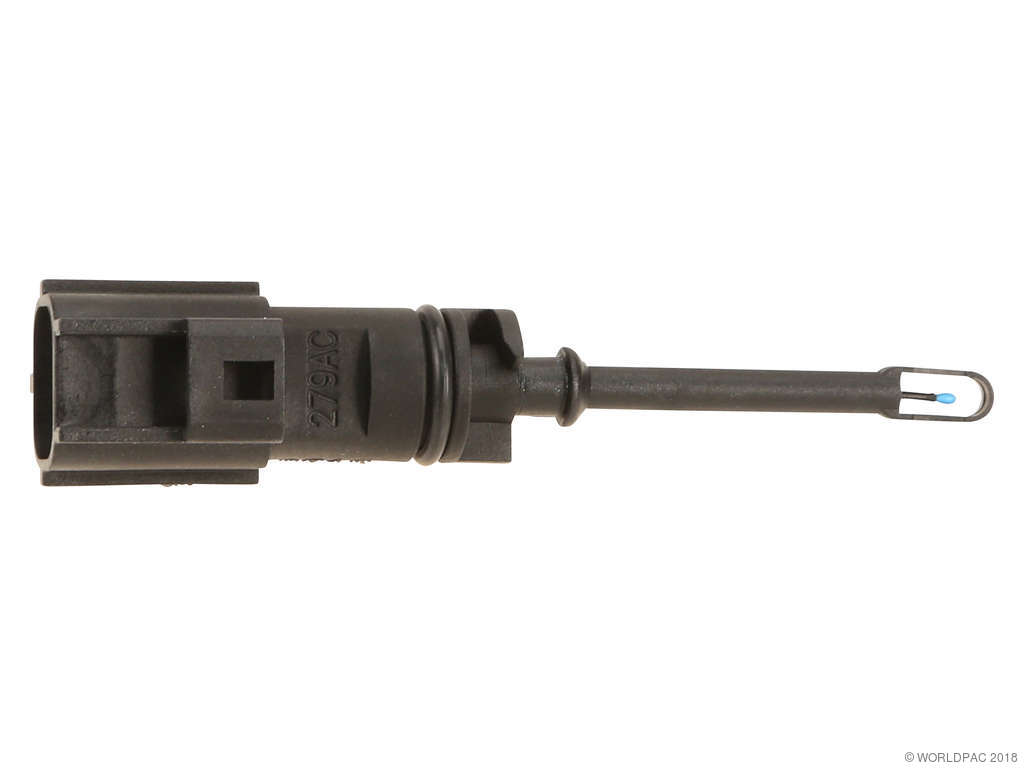
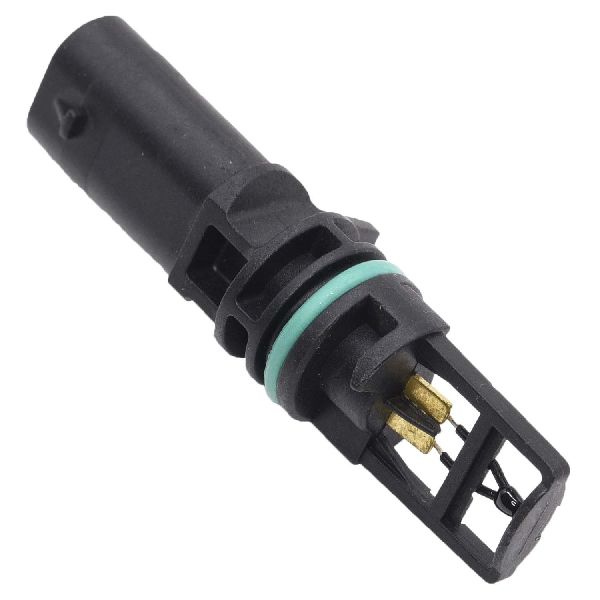
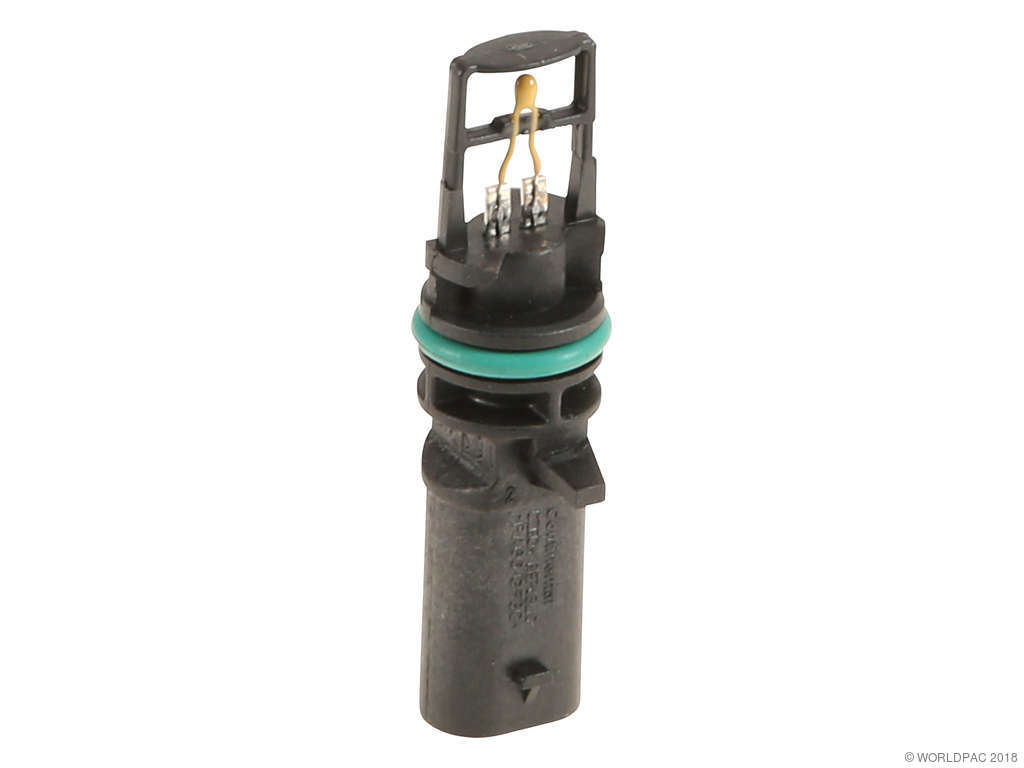
- Faulty Intake Air Temperature (IAT) Sensor 🔴 High Probability → Shop Fuel Injection Air Flow Meter The sensor is a simple thermistor that can degrade over time due to heat cycles and exposure to oil vapor from the PCV system. Its location in the intake path makes it susceptible to contamination.
How to confirm: With the engine cold (off for 3+ hours), use a scan tool to compare the IAT reading to the ambient air temperature and engine coolant temp. They should all be within 5-10°F of each other. If the IAT reading is stuck at an extreme value (like -40°F or over 250°F) or is significantly different, the sensor is likely bad.
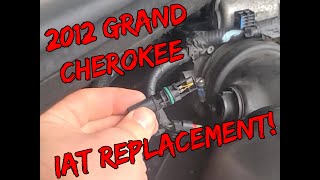
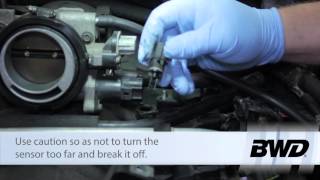
Typical fix: Replace the IAT sensor (Mopar Part No. 5149182AB). On the 3.6L V6, it's typically on the intake manifold. On the 5.7L V8, it's located in the plastic intake air duct between the air filter box and the throttle body. It is removed with a simple quarter-turn. 🎬 Watch: This quick video shows the Durango sensor replacement process.
Est. part cost: $20-$50 - PCM Software Requires Update 🟡 Medium Probability As documented in TSB #18-044-16 Rev. A, the original software calibration for monitoring the IAT sensor on 2014-2016 models can be too sensitive, leading to false codes when no hardware fault exists.
How to confirm: A Dodge dealership or a well-equipped independent shop can check your vehicle's VIN against the TSB and verify its current software calibration version. If the TSB applies and hasn't been performed, this is a highly likely cause.
Typical fix: Perform a PCM software update using an OEM-level diagnostic tool (wiTECH). This is not a DIY repair and typically costs the equivalent of one hour of shop labor.
Est. part cost: $0 - Damaged Wiring or Connector ⚪ Low Probability The wiring harness and connector for the IAT sensor are located in the engine bay and are subject to heat, vibration, and potential damage or brittleness over time. Wires can break inside the insulation right at the connector.
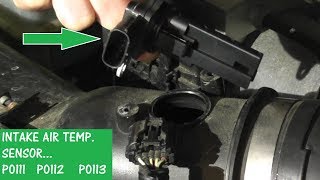
How to confirm: Visually inspect the IAT sensor's connector and wiring for any signs of corrosion, frayed wires, or loose pins. A 'wiggle test' on the harness while watching live data on a scan tool 🎬 See how to test and replace the IAT sensor yourself. can reveal intermittent connections. If wiggling the connector causes the IAT reading to jump erratically, the connector or wiring is faulty.
Typical fix: Repair the damaged section of wiring or replace the connector pigtail. The pigtail can be spliced in with butt connectors or solder.
Est. part cost: $10-$30
Rare But Worth Checking
- Dirty or Contaminated Sensor: Oil from the PCV system can coat the sensor tip, insulating it and causing slow or inaccurate readings. Before replacing the sensor, try cleaning it with a dedicated Mass Airflow (MAF) sensor cleaner. Do not touch the sensor element.
- Faulty Powertrain Control Module (PCM): → Shop Engine Control Module (ECM) This is the least likely cause. The PCM should only be considered after all other possibilities, including the software update, sensor, and wiring, have been thoroughly ruled out by testing.
Diagnosis Steps
- Check for TSBs: First, especially for 2014-2016 models, confirm if TSB #18-044-16 Rev. A applies to your vehicle's VIN. If it does and has not been performed, a PCM update is the most logical first step.
- Scan Tool Live Data (Cold Soak): Connect a scan tool after the vehicle has been off for several hours. Compare the IAT, Ambient Air Temp, and Engine Coolant Temp readings. They should be within a few degrees of each other. A significant deviation in the IAT reading points to a sensor or circuit issue.
- Start the Engine: Watch the IAT reading as the engine warms up. It should rise slowly and steadily. Sudden jumps, drops, or no change at all indicate a problem.
- Inspect Connector and Wiring: Unplug the IAT sensor and inspect the electrical connector and nearby wiring for corrosion, damage, pushed-out pins, or broken wires right at the back of the connector.
- Perform a Wiggle Test: With the vehicle on and a scan tool displaying live IAT data, gently wiggle the connector and wiring harness. If the temperature reading fluctuates wildly, you have found an intermittent connection issue.
- Test the Circuit: With the key on, engine off, use a multimeter to check for a 5-volt reference on one wire and a good ground on the other at the sensor connector. This verifies the circuit integrity from the PCM.
- Replace the IAT Sensor: If the sensor fails tests or is the most probable cause after inspection, replace it. It is a low-cost, high-probability fix.
- Clear Code and Test Drive: After any repair, clear the DTC and drive the vehicle under various conditions to ensure the code does not return.
Parts You'll Likely Need
- Intake Air Temperature Sensor
(OEM #5149182AB)— This is the most common hardware failure for this code. It directly measures the air temperature and is prone to failure or contamination over time.
Trusted brands: Mopar, NTK, Standard Motor Products (SMP)
OEM price range: $30-$50
Aftermarket price range: $15-$30
Related Codes That Often Appear With This One
- P0071 — This code for 'Ambient Air Temperature Sensor Performance' is explicitly mentioned in TSB #18-044-16 Rev. A as potentially appearing alongside P0111, as the PCM compares these two sensors to check for rationality.
- P0112 — Indicates 'IAT Sensor Circuit Low', suggesting a short in the circuit, which is a related wiring failure.
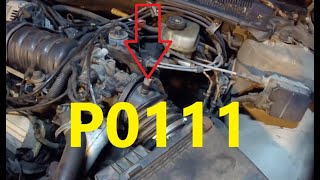
- P0113 — Indicates 'IAT Sensor Circuit High', suggesting an open circuit (like an unplugged sensor or broken wire), which is a related wiring or sensor failure. 🎬 Watch: A breakdown of common causes for the P0111 code.
Technical Service Bulletins (TSBs) & Recalls
- 18-044-16 Rev. A: Supersedes TSB 18-044-26. Addresses MIL illumination for P0111-00 (Intake Air Temperature Sensor 1 Circuit Range Performance) and/or P0071-00 (Ambient Air Temperature Sensor Performance) on 2014-2016 Dodge Durango and Jeep Grand Cherokee. Recommends a PCM software update.
Platform-Specific Known Issues
- TSB #18-044-16 Rev. A: Specifically for 2014-2016 models, the PCM's sensitivity for the IAT sensor rationality check is too high, causing false P0111 and/or P0071 codes. The official fix is a software update, not a part replacement.
Mechanic-Grade Diagnostic Values
- IAT Sensor Resistance vs. Temperature — expected: Approx. 37 kΩ at 20°C (68°F), 2.8 kΩ at 90°C (194°F). Resistance decreases as temperature increases.. Failure: Readings that are infinite (open circuit), zero (shorted), or do not change with temperature indicate a faulty sensor.
- IAT Sensor Connector Voltage (Key On, Engine Off, Sensor Unplugged) — expected: One pin should have a ~5V reference from the PCM, and the other should be ground.. Failure: No voltage or voltage significantly lower than 5V points to a wiring issue or a problem with the PCM's 5V reference circuit.
- IAT vs. ECT vs. Ambient Temp (Cold Soak) — expected: After sitting for 8+ hours, all three temperature readings on a scan tool should be within 10°F (about 5°C) of each other.. Failure: If the IAT reading is significantly different from the other two, the IAT sensor or its circuit is suspect.
Wiring & Ground Locations
- IAT Sensor Connector (3.6L & 5.7L) — A 2-pin connector plugging into the IAT sensor, which is located in the intake air duct between the air filter box and the throttle body.. This is the primary point of failure for wiring issues. The pins can corrode, and the wires can become brittle and break right at the back of the connector.
- (K21) IAT Signal Circuit — This is the wire that carries the variable voltage signal from the IAT sensor back to the PCM.. A short to voltage or an open in this circuit will cause P0113 or P0112, respectively. A P0111 can be caused by high resistance in this wire or its connections.
- (K900) Sensor Ground Circuit — This wire provides the ground reference for the sensor, originating from the PCM.. A poor ground connection on this circuit will cause the signal voltage to be skewed, leading to an incorrect temperature reading by the PCM and potentially triggering a P0111.
Real Owner Repair Stories
- Reddit user on r/DodgeDurango (2014 Durango R/T (5.7L V8)) — Check Engine Light with code P0111.
❌ Tried (didn't work) Replaced the Intake Air Temperature (IAT) sensor., Replaced the Manifold Absolute Pressure (MAP) sensor.
✅ What actually fixed it The user had not yet resolved the issue at the time of posting, but the failure of two common part replacements points strongly toward the TSB requiring a PCM software update or a more elusive wiring fault. The thread did not have a final resolution posted.
OEM Part Supersession History
5149182AA→5149182AB— Standard part revision, likely for improved durability or material change.
Heads up: The parts are interchangeable; 5149182AB is the correct service replacement for 5149182AA.
Helpful Videos
We Have This Part in Stock

The information in this article is provided for general reference and educational purposes only. Vehicle specifications, procedures, and part compatibility can vary by production date, trim level, and region. Always consult your vehicle's factory service manual and verify part numbers before purchasing or performing repairs. Safety-critical components such as airbags, seat belts, and braking systems should be installed by a qualified professional.
- Dodge DURANGO:
- 🧭 Diagnostic Flowchart
- 🎬 Helpful Videos
- 🛍️ Shop This Part
- What's Unique About the 2014-2021 Dodge DURANGO
- Symptoms You May Notice
- Most Likely Causes
- Rare But Worth Checking
- Diagnosis Steps
- Parts You'll Likely Need
- Related Codes That Often Appear With This One
- Technical Service Bulletins (TSBs) & Recalls
- Platform-Specific Known Issues
- Mechanic-Grade Diagnostic Values
- Wiring & Ground Locations
- Real Owner Repair Stories
- OEM Part Supersession History
- 🎟️ Get 5% Off