
P0131 on 2013-2017 Cadillac ATS: O2 Sensor Low Voltage Causes and Fixes
Code P0131 on a Cadillac ATS means the upstream O2 sensor is reading low voltage. While this often points to a bad sensor, a very common cause on these cars (especially 2.0T/2.5L) is loose intake manifold bolts creating a vacuum leak. Another frequent issue on the 2.0T is cracked PCV vacuum lines. Check for these TSB-documented and forum-reported issues before replacing any parts.
- Before buying any parts for a P0131 code on a 2013-2017 ATS, especially with a 2.0L or 2.5L engine, check for loose intake manifold bolts.
- This issue is documented in GM TSB #PIP5529B and is a likely cause if other codes like P0171 are also present.
- If no vacuum leak is found and the code is isolated, the most likely cause is a failed Bank 1, Sensor 1 (upstream) oxygen sensor.
- For V6 engines, Bank 1 is the driver's side. For I4 engines, there is only one bank.
What's Unique About the 2013-2017 Cadillac ATS
While a faulty oxygen sensor is a possible cause, the 2013-2017 Cadillac ATS, particularly with the 2.0L and 2.5L engines, has two very common and well-documented issues that cause vacuum leaks. The first is loose intake manifold bolts, which is covered in GM Technical Service Bulletin #PIP5529B. The second, specific to the 2.0L LTG engine, is brittle and cracked plastic PCV vacuum lines. Both issues introduce unmetered air, causing the O2 sensor to correctly report a lean condition (low voltage) and trigger code P0131. These are critical diagnostic steps that are often overlooked, leading to unnecessary O2 sensor replacement.
Diagnostic Flowchart
Tap your situation to follow the diagnostic path that matches what you're seeing on this vehicle.
Symptoms You May Notice
- Check Engine Light is on
- Reduced fuel economy
- Rough or unstable idle
- Engine hesitation or stalling, especially under light acceleration
- Strong smell from the exhaust
- Lurching or bucking, particularly during downshifts
- Audible hissing or sucking noise from the engine bay due to a vacuum leak
- Replacing the oxygen sensor without first checking for loose intake manifold bolts (per TSB PIP5529B) or cracked PCV/vacuum lines (especially on 2.0T). The sensor is often accurately reporting a lean condition caused by a vacuum leak.
Most Likely Causes
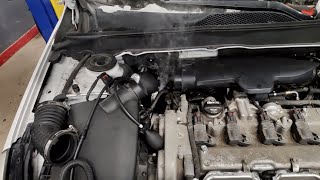
- Loose Intake Manifold Bolts 🔴 High Probability → Shop Engine Intake Manifold This is a documented issue on 2.0L (LTG) and 2.5L (LCV) engines, as noted in GM TSB #PIP5529B. The bolts can back out over time, breaking the intake gasket seal and creating a vacuum leak. This issue affects a wide range of GM vehicles using these engines.
How to confirm: With the engine off and cool, physically check the intake manifold bolts for tightness. This issue often triggers multiple codes at once, such as P0171, P0101, P0106, etc., in addition to P0131. A smoke test is the most definitive way to confirm the leak.
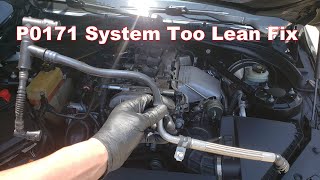
Typical fix: Remove one bolt at a time, apply medium-strength threadlocker, 🎬 See this video for the intake manifold repair and smoke test. reinstall, and torque to the manufacturer's specification (10 Nm or 89 lb-in). The TSB notes that gasket replacement is usually not necessary.
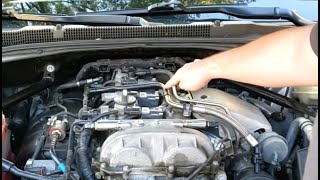
Est. part cost: $5-$15 for threadlocker - Cracked PCV / Vacuum Lines (2.0L LTG Engine) 🔴 High Probability The plastic and rubber hoses used in the PCV and vacuum systems on the 2.0L Turbo engine become brittle from heat and oil exposure over time and crack, causing significant vacuum leaks. This is a very common failure reported by many owners.
How to confirm: Visually inspect all plastic lines connected to the intake manifold and valve cover. Pay close attention to the tube running from the intake manifold to the camshaft cover (GM part #12673868). 🎬 Watch: How to find and fix this common 2.0T vacuum leak. A Reddit user traced a P0171 and hard shifting to a tiny broken elbow coupling in the Power Brake Booster vacuum hose assembly. A smoke test will quickly reveal these leaks.
Typical fix: Replace the cracked hose or fitting. It is recommended to use the OEM part, as some users report universal parts fail quickly.
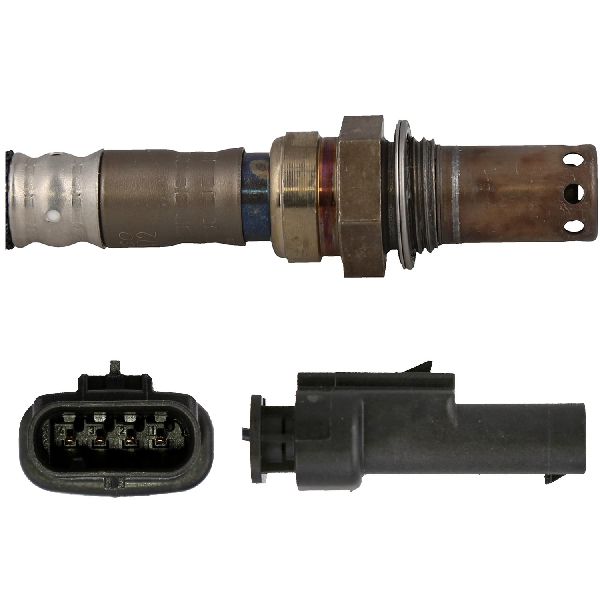
Est. part cost: $30-$100 for a hose assembly - Faulty Upstream Oxygen Sensor (Bank 1, Sensor 1) 🔴 High Probability → Shop Oxygen Sensor Oxygen sensors are consumable parts that wear out over time, typically after 70,000-100,000 miles. Contamination from oil or coolant can also cause premature failure.
How to confirm: Use a scan tool to monitor the live voltage data from the sensor. A healthy upstream O2 sensor's voltage should fluctuate rapidly between approximately 0.1 and 0.9 volts. If the voltage is stuck low (under 0.45V) after confirming there are no vacuum or exhaust leaks, the sensor is likely faulty.
Typical fix: Replace the Bank 1, Sensor 1 oxygen sensor. For I4 engines, this is the only upstream sensor. 🎬 Watch: Step-by-step guide to replacing the upstream oxygen sensor. For the V6, it is on the passenger side (Bank 1).
Est. part cost: $50-$150 - Exhaust Leak 🟡 Medium Probability
How to confirm: Visually inspect the exhaust manifold and pipes leading to the O2 sensor for cracks or black soot trails indicating a leak. A smoke test can also be performed by a shop to pinpoint leaks. An audible ticking or tapping sound from the engine bay that gets louder with acceleration can also indicate an exhaust leak.
Typical fix: Repair the leak by replacing the cracked component (e.g., exhaust manifold) or a failed gasket.
Est. part cost: $20-$500+ depending on the source of the leak - Damaged Wiring or Connectors ⚪ Low Probability TSB #18-NA-009 notes that a leaking power steering gear inlet hose can drip onto the O2 sensor wiring harness, causing contamination and electrical faults.
How to confirm: Visually inspect the wiring harness leading to the O2 sensor for any signs of melting, chafing, corrosion, or fluid contamination. Check for continuity using a multimeter.
Typical fix: Repair the damaged section of the harness or clean/replace the connector.
Est. part cost: $10-$50
Rare But Worth Checking
- Low Fuel Pressure: A failing fuel pump or clogged filter can cause a lean condition, which the O2 sensor will report. On these direct-injection engines, this could be related to the low-pressure pump or the high-pressure fuel pump (HPFP) and would likely be accompanied by other codes like P228C.
- Faulty Powertrain Control Module (PCM): This is extremely rare. The PCM should only be considered after all other possibilities, including wiring, have been exhaustively ruled out.
Diagnosis Steps
- Use an OBD-II scanner to confirm P0131 and check for any other codes. If codes like P0171, P0101, P0106 are present, immediately suspect a vacuum leak.
- (For 2.0L/2.5L Engines) Visually inspect all plastic PCV and vacuum lines for cracks, especially the line from the intake to the valve cover and any small elbow connectors. Listen for a hissing sound with the engine running.
- (For 2.0L/2.5L Engines) With the engine cool, inspect the intake manifold bolts for looseness. If loose, follow the TSB procedure: apply medium-strength threadlocker and torque to 10 Nm (89 lb-in).
- If no obvious leak is found, perform a smoke test on the intake system. This is the most effective way to find small cracks in hoses or a leaking intake gasket.
- Inspect the wiring and connector for the Bank 1 Sensor 1 O2 sensor. Look for any visible damage, melting, or corrosion. Per TSB #18-NA-009, specifically check for fluid contamination from a leaking power steering hose.
- Check for exhaust leaks between the cylinder head and the O2 sensor. Listen for ticking noises and look for soot marks.
- Use a scan tool to observe the live data from the Bank 1 Sensor 1 O2 sensor. Only if the voltage is stuck low and does not fluctuate, AND all sources of vacuum/exhaust leaks have been ruled out, should the sensor itself be considered the primary culprit.
- If all else fails, test the sensor circuit for shorts or opens back to the PCM.
Parts You'll Likely Need
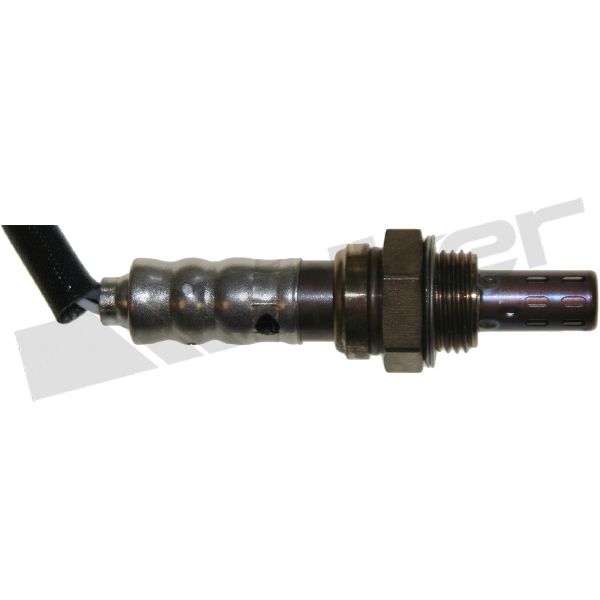
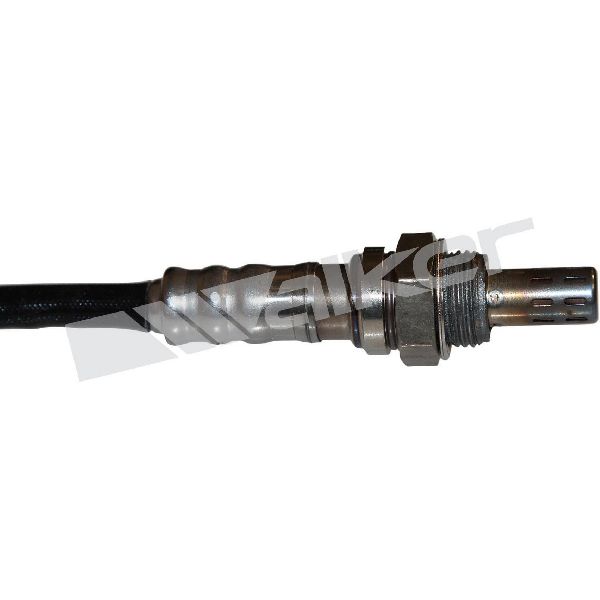
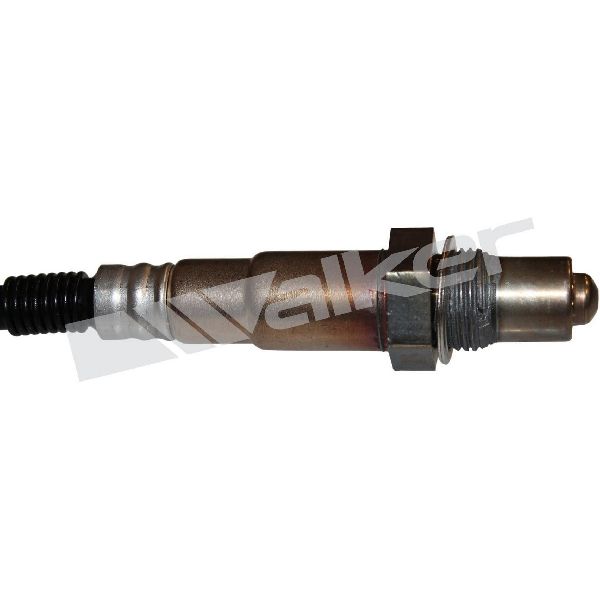
- Upstream Oxygen Sensor (Bank 1, Sensor 1)
(OEM #12645561 (for 2.0L/2.5L I4), 12590035 (for 3.6L V6))— This is the most commonly replaced part for an isolated P0131 code, but should only be replaced after ruling out vacuum leaks.
Trusted brands: ACDelco (GM Original Equipment), Denso, Bosch
OEM price range: $90-$180
Aftermarket price range: $50-$120 - PCV/Vacuum Hose Assembly (2.0L LTG)
(OEM #12673868 (Commonly fails), 22826216 (Brake booster hose assembly with failure-prone elbow))— A very common failure point on the 2.0T engine leading to vacuum leaks and lean codes.
Trusted brands: ACDelco (GM Original Equipment)
OEM price range: $30-$100
Aftermarket price range: $20-$70 - Medium-Strength Threadlocker — Required to fix the common issue of loose intake manifold bolts as specified in TSB #PIP5529B. Torque to 10 Nm / 89 lb-in.
Trusted brands: Loctite, Permatex
OEM price range: $10-$20
Aftermarket price range: $5-$15
Related Codes That Often Appear With This One
- P0171 — System Too Lean (Bank 1). This is the most common companion code. Both P0131 and P0171 are direct results of a vacuum leak from loose intake manifold bolts or cracked PCV lines, which allows unmetered air into the engine.
- P0068, P0101, P0106, P0137, P0506 — These codes, related to MAP/MAF, throttle position, and the downstream O2 sensor, are explicitly listed in TSB #PIP5529B as being potentially caused by the same loose intake manifold bolt issue on the ATS.
Technical Service Bulletins (TSBs) & Recalls
- PIP5529B: Addresses a stall, hesitation, or MIL with various codes (including P0131) caused by loose intake manifold bolts on LCV and LTG engines. The fix is applying threadlocker and re-torquing.
- PIP5529A: An earlier version of the same bulletin with a similar diagnosis and repair procedure.
Platform-Specific Known Issues
- Technical Service Bulletin #PIP5529B documents that on 2013-2017 ATS models with LCV and LTG engines, a collection of codes including P0131 can be caused by loose intake manifold bolts. The official fix is to apply threadlocker and re-torque the bolts to 10 Nm. This issue is widespread across many GM models with these engines.
Mechanic-Grade Diagnostic Values
- Upstream O2 Sensor (B1S1) Voltage — expected: Rapidly fluctuating between ~0.1V and ~0.9V on a warm engine.. Failure: Stuck consistently low, below 0.2V.
- O2 Sensor Reference Voltage (at connector) — expected: Approximately 0.35V - 0.45V.. Failure: Voltage significantly higher or lower indicates a circuit issue.
- O2 Sensor Heater Circuit Resistance — expected: Between 3 and 15 Ohms when measured across the two heater wires on a cold sensor.. Failure: Infinite resistance (open circuit) or near-zero resistance (short circuit).
- PCM Fault Trigger Condition — expected: N/A. Failure: The PCM may log P0131 if the HO2S 1 voltage remains below 52 mV for more than 125 seconds.
Scan Tool Commands That Help
- GDS2 / Tech2 / High-End Scanner: Fuel Trim Reset — After a repair that affects the air/fuel mixture (like fixing a vacuum leak or replacing an O2 sensor), this forces the ECM to relearn fuel trims immediately with the new, correct data.
- GDS2 / Tech2 / High-End Scanner: O2 Sensor Programming/Setup — Some replacement GM O2 sensors, such as part #12645561, may require a programming or setup procedure with a factory scan tool to ensure proper operation after installation.
Wiring & Ground Locations
- G110 — For 3.6L V6: on the left rear of the engine above the exhaust manifold. For 2.0T/2.5L I4: at the upper rear of the cylinder head.. This is a primary engine block ground. A loose or corroded connection at G110 can create an unstable ground reference for multiple sensors, including the O2 sensor, leading to incorrect low voltage readings that trigger P0131.
- ECM (Engine Control Module) — Located in the right front of the engine compartment.. All O2 sensor signal, ground, and heater control wires terminate at the ECM. Final circuit integrity checks (testing for continuity or shorts) must be performed between the sensor connector and the ECM connector pins.
- O2 Sensor Harness (Bank 1) — Routed near the engine and exhaust components.. Per TSB #18-NA-009, this harness is susceptible to contamination from a leaking power steering gear inlet hose located above it. The fluid can damage the wiring or connector, causing a P0131 code.
Real Owner Repair Stories
- YouTube User Comment/Video (2013 Cadillac ATS) — Initially had an O2 sensor code, then P2097 (Post Catalyst Fuel Trim System Too Rich), poor idle, and engine stalling.
❌ Tried (didn't work) Replacing both upstream and downstream O2 sensors with a cheap 2-pack purchased from Amazon.
✅ What actually fixed it Reinstalling the original factory upstream O2 sensor fixed the stalling and drivability issues, indicating the new, cheap aftermarket sensor was faulty right out of the box. - Reddit user /r/Cadillac (2016 Cadillac CTS 2.0T (same engine/issue as ATS)) — P0171 (System Too Lean) and a slight shake at idle.
❌ Tried (didn't work) Initial diagnosis was ongoing.
✅ What actually fixed it A dealership confirmed the cause was a cracked PCV tube, part number 12673868. This is a widely known failure point on the 2.0L LTG engine.
"I Checked Everything" — The Actual Cause
- In one documented case for a P0171 lean code on a 2.0T ATS, the actual cause was a vacuum line for the active motor mount that had fallen off a nipple on the back of the intake manifold. This leak was massive but would be missed by a smoke test if the technician did not know to check this specific, hidden connection point, which is not easily visible.
OEM Part Supersession History
12633740, 12654851, 12662657→12673868— These are previous part numbers for the 'dirty side' PCV tube on the 2.0L LTG engine that is a common failure point. Part #12673868 is the current replacement.N/A→12645561— This is the current upstream O2 sensor for 2.0L/2.5L engines.
Heads up: This part may require programming and/or special setup procedures using a GM scan tool (GDS2/Tech2) to function correctly in the vehicle.
Model Year Variations Within This Range
- 2013-2015 vs 2016-2017: The 3.6L V6 engine was updated from the LFX (2013-2015) to the LGX (2016-2017). While they are similar, there may be differences in sensor part numbers, wiring, or ground locations. Diagnosis should confirm the specific engine before ordering parts.
- 2013-2017 (2.0L LTG): The plastic PCV hoses on the 2.0T engine were produced with at least two different connector styles. One is a 'fuel line style' that requires a special disconnect tool, while the other uses simpler quick-disconnect clips. A technician or DIYer should inspect the existing hose before attempting removal.
Helpful Videos


We Have This Part in Stock


The information in this article is provided for general reference and educational purposes only. Vehicle specifications, procedures, and part compatibility can vary by production date, trim level, and region. Always consult your vehicle's factory service manual and verify part numbers before purchasing or performing repairs. Safety-critical components such as airbags, seat belts, and braking systems should be installed by a qualified professional.
- Cadillac ATS:
- 🧭 Diagnostic Flowchart
- 🎬 Helpful Videos
- 🛍️ Shop This Part
- What's Unique About the 2013-2017 Cadillac ATS
- Symptoms You May Notice
- Most Likely Causes
- Rare But Worth Checking
- Diagnosis Steps
- Parts You'll Likely Need
- Related Codes That Often Appear With This One
- Technical Service Bulletins (TSBs) & Recalls
- Platform-Specific Known Issues
- Mechanic-Grade Diagnostic Values
- Scan Tool Commands That Help
- Wiring & Ground Locations
- Real Owner Repair Stories
- "I Checked Everything" — The Actual Cause
- OEM Part Supersession History
- Model Year Variations Within This Range
- 🎟️ Get 5% Off