
P0132 on 2011-2019 Ford Explorer 3.5L EcoBoost: High Voltage O2 Sensor Causes and Fixes
On a 2011-2019 Ford Explorer with the 3.5L EcoBoost, code P0132 is almost always a failed upstream oxygen sensor on the rear cylinder bank (Bank 1). The part itself costs $60-$150, but replacement is difficult due to tight access against the firewall, making DIY challenging and labor-intensive.
- P0132 on this Explorer almost always means the upstream O2 sensor on the rear (firewall side) of the engine has failed.
- Before ordering parts, confirm you are identifying Bank 1 (rear) and not the much easier to access Bank 2 (front).
- The repair is mechanically simple but physically difficult due to extremely tight access. Be prepared for a challenging job or to pay for 1.5-2.5 hours of shop labor.
What's Unique About the 2011-2019 Ford Explorer
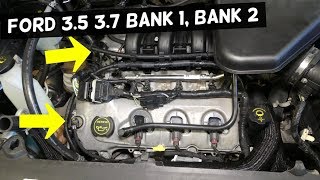
On the transverse-mounted 3.5L EcoBoost V6 in the Explorer, Bank 1 is the cylinder bank located at the rear of the engine bay, against the firewall. This makes the Bank 1, Sensor 1 (B1S1) oxygen sensor extremely difficult to access compared to the front bank (Bank 2). Many owners and technicians report that significant time is spent simply reaching the sensor, whether from above or below the vehicle. This accessibility issue is the primary unique challenge for this code on this specific platform and is shared with other Ford models using this transverse engine layout.
Symptoms You May Notice
- Illuminated Check Engine Light
- Decreased fuel economy
- Rough or unstable engine idle
- Engine may run rough or hesitate on acceleration
- Strong exhaust or sulfur-like smell
- Replacing the wrong oxygen sensor. It is critical to identify Bank 1 (rear/firewall side) and Sensor 1 (upstream/pre-catalytic converter) correctly. Many people mistakenly replace the more accessible Bank 2 sensor. 🎬 Watch: How to identify Bank 1 vs Bank 2 on Ford 3.5L engines.
- Assuming the sensor is bad without checking for wiring damage first. Given the proximity to the hot exhaust manifold, melted wiring is a real possibility.
Most Likely Causes
- Failed Bank 1, Sensor 1 Oxygen Sensor 🔴 High Probability → Shop Oxygen Sensor Oxygen sensors are wear-and-tear items that degrade over time from heat and contaminants. This is the most frequent failure point for this code.
How to confirm: Use an OBD-II scanner with live data capability. Observe the voltage for 'O2S11' (or similar). If the voltage is stuck above 0.8V and does not fluctuate rapidly during engine operation, the sensor has likely failed.
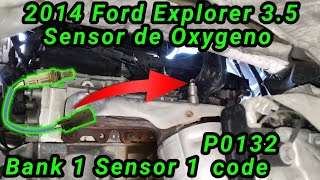
Typical fix: Replace the Bank 1, Sensor 1 oxygen sensor. This sensor is located on the rear exhaust manifold, near the firewall. Access is very tight and may require removing the cowl and working from the top, or accessing it from below. An oxygen sensor socket and penetrating oil are highly recommended. 🎬 See this walkthrough for replacing the difficult Bank 1 Sensor 1.
Est. part cost: $50-$160 - Wiring Harness or Connector Damage 🟡 Medium Probability The sensor wiring is routed near very hot exhaust components. Over time, the protective loom can degrade, leading to melted wires or a short circuit to a power source, which would cause a constant high voltage signal. Water intrusion into the connector can also cause a short.
How to confirm: Visually inspect the wiring harness leading to the Bank 1 Sensor 1 O2 sensor. Look for any signs of melting, chafing, or broken wires. Check the connector for corrosion, moisture, or damage. Check for a blown fuse, as the O2 sensor heater circuit is often fused.
Typical fix: Repair the damaged section of the wiring harness or replace the connector pigtail. Ensure the repaired harness is secured away from hot exhaust pipes.
Est. part cost: $15-$50 - Engine Running Rich ⚪ Low Probability While less common for just a P0132, issues like a leaking fuel injector or a faulty fuel pressure regulator can create a genuinely rich condition that the O2 sensor correctly reports as high voltage.
How to confirm: Look for other accompanying trouble codes, such as P0172 (System Too Rich Bank 1). Check fuel trim data on a scan tool. Negative fuel trims below -10% indicate the PCM is trying to correct a rich condition. A professional may need to test fuel pressure or perform a fuel injector balance test.
Typical fix: Diagnose and repair the root cause of the rich condition, such as replacing a leaking fuel injector.
Est. part cost: $100-$400+
Rare But Worth Checking
- Exhaust Leak: An exhaust leak before the O2 sensor can sometimes, though rarely, cause erratic readings that may trigger a high voltage code by drawing in outside air and confusing the sensor's readings. It's worth a quick check while inspecting the area.
- PCM (Powertrain Control Module) Fault: This is extremely rare. The PCM should only be considered as the cause after all other possibilities, including the sensor and wiring, have been thoroughly ruled out.
Diagnosis Steps
- Connect an OBD-II scanner and confirm the P0132 code is present. Check for any other codes.
- View live data for the Bank 1, Sensor 1 O2 sensor (B1S1).
- Start the engine and let it warm up to closed-loop operation.
- Observe the B1S1 voltage. Is it stuck high (e.g., >0.8V) or is it fluctuating normally (approx. 0.1V to 0.9V)?
- If the voltage is stuck high, the sensor is the primary suspect. Before replacing, perform a visual inspection.
- Carefully inspect the wiring harness and connector for the B1S1 sensor. Look for any signs of melting, chafing, corrosion, or loose connections.
- If wiring appears damaged, repair it first. Clear codes and re-test.
- If the wiring is intact and the voltage is stuck high, the oxygen sensor has most likely failed and should be replaced.
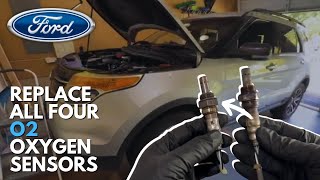
- After replacement, clear the codes and perform a drive cycle to confirm the fix. 🎬 Watch: Complete DIY guide to replacing all four oxygen sensors.
Parts You'll Likely Need
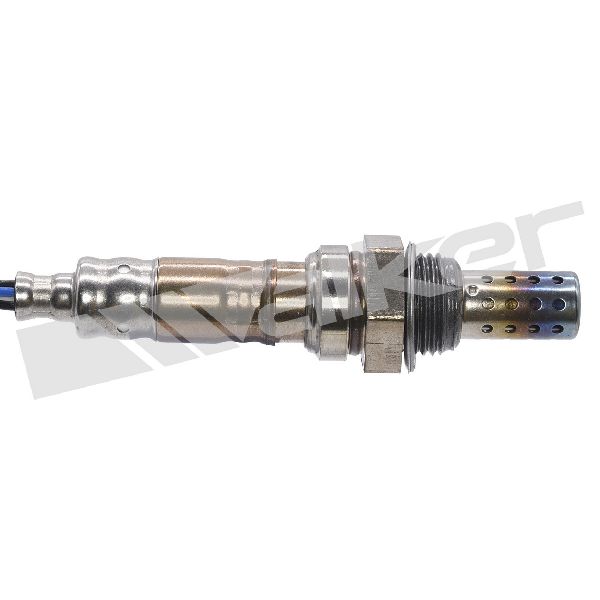
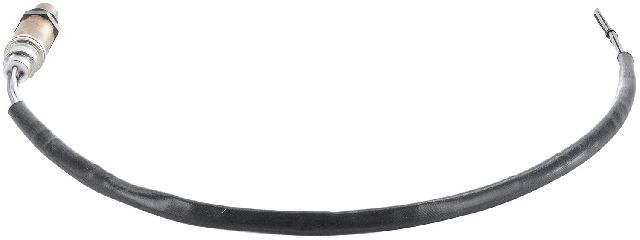
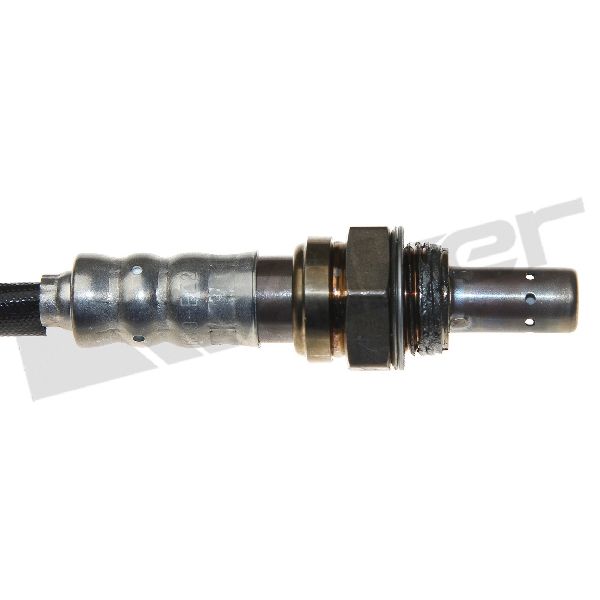
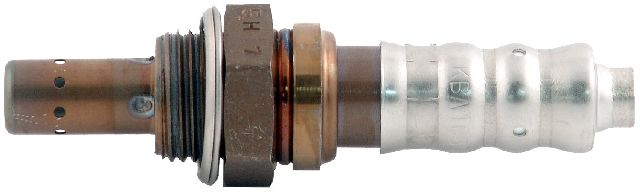
- Upstream Oxygen Sensor (Bank 1, Sensor 1)
(OEM #DY-1178)— This is the most common failure point for code P0132. The sensor wears out and fails to read oxygen levels correctly, sending a fixed high voltage signal.
Trusted brands: Motorcraft, Bosch, Denso, NGK
OEM price range: $100-$160
Aftermarket price range: $50-$120
Related Codes That Often Appear With This One
- P0172 — If the engine is actually running rich, you will likely see a P0172 (System Too Rich Bank 1) code alongside P0132.
- P0152 — This is the equivalent code for Bank 2, Sensor 1. It's not uncommon for oxygen sensors to fail around the same time, so seeing both codes could indicate both upstream sensors need replacement.
Platform-Specific Known Issues
- A Ford TSB (20-2380) for some 2020 trucks mentions P0132 being caused by water intrusion into the O2 sensor harness connectors. While not for the Explorer specifically, it highlights that connector integrity is a known issue on Ford vehicles and should be checked carefully.
- The extreme difficulty in accessing the Bank 1 Sensor 1 is the most-cited complaint from owners on forums. Many DIY repairs are abandoned in favor of a professional due to the tight quarters against the firewall.
Mechanic-Grade Diagnostic Values
- O2 Sensor Heater Circuit Resistance — expected: 3 to 30 Ohms. Failure: A reading of infinite resistance (Open Loop/OL) or near-zero resistance (short circuit) indicates a failed heater element within the sensor.
- O2 Sensor Heater Circuit Supply Voltage — expected: Approximately 12V (Battery Voltage) with Key On, Engine Off (KOEO). Failure: 0V suggests a blown fuse or a break in the power supply wire to the sensor's heater circuit.
- Short/Long-Term Fuel Trims (STFT/LTFT) — expected: Close to 0% on a healthy engine.. Failure: Consistently negative values, often below -10%, indicate the PCM is actively removing fuel to compensate for a perceived rich condition, which can be caused by a faulty sensor stuck high or a true rich running issue.
Scan Tool Commands That Help
- Ford IDS (Integrated Diagnostic System): Datalogger for O2 Sensor Voltage and Fuel Trims — The Ford dealer-level tool (or equivalent high-end scanner) can graph the O2 sensor voltage in real-time to definitively see if it is switching properly or stuck high. It also allows for viewing related PIDs like fuel trims simultaneously.
- Ford IDS (Integrated Diagnostic System): Heater Circuit Current Draw (Bi-Directional Control) — This command actively turns the O2 sensor heater on and off to test the circuit's integrity. A current draw of 0.5 - 1.5 Amps is expected when active. 0 Amps indicates an open in the heater element or wiring, confirming a fault in that part of the circuit.
Wiring & Ground Locations
- Main Engine Grounds — Key ground points include a strap from the battery negative terminal to the chassis/frame, a cable to the engine block (often near the starter), and a strap from the firewall to the engine.. A poor ground connection can introduce voltage offsets and instability in sensor circuits, potentially causing incorrect readings. While not a primary cause for a 'stuck high' code, ensuring clean, tight grounds is a foundational step in any electrical diagnosis.
- O2 Sensor Connector — The connector for Bank 1, Sensor 1 is located at the end of the sensor's pigtail, near the rear exhaust manifold, close to the firewall.. This connector is a common failure point due to proximity to high heat. A short between the signal wire and the heater power wire within the connector or harness can cause a constant high voltage signal, perfectly mimicking a failed sensor.
Real Owner Repair Stories
- Ford F150 Forum (2020 Ford F-150 5.0L (Note: Different engine but identical code and diagnostic principle)) — Persistent P0132 code that only appeared on warm restarts. The Check Engine Light would illuminate within 5 seconds of starting a warm engine.
❌ Tried (didn't work) Replaced the Bank 1 Sensor 1 O2 sensor twice., Swapped the Bank 1 and Bank 2 sensor connectors to see if the fault moved; it did not, remaining on Bank 1.
✅ What actually fixed it The forum user concluded the issue was an open circuit or wiring fault between the PCM and the sensor connector, as swapping sensors did not move the fault. The code being described as a 'circuit high' code pointed directly to a wiring or connection problem rather than the sensor itself.
OEM Part Supersession History
BL3Z-9F472-A→DY-1178— Standard part number update and packaging change by Motorcraft.
Heads up: DY-1178 is the direct service replacement for BL3Z-9F472-A. They are fully compatible.
Model Year Variations Within This Range
- 2011-2016 (Gen 1 EcoBoost) vs 2017-2019 (Gen 2 EcoBoost): The 3.5L EcoBoost engine was significantly updated for the 2017 model year, becoming the 'Gen 2' version. While the P0132 code's meaning and primary cause (failed B1S1 sensor) remain the same, some components like turbochargers and the fuel injection system were changed. However, the upstream O2 sensor part number (DY-1178) and its difficult location remain consistent across the 2013-2019 range for the Explorer.
- 2013-2019: The transverse (FWD-based) 3.5L EcoBoost used in the Explorer is mechanically different from the longitudinal (RWD-based) 3.5L EcoBoost used in the F-150 of the same era. This includes differences in the timing cover, water pump, and other external components, though the core engine architecture is similar. Repair procedures and part locations can differ significantly between platforms.
Diagnostic Flowchart
Other Known Issues on This Vehicle
Issues unrelated to this code that are worth knowing about as an owner of this generation:
- Internal Water Pump Failure 🔴 High — Commonly occurs between 80,000 and 150,000 miles. Failure can cause coolant to mix with engine oil, leading to catastrophic engine damage if not caught early.
- Power Transfer Unit (PTU) Overheating/Failure 🔴 High — The PTU (on AWD models) contains a small amount of fluid that breaks down from heat, leading to bearing failure. Many units were built without a drain plug, making service difficult. Failure can be costly and may damage the transmission.
- Intake Valve Carbon Buildup 🟠 Medium — As a direct-injection engine, fuel doesn't wash over the intake valves, leading to carbon deposit accumulation over time. This can cause rough idle, misfires, and reduced performance, often noticeable after 60,000-80,000 miles.
- Exhaust Odor in Cabin 🟠 Medium — A well-documented issue where exhaust fumes can enter the cabin, particularly during heavy acceleration or with the A/C on recirculation. This led to multiple investigations and service bulletins. (Ref: TSB 14-0130)
- Timing Chain Stretch 🟠 Medium — Can occur on higher-mileage engines or those with extended oil change intervals, causing rattling noises on startup and potential cam/crank correlation codes.
Used vs. New Parts: Buying Guide for This Vehicle
When a used part is the smart pick: For this repair, buying a used oxygen sensor is never recommended. O2 sensors are wear items with a finite lifespan, and their performance degrades over time. A used sensor has unknown life remaining and may fail shortly after installation, wasting time and money, especially given the difficult labor involved in this specific replacement.
What to inspect on the donor part:
- Not applicable, as used O2 sensors are not a viable option.
OEM-only on this vehicle (don't cheap out):
- While not strictly 'OEM-only', using a reputable OE-supplier brand is critical. Cheap, unbranded sensors are known to have high failure rates, incorrect calibration, or improper wiring, often causing the code to return.
Aftermarket brands forum-validated for this vehicle:
- Motorcraft (OEM)
- Bosch (often an OE supplier for Ford)
- Denso (often an OE supplier for Ford)
- NTK (often an OE supplier for Ford V6 Turbo applications)
Brands owners have reported issues with on this vehicle:
- Ultra-Power
- Unbranded sensors from online marketplaces like AliExpress, which are frequently reported to have incorrect dimensions, poor-quality connectors, or premature failure.
Real Owner Stories
Aggregated from forums and TSBs cited above. Mileages and costs reflect what owners reported in those sources.
2011-2019 Ford Explorer 3.5L EcoBoost
Symptoms: Owners reported extreme difficulty in accessing the Bank 1 sensor due to its location against the firewall, with many DIY attempts being abandoned.
What fixed it: Replacement of the Bank 1 Sensor 1 oxygen sensor using specific tools like flexible extensions and crow's foot O2 sensor sockets from below the vehicle.
Source hint: Reddit r/FordExplorer
2011-2019 Ford Explorer 3.5L EcoBoost
Symptoms: Corroborated the difficult location of the Bank 1 sensor and the commonality of the high voltage circuit code.
What fixed it: Replacement of the Bank 1, Sensor 1 oxygen sensor.
Source hint: fordexplorerforum.com
Related OBD-II Codes
Frequently Asked Questions
Where is the Bank 1 Sensor 1 oxygen sensor located on my 3.5L EcoBoost Explorer?
Does Ford TSB 20-2380 regarding water intrusion apply to my Explorer's P0132 code?
Can I use a used O2 sensor from a donor vehicle to save money on this repair?
Are there specific brands I should look for when replacing the sensor?
Why is the Bank 1 Sensor 1 so much harder to change than others on this engine?
Could my P0132 code be related to the exhaust smell I notice in the cabin?
Helpful Videos

We Have This Part in Stock

The information in this article is provided for general reference and educational purposes only. Vehicle specifications, procedures, and part compatibility can vary by production date, trim level, and region. Always consult your vehicle's factory service manual and verify part numbers before purchasing or performing repairs. Safety-critical components such as airbags, seat belts, and braking systems should be installed by a qualified professional.
- Ford Explorer:
- 🧭 Diagnostic Flowchart
- 🎬 Helpful Videos
- 🛍️ Shop This Part
- What's Unique About the 2011-2019 Ford Explorer
- Symptoms You May Notice
- Most Likely Causes
- Rare But Worth Checking
- Diagnosis Steps
- Parts You'll Likely Need
- Related Codes That Often Appear With This One
- Platform-Specific Known Issues
- Mechanic-Grade Diagnostic Values
- Scan Tool Commands That Help
- Wiring & Ground Locations
- Real Owner Repair Stories
- OEM Part Supersession History
- Model Year Variations Within This Range
- Other Known Issues on This Vehicle
- Used vs. New Parts: Buying Guide for This Vehicle
- Real Owner Stories
- 2011-2019 Ford Explorer 3.5L EcoBoost
- 2011-2019 Ford Explorer 3.5L EcoBoost
- Related OBD-II Codes
- Frequently Asked Questions
- 🎟️ Get 5% Off