
P0132 on 2007-2013 Mitsubishi Outlander: O2 Sensor High Voltage Causes and Fixes
This code almost always points to a failed upstream oxygen sensor (Bank 1, Sensor 1). On the 2.4L, it's the sensor on the exhaust manifold. On the 3.0L V6, it's the sensor on the rear exhaust manifold near the firewall. Expect to pay $60-$120 for an aftermarket sensor and $150-$250 for an OEM part. Before replacing, quickly check the wiring for any melting or damage, as this is another common failure point.
- P0132 points to a high voltage signal from the upstream O2 sensor on Bank 1.
- The most likely cause by far is a failed O2 sensor.
- For the 3.0L V6, ensure you are diagnosing the correct sensor bank: Bank 1 is the rear bank, near the firewall.
- Before replacing the sensor, always check the wiring and connector for obvious damage like melting.
- Driving for too long with this code can damage your catalytic converter, a much more expensive repair.
What's Unique About the 2007-2013 Mitsubishi Outlander
For the 2007-2013 Outlander, the key difference is identifying the correct sensor based on the engine. On the 4B12 2.4L I4, 'Bank 1' is the only bank, and 'Sensor 1' is the easily accessible upstream O2 sensor on the exhaust manifold. For the 6B31 3.0L V6, 'Bank 1' is the rear cylinder bank, closer to the firewall, making its upstream O2 sensor (Sensor 1) more difficult to access than the front one (Bank 2). Misdiagnosing the bank is a common and costly mistake on the V6 model. Additionally, connector designations for the sensor vary by model year and emissions package (e.g., C-44, C-134, B-05), requiring careful verification before testing.
Symptoms You May Notice
- Check Engine Light is on
- Decreased fuel economy
- Rough or unstable idle, with revs bouncing
- Engine hesitation or stumbling on acceleration
- Black smoke from the exhaust in severe cases
- Smell of raw fuel
- Engine may cut out at idle in some instances
- Replacing the wrong O2 sensor. On the V6, people often mistakenly replace the easier-to-access Bank 2 (front) sensor instead of the correct Bank 1 (rear) sensor.
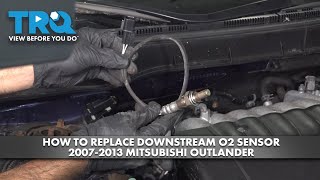
- Replacing the downstream (Sensor 2) O2 sensor. The downstream sensor only monitors the catalytic converter and does not affect fuel trim in the way the upstream sensor does. 🎬 Watch: How to replace the downstream sensor if needed.
- Replacing the O2 sensor without checking for wiring damage or a true rich-running condition first.
- Assuming the sensor is bad without considering underlying maintenance issues like old spark plugs or a clogged air filter, which can contribute to a rich condition.
Most Likely Causes
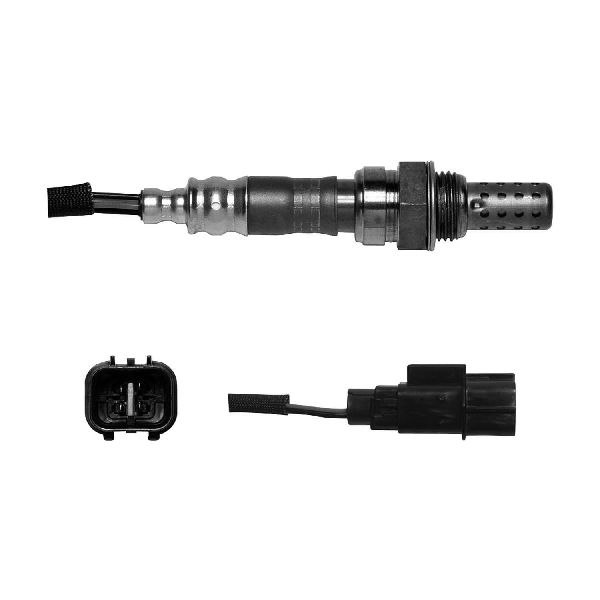
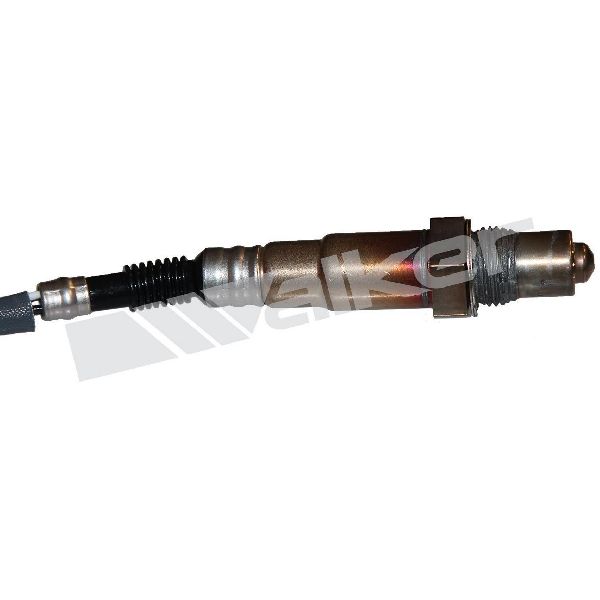
- Failed Upstream Oxygen Sensor (Bank 1, Sensor 1) 🔴 High Probability → Shop Oxygen Sensor Oxygen sensors are wear-and-tear items that operate in a harsh exhaust environment. Over time, they can fail internally from contamination or age, causing them to send an incorrect, fixed high-voltage signal.
How to confirm: Use a scan tool to monitor the live data for the Bank 1 Sensor 1 voltage. If the engine is warm and at a steady RPM, the voltage should fluctuate rapidly between approximately 0.1V and 0.9V. If it is stuck high (e.g., >0.9V), the sensor has likely failed. The sensor's internal heater circuit can also be tested; it should have a resistance between 4.5 and 8.0 Ω at room temperature (68°F).
Typical fix: Replace the Bank 1, Sensor 1 oxygen sensor. On the 2.4L, this is the sensor on the exhaust manifold. On the 3.0L, this is the sensor on the rear (firewall side) exhaust manifold. An oxygen sensor socket (7/8" or 22mm) is required.
Est. part cost: $60-$250 - Wiring or Connector Issue 🟡 Medium Probability The sensor wiring is located in the hot engine bay and can become brittle, melt, or corrode over time. A signal wire shorting to a power source, or a damaged connector can cause a constant high voltage reading. Mitsubishi's official diagnostic procedure points to checking for a short to power between the sensor connector and the ECM.
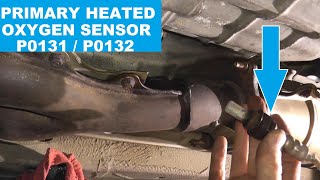
How to confirm: Visually inspect the wiring harness and connector for the O2 sensor. Look for any signs of melting, chafing, corrosion, or loose pins. A multimeter can be used to check for a short to power in the signal wire (Sensor Pin 3 to ECM Pin 38) with the sensor disconnected. A wiring diagram is helpful for tracing the correct wires. 🎬 See this guide on how to test and replace heated sensors.
Typical fix: Repair the damaged section of the wiring harness or clean/replace the connector.
Est. part cost: $5-$50 - Engine Running Rich ⚪ Low Probability While less common for this specific code, issues like a leaking fuel injector, a faulty fuel pressure regulator causing high pressure, or a malfunctioning Mass Airflow (MAF) sensor can force the engine to run rich. In this case, the O2 sensor is correctly reporting the high voltage that results from the rich mixture. If this is the cause, other codes related to the fuel system are often present.
How to confirm: Check long-term and short-term fuel trims with a scan tool; large negative numbers indicate the ECM is trying to correct a rich condition. Test fuel pressure and inspect fuel injectors for leaks.
Typical fix: Repair the underlying fuel system issue, such as replacing a leaking fuel injector or faulty fuel pressure regulator.
Est. part cost: $100-$400+
Rare But Worth Checking
- Exhaust Leak: An exhaust leak before the O2 sensor can, in some cases, draw in air and disrupt sensor readings. While more commonly associated with low voltage codes (P0131), it's worth inspecting the exhaust manifold for cracks or gasket leaks as it can cause erratic sensor behavior.
- Faulty Engine Control Module (ECM): → Shop Engine Control Module (ECM) This is very rare. The ECM's internal circuit for interpreting the O2 sensor signal can fail. Mitsubishi's own service manual lists ECM replacement as a final step after all other possibilities are exhausted. All other possibilities, especially the sensor and wiring, should be exhaustively ruled out before considering ECM replacement.
Diagnosis Steps
- Connect an OBD-II scanner and confirm P0132 is the active code. Note any other codes present, as they can point to a root cause like a rich condition.
- View live data for the 'O2 Sensor Voltage Bank 1 Sensor 1'.
- Warm up the engine to operating temperature. The voltage should fluctuate rapidly between ~0.1V and ~0.9V. If the voltage is stuck high (e.g., 0.9V or higher), it confirms the fault condition.
- Perform a thorough visual inspection of the Bank 1 Sensor 1 wiring harness and connector. Look for any signs of melting, corrosion, or physical damage. Pay close attention to where the harness might contact hot exhaust components.
- If wiring looks good, the next step is usually to replace the O2 sensor, as it is the most common failure point.
- After replacement, clear the codes and test drive. If the code returns, investigate a potential rich-running condition.
- Check fuel trims with the scanner. Large negative values (e.g., -10% or more) suggest the engine is running rich and the ECM is pulling fuel.
- Test fuel pressure to ensure it is within the manufacturer's specification.
- Check for leaking fuel injectors.
- If all else fails, the problem may lie with the ECM, but this is extremely unlikely and should be the last resort.
Parts You'll Likely Need
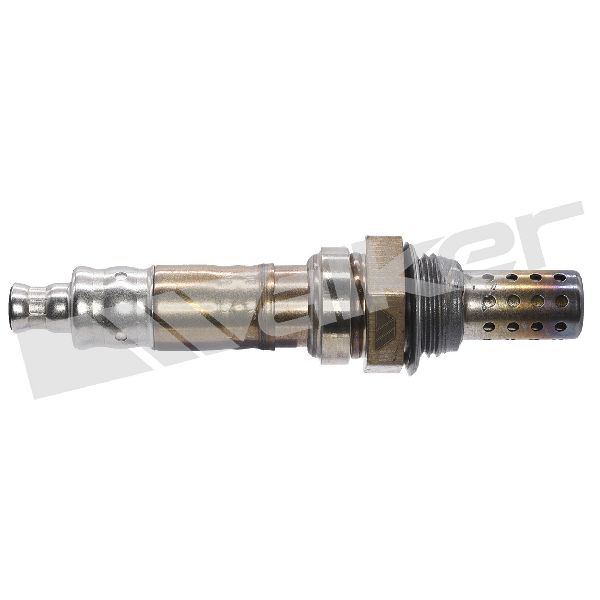
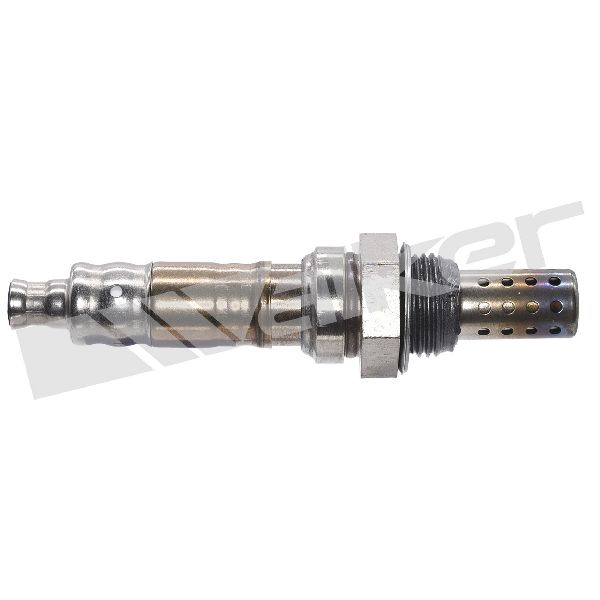
- Upstream Oxygen Sensor (Bank 1, Sensor 1)
(OEM #1588A195 (for 4B12 2.4L), 1588A141 (for 6B31 3.0L))— This is the primary sensor for fuel control on Bank 1 and is the most common failure point for code P0132. Its location in the exhaust stream leads to wear and eventual failure.
Trusted brands: Denso (often the OEM supplier), Bosch, NTK
OEM price range: $150-$250
Aftermarket price range: $60-$120
Platform-Specific Known Issues
- V6 Bank 1 Sensor Access: On the 3.0L V6 (6B31), the Bank 1 Sensor 1 is on the rear manifold against the firewall. Access is tight and may require removal of other components from above or accessing from below the vehicle, significantly increasing the difficulty compared to the easily-accessible Bank 2 sensor or the sensor on the 4-cylinder engine.
- Aftermarket Sensor Wiring Mismatch: Some owners have reported issues with universal or cheaper aftermarket O2 sensors having incorrect wiring pinouts for the connector, even if the plug fits. This can cause the code to persist or new heater circuit codes to appear. Using a reputable brand like Denso or NTK, or verifying the pinout, is recommended.
Mechanic-Grade Diagnostic Values
- Front O2 Sensor Heater Circuit Resistance — expected: 4.5 - 8.0 Ω (at 20°C / 68°F). Failure: A reading outside this range (open circuit or shorted) indicates a failed heater element within the sensor.
- Front O2 Sensor Output Voltage (DTC Trigger) — expected: Fluctuating between ~0.1V and ~0.9V. Failure: Voltage is greater than 1.8V for 2 seconds.
- Front O2 Sensor Signal Wire (at ECM) — expected: Fluctuating voltage between ~0.1V and ~0.9V. Failure: Constant high voltage (>0.9V) or a short to power.
- Front O2 Sensor Ground Wire (at ECM) — expected: The ECM provides a 0.5V offset voltage to this wire.. Failure: Incorrect or missing offset voltage could indicate an ECM or wiring issue.
Scan Tool Commands That Help
- Mitsubishi M.U.T.-III: Data List (Service AC: Oxygen sensor (front)) — This is the primary function used to monitor the live voltage output of the front oxygen sensor to see if it is stuck high, confirming the fault condition described in P0132.
Wiring & Ground Locations
- B1-S1 O2 Sensor Connector (V6) — Connector C-134, on the rear exhaust manifold, near the firewall.. This is the main connector for the sensor. Pin 3 is the signal wire to the ECM, and Pin 4 is the sensor ground from the ECM.
- B1-S1 O2 Sensor Connector (I4) — Connector C-44, on the exhaust manifold. For California emissions models, it may be B-05.. This is the main connector for the sensor on the 4-cylinder engine. Pin 3 is the signal wire.
- ECM Connector (V6) — Connector B-29 at the Engine Control Module.. This is where the sensor signals terminate. Pin 38 is the signal input from the O2 sensor, and Pin 39 is the sensor ground.
- ECM Connector (I4) — Connector B-108 at the Engine Control Module.. This is where the sensor signals terminate. Pin 38 is the signal input from the O2 sensor, and Pin 39 is the sensor ground.
- Engine/Chassis Grounds — Various points, including G11 (left rear of engine compartment), G12 (left side of engine compartment), and G18 (left kick panel).. While the sensor has a dedicated ground via the ECM, poor engine or chassis grounds can introduce electrical noise and voltage offsets that may affect sensor readings. Checking major ground points for corrosion is a good practice.
Model Year Variations Within This Range
- 2010-2013: A significant facelift was introduced for the 2010 model year. While the base engines remained, the 3.0L V6 received minor power/torque improvements and the engine management system was updated again in 2011 for better fuel economy, which could lead to slight differences in software logic for fault detection.
- 2007-2013 (Varies): The wiring connector designator for the front O2 sensor is not consistent across all years and regions. It can be C-134 on V6 models, C-44 on 4-cylinder models, or B-05 on California emissions models. Technicians must verify the correct connector on a wiring diagram for the specific vehicle being serviced.
Diagnostic Flowchart
Other Known Issues on This Vehicle
Issues unrelated to this code that are worth knowing about as an owner of this generation:
- CVT Transmission Issues/Failure 🔴 High — Common, particularly on higher mileage (100k+ miles) vehicles or those with poor maintenance history. Heat is a major factor. (Ref: TSB 20-23-001REV addresses shudder/surge conditions.)
- Lower Control Arm Bushing/Ball Joint Wear 🟠 Medium — A common wear item causing squeaking over bumps and premature tire wear.
- Water Pump Failure (V6) 🔴 High — On the 6B31 V6, the water pump is driven by the timing belt. Failure can cause overheating. It is recommended to replace it with the timing belt every 90,000 km.
- Oil Consumption 🟠 Medium — Some owners of both 4B12 and 6B31 engines report increased oil consumption as mileage increases, potentially due to worn piston rings or valve seals.
- Rear Liftgate Corrosion 🟡 Low — Corrosion can form on the lower part of the liftgate or around the handle due to trapped moisture. More common in salt-belt regions. (Ref: TSB-17-42A-001 (supersedes TSB-15-42A-001) addresses this for the related Outlander Sport, but the issue is noted on Outlanders as well.)
- Faulty Crankshaft Position Sensor (V6) 🟠 Medium — Can fail and cause a no-start condition. It is located in a difficult-to-access position on the 6B31 engine.
Used vs. New Parts: Buying Guide for This Vehicle
When a used part is the smart pick: For this repair, a used part is generally not recommended for the oxygen sensor itself, as it is a wear item. However, sourcing a used wiring harness pigtail from a junkyard is a very smart choice if the vehicle's original connector is melted, corroded, or damaged.
Donor-vehicle mileage cap: roughly under 50000 miles for the part to have meaningful remaining life.
What to inspect on the donor part:
- For a wiring pigtail: Inspect for any signs of melting or heat damage.
- Check that the plastic is not brittle and the locking tab is intact.
- Look at the pins inside the connector to ensure they are clean and free of green or white corrosion.
- Ensure the wires have not been poorly repaired with tape or butt connectors close to the plug.
OEM-only on this vehicle (don't cheap out):
- While not strictly 'OEM-only', it is strongly recommended to use sensors from the original equipment manufacturer or a brand with a strong OEM supply history. Cheap, unbranded aftermarket sensors are a frequent cause of persistent or new trouble codes on this platform.
Aftermarket brands forum-validated for this vehicle:
- Denso (often the original OEM supplier)
- NTK (part of NGK, also a major OEM supplier)
Brands owners have reported issues with on this vehicle:
- Universal-fit sensors that require splicing wires.
- Unbranded, low-cost sensors from online marketplaces.
Real Owner Stories
Aggregated from forums and TSBs cited above. Mileages and costs reflect what owners reported in those sources.
2007-2013 Mitsubishi Outlander (Engine Unspecified)
Symptoms: Rough idle, loss of power, engine cutting out, and bouncing revs.
What fixed it: The owner was investigating the P0132 code as the primary lead for these severe driveability issues.
Source hint: Reddit r/AskMechanics - P0132 - Rough idle, loss of power, engine cutting out
2015 Mitsubishi Outlander 2.4L
Symptoms: Heater circuit code appeared immediately after installing a cheaper aftermarket O2 sensor.
What fixed it: The owner suspected an incorrect wiring pinout on the new aftermarket part's connector.
Source hint: Mitsubishi Forum - 2015 2.4L O2 Sensor pinout (upstream)
2007-2013 Mitsubishi Outlander (Engine Unspecified)
Symptoms: P0132 code present; discussion on whether to replace the sensor immediately or check other items.
What fixed it: Community members advised checking overdue maintenance like spark plugs and filters that could cause a rich condition before replacing the sensor.
Source hint: Car Talk Community - Getting code P0132 - should I just change the O2 sensor?
Related OBD-II Codes
Frequently Asked Questions
Where is the Bank 1 Sensor 1 located on my 3.0L V6 Outlander?
I replaced my sensor with a cheap aftermarket part and now have new codes. What happened?
Can I just check the resistance of the O2 sensor heater on my 4B12 engine?
Is there a specific TSB for the P0132 code on the 2007-2013 Outlander?
What specific tool do I need to remove the sensor on the 2.4L exhaust manifold?
Could my rough idle and bouncing revs be caused by something other than the sensor?
Helpful Videos


We Have This Part in Stock


The information in this article is provided for general reference and educational purposes only. Vehicle specifications, procedures, and part compatibility can vary by production date, trim level, and region. Always consult your vehicle's factory service manual and verify part numbers before purchasing or performing repairs. Safety-critical components such as airbags, seat belts, and braking systems should be installed by a qualified professional.
- Mitsubishi Outlander:
- 🧭 Diagnostic Flowchart
- 🎬 Helpful Videos
- 🛍️ Shop This Part
- What's Unique About the 2007-2013 Mitsubishi Outlander
- Symptoms You May Notice
- Most Likely Causes
- Rare But Worth Checking
- Diagnosis Steps
- Parts You'll Likely Need
- Platform-Specific Known Issues
- Mechanic-Grade Diagnostic Values
- Scan Tool Commands That Help
- Wiring & Ground Locations
- Model Year Variations Within This Range
- Other Known Issues on This Vehicle
- Used vs. New Parts: Buying Guide for This Vehicle
- Real Owner Stories
- 2007-2013 Mitsubishi Outlander (Engine Unspecified)
- 2015 Mitsubishi Outlander 2.4L
- 2007-2013 Mitsubishi Outlander (Engine Unspecified)
- Related OBD-II Codes
- Frequently Asked Questions
- 🎟️ Get 5% Off