
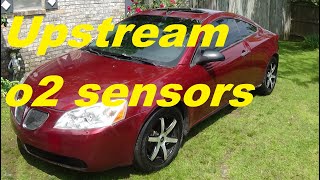
P0134 on 2005-2010 Pontiac G6 V6: Causes and Fixes for O2 Sensor No Activity
On the 3.5L or 3.6L V6 Pontiac G6, code P0134 almost always means the upstream oxygen sensor on the firewall side of the engine (Bank 1, Sensor 1) has failed. The repair is DIY-friendly but access is very tight. Expect to pay $40-$80 for a quality aftermarket sensor (Denso/NTK) or $90-$150 for an OEM ACDelco part. Before replacing, check the 'EMISSIONS' or 'HO2S' fuse.
- P0134 on a G6 V6 points to the upstream O2 sensor on the rear cylinder bank, near the firewall.
- The most likely cause is a failed sensor, but always check the 'EMISSIONS' or 'HO2S' fuse and inspect the wiring for melting before buying parts.
- Access is very tight; a special 22mm (7/8") O2 sensor socket (crow's foot or slotted) and penetrating oil are highly recommended for DIY replacement.
- Use a quality replacement sensor from ACDelco (213-4229), Denso, or NTK to avoid compatibility issues. Forums specifically warn against using Bosch sensors on this platform.
- Do NOT replace the easy-to-reach sensor on the radiator side (Bank 2); it will not solve a P0134 code.
What's Unique About the 2005-2010 Pontiac G6
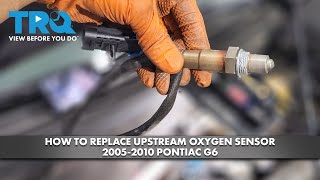
For the Pontiac G6 with the transverse 3.5L or 3.6L V6, the main story of code P0134 isn't about a complex diagnostic puzzle, but one of physical access. 'Bank 1' is the cylinder bank located against the firewall, making the 'Sensor 1' (upstream) oxygen sensor notoriously difficult to see and reach. While the cause is almost always a simple failed sensor, many owners mistakenly replace the much easier-to-access sensor on the radiator side (Bank 2), which does not fix the code. The tight space makes using the correct tools, like a 22mm (7/8") crow's foot O2 sensor socket, and soaking the sensor in penetrating oil essential for a successful DIY repair.
Symptoms You May Notice
- Check Engine Light is on
- Noticeably reduced fuel economy
- Rough or unstable idle
- Hesitation during acceleration
- Failed emissions test
- Engine may stall, especially after starting
- Replacing the wrong O2 sensor. P0134 is for Bank 1, which is the firewall side on the V6. People often mistakenly replace the easier-to-access Bank 2 sensor on the radiator side.
- Replacing the O2 sensor without first checking the 'EMISSIONS' / 'HO2S' fuse and inspecting the wiring for damage.
- Using a cheap, incompatible O2 sensor brand. Owners on G6 forums specifically report that Bosch sensors can cause persistent codes on these vehicles.
Most Likely Causes
- Failed Bank 1, Sensor 1 Oxygen Sensor 🔴 High Probability → Shop Oxygen Sensor Oxygen sensors are wear items that degrade over time from heat and contaminants. The internal heating element is a common point of failure, which is necessary to get the sensor to operating temperature quickly. This often triggers P0134 and P0135 together.
How to confirm: Use a scan tool to monitor live data for 'O2S B1S1'. If the voltage is stuck at a steady number (often around 0.45V) or shows 0V and does not fluctuate after the engine is warm, the sensor has failed. A healthy upstream sensor should fluctuate rapidly between 🎬 See how to diagnose an inactive Bank 1 sensor approximately 0.1V and 0.9V.
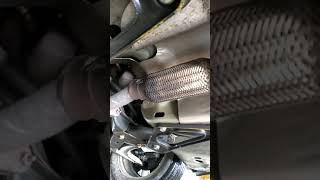
Typical fix: Replace the Bank 1, Sensor 1 oxygen sensor. This sensor is located on the rear exhaust manifold, near the firewall. It is highly recommended to use an OEM ACDelco or OE-equivalent Denso/NTK part, as forums report issues with Bosch and other budget brands.
Est. part cost: $40-$150 - Damaged Wiring or Connector 🟡 Medium Probability The wiring harness for the rear O2 sensor is routed in a hot, tight space between the engine and firewall, making it susceptible to melting, chafing, or damage over time.
How to confirm: Visually inspect the entire length of the wiring harness from the sensor to the main loom. Look for melted plastic, frayed wires, or corrosion inside the connector pins. A multimeter can be used to check for 12V power to the heater circuit and for a 450mV reference voltage on the signal wire with the key on.
Typical fix: Repair the damaged section of wire or replace the connector pigtail. Ensure the repaired harness is properly secured away from hot exhaust components using high-temp zip ties or loom.
Est. part cost: $10-$30 - Blown Fuse ⚪ Low Probability A short in the sensor's heater circuit or its wiring can cause the associated fuse to blow, preventing the sensor from heating up and becoming active.
How to confirm: Check the fuse for the O2 sensor heater circuit in the underhood fuse box. On the G6, this is often a 15A fuse labeled 'EMISSIONS' or 'HO2S'. If the fuse is blown, there is a short circuit that needs to be found before replacing the fuse.
Typical fix: Replace the blown fuse after diagnosing the root cause of the overcurrent condition (e.g., a shorted sensor or wiring).
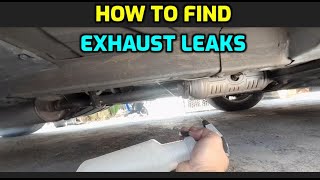
Est. part cost: $1-$5 - Exhaust Leak ⚪ Low Probability
How to confirm: Listen for a ticking or puffing sound from the rear of the engine, especially when the engine is cold. A visual inspection may reveal soot trails near manifold gaskets or flanges. An exhaust leak before the sensor can introduce extra oxygen, causing the sensor to read incorrectly, though this usually causes a lean code (P0171) rather than a 'no activity' code.
Typical fix: Replace the leaking exhaust manifold gasket or repair the crack in the manifold. This is often a more involved repair.
Est. part cost: $20-$200
Rare But Worth Checking
- Faulty Powertrain Control Module (PCM): → Shop Engine Control Module (ECM) This is extremely rare. The PCM should only be considered after all other possibilities (sensor, wiring, fuses, leaks) have been exhaustively tested and ruled out. A faulty PCM might not provide the necessary 450mV baseline voltage to the sensor's signal circuit.
Diagnosis Steps
- Connect an OBD-II scanner to confirm P0134 is the active code. Note any other codes, especially P0135.
- Check the 15A 'EMISSIONS' or 'HO2S' fuse in the underhood fuse box.
- Visually inspect the Bank 1, Sensor 1 (rear, upstream) O2 sensor wiring and connector for any signs of melting, fraying, or corrosion.
- Using the live data function on a scan tool, monitor the voltage for 'O2S B1S1' with the engine running and warm. It should fluctuate rapidly between approximately 0.1V and 0.9V.
- If the voltage is stuck at a fixed number (e.g., ~450mV) or shows no activity (0V), the sensor has likely failed.
- If the fuse was blown and a new one also blows, you must find the short circuit in the wiring or sensor before proceeding.
- If a new sensor does not fix the issue, re-check the wiring for a poor connection or break that isn't visually obvious. Use a multimeter to test for 12V power and a good ground at the sensor connector with the key on.
Parts You'll Likely Need
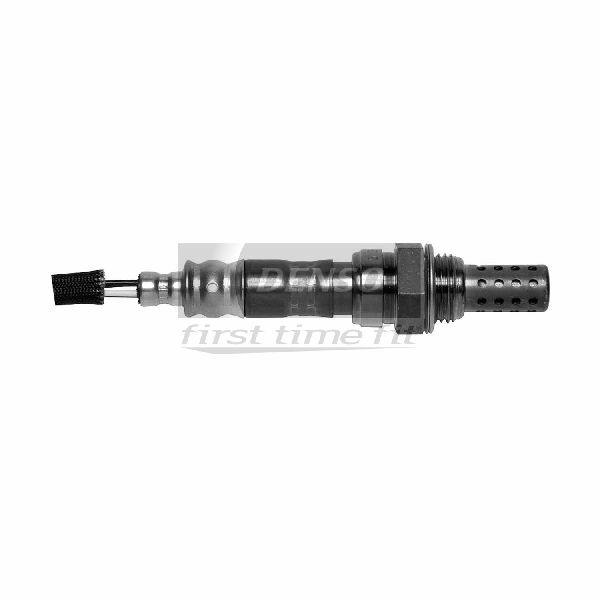
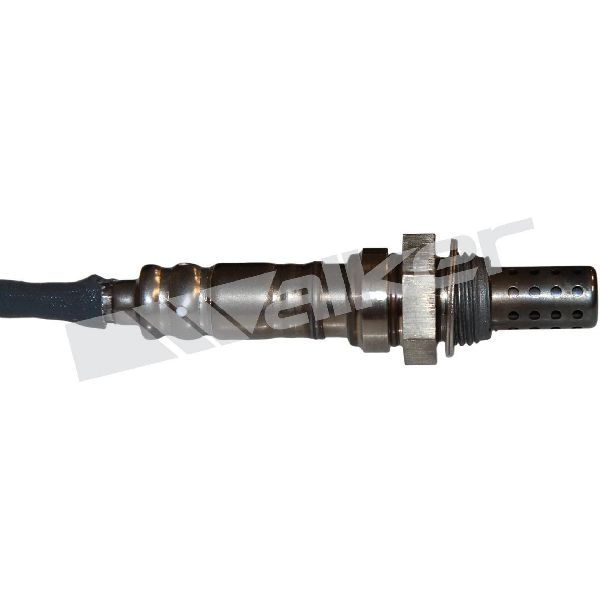
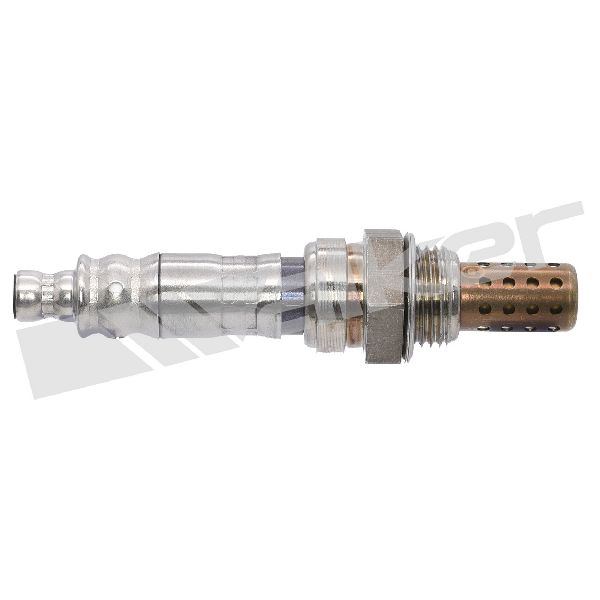
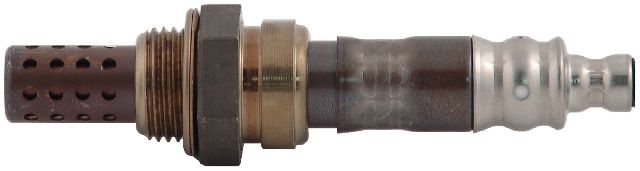
- Upstream Oxygen Sensor (Bank 1, Sensor 1)
(OEM #ACDelco 213-4229 (GM 12609457))— This is the sensor located on the rear (firewall side) exhaust manifold. Its failure to produce a signal is the direct cause of the P0134 code.
Trusted brands: ACDelco (OEM), Denso (e.g., 234-4668), NTK (e.g., 24302)
OEM price range: $90-$150
Aftermarket price range: $40-$80
Related Codes That Often Appear With This One
- P0135 — P0135 refers to a malfunction in the heater circuit of the same sensor (Bank 1, Sensor 1). A failed heater is a primary reason the sensor won't show activity, so these codes frequently appear together.
Technical Service Bulletins (TSBs) & Recalls
- While no TSBs directly address P0134 on this platform, owners of the 3.6L LY7 engine should be aware of TSB #12-06-01-009F, which details procedures for the extremely common timing chain stretch issue.
Platform-Specific Known Issues
- Real Repair Story: The Breaker Bar Fix: An owner on g6ownersclub.com reported that replacing the Bank 1 sensor was impossible from above the engine. They had to soak the sensor in PB Blaster penetrating oil for several hours, then access it from underneath the car with a 22mm O2 sensor socket on a long extension and a 2-foot breaker bar to finally break it loose. This highlights the extreme difficulty of access and the force required.
- Real Repair Story: P0134 and P0135 Together: A 2008 G6 3.6L owner at 105,000 miles had both P0134 and P0135 codes. The combination of 'no activity' and 'heater circuit failure' codes strongly indicated the sensor itself had an internal failure. A new sensor resolved both codes.
Mechanic-Grade Diagnostic Values
- O2 Sensor Heater Circuit Resistance — expected: 5 to 20 Ohms across the two same-colored wires on the sensor connector.. Failure: An open circuit ('OL' or infinite resistance) indicates a failed heater element.
- O2 Sensor Heater Circuit Voltage — expected: Battery voltage (~12V) at one of the heater circuit pins on the harness-side connector with Key On, Engine Off.. Failure: 0V indicates a blown fuse, bad relay, or an open in the power supply wire.
- O2 Sensor Heater Circuit Ground — expected: A good ground provided by the PCM on the second heater circuit pin. This is a switched ground.. Failure: No ground continuity points to a wiring issue or a fault in the PCM's driver circuit.
- O2 Sensor Signal Wire Voltage (Stuck/Inactive) — expected: A healthy sensor fluctuates rapidly between ~0.1V and ~0.9V.. Failure: A voltage that is stuck and unchanging (often around 0.45V) or reads 0V indicates no sensor activity.
- Mode $06 Rich-to-Lean Switch Time — expected: A value within the manufacturer's specified milliseconds (typically under 100ms).. Failure: A high millisecond value indicates a 'lazy' sensor, which is a precursor to a 'no activity' fault.
Scan Tool Commands That Help
- Tech2 / GDS2: Engine Data / O2 Sensor Data Display — This function allows for live graphing of the O2 sensor voltage. For P0134, a technician would use this to confirm that the Bank 1 Sensor 1 voltage is flatlined and not fluctuating, confirming the 'No Activity' condition reported by the code.
- Tech2 / GDS2: Mode $06 / On-Board Monitoring Test Results — This allows a technician to view the results of the PCM's internal self-tests without waiting for a full drive cycle. For O2 sensors, this can show switch rate times and min/max voltage thresholds to determine if a sensor is borderline or has completely failed.
Wiring & Ground Locations
- G105 — On a left rear engine-to-transmission stud, located below the upper coolant hose.. This is a primary ground point for the Engine Control Module (ECM). A corroded or loose connection here can cause a wide range of sensor codes, including P0134, due to an unstable ground reference for the ECM itself.
- G106 — On the front of the engine at a transmission stud, near the Park/Neutral Position (PNP) switch on 3.5L & 3.6L engines.. This is another critical engine block ground. On some GM platforms, this ground is shared by multiple components, and a poor connection can cause erratic behavior and communication issues between modules.
- B1S1 Connector — On the rear of the engine, where the O2 sensor pigtail connects to the main engine harness near the firewall.. This connector is the primary point for testing. A technician would test for 12V power and PCM-switched ground for the heater circuit, and a ~450mV reference voltage on the signal wire (Key On, Engine Off). The pins for the heater are typically the two wires of the same color.
Real Owner Repair Stories
- ScannerDanner YouTube Channel (2007 Pontiac G6 3.5L with a no-start condition, but demonstrates a relevant ground fault.) — No crank, no start, multiple communication codes.
❌ Tried (didn't work) Initial diagnosis pointed towards a bad Park/Neutral switch.
✅ What actually fixed it The root cause was a bad ground at G105 on the transmission stud. The ground wire for the Park/Neutral switch was showing 12V, indicating an open ground. This case highlights how a single bad ground at this specific location (G105) can affect multiple, seemingly unrelated systems that share it, including the ECM which processes the O2 sensor signal.
Model Year Variations Within This Range
- 2006: Wiring diagrams for the 2006 G6 with the 3.5L engine list the main computer as a Powertrain Control Module (PCM).
- 2008: Wiring diagrams for the 2008 G6 with the 3.5L engine list the main computer as an Engine Control Module (ECM). This suggests a possible change in the control module hardware or strategy during the production run, which could affect diagnostic procedures, though the function regarding the O2 sensor circuit remains the same.
Diagnostic Flowchart
Other Known Issues on This Vehicle
Issues unrelated to this code that are worth knowing about as an owner of this generation:
- Premature Timing Chain Stretch (3.6L LY7 only) 🔴 High — Extremely common, often occurring between 70,000 and 120,000 miles. Acknowledged by GM with TSBs and a special coverage program that has since expired. (Ref: TSB #12-06-01-009F; Special Coverage Adjustment #11340C)
- Sudden Loss of Electric Power Steering (EPS) 🔴 High — Widespread issue leading to multiple recalls. Can occur at any mileage, causing a sudden increase in steering effort. (Ref: NHTSA Recalls: 14V153000, 14772)
- Leaking Sunroof Drain Tubes 🟠 Medium — Common complaint where drain tubes (especially rear) become clogged or disconnected, causing water to leak into the headliner, pillars, and floor, often soaking the rear footwells.
- Intermediate Steering Shaft Clunk 🟡 Low — A very common issue causing a clunking or popping noise from the steering column, especially at low speeds. Often fixed by lubricating or replacing the intermediate shaft.
- Shift Cable Failure (4-Speed Auto) 🟠 Medium — Affects vehicles with the 4-speed automatic transmission. The shift cable end tabs can fracture, preventing the driver from shifting gears or causing the gear indicator to be incorrect. (Ref: NHTSA Recall: 12V460000)
Used vs. New Parts: Buying Guide for This Vehicle
When a used part is the smart pick: For this repair, a used part is only recommended for the connector pigtail if the original is damaged. The oxygen sensor itself is a wear item and should always be purchased new.
Donor-vehicle mileage cap: roughly under 80000 miles for the part to have meaningful remaining life.
What to inspect on the donor part:
- For a connector pigtail, inspect for any signs of melting, brittleness in the plastic, or corrosion on the pins.
- Ensure there is at least 4-6 inches of wiring attached to the connector to allow for a proper splice.
OEM-only on this vehicle (don't cheap out):
- Oxygen Sensor (ACDelco is strongly recommended)
Aftermarket brands forum-validated for this vehicle:
- Denso
- NTK
Brands owners have reported issues with on this vehicle:
- Bosch (Forum members have reported incompatibility and persistent codes with this brand on the G6 platform)
- Unbranded 'white-box' sensors from online marketplaces
Real Owner Stories
Aggregated from forums and TSBs cited above. Mileages and costs reflect what owners reported in those sources.
2008 Pontiac G6 3.6L V6 — 105000 miles
Symptoms: The vehicle had both P0134 and P0135 codes simultaneously, indicating 'no activity' and a 'heater circuit failure'.
What fixed it: Installation of a new oxygen sensor resolved both codes, as the internal failure of the sensor was affecting both the signal and the heater.
Source hint: vehicle_specific_issues: Real Repair Story: P0134 and P0135 Together
Pontiac G6 V6
Symptoms: The owner found it impossible to remove the Bank 1 sensor from above the engine due to the tight space and the sensor being seized.
What fixed it: Soaked the sensor in PB Blaster for several hours, then accessed it from underneath the car using a 22mm O2 sensor socket, a long extension, and a 2-foot breaker bar.
Source hint: g6ownersclub.com cited in vehicle_specific_issues: Real Repair Story: The Breaker Bar Fix
GM Epsilon Platform V6 (G6-equivalent)
Symptoms: Code P0134 persisted even after a new oxygen sensor was installed.
What fixed it: The owner performed a diagnostic test for power and ground at the sensor connector, which revealed a fault in the wiring harness rather than the sensor itself.
Source hint: GMForum.com cited in forum_citations
Related OBD-II Codes
Frequently Asked Questions
Where is the Bank 1, Sensor 1 oxygen sensor located on my Pontiac G6 V6?
Does TSB #12-06-01-009F for the 3.6L LY7 engine relate to my P0134 code?
Which brand of replacement O2 sensor should I use for my G6?
Can a blown fuse cause a P0134 code on a Pontiac G6?
Why is it so difficult to replace the rear O2 sensor on the G6?
Is there a reference voltage I should look for when testing the G6 O2 sensor wiring?
Helpful Videos


We Have This Part in Stock


The information in this article is provided for general reference and educational purposes only. Vehicle specifications, procedures, and part compatibility can vary by production date, trim level, and region. Always consult your vehicle's factory service manual and verify part numbers before purchasing or performing repairs. Safety-critical components such as airbags, seat belts, and braking systems should be installed by a qualified professional.
- Pontiac G6:
- 🧭 Diagnostic Flowchart
- 🎬 Helpful Videos
- 🛍️ Shop This Part
- What's Unique About the 2005-2010 Pontiac G6
- Symptoms You May Notice
- Most Likely Causes
- Rare But Worth Checking
- Diagnosis Steps
- Parts You'll Likely Need
- Related Codes That Often Appear With This One
- Technical Service Bulletins (TSBs) & Recalls
- Platform-Specific Known Issues
- Mechanic-Grade Diagnostic Values
- Scan Tool Commands That Help
- Wiring & Ground Locations
- Real Owner Repair Stories
- Model Year Variations Within This Range
- Other Known Issues on This Vehicle
- Used vs. New Parts: Buying Guide for This Vehicle
- Real Owner Stories
- 2008 Pontiac G6 3.6L V6 — 105000 miles
- Pontiac G6 V6
- GM Epsilon Platform V6 (G6-equivalent)
- Related OBD-II Codes
- Frequently Asked Questions
- 🎟️ Get 5% Off