
P0135 on 2000-2006 Chevrolet Tahoe 5.3L: O2 Sensor Heater Causes and Fixes
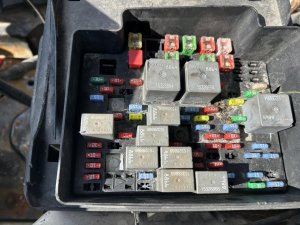
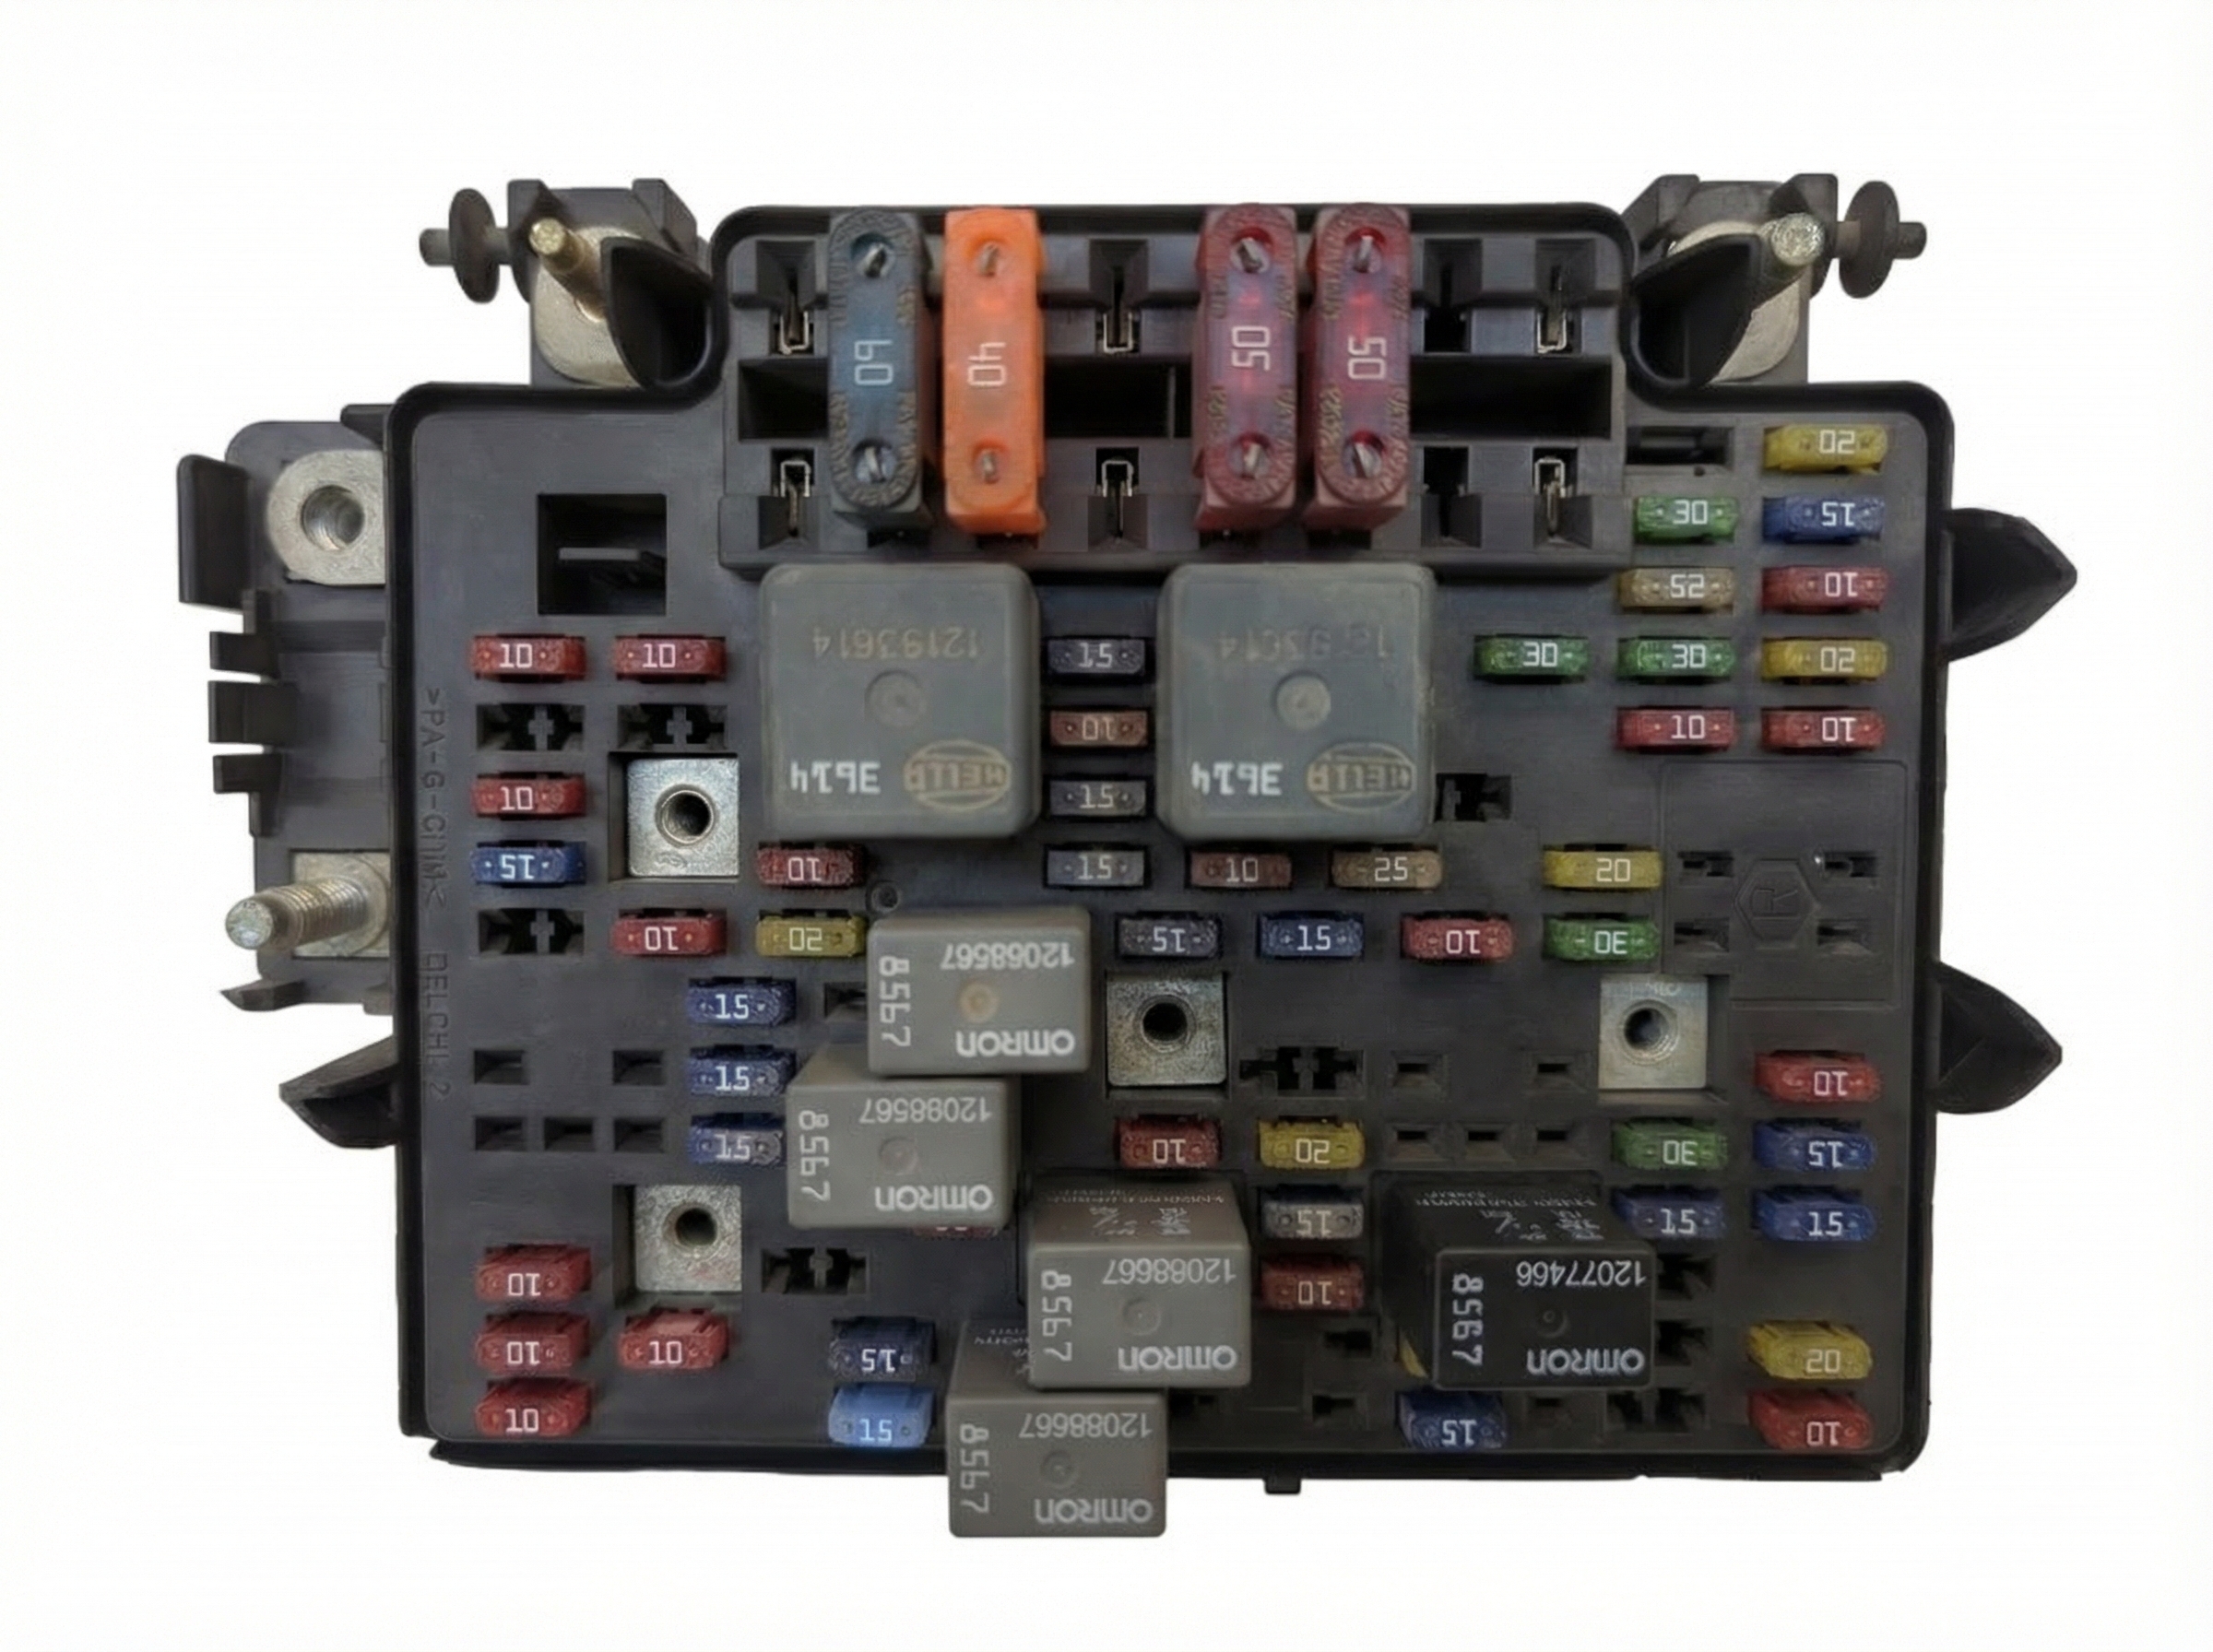
This code almost always means the heater inside the driver's side upstream oxygen sensor has failed. Before replacing the sensor for about $50-$90, check the 15-amp 'O2A' fuse in the under-hood fuse box, as this is a very common and cheap fix for P0135 and related codes like P0155.
- Always check the 15-amp 'O2A' fuse in the under-hood fuse box before buying any parts. This is a very common and inexpensive fix.
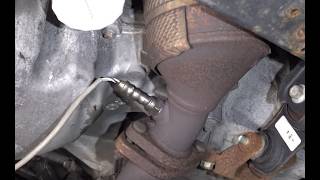
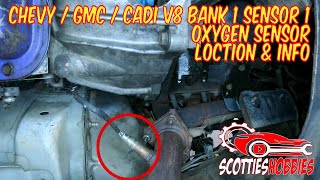
- The part you are looking for is the 'Bank 1, Sensor 1' oxygen sensor, which is on the driver's side, before the catalytic converter.
- If the fuse is good, the most likely culprit is a failed heater element inside the O2 sensor itself.
- Carefully inspect the wiring harness for melting or chafing, especially near the exhaust and the front driveshaft on 4WD models.
What's Unique About the 2000-2006 Chevrolet Tahoe
On the GMT800 platform, which includes the 2000-2006 Tahoe, the O2 sensor heater circuits are protected by dedicated 15-amp fuses in the under-hood fuse box. A blown 'O2A' fuse is a frequent cause for P0135 and should always be the first check. Additionally, the wiring for the O2 sensors, particularly on 4WD models, is known to sometimes chafe against the front driveshaft or melt on hot exhaust components, leading to a short circuit that blows the fuse or triggers the code.
Symptoms You May Notice
- Check Engine Light is on 🎬 Watch: A mechanic explains the P0135 heater circuit code.
- Failure to pass an emissions inspection
- Slightly decreased fuel mileage
- Rough idle or hesitation when the engine is cold
- Replacing the O2 sensor without first checking the 'O2A' fuse. If the fuse is blown, a new sensor will not fix the problem and the code will return immediately.
- Replacing only the O2 sensor when the underlying cause is a wiring short that also blew the fuse. The new sensor may work temporarily until the short causes the new fuse to blow again.
Most Likely Causes
- Failed Bank 1, Sensor 1 Oxygen Sensor 🔴 High Probability → Shop Oxygen Sensor The internal heater element is a common failure point on O2 sensors due to constant, rapid heat cycles. After many years and miles, it simply burns out, creating an open circuit.
How to confirm: After confirming the fuse and wiring are good, test the resistance of the heater circuit at the sensor's connector. The two wires of the same color (often black on aftermarket or tan/white on OEM) are for the heater. An open circuit (infinite resistance or 'OL' on a multimeter) confirms the heater has failed. A good heater should have a resistance between 4 and 30 ohms, depending on the brand.
Typical fix: Replace the Bank 1, Sensor 1 (driver's side, upstream) oxygen sensor. Many owners recommend replacing both upstream sensors at the same time for balanced performance.
Est. part cost: $45-$90 - Blown O2 Sensor Heater Fuse 🟡 Medium Probability → Shop Oxygen Sensor The heater circuits can short out, often due to damaged wiring, causing the protective fuse to blow. This is a well-documented issue on this platform. If codes P0135 (Bank 1) and P0155 (Bank 2) appear together, a blown fuse is the most likely culprit.
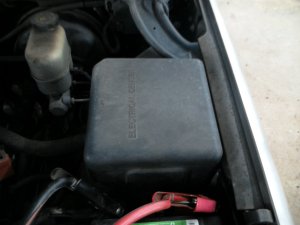
How to confirm: Locate the under-hood fuse box. Find the 15-amp mini fuse labeled 'O2A' (for upstream sensors). Pull the fuse and visually inspect if the metal strip inside is broken.
Typical fix: Replace the blown 15-amp fuse. If it blows again immediately or after a short drive, there is an underlying short circuit in the wiring to one of the upstream O2 sensors that must be found and repaired.
Est. part cost: $1-$5 - Damaged Wiring or Connector ⚪ Low Probability The sensor wiring is routed near the hot exhaust manifold and, on 4WD models, the front driveshaft. Over time, plastic clips can break, allowing the harness to touch the exhaust and melt, or rub against the spinning driveshaft, causing a short to ground which blows the O2A fuse.
How to confirm: With the engine off and cool, trace the wiring harness from the driver's side upstream O2 sensor back towards the engine. Look for any melted, chafed, or broken wires. Pay close attention to where the harness passes the front driveshaft and exhaust manifold. Inspect the connector for corrosion, moisture, or pushed-out pins.
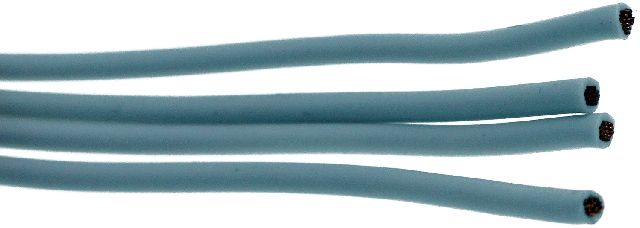
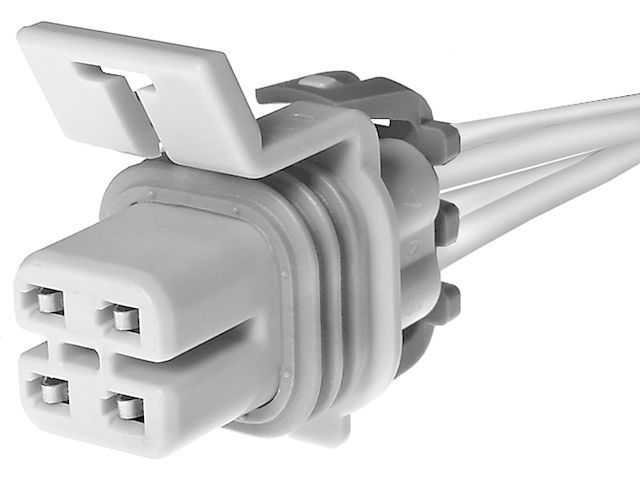
Typical fix: Repair the damaged section of the wiring harness using solder and heat shrink tubing. Secure the harness away from any moving parts or heat sources with high-quality zip ties. Replace the connector pigtail if it is damaged.
Est. part cost: $5-$25
Rare But Worth Checking
- Faulty Powertrain Control Module (PCM): → Shop Engine Control Module (ECM) This is extremely rare. The PCM's internal driver for the heater circuit can fail, but this should only be considered after all other possibilities (sensor, fuse, wiring) have been definitively ruled out by a professional with advanced diagnostic tools.
Diagnosis Steps
- Retrieve all stored trouble codes with an OBD-II scanner.
- Open the under-hood fuse box, located on the driver's side of the engine bay.
- Locate the 15-amp fuse labeled 'O2A'. On some diagrams, this may be in position #32. Pull this fuse and inspect it. If blown, replace it, clear the codes, and see if the code returns. If it blows again, you have a short circuit to find.
- If the fuse is good, raise the vehicle safely and locate the Bank 1, Sensor 1 O2 sensor on the driver's side exhaust manifold, before the catalytic converter. 🎬 See this video to locate the Bank 1 Sensor 1.
- Visually inspect the sensor's wiring harness from the sensor to where it connects to the main harness. Look for any signs of melting on the exhaust, chafing against the driveshaft or frame, or other damage.
- If the wiring appears intact, disconnect the sensor's electrical connector. Use a multimeter to test for 12-volt power at the pink wire on the vehicle-side of the harness with the key in the 'On' position. This confirms the circuit from the fuse box is intact.
- If power is present, set the multimeter to measure resistance (Ohms) and test the two heater circuit pins on the sensor itself (usually the two wires of the same color). A reading of 'OL' or infinite resistance means the internal heater has failed and the sensor must be replaced. A good sensor will typically read between 3 and 20 ohms.
- If the sensor's heater has good resistance and the harness has power, check the ground wire (usually black) for continuity to a known good chassis ground.
Parts You'll Likely Need
- Oxygen Sensor (Bank 1, Sensor 1)
(OEM #ACDelco 213-1574 (GM 12589548) or Denso 234-4653)— This is the most common cause of code P0135, where the sensor's internal heater element has failed. Note: The original Pass 2 part number was incorrect and for the downstream sensor.
Trusted brands: ACDelco (GM OE), Denso
OEM price range: $60-$90
Aftermarket price range: $45-$75 - 15 Amp Mini Fuse — The 'O2A' fuse in the under-hood fuse box powers the heater circuit and is a common failure point if the wiring shorts out.
Trusted brands: Bussmann, Littlefuse
OEM price range: $1-$5
Aftermarket price range: $1-$5
Related Codes That Often Appear With This One
- P0155 — P0155 is the heater circuit code for Bank 2, Sensor 1 (passenger side). Since both upstream sensor heaters are powered by the same 'O2A' fuse, seeing P0135 and P0155 together almost always points to a blown fuse or a power supply issue, as it's highly unlikely both sensors would fail simultaneously.
- P0134 — P0134 indicates 'O2 Sensor Circuit No Activity Detected' for Bank 1, Sensor 1. If the heater fails (P0135), the sensor may not reach operating temperature on a cold start, leading the PCM to also flag it for no activity.
Technical Service Bulletins (TSBs) & Recalls
- 24-NA-042: While this TSB is for newer 2024 GM trucks, it documents a known issue of mis-routed O2 sensor wiring coming into contact with the exhaust, causing P0135. This indicates a historical pattern of potential wiring issues on GM trucks.
Platform-Specific Known Issues
- The O2 sensor heater circuits are protected by two 15A fuses in the under-hood fuse block: 'O2A' for the upstream sensors (Sensor 1s) and 'O2B' for the downstream sensors (Sensor 2s). A blown O2A fuse is a very common cause for P0135.
- On 4x4 models, the Bank 1 (driver's side) O2 sensor wiring harness has been known to rub against the front driveshaft, causing a short circuit that repeatedly blows the O2A fuse.
- Accessing the electrical connector can be difficult. It is often clipped to a bracket high on the transmission bellhousing, making it hard to reach without a lift. Some owners report having to use a zip tie to secure the new connector as the original factory retainer can be brittle and break during removal. 🎬 Watch: Step-by-step guide to replacing O2 sensors on this platform.
Mechanic-Grade Diagnostic Values
- O2 Sensor Heater Element Resistance — expected: 3 to 20 Ohms when cold.. Failure: Infinite resistance ('OL' on multimeter) indicates an open circuit/failed heater. Near-zero resistance indicates an internal short.
- O2 Sensor Heater Circuit Current Draw — expected: 0.25 to 1.375 amps.. Failure: Current draw outside this range for more than 10 seconds will trigger the code. This must be measured with an ammeter or viewed on a capable scan tool.
- Heater Circuit Power Supply Voltage — expected: Battery Voltage (~12V) with key on, engine off.. Failure: 0V indicates a blown fuse, bad relay, or open in the power wire.
Scan Tool Commands That Help
- Tech2, GDS2, or capable professional scanner: HO2S Heater Resistance Learn Reset — After replacing an O2 sensor, GM service information recommends performing this reset. The PCM learns the resistance of the heater on cold starts to control it properly. Failing to reset this can lead to premature failure of the new sensor. As an alternative, clearing all DTCs (even if none are present) will also perform the reset.
Wiring & Ground Locations
- Bank 1 Sensor 1 Connector (Harness Side) — Clipped to the top of the transmission bellhousing on the driver's side.. This is where all electrical tests are performed. Pin A (Pink wire) is the 12V+ supply from the O2A fuse. Pin B (Black wire) is the heater ground control wire to the PCM. Pin C (Tan wire) and Pin D (Purple wire) are for the sensor signal.
- G104 — Typically located on the left (driver's) rear of the engine block or cylinder head.. This is a primary engine ground point. While not a direct cause, a corroded or loose G104 can create electrical noise and unstable ground references for the PCM, potentially leading to incorrect sensor diagnostics. It's a good location to check and clean if multiple, unrelated electrical codes are present.
- Underhood Fuse Block — Driver's side of the engine bay, near the firewall.. This block contains the 'O2A' 15-amp fuse that provides power to the heater circuit for both upstream O2 sensors.
Real Owner Repair Stories
- Reddit user in r/MechanicAdvice (2003 Chevy Avalanche 5.3L 4WD with ~240k miles (GMT800 platform sibling)) — Check Engine Light with codes P0135 and P0155.
❌ Tried (didn't work) Replaced the Bank 1 Sensor 1 oxygen sensor because its wires were visibly damaged., Cleared codes, but both P0135 and P0155 returned immediately.
✅ What actually fixed it The user was advised to check the O2 sensor fuse. The fix was replacing the blown 15-amp 'O2A' fuse in the under-hood fuse block. The original damaged sensor wires had likely shorted, blowing the fuse that powers both upstream sensors.
OEM Part Supersession History
GM 12572705, ACDelco 213-1161→ACDelco 213-1574 (GM 12589548)— Part number updates and supplier changes over time.
Heads up: Be cautious, as many parts systems incorrectly list the downstream sensor (ACDelco 213-4229) for the upstream position. Always verify you are purchasing the upstream/pre-cat/Sensor 1 part.
Model Year Variations Within This Range
- 2003-2006: These models received a significant interior and electrical system refresh. While the fundamental cause and fix for P0135 remain the same, the exact routing of the O2 sensor harness and pin locations on unrelated connectors may differ slightly from 2000-2002 models. The location of the 'O2A' fuse and the sensor itself did not change.
Diagnostic Flowchart
Other Known Issues on This Vehicle
Issues unrelated to this code that are worth knowing about as an owner of this generation:
- Instrument Cluster Stepper Motor Failure 🟠 Medium — Extremely common on 2003-2006 models. Gauges (speedometer, tachometer, fuel, etc.) become erratic, stuck, or completely inoperative. (Ref: Special Coverage Adjustment #07187 covered repairs for 7 years or 70,000 miles, but has since expired.)
- Intermediate Steering Shaft Clunk 🟡 Low — Very common across all years. A clunking or popping noise is felt in the steering wheel at low speeds, especially when turning. Caused by inadequate lubrication in the telescoping shaft. (Ref: Multiple TSBs were issued (e.g., #00-02-35-003N) with updated parts, moving from a lube kit to a redesigned shaft.)
- Cracked Cylinder Heads (Castech) 🔴 High — Affects a specific subset of LM7 engines with cylinder heads manufactured by Castech. A casting flaw can lead to a crack, causing a slow, hard-to-diagnose coolant loss into the engine. (Ref: A GM bulletin was issued for this condition, but it is not a formal recall.)
- Failing Fuel Pressure Regulator 🟠 Medium — Common failure. The diaphragm in the regulator can rupture, leading to hard starts, rough idle, black smoke, and fuel leaking into the vacuum line.
- Cracked Dashboard 🟡 Low — Extremely common, especially in warmer climates. The top of the dashboard develops cracks, typically around the passenger airbag and defroster vents. (Ref: No recall, but it was a subject of a class-action lawsuit for later model years.)
Used vs. New Parts: Buying Guide for This Vehicle
When a used part is the smart pick: A used part is generally not recommended for this repair, with one exception: if the vehicle-side electrical connector (pigtail) is damaged, a used pigtail from a junkyard is a cost-effective and reliable fix. The sensor itself should always be purchased new.
Donor-vehicle mileage cap: roughly under 120000 miles for the part to have meaningful remaining life.
What to inspect on the donor part:
- For a used wiring pigtail, inspect for any signs of melting, brittleness, or corrosion on the pins.
- Ensure the locking tab on the connector is intact.
- Cut the pigtail with plenty of wire length for splicing.
Aftermarket brands forum-validated for this vehicle:
- ACDelco (GM Original Equipment)
- Denso (Often the original supplier to GM)
Brands owners have reported issues with on this vehicle:
- Bosch: While a major brand, some GM truck owners in forums report intermittent issues or premature failures with their universal or even direct-fit sensors on this platform, leading to a repeat code. Sticking with ACDelco or Denso is the safest bet.
Real Owner Stories
Aggregated from forums and TSBs cited above. Mileages and costs reflect what owners reported in those sources.
2004 GMC Yukon Denali 5.3L
Symptoms: Getting code PO135 for Bank 1 Sensor 1.
What fixed it: Replaced the Bank 1 Sensor 1 oxygen sensor with ACDelco part #213-1161. Followed dealer recommendation to replace both upstream sensors at the same time.
Source hint: Tahoe Yukon Forum - Getting code PO135
2000-2006 Chevrolet Tahoe 5.3L
Symptoms: DTC P0135 O2 Sensor malfunction code; difficulty accessing the electrical connector due to the front driveshaft and its location high on the transmission bellhousing.
What fixed it: Checked the 15-amp 'O2A' fuse in the underhood fuse box as the first diagnostic step.
Source hint: Chevrolet Forum - DTC P0135 O2 Sensor malfunction code
2006 Chevrolet Tahoe 5.3L
Symptoms: P0135 B1S1 code present.
What fixed it: Replaced the oxygen sensor, which successfully cleared the code.
Source hint: Tahoe Yukon Forum - P0135 B1S1
Related OBD-II Codes
Frequently Asked Questions
Which fuse should I check for a P0135 code on my 2000-2006 Tahoe?
My Tahoe is a 4WD model; is there a specific wiring issue I should look for?
What are the specific ACDelco or GM part numbers for the Bank 1 Sensor 1 O2 sensor?
Does TSB 24-NA-042 apply to my 2000-2006 Tahoe?
I'm having trouble reaching the O2 sensor connector. Is this normal?
Should I replace both upstream sensors if only P0135 for Bank 1 is showing?
Helpful Videos
Used OEM Parts in Stock
New Aftermarket Parts Available


The information in this article is provided for general reference and educational purposes only. Vehicle specifications, procedures, and part compatibility can vary by production date, trim level, and region. Always consult your vehicle's factory service manual and verify part numbers before purchasing or performing repairs. Safety-critical components such as airbags, seat belts, and braking systems should be installed by a qualified professional.
- Chevrolet Tahoe:
- 🧭 Diagnostic Flowchart
- 🎬 Helpful Videos
- 🛍️ Shop This Part
- What's Unique About the 2000-2006 Chevrolet Tahoe
- Symptoms You May Notice
- Most Likely Causes
- Rare But Worth Checking
- Diagnosis Steps
- Parts You'll Likely Need
- Related Codes That Often Appear With This One
- Technical Service Bulletins (TSBs) & Recalls
- Platform-Specific Known Issues
- Mechanic-Grade Diagnostic Values
- Scan Tool Commands That Help
- Wiring & Ground Locations
- Real Owner Repair Stories
- OEM Part Supersession History
- Model Year Variations Within This Range
- Other Known Issues on This Vehicle
- Used vs. New Parts: Buying Guide for This Vehicle
- Real Owner Stories
- 2004 GMC Yukon Denali 5.3L
- 2000-2006 Chevrolet Tahoe 5.3L
- 2006 Chevrolet Tahoe 5.3L
- Related OBD-II Codes
- Frequently Asked Questions
- 🎟️ Get 5% Off