
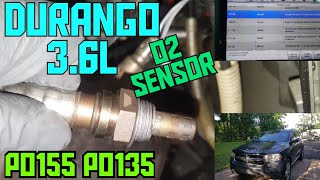
P0135 on 2011-2024 Dodge Durango 3.6L: O2 Sensor Heater Circuit Fixes
For a 3.6L Pentastar Durango, code P0135 almost always means the upstream oxygen sensor on the passenger side (Bank 1, Sensor 1) has failed. The internal heater circuit burns out, triggering the check engine light. Before replacing the sensor, check the related fuse in the under-hood TIPM. A quality replacement sensor from NTK or Denso is the typical fix, as these vehicles are sensitive to off-brand electronics.
- P0135 points directly to the upstream oxygen sensor on the passenger side (Bank 1, Sensor 1).
- The most common cause is a failed internal heater in the sensor itself.
- Before replacing the sensor, always check the corresponding fuse in the under-hood fuse box (TIPM).
- Use a quality replacement sensor from NTK, Denso, or Mopar, as Dodge vehicles can be sensitive to off-brand electronics.
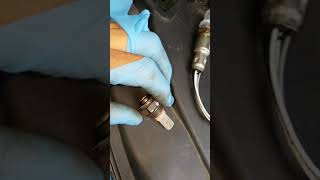
- Accessing the sensor is tight; using a specialized O2 sensor socket is essential for DIY replacement.
- If you also have code P0155, it means the driver's side upstream sensor heater has also failed, and both should be replaced.
What's Unique About the 2011-2024 Dodge Durango
The 2011-2024 Dodge Durango (WD) is a single, consistent generation, so the location and diagnosis for P0135 are the same across all years. On the 3.6L Pentastar engine, Bank 1 is always the passenger side. While the code itself is common, accessing the Bank 1 Sensor 1 (upstream, passenger side) can be particularly tight due to the exhaust manifold and chassis design. 🎬 See this helpful hack for removing the tight Bank 1 sensor. Owners and technicians report that Chrysler-family electronics are sensitive, making it important to use high-quality replacement sensors from brands like Mopar, NTK, or Denso to avoid compatibility issues and repeat failures. The platform mate, the Jeep Grand Cherokee (WK2), experiences the exact same issue and repair procedure.
Symptoms You May Notice
- Check Engine Light is on
- Reduced fuel economy
- Rough or unstable idle, especially when the engine is cold
- Vehicle will fail an emissions test
- Hesitation during acceleration before the engine is fully warmed up
- Replacing the wrong O2 sensor (e.g., the downstream Sensor 2, or the sensor on the driver's side Bank 2).
- Replacing the catalytic converter.
- Replacing the PCM without proper diagnosis.
- Failing to check the O2 heater fuse before replacing the sensor.
Most Likely Causes
- Failed Bank 1, Sensor 1 Oxygen Sensor 🔴 High Probability → Shop Oxygen Sensor The internal heater element within the O2 sensor has a finite lifespan and eventually burns out from thousands of heating and cooling cycles. This is the most common point of failure for this code. Manufacturer service bulletins, such as TSB Bulletin #25-002-14 and TSB Bulletin #25-003-13, specifically categorize P0135 as "O2 Sensor 1/1 Heater Performance" issues within the internal control module processor.
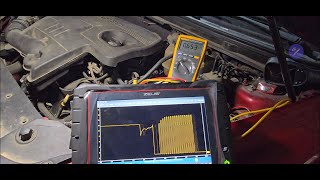
How to confirm: After checking the fuse and wiring, the most definitive test is to disconnect the sensor and measure the resistance across the two heater circuit pins (usually the two wires of the same color) using a multimeter. 🎬 Watch: How to test oxygen sensor heater circuits with a multimeter. An open circuit (infinite resistance/OL) or a reading far outside the manufacturer's specification confirms the heater has failed. A healthy sensor for this platform should typically have a resistance between 3 and 15 ohms when cold.
Typical fix: Replace the Bank 1, Sensor 1 oxygen sensor. This is the upstream sensor on the passenger side exhaust manifold. 🎬 Watch: Step-by-step walkthrough for replacing both upstream O2 sensors.
Est. part cost: $40-$120 - Blown O2 Sensor Heater Fuse 🟡 Medium Probability → Shop Oxygen Sensor The fuse can blow if the O2 sensor's heater element shorts out, or if there is a short in the wiring harness. On these vehicles, the O2 sensor heaters may be tied to a fuse labeled 'A/F Heater' or a similar name in the Totally Integrated Power Module (TIPM).
How to confirm: Locate the fuse for the O2 sensor heater circuit in the under-hood fuse box (TIPM) and visually inspect it. A guide for the TIPM layout is essential. If it is blown, replace it. If it blows again immediately, there is a short circuit in the wiring or one of the O2 sensors that needs to be traced.
Typical fix: Replace the blown fuse. If the fuse blows repeatedly, diagnose the short circuit in the wiring or the O2 sensor itself. A shorted sensor is a common reason for a blown fuse.
Est. part cost: $1-$5 - Damaged Wiring or Connector ⚪ Low Probability The wiring harness and connector are located in the hot, tight confines of the engine bay, making them susceptible to heat damage, melting, or becoming brittle and cracking over time. The harness can also chafe against engine components or heat shields. Manufacturer documentation in TSB Bulletin #25-004-12 notes that heater performance codes can be related to internal control module processor performance and circuit integrity.
How to confirm: Visually inspect the entire wiring harness from the O2 sensor connector back to the main engine harness. Look for any signs of melting, chafing, corrosion inside the connector pins, or broken wires. Perform a voltage and ground test at the connector with the key on, engine off. You should find 12V power on one pin and a good ground on another.
Typical fix: Repair the damaged section of wiring using heat-shrink butt connectors or solder. Replace the connector pigtail if it's corroded or damaged. Ensure the repair is properly insulated and secured away from heat sources.
Est. part cost: $10-$30
Rare But Worth Checking
- Powertrain Control Module (PCM) Fault: → Shop Engine Control Module (ECM) This is extremely rare, but documented. The PCM's internal driver for the O2 sensor heater circuit can fail. This should only be considered after all other possibilities (sensor, wiring, fuse) have been exhaustively ruled out by a professional. In some cases, multiple O2 heater codes (e.g., P0135 and P0155) appearing simultaneously after sensor replacement can point to a failed PCM.
Diagnosis Steps
- Read the code with an OBD-II scanner to confirm P0135 is present. Note any other codes, especially P0155.
- Locate the Bank 1, Sensor 1 O2 sensor. It is the upstream sensor (before the catalytic converter) on the passenger side of the engine.
- Inspect the sensor's wiring harness and connector for any obvious signs of damage, such as melting, chafing, or corrosion.
- Locate and check the fuse for the O2 sensor heater circuit in the under-hood fuse box (TIPM). It may be labeled 'A/F Heater' or similar. Replace if blown.
- If the fuse and wiring are good, disconnect the sensor. With the key on and engine off, use a multimeter to check for 12V power and a good ground on the harness-side of the connector.
- With the sensor still disconnected, measure the resistance between the two heater pins on the sensor itself (typically the two same-colored wires). A reading of infinite resistance (open circuit) or a value outside the 3-15 ohm range means the heater is bad and the sensor must be replaced.
- If the sensor's heater circuit resistance is within spec, but the code persists, the issue is likely in the wiring between the sensor and the PCM or, rarely, the PCM itself.
- If the old sensor is confirmed bad, replace it. It is highly recommended to use an O2 sensor socket and apply penetrating oil, as the sensor can be seized in the exhaust manifold.
- After replacement, clear the code with the scanner and perform a drive cycle to ensure the check engine light does not return.
Parts You'll Likely Need
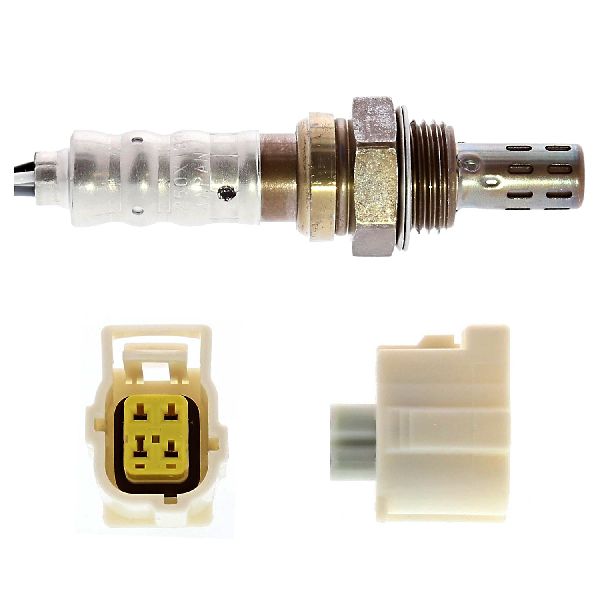
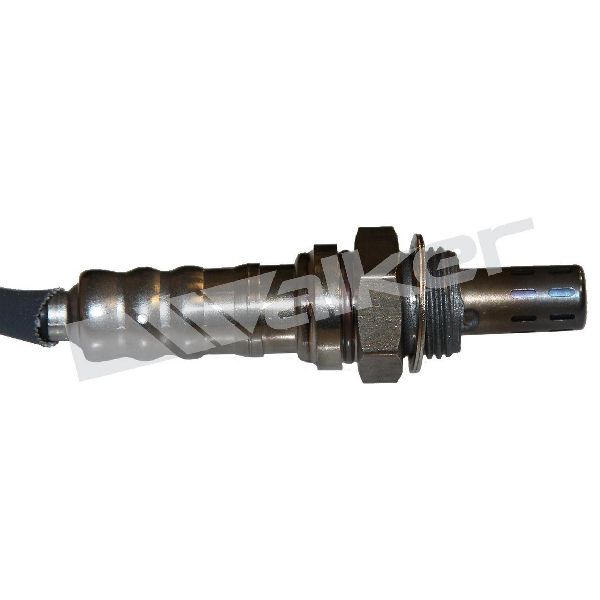
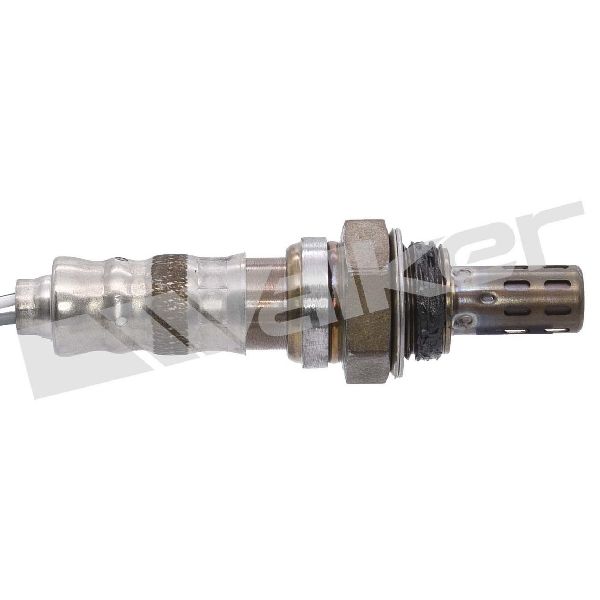
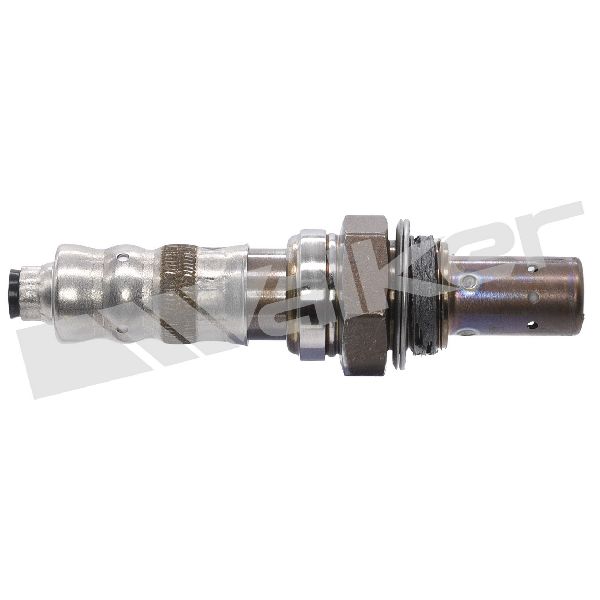
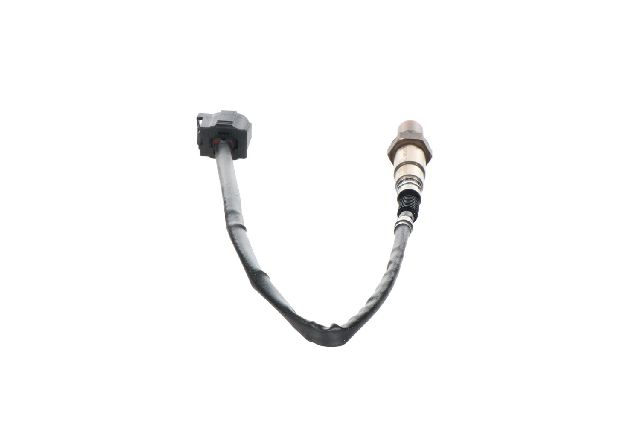
- Oxygen Sensor (Bank 1, Sensor 1)
(OEM #5149171AB)— This is the upstream, passenger-side sensor. The internal heater element is the component that fails, making replacement of the entire sensor necessary. This part number supersedes 5149171AA and 68066160AA.
Trusted brands: Mopar, NTK, Denso
OEM price range: $80-$150
Aftermarket price range: $40-$120
Related Codes That Often Appear With This One
- P0155 — P0155 is the identical heater circuit fault but for Bank 2, Sensor 1 (driver's side). Seeing both codes together often indicates a common problem like a shared fuse or a systemic issue. It can also simply mean that both sensors have failed around the same time due to similar age and mileage, which is a common occurrence.
- P0141 — This is the heater circuit fault for Bank 1, Sensor 2 (downstream, passenger side). If seen with P0135, it could indicate a shared wiring or fuse issue affecting Bank 1 sensors.
- P0161 — This is the heater circuit fault for Bank 2, Sensor 2 (downstream, driver's side). Seeing all four heater codes (P0135, P0155, P0141, P0161) together strongly points to a central power or ground issue, like a blown main fuse for the heaters, or a PCM failure.
Platform-Specific Known Issues
- Real Repair Story: P0135 and P0155 Together: A user on a Dodge forum and a YouTuber both reported getting P0135 and P0155 codes simultaneously. This indicates both upstream O2 sensor heaters have failed. In one case, a visual inspection revealed damaged wires on the Bank 1 sensor. Replacing both sensors is a common repair when both codes appear, as they are the same age and have experienced the same number of heat cycles.
- Forum Tip: Check for PCM Software Updates: While not directly for P0135 on the Durango, a TSB for the related 3.6L Town & Country (TSB #18-059-16) involved a PCM software update to correct logic that could falsely trigger O2 sensor heater codes. It's a worthwhile, though unlikely, check with a dealer if new sensors don't resolve the issue.
Mechanic-Grade Diagnostic Values
- O2 Sensor Heater Element Resistance — expected: 3 to 15 Ohms at room temperature (approx. 70°F / 21°C). Some generic sources cite up to 30 Ohms.. Failure: A reading of 'OL' (Over Limit / infinite resistance) indicates an open circuit. A reading near 0 Ohms indicates a short circuit.
- O2 Sensor Heater Power Supply Voltage (at harness connector) — expected: Battery voltage (approx. 12V) with Key On, Engine Off (KOEO).. Failure: Voltage near 0V indicates a blown fuse or an open in the power supply wire from the TIPM/ASD relay.
- O2 Sensor Heater Ground Control (at harness connector) — expected: The PCM supplies a pulse-width modulated (PWM) ground. With a multimeter, you may see fluctuating voltage. With a lab scope, you should see the voltage pulse between battery voltage (heater off) and near 0V (heater on) when the engine is running.. Failure: A constant 12V indicates an open in the ground control wire to the PCM or a faulty PCM driver. A constant 0V could indicate a short to ground in the wiring.
- PCM Bias Voltage (at heater control wire) — expected: With the sensor disconnected and key on, some PCMs will supply a low 'bias voltage' (e.g., ~4.4V) on the control wire to detect circuit integrity.. Failure: Absence of this bias voltage (where applicable) could point towards a wiring issue or PCM fault, but not all systems use it.
Scan Tool Commands That Help
- wiTECH (or equivalent high-end scanner): O2 Heater Test / Actuation — This function allows a technician to command the O2 sensor heater circuit on and off manually. It is used to verify that the PCM driver is functional and that the wiring can carry a load. By commanding the heater 'ON' and monitoring voltage drop or using a test light, you can confirm the entire circuit's integrity from the PCM to the sensor connector without having to start the engine.
Wiring & Ground Locations
- G904 / G905 — Lower left side of the engine block (driver's side).. These are primary engine block grounds. While not directly for the O2 sensor, a poor engine ground can cause a variety of electrical issues and erratic sensor behavior. Verifying these grounds are clean and tight is a good practice when chasing any engine-related electrical fault.
- G907a (3.6L) — Lower right front of the engine compartment (passenger side).. This ground point is on the same side as Bank 1. It serves various components in the front end module harness. A fault here could potentially affect shared circuits or create electrical noise impacting sensor readings.
- Bank 1 Sensor 1 Connector Pins — On the sensor pigtail and corresponding vehicle harness connector for the upstream passenger-side O2 sensor.. Technicians must identify the two heater circuit pins (often same-colored wires, e.g., both black or both white) to perform resistance and voltage tests. The other two wires are for the sensor signal and sensor ground.
Real Owner Repair Stories
- JeepGarage.org forum user (2012 Jeep Grand Cherokee 3.6L (platform mate)) — Check Engine Light with code P0135.
❌ Tried (didn't work) Initially, the user only had the code and was asking for advice.
✅ What actually fixed it The user replaced the Bank 1, Sensor 1 (upstream, passenger side) oxygen sensor. They confirmed that this resolved the check engine light. Another user in the same thread confirmed the same fix for their 2011 model. - NHTSA ODI #10577984 — An owner of a related Chrysler platform reported that a P0135 code persisted even after replacing the O2 sensor. The reported fix involved a service bulletin recommendation to flash the body controller to resolve the heater circuit issue.
OEM Part Supersession History
68066160AA→5149171AA, then 5149171AB— Standard part revision and consolidation by Mopar over the years.
Heads up: The latest part number, 5149171AB, is the correct service replacement for the entire 2011-2024 range for this application. Using older stock (e.g., 68066160AA) is not recommended as the revisions may have addressed performance or longevity issues.
Model Year Variations Within This Range
- 2011-2013: These early models were equipped with a 5-speed automatic transmission (W5A580).
- 2014+: A significant refresh occurred for the 2014 model year, which included updated styling and, most notably, the introduction of the ZF 8-speed automatic transmission across the lineup. While this doesn't change the P0135 diagnosis itself, the physical space and routing of harnesses around the transmission bellhousing may differ slightly.
- 2021+: A second major refresh occurred for 2021, primarily focused on interior technology (Uconnect 5) and exterior styling. No fundamental changes were made to the 3.6L Pentastar engine or its emissions system that would alter the diagnosis for P0135.
Diagnostic Flowchart
Other Known Issues on This Vehicle
Issues unrelated to this code that are worth knowing about as an owner of this generation:
- Cracked Oil Filter Housing / Cooler Assembly 🔴 High — Extremely common across all model years. The plastic housing, located in the engine valley, cracks from heat cycles, causing significant oil and/or coolant leaks. (Ref: Customer Satisfaction Notification 58B for some 2021-2023 pursuit vehicles addresses a related oil cooler issue, but no general recall exists for the common cracking problem.)
- Rocker Arm / Valvetrain 'Pentastar Tick' 🔴 High — Common on all 3.6L Pentastar engines, especially those with extended oil change intervals. Failing rocker arm bearings cause a distinct ticking noise, leading to misfires and potential camshaft damage if ignored. (Ref: No recall, but a class-action lawsuit has been filed regarding this issue. An updated Mopar rocker arm (Part #68066266AD) is the recommended replacement part.)
- Totally Integrated Power Module (TIPM) Failure 🔴 High → Shop Fuse Box — Most common on 2011-2013 models. An internal fuel pump relay fails, causing no-start conditions, stalling while driving, or the fuel pump running continuously. (Ref: Recalls #14V-530, R09, and V62 were issued. The fix involves installing an external fuel pump relay, not replacing the entire TIPM.)
- Defective Left Cylinder Head (Early Models) 🟠 Medium — Primarily affects 2011-2013 models. A manufacturing defect caused premature wear of valve guides/seats on the left head (Bank 2), leading to misfires (P0302, P0304, P0306) and requiring cylinder head replacement. (Ref: TSB 09-002-14 was issued, and a warranty extension was provided for this specific issue.)
- Water Pump Failure 🟠 Medium — A common failure item, particularly on earlier models (2011-2014), leading to coolant leaks from the weep hole and potential overheating.
Used vs. New Parts: Buying Guide for This Vehicle
When a used part is the smart pick: For this specific repair, a used part is only recommended for a connector pigtail if the original is damaged. The primary failing part, the oxygen sensor itself, should always be purchased new.
Donor-vehicle mileage cap: roughly under 80000 miles for the part to have meaningful remaining life.
What to inspect on the donor part:
- For a wiring pigtail: Ensure the connector is not cracked or melted.
- Check that the locking tab is intact and functional.
- Inspect the wires for any signs of brittleness, cracking, or previous repairs.
- Verify there is no corrosion on the metal pins inside the connector.
OEM-only on this vehicle (don't cheap out):
- Powertrain Control Module (PCM) - Must be programmed to the vehicle's VIN and options.
Aftermarket brands forum-validated for this vehicle:
- NTK (often the OEM supplier)
- Denso
Brands owners have reported issues with on this vehicle:
- Generic, unbranded, or 'white-box' sensors from online marketplaces are frequently reported to fail prematurely or be incompatible with Chrysler electronics.
Real Owner Stories
Aggregated from forums and TSBs cited above. Mileages and costs reflect what owners reported in those sources.
2011-2024 Dodge Durango 3.6L Pentastar V6
Symptoms: Check engine light on with codes P0135 and P0155 appearing at the same time.
What fixed it: Replacing both upstream O2 sensors, as they had experienced the same number of heat cycles and failed together.
Source hint: vehicle_specific_issues: Real Repair Story: P0135 and P0155 Together
2011-2024 Dodge Durango 3.6L Pentastar V6
Symptoms: P0135 code present; visual inspection of the Bank 1 sensor revealed damaged wires.
What fixed it: Repairing or replacing the sensor due to damaged wiring on the Bank 1 sensor.
Source hint: vehicle_specific_issues: Real Repair Story: P0135 and P0155 Together
Related OBD-II Codes
Frequently Asked Questions
Where is the Bank 1 Sensor 1 oxygen sensor located on my 3.6L Pentastar Durango?
My Durango has both P0135 and P0155 codes. Does this mean both sensors failed at once?
Is there a PCM software update for O2 sensor heater codes on the 3.6L engine?
What should the resistance reading be for a healthy O2 sensor on this platform?
Which fuse should I check for the O2 sensor heater on my Durango?
Are there specific brands of O2 sensors recommended for the 3.6L Pentastar?
Helpful Videos
We Have This Part in Stock


The information in this article is provided for general reference and educational purposes only. Vehicle specifications, procedures, and part compatibility can vary by production date, trim level, and region. Always consult your vehicle's factory service manual and verify part numbers before purchasing or performing repairs. Safety-critical components such as airbags, seat belts, and braking systems should be installed by a qualified professional.
- Dodge Durango:
- 🧭 Diagnostic Flowchart
- 🎬 Helpful Videos
- 🛍️ Shop This Part
- What's Unique About the 2011-2024 Dodge Durango
- Symptoms You May Notice
- Most Likely Causes
- Rare But Worth Checking
- Diagnosis Steps
- Parts You'll Likely Need
- Related Codes That Often Appear With This One
- Platform-Specific Known Issues
- Mechanic-Grade Diagnostic Values
- Scan Tool Commands That Help
- Wiring & Ground Locations
- Real Owner Repair Stories
- OEM Part Supersession History
- Model Year Variations Within This Range
- Other Known Issues on This Vehicle
- Used vs. New Parts: Buying Guide for This Vehicle
- Real Owner Stories
- 2011-2024 Dodge Durango 3.6L Pentastar V6
- 2011-2024 Dodge Durango 3.6L Pentastar V6
- Related OBD-II Codes
- Frequently Asked Questions
- 🎟️ Get 5% Off