
P0135 on 2006-2010 Ford Explorer: O2 Sensor Heater Circuit Causes and Fixes
This code almost always means the upstream oxygen sensor on the passenger side has failed. The internal heater element burns out, requiring sensor replacement. Expect to pay $70-$100 for an OEM-quality sensor and another $50-$150 for labor if you don't do it yourself.
- P0135 points to a problem with the heater inside the upstream oxygen sensor on the passenger side.
- The most likely fix is to replace the Bank 1, Sensor 1 O2 sensor.
- Before replacing the sensor, always check the corresponding fuse (likely #17 or #42 in the under-hood box) and visually inspect the wiring for damage.
- You can continue to drive, but expect poor gas mileage and fix the issue promptly to avoid damaging your catalytic converter.
- An oxygen sensor socket is highly recommended for removal and installation.
- A healthy sensor heater should have a resistance of 5-15 ohms.
What's Unique About the 2006-2010 Ford Explorer
On the fourth-generation Explorer, this code is a straightforward electrical fault, typically isolated to the sensor itself. There are no widespread, unique design flaws that cause this code. The primary challenge reported by owners is physical access to the sensor and its electrical connector, which can be difficult to reach, especially on the V8 engine. 🎬 Watch: This walkthrough shows how to access the sensor on V8 models. Bank 1 is confirmed as the passenger side for both the 4.0L V6 and 4.6L V8 engines. Using a specialized O2 sensor socket with a slot for the wire is highly recommended to navigate the tight spaces.
Symptoms You May Notice
- Check Engine Light is on.
- Reduced fuel economy; some owners report a drop from ~17 MPG to ~12 MPG.
- Rough idle or poor engine performance, especially when the engine is cold.
- Failing a state emissions test.
- Engine hesitation on acceleration.
- Replacing the wrong oxygen sensor (e.g., the downstream sensor or the sensor on the driver's side). P0135 specifically refers to Bank 1 (passenger side) and Sensor 1 (upstream, before the catalytic converter).
- Assuming an exhaust leak is the cause. While an exhaust leak can trigger other O2 sensor codes related to fuel trim, it will not cause the P0135 heater circuit code.
- Replacing the sensor when the actual fault is a blown fuse that powers all four O2 sensor heaters.
Most Likely Causes
- Failed Oxygen Sensor (Bank 1, Sensor 1) 🔴 High Probability → Shop Oxygen Sensor The internal heater element within the oxygen sensor is a common failure point due to age and countless heat cycles. It simply burns out like a light bulb filament, with a typical lifespan of 60,000 to 100,000 miles.
How to confirm: Disconnect the sensor and use a multimeter to measure the resistance between the two heater circuit wires (typically the two wires of the same color). A healthy sensor should have a resistance between 5 and 15 ohms at room temperature. An open circuit (infinite resistance) or a reading far outside this range confirms the heater has failed.
Typical fix: Replace the Bank 1, Sensor 1 oxygen sensor. This is the upstream sensor on the passenger side.
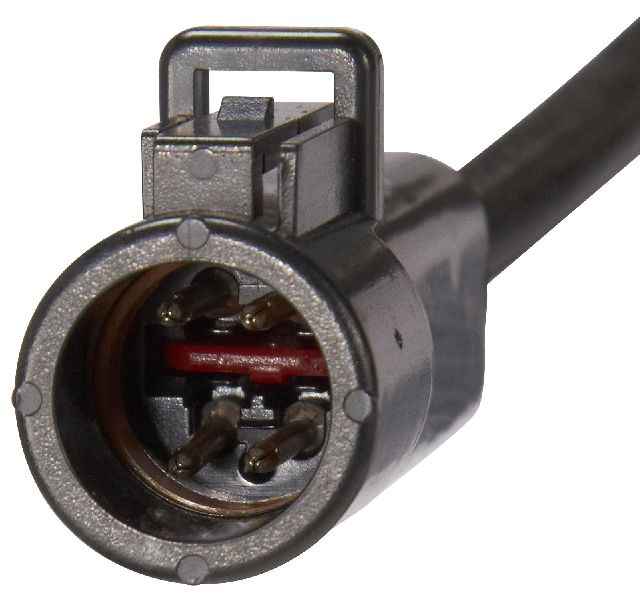
Est. part cost: $60-$110 - Damaged Wiring or Connector 🟡 Medium Probability The wiring harness is close to hot exhaust components and exposed to road debris, which can cause wires to become brittle, melt, or chafe over time. Water intrusion into the connector is also a possibility, leading to corrosion.
How to confirm: Visually inspect the wiring harness leading to the sensor for any signs of melting, fraying, or breaks. Check inside the connector for corrosion, moisture, or bent pins.
Typical fix: Repair the damaged section of the wiring harness or clean/replace the connector.
Est. part cost: $5-$50 - Blown Fuse ⚪ Low Probability
How to confirm: Locate the fuse for the O2 sensor heater circuit in the vehicle's under-hood fuse box (Power Distribution Box). This is often fuse #42 (a 15A fuse), but consult your owner's manual for the specific year. Visually inspect the fuse to see if it is blown.
Typical fix: Replace the blown fuse. If the new fuse blows immediately, it indicates a short circuit in the wiring or the sensor itself that must be diagnosed. A short in one of the other O2 sensors can sometimes blow the shared fuse, causing multiple heater codes.
Est. part cost: $1-$5
Rare But Worth Checking
- Faulty Powertrain Control Module (PCM): → Shop Engine Control Module (ECM) This is extremely rare. Before condemning the PCM, all other possibilities, including the sensor, wiring, and fuses, must be exhaustively ruled out. A failure of the heater driver circuit inside the PCM can cause this code, sometimes intermittently with other sensor heater codes.
Diagnosis Steps
- Confirm the code: Use an OBD-II scanner to verify that P0135 is the active code. Check for other O2 heater codes (P0141, P0155, P0161).
- Locate Bank 1, Sensor 1: Identify the upstream oxygen sensor on the passenger side exhaust manifold.
- Inspect the Fuse: Check the fuse for the O2 sensor heaters (often a 15A fuse, #42 in the under-hood fuse box) and replace if blown.
- Inspect Wiring and Connector: Carefully examine the sensor's wiring harness and electrical connector for any visible damage, such as melting, chafing, or corrosion.
- Test the Heater Circuit Resistance: Disconnect the sensor. Using a multimeter set to Ohms, measure the resistance between the two heater wires on the sensor side (usually two wires of the same color). A good sensor will read between 5-15 Ohms. A reading of infinite resistance (open loop) means the sensor's internal heater is broken and the sensor must be replaced.
- Test for Power and Ground: If the sensor's resistance is within spec, check the vehicle-side connector. With the key in the 'On' position (engine off), one pin should have battery voltage (~12V) and another should have a path to ground. Lack of power points to a fuse or wiring issue upstream, while lack of ground points to a wiring issue or a problem with the PCM's driver circuit.
- Replace the Sensor: If the sensor's heater circuit is confirmed to be open or out of spec, replace the Bank 1, Sensor 1 oxygen sensor.
- Clear Code and Test Drive: After the repair, clear the trouble code with the scanner and perform a test drive to ensure the code does not return.
Parts You'll Likely Need
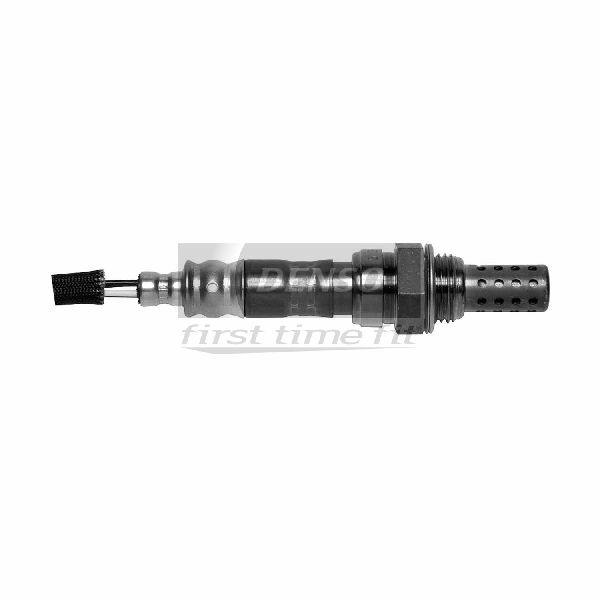
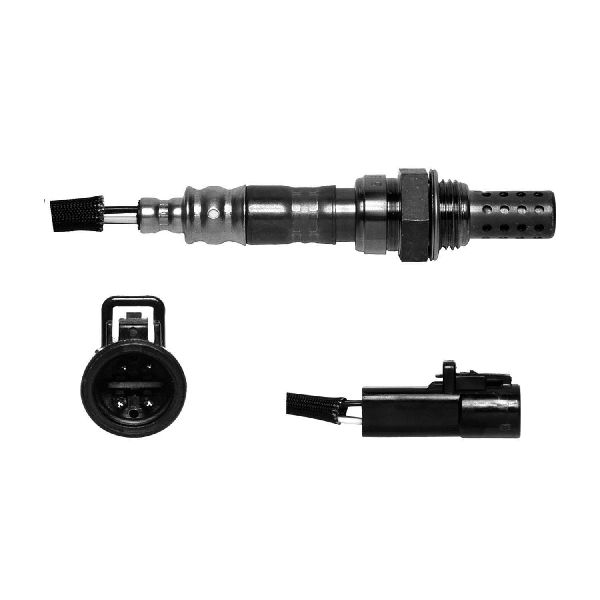
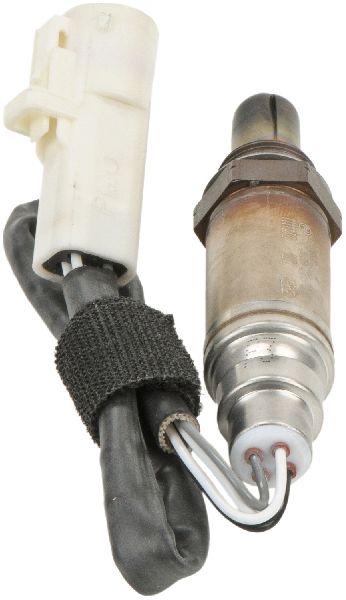
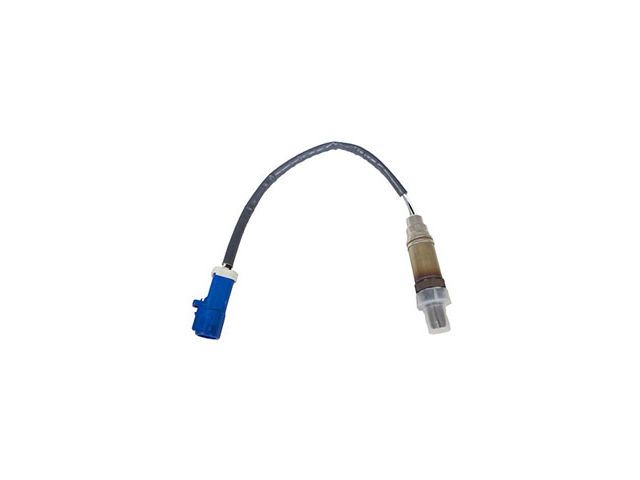
- Upstream Oxygen Sensor (Bank 1, Sensor 1)
(OEM #DY-1401 (also GU2Z-9G444-A))— This is the most common failure for code P0135, as the internal heater element fails with age and use.
Trusted brands: Motorcraft, Bosch (p/n 15717), NTK (p/n 24400), Denso
OEM price range: $80-$110
Aftermarket price range: $50-$90 - Oxygen Sensor Socket — A specialized socket with a cutout for the wire is often necessary to remove and install the sensor due to tight access.
Trusted brands: Lisle, OEMTools, GearWrench
Aftermarket price range: $10-$25
Related Codes That Often Appear With This One
- P0155 (O2 Sensor Heater Circuit Bank 2, Sensor 1)
- P0141 (O2 Sensor Heater Circuit Bank 1, Sensor 2)
- P0161 (O2 Sensor Heater Circuit Bank 2, Sensor 2) 🎬 See how to diagnose and fix related O2 heater circuit codes.
- If multiple or all O2 heater codes appear simultaneously, the primary suspect becomes the shared power supply, which is typically a single fuse.
Platform-Specific Known Issues
- Real-World Repair Story: An owner of a 2006 Explorer with a P0135 code noted a drop in fuel economy from 17 mpg to 12 mpg. After confirming the wiring was intact, he tested the sensor and found it was internally open. Replacing the sensor restored fuel economy to 16.8 mpg within two tanks of gas.
Mechanic-Grade Diagnostic Values
- O2 Sensor Heater Power Supply Voltage — expected: ~12.6V (Battery Voltage) with Key On, Engine Off.. Failure: Voltage below 12.2V may be insufficient to power all sensor heaters, potentially triggering multiple heater codes even with a good fuse.
- O2 Sensor Signal Circuit Integrity Test (No Bias Voltage System) — expected: When applying 12V via a test light to the signal wire pin at the harness connector (sensor unplugged), the scan tool PID for that sensor should jump to over 1.0V (e.g., 1,600 mV).. Failure: If the voltage on the scan tool does not change, it indicates an open or short-to-ground in the signal wire between the connector and the PCM.
Scan Tool Commands That Help
- Ford IDS / FORScan: Live Data PID: 'HO2S11 Heater Fault' — This specific PID can be monitored to see if the PCM is actively detecting a fault with the heater circuit in real-time, which can help confirm if the issue is intermittent or constant.
Wiring & Ground Locations
- G104 — Right front corner of the engine compartment.. This is a primary engine compartment ground. A poor connection here can cause various electrical issues, including erratic sensor behavior. It's a critical check when diagnosing electrical fault codes.
- G101 — Left front corner of the engine compartment, near the battery.. This is a main chassis and battery ground. Voltage drops originating from a bad ground here can affect the entire powertrain control system, potentially leading to low voltage conditions for sensor circuits.
- Fuse F42 (Power Distribution Box) — In the under-hood fuse box (Power Distribution Box).. This 15A fuse is the shared power supply for all four O2 sensor heaters. If multiple heater codes (P0135, P0141, P0155, P0161) are present, this fuse is the primary suspect.
Real Owner Repair Stories
- YouTube channel 'RJ Car Tutorials' (2010 Ford Explorer) — Check Engine Light with codes P0135, P0141, P0155, P0161, and P0403.
❌ Tried (didn't work) Checking Fuse #42, which was found to be good., Back-probing sensors to check for power, which seemed present.
✅ What actually fixed it The battery voltage was low (12.2V with key on, engine off). Although the car would start, the voltage was insufficient to properly power all the sensors sharing the circuit. Replacing the weak battery with a new one that provided a stable 12.6V resolved all the codes.
OEM Part Supersession History
Multiple older numbers including F85Z9G444AB, F85Z9G444BA, 5W6Z9G444AA→GU2Z-9G444-A (Motorcraft DY-1401)— Part consolidation and design updates over many model years.
Heads up: DY-1401 is a widely used sensor across many Ford platforms. Ensure the connector matches, but for the 2006-2010 Explorer, it is the correct service part.
Diagnostic Flowchart
Used vs. New Parts: Buying Guide for This Vehicle
When a used part is the smart pick: A used part is almost never recommended for the oxygen sensor itself, as it is a wear item with a finite lifespan. However, sourcing a used wiring harness pigtail from a junkyard is a viable option if only the connector is damaged and the rest of the harness is intact.
Donor-vehicle mileage cap: roughly under 80000 miles for the part to have meaningful remaining life.
What to inspect on the donor part:
- For a pigtail/connector: Check for the absence of corrosion on pins.
- Ensure the plastic is not brittle or cracked.
- Verify the locking tab is intact and functional.
- Look for a donor vehicle from a dry climate to minimize corrosion risk.
OEM-only on this vehicle (don't cheap out):
- While not strictly 'OEM-only', using a reputable brand for the oxygen sensor is critical. Cheap, unbranded sensors are known for premature failure or incorrect readings.
Aftermarket brands forum-validated for this vehicle:
- Motorcraft (OEM)
- NTK
- Denso
- Bosch
Brands owners have reported issues with on this vehicle:
- No-name or unbranded sensors sold on online marketplaces are frequently cited on forums as being unreliable.
Real Owner Stories
Aggregated from forums and TSBs cited above. Mileages and costs reflect what owners reported in those sources.
2006 Ford Explorer 4.0L V6
Symptoms: Check engine light with multiple circuit codes (P0135, P0140, P0155, P0161, P0403, P0443). Vehicle seems to idle and run fine.
What fixed it: A commenter identified that the O2 sensor heaters and other components are powered by fuse #42 (15 amp) in the underhood fusebox. The implied fix is replacing this fuse and investigating the cause of it blowing.
Source hint: Reddit r/Cartalk - 2006 Ford Explorer 4.0 V6, 6 obd2 codes! This one is driving me crazy.
2006 Ford Explorer 4.0L — 153000 miles
Symptoms: Sudden check engine light with multiple codes (P0135, P0141, P0155, P0161, P0403, P0443). The vehicle drives fine with no hesitation or rough idling.
What fixed it: The owner found frayed and bare wires for all four oxygen sensors inside the harness loom. The suggested fix was to repair the damaged wires with tape or butt connectors.
Source hint: 2CarPros - Codes P0135, P0141, P0155, P0161, P0403 and P0443?
2006 Explorer
Symptoms: A drop in fuel economy from 17 mpg to 12 mpg along with the P0135 code.
What fixed it: After confirming the wiring was intact and the sensor's heater circuit was internally open, replacing the Bank 1 Sensor 1 oxygen sensor restored fuel economy to 16.8 mpg.
Source hint: Real-World Repair Story from article context
Related OBD-II Codes
Frequently Asked Questions
Where is the Bank 1, Sensor 1 oxygen sensor located on my 2006-2010 Explorer?
My Explorer has P0135 and all the other O2 sensor heater codes (P0141, P0155, P0161). Do I need to replace all four sensors?
How can I test the oxygen sensor's heater myself?
Will a P0135 code affect my gas mileage?
What fuse is for the O2 sensor heater circuit on this Explorer?
Could bad wiring cause the P0135 code instead of the sensor itself?
Does this P0135 issue also affect the Mercury Mountaineer?
Helpful Videos

We Have This Part in Stock


The information in this article is provided for general reference and educational purposes only. Vehicle specifications, procedures, and part compatibility can vary by production date, trim level, and region. Always consult your vehicle's factory service manual and verify part numbers before purchasing or performing repairs. Safety-critical components such as airbags, seat belts, and braking systems should be installed by a qualified professional.
- Ford Explorer:
- 🧭 Diagnostic Flowchart
- 🎬 Helpful Videos
- 🛍️ Shop This Part
- What's Unique About the 2006-2010 Ford Explorer
- Symptoms You May Notice
- Most Likely Causes
- Rare But Worth Checking
- Diagnosis Steps
- Parts You'll Likely Need
- Related Codes That Often Appear With This One
- Platform-Specific Known Issues
- Mechanic-Grade Diagnostic Values
- Scan Tool Commands That Help
- Wiring & Ground Locations
- Real Owner Repair Stories
- OEM Part Supersession History
- Used vs. New Parts: Buying Guide for This Vehicle
- Real Owner Stories
- 2006 Ford Explorer 4.0L V6
- 2006 Ford Explorer 4.0L — 153000 miles
- 2006 Explorer
- Related OBD-II Codes
- Frequently Asked Questions
- 🎟️ Get 5% Off