
P0135 on 2011-2015 Ford Explorer 3.5L: O2 Sensor Heater Circuit Causes and Fixes
This code almost always means the heater inside the Bank 1, Sensor 1 oxygen sensor has failed. This is the upstream sensor on the engine bank near the firewall. The most common fix is replacing this O2 sensor, which costs between $40 and $120 for the part. Before replacing, check the O2 heater fuse. Access to the sensor is difficult, making it a moderately challenging DIY job.
- P0135 on this Explorer almost certainly means you need a new upstream oxygen sensor for the rear cylinder bank (Bank 1).
- Before buying parts, check the O2 sensor heater fuse first. Consult the owner's manual, but it may be fuse #42 or #67 in the underhood fuse box.
- The biggest challenge is not the part itself, but accessing it. Be prepared to work in a tight space against the firewall, likely through the passenger wheel well.
- If multiple O2 heater codes are present, a single blown fuse or a low battery voltage is a more likely cause than multiple failed sensors.
What's Unique About the 2011-2015 Ford Explorer
For the 2011-2015 Explorer with the transverse 3.5L V6, the primary challenge with a P0135 code is the physical location of the sensor. Bank 1 is the cylinder bank against the firewall, making the upstream O2 sensor (Sensor 1) very difficult to access compared to the easily reachable Bank 2 sensor at the front of the vehicle. Technicians and DIYers often need to work through the passenger side wheel well or from underneath the vehicle to gain the necessary access, requiring specialized tools like an O2 sensor socket.
Symptoms You May Notice
- Check Engine Light is on.
- Reduced fuel economy.
- Rough idle or poor engine performance, particularly on cold starts.
- Failing a vehicle emissions test.
- In rare cases, hesitation during acceleration.
- Replacing the wrong oxygen sensor. It is very common for people to mistakenly replace the easily accessible Bank 2, Sensor 1 at the front of the engine instead of the correct, hard-to-reach Bank 1, Sensor 1 at the rear.
- Replacing the sensor when the actual fault is a blown fuse or damaged wiring.
Most Likely Causes
- Failed Oxygen Sensor Heater Element 🔴 High Probability → Shop Oxygen Sensor The internal heating element is a resistive coil that simply burns out after many years and thousands of heat cycles, similar to a light bulb filament. This is a common wear-and-tear item and the most frequent cause of P0135.
How to confirm: Disconnect the sensor and use a multimeter to test the resistance between the two heater circuit pins (usually the two wires of the same color). 🎬 See how to diagnose the heater circuit and sensor failure. An open circuit (infinite resistance) or a reading far outside the typical 2-30 ohm range confirms failure. A more specific range for these Ford sensors is 2-5 ohms.
Typical fix: Replace the Bank 1, Sensor 1 (upstream, rear) oxygen sensor.
Est. part cost: $40-$120 - Damaged Wiring or Connector 🟡 Medium Probability The wiring for the Bank 1 sensor is routed in a very tight, hot area between the engine and firewall. This makes it susceptible to melting, chafing against the chassis or engine components, or the connector becoming brittle and failing from heat exposure. Water intrusion into the harness connector is also a possibility.
How to confirm: Visually inspect the entire length of the sensor's wiring harness for any signs of melting, exposed wires, or physical damage. Unplug the connector and check for corrosion, moisture, or backed-out pins. Check for voltage (12V) and ground at the harness-side connector with the key on.
Typical fix: Repair the damaged section of the wire or replace the connector pigtail.
Est. part cost: $15-$40 - Blown Fuse ⚪ Low Probability A short circuit in the heater element or its wiring can cause the corresponding fuse to blow as a protective measure. If multiple O2 sensor heater codes (e.g., P0135, P0155, P0141, P0161) are present, a shared fuse is the most likely culprit.
How to confirm: Check the fuse for the O2 sensor heater circuit in the underhood fuse block. For the 2011-2015 Explorer, this is specifically fuse #67, a 20A fuse. It is critical to consult the owner's manual for your specific vehicle to confirm the correct fuse number and location.
Typical fix: Replace the blown fuse with one of the identical amperage. If the new fuse blows immediately, a short circuit exists that must be found and repaired.
Est. part cost: $1-$5 - Low Battery Voltage ⚪ Low Probability A weak or failing battery can cause low system voltage (e.g., below 12.4V with key on, engine off), which can sometimes be insufficient to properly power all modules and sensors, leading to heater circuit codes.
How to confirm: Test the battery voltage with a multimeter. If it's low, charge and re-test the battery. If it doesn't hold a charge, replace it.
Typical fix: Charge or replace the vehicle's battery.
Est. part cost: $150-$250
Rare But Worth Checking
- Failing Powertrain Control Module (PCM): → Shop Engine Control Module (ECM) This is extremely rare. Before suspecting the PCM, all other possibilities (sensor, wiring, fuses) must be exhaustively ruled out. A PCM driver circuit for the heater can fail, but it is not a common occurrence. A real-world forum post showed a user replacing the sensor multiple times without success, pointing towards a wiring or PCM fault in their specific case.
Diagnosis Steps
- Confirm the code P0135 is present using an OBD-II scanner. Check for any other accompanying codes.
- Check the O2 sensor heater fuse. For the 2011-2015 Explorer, this is fuse #67 (20A) in the underhood Power Distribution Box. If it's blown, replace it and see if the code returns.
- If the fuse is good, locate the Bank 1, Sensor 1 oxygen sensor. It is on the rear exhaust manifold, against the firewall.
- Inspect the sensor's wiring harness and connector for any signs of melting, chafing, corrosion, or fluid contamination.
- Disconnect the sensor. Using a multimeter, measure the resistance across the two heater pins (same color wires, usually white) on the sensor side. A reading of infinite resistance (open) or a value far outside the specific 2-5 ohm range indicates a failed sensor.
- If the sensor tests good, check for 12V power and a good ground signal at the vehicle-side harness connector with the key on, engine off. The PCM provides the ground, so you may need to check for continuity to ground on the control wire.
- If power or ground is missing, trace the respective wire back towards the fuse box or PCM to find the break or short. Pay attention to main engine grounds like G104 and G105.
- If the sensor, wiring, and fuse are all good, check the battery's state of charge. A weak battery can sometimes cause spurious electrical codes.
- If all other steps fail, the issue may be with the PCM driver circuit, though this is very unlikely.
Parts You'll Likely Need
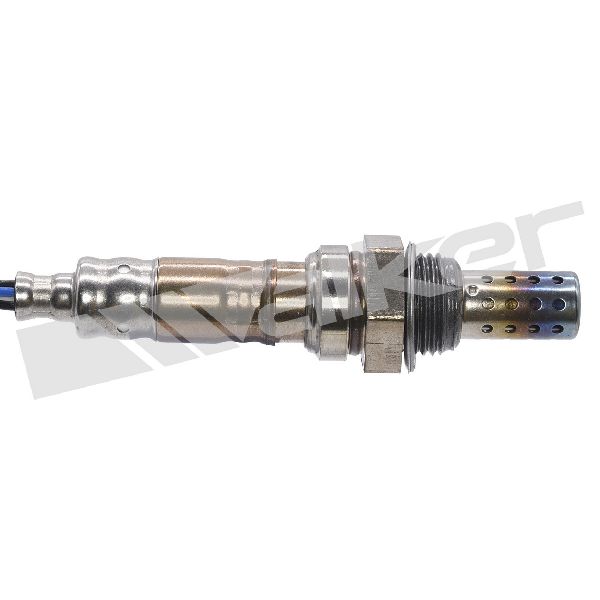
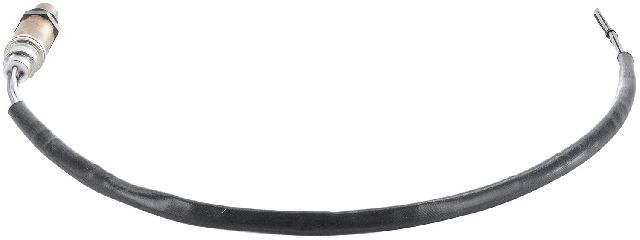
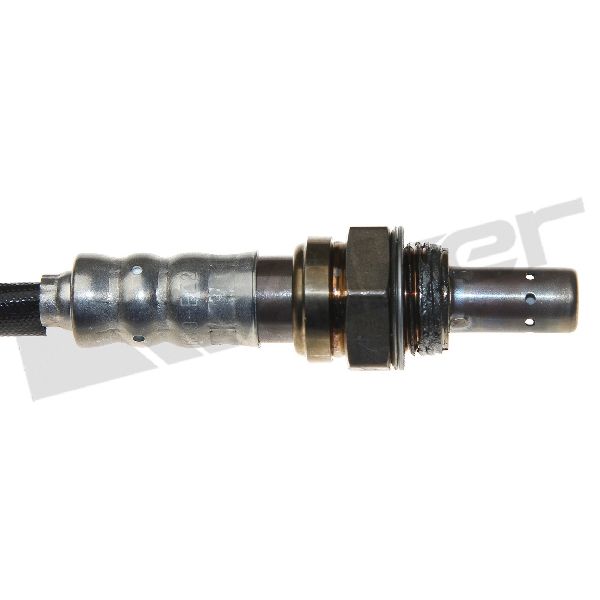
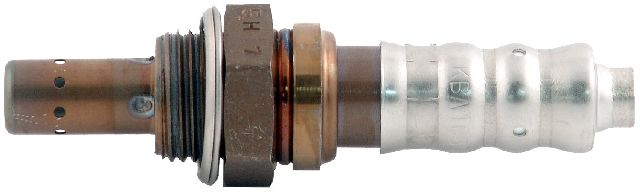
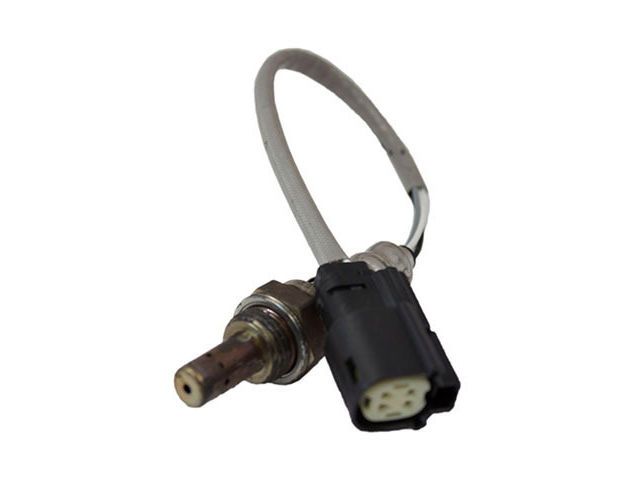
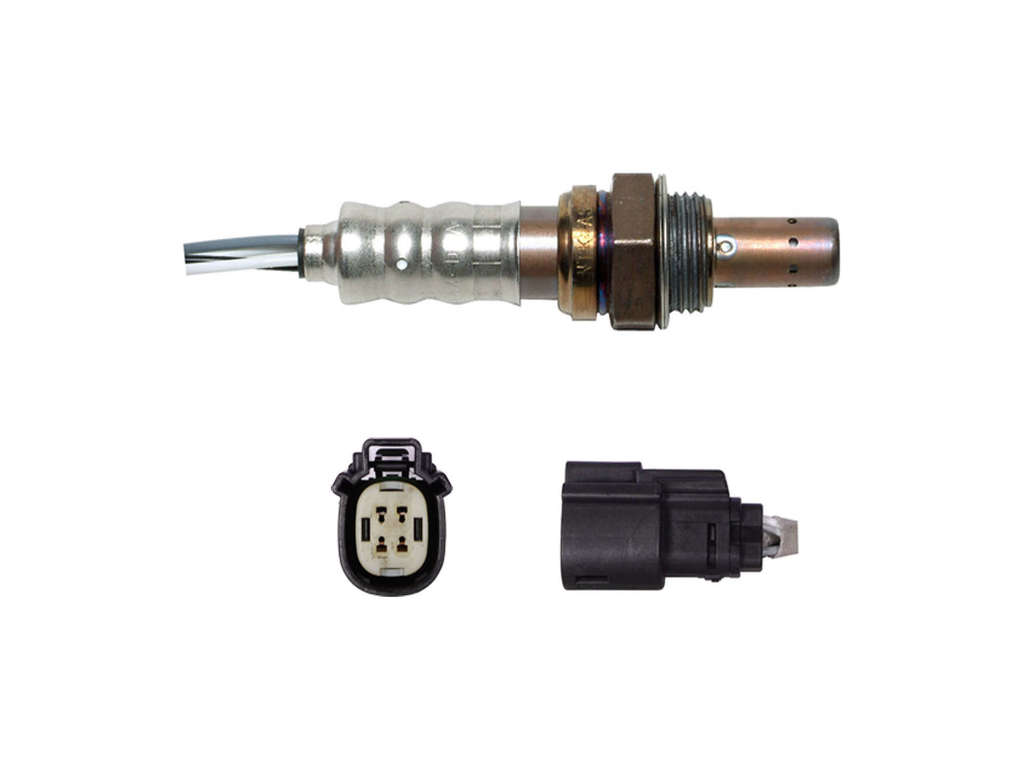
- Upstream Oxygen Sensor (Bank 1, Sensor 1)
(OEM #BL3Z-9F472-A)— The internal heater element fails from age and heat cycles. This is the most common resolution for code P0135.
Trusted brands: Motorcraft (DY-1178), Bosch (e.g., 15717), Denso (e.g., 234-5051), NTK
OEM price range: $80-$120
Aftermarket price range: $40-$90
Related Codes That Often Appear With This One
- P0030 — This is another Ford-specific code for the exact same fault: 'HO2S Heater Control Circuit (Bank 1 Sensor 1)'. They point to the identical problem with the sensor's heater or wiring.
- P0155 — This is the equivalent heater circuit code for Bank 2, Sensor 1 (front bank). If P0135 and P0155 appear together, it strongly suggests a problem common to both sensors, such as a blown shared fuse or a systemic voltage issue.
- P0141 & P0161 — These are the heater circuit codes for the downstream sensors (Sensor 2). If all four heater codes (P0135, P0155, P0141, P0161) appear at once, the cause is almost certainly a single blown fuse that powers all of them. 🎬 Watch: Complete walkthrough for replacing all four oxygen sensors.
Technical Service Bulletins (TSBs) & Recalls
- No specific TSB from Ford directly addresses the P0135 code for this vehicle and engine combination. Related TSBs for other engines or general diagnostics exist but are not directly applicable to this specific fault.
Platform-Specific Known Issues
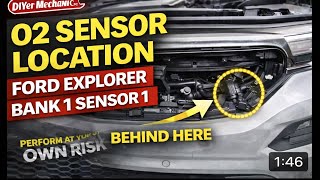
- The primary vehicle-specific issue is the difficult access to the Bank 1 Sensor 1 location against the firewall. Many owners and technicians report that removing the passenger side front wheel and working through the wheel well is the most effective way to reach the sensor. 🎬 Watch: Step-by-step guide to replacing the Bank 1 sensor.
- In some cases, even after replacing the sensor, the code may return. This points to a more complex issue like an intermittent wiring short or, rarely, a faulty PCM driver.
Mechanic-Grade Diagnostic Values
- O2 Sensor Heater Element Resistance — expected: 2-5 Ohms at ambient temperature.. Failure: A reading of OL (infinite resistance) indicates an open circuit. A reading of 0 Ohms indicates a short circuit. Any reading significantly outside the 2-5 Ohm range suggests a faulty heater element.
- Heater Circuit Voltage Supply (at harness connector) — expected: ~12 Volts (or battery voltage) with Key On, Engine Off.. Failure: 0 Volts indicates a blown fuse or an open in the power supply wire from the fuse box.
- Heater Circuit Control (at harness connector) — expected: The PCM supplies a duty-cycled ground. With the key on, you should be able to verify continuity to ground on the control wire. Advanced diagnosis with an oscilloscope would show a square wave when the engine is running and the PCM is commanding the heater.. Failure: A constant open or short to ground on the control wire points to a wiring issue or a faulty PCM driver.
Hidden / Shadow Codes Worth Checking
- Mode $06, TID $01, CID $01: This refers to the On-Board Diagnostic Monitor for the HO2S Heater Circuit on Bank 1, Sensor 1. Advanced scan tools can access this data to see the raw test results from the PCM's self-test, including the measured value and the minimum/maximum passing thresholds. (see via A professional-grade scan tool with Mode $06 capability (e.g., Ford IDS, FORScan, high-end Autel/Snap-on scanners).)
Scan Tool Commands That Help
- Ford IDS (or equivalent): HO2S Heater Monitor / Output State Monitor (OSM) — This is not a manually triggered command but a monitor to observe with the scan tool. The PCM automatically tests the heater circuit by turning it on and off and measuring the current draw. A technician would use the scan tool to watch the live data for the heater circuit state (On/Off) and current PID to verify if the PCM is attempting to control the heater and what the result is. This helps distinguish between a sensor/wiring fault and a PCM control issue.
Wiring & Ground Locations
- Fuse #67 (20A) — In the underhood Power Distribution Box.. This is the specific fuse that supplies power to the O2 sensor heater circuits for the 2011-2015 model years. If multiple heater codes are present, this fuse is the primary suspect.
- G104 / G105 — G104 is typically on the right (passenger) side of the engine compartment, near the fender. G105 is often on the top right side of the engine itself.. These are primary engine and PCM ground points. A corroded or loose connection at these locations can cause erratic voltage and faulty signals for multiple sensors and actuators, including the O2 sensor heater circuit, leading to false codes.
- Heater Circuit Wires — Within the O2 sensor's own harness. On the sensor side of the connector.. The two wires for the heater element are typically the same color (often white). This is critical for correctly identifying the pins to test for resistance on the sensor itself.
Real Owner Repair Stories
- Reddit user on r/FordExplorer (2011 Explorer Limited 3.5L NA) — Check Engine Light with code P0135.
❌ Tried (didn't work) Replaced the Bank 1 Sensor 1 O2 sensor, reset codes. Light returned after a day or two., Replaced the sensor a second time. Light returned again.
✅ What actually fixed it The user did not post the final resolution, but the story is a textbook example of a P0135 case where the fault is not the sensor itself. The next logical steps, and the likely actual cause, would be a fault in the wiring harness (short/open) between the sensor and the PCM, or a rare failure of the PCM heater driver circuit.
"I Checked Everything" — The Actual Cause
- For this electrical code, the equivalent of a 'smoke test clean' scenario is when the sensor's heater resistance tests within the 2-5 Ohm spec and the fuse is intact, yet the code persists. In these cases, the root cause is almost always a wiring issue that isn't immediately obvious. This could be an intermittent short-to-ground that only occurs when the engine is hot and a wire expands, a corroded pin inside the connector creating high resistance, or water intrusion into the harness. The fix requires a 'pin-to-pin' test of the harness from the sensor connector to the PCM connector to find the open or short.
When the Usual Fixes Don't Work
- While replacing the Bank 1, Sensor 1 O2 sensor is the most common fix, it is not guaranteed to solve the problem. As documented in a real-world repair story, it is possible to replace the sensor multiple times with no success. If a new, quality sensor does not resolve the P0135 code, the diagnostic focus must shift immediately to the wiring harness and connectors. Technicians should check for 12V power at the harness, verify the integrity of the ground provided by the PCM, and look for any signs of physical damage, melting, or corrosion between the sensor and the PCM. Assuming the sensor is bad without verifying power and ground at the connector is a common and costly diagnostic error.
OEM Part Supersession History
BL3Z-9F472-A→BL3Z-9F472-A— No supersession found. This part number appears to be current.
Heads up: The corresponding Motorcraft service part number is DY-1178.
Model Year Variations Within This Range
- 2011-2015: The O2 sensor heater fuse is consistently identified as fuse #67 (20A) in the underhood Power Distribution Box for this specific year range. While Pass 2 mentioned other possibilities, sources for this specific vehicle point to #67.
Diagnostic Flowchart
Other Known Issues on This Vehicle
Issues unrelated to this code that are worth knowing about as an owner of this generation:
- Internal Water Pump Failure 🔴 High — Common failure point, often occurring between 80,000 and 150,000 miles. When the pump fails, it leaks coolant directly into the engine oil, leading to catastrophic engine failure if not caught immediately. (Ref: No recall, but it is a widely documented issue and the subject of class-action lawsuits.)
- Electronic Throttle Body (ETB) Failure 🔴 High — Common across many Ford models of this era, causing sudden entry into 'limp mode' with reduced power, which can be a safety hazard. (Ref: Ford issued Customer Satisfaction Program 16B32 for some vehicles, which involved reprogramming the PCM or replacing the ETB.)
- Power Transfer Unit (PTU) Leak / Failure (AWD Models) 🟠 Medium — The PTU fluid can overheat and degrade or leak, leading to wear and eventual failure of the AWD system. This is often noted by a burning smell or fluid leaks. (Ref: Multiple TSBs exist, such as 18-2255, which addresses a leaking intermediate shaft seal.)
- PCM Failure Due to Faulty Ignition Coil 🟠 Medium — A failing ignition coil can short circuit and damage the driver in the Powertrain Control Module (PCM), causing a persistent misfire on one cylinder (Codes P0351-P0356).
- Power Steering Failure 🔴 High — The electronic power steering rack can fail suddenly, resulting in a complete loss of power assist. This was subject to recalls. (Ref: Multiple recalls were issued for the 2011-2013 model years related to loss of power steering.)
Used vs. New Parts: Buying Guide for This Vehicle
When a used part is the smart pick: It is never a smart choice to buy a used oxygen sensor. They are a wear-and-tear component with a finite lifespan, typically 60,000 to 100,000 miles. A used sensor from a salvage yard has an unknown history and amount of remaining life, making it a high-risk purchase that will likely fail soon, forcing you to do the difficult replacement job all over again.
What to inspect on the donor part:
- Not applicable. Do not purchase used O2 sensors.
OEM-only on this vehicle (don't cheap out):
- While not strictly 'OEM-only', using a non-reputable, unbranded, or 'cheap' oxygen sensor is highly discouraged. These parts often use lower-quality materials that can lead to premature failure, incorrect readings, or incompatibility with the PCM's monitoring strategy, causing the P0135 code to return.
Aftermarket brands forum-validated for this vehicle:
- Motorcraft (OEM)
- NTK (Often the OEM supplier)
- Denso (Often the OEM supplier)
- Bosch
Brands owners have reported issues with on this vehicle:
- Any unbranded, 'no-name', or suspiciously cheap sensors from online marketplaces. Stick to the known-good brands to ensure compatibility and longevity.
Real Owner Stories
Aggregated from forums and TSBs cited above. Mileages and costs reflect what owners reported in those sources.
2011-2015 Ford Explorer 3.5L V6
Symptoms: The owner replaced the Bank 1 Sensor 1 oxygen sensor twice, but the P0135 code for the heater circuit persisted, suggesting the issue was not the sensor itself.
What fixed it: The source highlights that when sensor replacement fails, the fix involves investigating the wiring harness for damage or the PCM driver circuit.
Source hint: reddit.com/r/FordExplorer post titled 'P0135 - O2 Sensor Heater Circuit Bank 01 Sensor 01 problems'
2011-2015 Ford Explorer 3.5L V6
Symptoms: Difficulty accessing the Bank 1 sensor due to its location at the rear of the engine against the firewall.
What fixed it: Removing the passenger side front wheel to gain access through the wheel well.
Source hint: explorerforum.com threads regarding Bank 1 Sensor 1 access
Related OBD-II Codes
Frequently Asked Questions
Where is the Bank 1 Sensor 1 located on my 2011-2015 Explorer 3.5L?
Is there a specific fuse I should check for the O2 heater circuit on my Explorer?
I've replaced the sensor twice on my 2011-2015 Explorer but P0135 keeps coming back. What else could it be?
What is the easiest way to reach the rear upstream O2 sensor on this 3.5L Cyclone engine?
What resistance should I see when testing the heater circuit on a Ford O2 sensor?
Could my Explorer's battery be causing this P0135 code?
Helpful Videos
We Have This Part in Stock

The information in this article is provided for general reference and educational purposes only. Vehicle specifications, procedures, and part compatibility can vary by production date, trim level, and region. Always consult your vehicle's factory service manual and verify part numbers before purchasing or performing repairs. Safety-critical components such as airbags, seat belts, and braking systems should be installed by a qualified professional.
- Ford Explorer:
- 🧭 Diagnostic Flowchart
- 🎬 Helpful Videos
- 🛍️ Shop This Part
- What's Unique About the 2011-2015 Ford Explorer
- Symptoms You May Notice
- Most Likely Causes
- Rare But Worth Checking
- Diagnosis Steps
- Parts You'll Likely Need
- Related Codes That Often Appear With This One
- Technical Service Bulletins (TSBs) & Recalls
- Platform-Specific Known Issues
- Mechanic-Grade Diagnostic Values
- Hidden / Shadow Codes Worth Checking
- Scan Tool Commands That Help
- Wiring & Ground Locations
- Real Owner Repair Stories
- "I Checked Everything" — The Actual Cause
- When the Usual Fixes Don't Work
- OEM Part Supersession History
- Model Year Variations Within This Range
- Other Known Issues on This Vehicle
- Used vs. New Parts: Buying Guide for This Vehicle
- Real Owner Stories
- 2011-2015 Ford Explorer 3.5L V6
- 2011-2015 Ford Explorer 3.5L V6
- Related OBD-II Codes
- Frequently Asked Questions
- 🎟️ Get 5% Off