
P0136 on 2010-2012 Ford Fusion 2.5L: Causes, Fixes, and O2 Sensor Replacement
This code almost always means the downstream oxygen sensor (Bank 1, Sensor 2) has failed due to age and wear. It's a very common issue on this platform. Expect to pay $50-$90 for a quality aftermarket sensor (Bosch, Denso, NTK) or $90-$150 for an OEM Motorcraft part. It's a common and straightforward DIY repair, with the main challenge being the potential for a seized sensor in the exhaust pipe.
- P0136 on a 2010-2012 Fusion 2.5L almost always points to the downstream (post-catalytic converter) oxygen sensor.
- Before replacing the sensor, always perform a quick visual check of the wiring for obvious damage (melting, corrosion) and listen for any exhaust leaks.
- This is a DIY-friendly repair for most home mechanics. The main challenge can be removing the old sensor if it's seized in the exhaust pipe; using penetrating oil and the correct O2 sensor socket is key.
- Using a direct-fit sensor from a reputable brand like Motorcraft, Bosch, or Denso is recommended for longevity and proper performance.
What's Unique About the 2010-2012 Ford Fusion
The 2.5L Duratec engine, used across several Ford models including the Fusion, is known for its general reliability, though some surrounding components have known issues. Code P0136 on this platform is a very common and typically straightforward issue. Unlike more complex turbocharged engines, diagnosing this code on the naturally aspirated 2.5L rarely points to a major engine problem. The issue is almost always localized to the oxygen sensor itself, its wiring, or a simple exhaust leak.
Symptoms You May Notice
- Check Engine Light is on
- Decreased fuel efficiency
- Failed emissions test
- Rough or unstable idle in some cases
- Possible sulfur or "rotten egg" smell from the exhaust
- Replacing the upstream (Bank 1, Sensor 1) oxygen sensor instead of the downstream (Bank 1, Sensor 2) sensor.
- Replacing the catalytic converter when the actual fault is a simple O2 sensor or exhaust leak. A P0420 code would typically be present if the converter was the primary failure.
Most Likely Causes
- Faulty Downstream Oxygen Sensor 🔴 High Probability → Shop Oxygen Sensor Oxygen sensors are wear-and-tear items that degrade over time due to constant exposure to high-temperature exhaust gases. It is the most common reason for a P0136 code, especially on vehicles over 80,000 miles.
How to confirm: After ruling out wiring and exhaust leaks, the most practical step is to replace the sensor. Advanced diagnostics involve graphing the sensor's voltage with an OBD-II scanner; a healthy downstream sensor should show a relatively steady voltage (typically 0.5V-0.8V), while a faulty one might be stuck low (near 0V), high (near 1V), or show no activity.
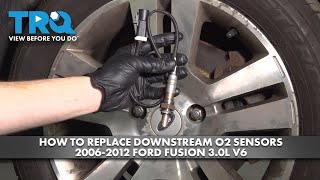
Typical fix: Replace the Bank 1, Sensor 2 (downstream) oxygen sensor. 🎬 Watch: Step-by-step 2012 Fusion downstream O2 sensor replacement guide. Using penetrating oil on the threads of the old sensor before attempting removal is highly recommended. A special O2 sensor socket (22mm or 7/8") is required.
Est. part cost: $50-$150 - Damaged Wiring or Corroded Connector 🟡 Medium Probability The sensor's wiring harness runs along the vehicle's underbody, making it vulnerable to road debris, heat from the exhaust, and moisture, which can lead to corrosion, shorts, or open circuits. This is a common failure point on many vehicles, including the Fusion and its platform mates.
How to confirm: Visually inspect the wiring harness from the O2 sensor to the main connector. Look for melted sections, frayed wires, or breaks. Unplug the connector and check for green or white corrosion on the pins. Check for related codes like P0141 (heater circuit fault), which often appear with wiring damage.
Typical fix: Repair the damaged section of wire or clean the connector terminals with electrical contact cleaner. If the connector is severely damaged, it may need to be replaced with a pigtail connector.
Est. part cost: $10-$40 - Exhaust Leak ⚪ Low Probability Gaskets and exhaust pipe welds (especially at the flex pipe) can fail over time, allowing outside air to be drawn into the exhaust stream near the sensor. This unmetered air can cause the sensor to send incorrect readings to the PCM.
How to confirm: Listen for a ticking or hissing sound from the exhaust, especially when the engine is cold. You can also use a shop towel to briefly block the tailpipe (use caution) to increase pressure and make leaks more audible. A visual inspection may reveal black soot marks around a crack or failed gasket.
Typical fix: Repair the leak. This may involve replacing a gasket or welding a crack in the pipe.
Est. part cost: $20-$200
Rare But Worth Checking
- Faulty Powertrain Control Module (PCM): This is extremely rare and should only be considered after all other possibilities have been exhaustively ruled out. The PCM itself failing is much less likely than a sensor or wiring issue.
Diagnosis Steps
- Read the code with an OBD-II scanner to confirm P0136 is present. Check for any other related codes (P0137, P0138, P0141, P0420).
- Perform a thorough visual inspection of the Bank 1, Sensor 2 (downstream) oxygen sensor and its wiring harness. The sensor is located on the exhaust pipe, after the catalytic converter. Look for any signs of melting, fraying, corrosion, or loose connections.
- Inspect the exhaust system for leaks between the catalytic converter and the downstream O2 sensor. Check for cracks, holes, or failed gaskets, paying close attention to the flex pipe and flange gaskets.
- If you have a capable scanner, observe the live data for the B1S2 voltage. With the engine warm and at a steady RPM (around 2500 RPM), the voltage should be relatively stable (typically between 0.5V and 0.8V). 🎬 See this video for a deep dive into P0136 diagnostics. If it's stuck low (near 0V), high (near 1V), or fluctuating rapidly like the upstream sensor, the sensor is likely faulty.
- If wiring and exhaust are okay, test the sensor's heater circuit. With the key on and engine off, check for battery voltage at the heater power wire on the sensor's connector. Check for continuity to ground on the heater ground wire. A failure in either points to a wiring issue or a bad sensor heater.
- If the wiring and exhaust are okay and the live data points to a bad sensor, the next step is to replace the Bank 1, Sensor 2 oxygen sensor. Apply penetrating oil to the sensor threads and let it soak to make removal easier.
- After replacement, clear the code with the scanner and perform a test drive, including city and highway driving, to ensure the code does not return.
Parts You'll Likely Need
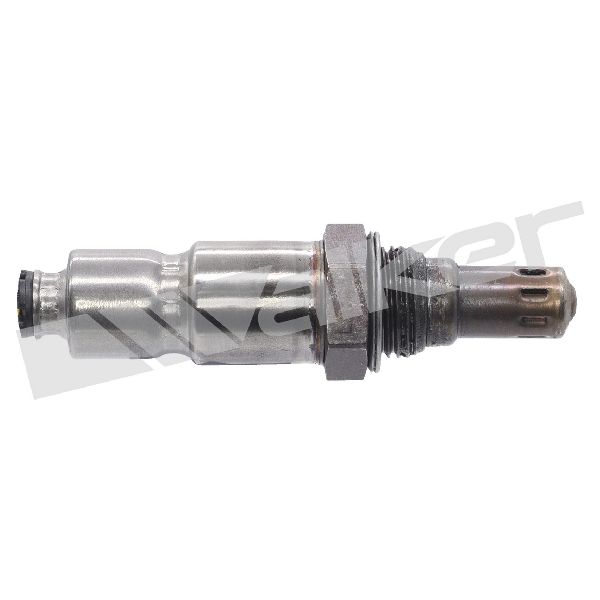
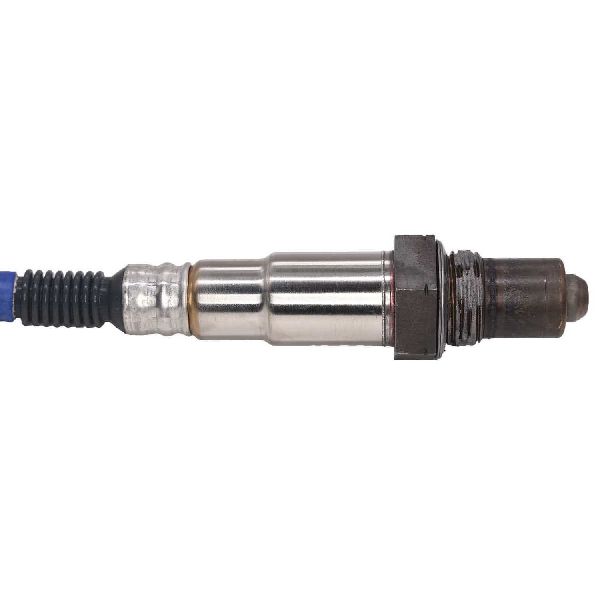
- Downstream Oxygen Sensor (Bank 1, Sensor 2)
(OEM #DY-1174 (Motorcraft, for 2011-2012), DY-1042 (Motorcraft, for 2010))— This is the most common component to fail and cause a P0136 code.
Trusted brands: Motorcraft (OEM), Bosch (e.g., 17098), Denso (e.g., 234-4401), NTK, Walker
OEM price range: $90-$150
Aftermarket price range: $50-$90 - O2 Sensor Socket — A special 22mm or 7/8-inch slotted socket is required to remove and install the oxygen sensor without damaging the wire.
Trusted brands: Lisle, OEMTools, GearWrench
Aftermarket price range: $10-$25
Related Codes That Often Appear With This One
- P0141 — P0141 indicates a malfunction in the heater circuit of the same oxygen sensor (Bank 1, Sensor 2). Since the heater is part of the sensor assembly, seeing both codes together strongly points to a failed sensor or its wiring. 🎬 Watch: How to fix P0141 and downstream sensor circuit issues.
- P0420 — P0420 indicates 'Catalyst System Efficiency Below Threshold'. A failing downstream O2 sensor can sometimes incorrectly trigger a P0420 code, or a failing catalytic converter can damage the O2 sensor. It's crucial to diagnose which is the root cause. If P0136 is present, it's often wise to address it first.
- P0137 — Indicates O2 Sensor Circuit Low Voltage (Bank 1, Sensor 2). This is a more specific version of the P0136 general circuit fault, often pointing to a short or a sensor that has failed in a low-reading state.
- P0138 — Indicates O2 Sensor Circuit High Voltage (Bank 1, Sensor 2). This is the opposite of P0137 and can point to a short to power or a sensor that has failed 'rich'.
Platform-Specific Known Issues
- Owner Experience: Seized Sensor: A common complaint on forums like the r/fordfusion subreddit is the difficulty of removing the original sensor. One user noted they had to apply penetrating oil multiple times and use a breaker bar to get it loose, while another gave up and took it to a mechanic for fear of stripping the threads. This is not unique to the Fusion but is a frequent part of the repair story.
- DIY Repair Video: A video from 1A Auto, while for the V6 model, shows the general location and process for replacing the downstream sensor, which is similar for the 2.5L. It highlights the need to remove the right front wheel and a plastic splash shield for better access.
Mechanic-Grade Diagnostic Values
- O2 Sensor Heater Circuit Resistance — expected: 2 to 30 Ohms when measured across the two heater circuit pins on the sensor.. Failure: An infinite resistance (Open Loop/OL) or near-zero resistance reading indicates a failed heater element.
- Catalyst Monitor Index Ratio (Mode $06) — expected: A value below the maximum limit, typically less than 0.75.. Failure: A value greater than the maximum threshold indicates the catalyst failed its last efficiency test, which can be related to faulty O2 sensor readings.
- Heater Circuit Power Supply Voltage — expected: Battery Voltage (approx. 12V) at the harness connector with Key On, Engine Off.. Failure: A reading of 0V points to a blown fuse or an open in the power supply wire.
Wiring & Ground Locations
- G101 — Rear of engine (for 2.5L models).. This is a primary engine ground. A poor connection here can cause a variety of sensor and PCM-related issues, including erratic sensor readings.
- G104 — Right front of the engine compartment.. This is a major engine compartment ground point that services multiple components. A fault at this location can lead to chasing phantom sensor failures.
- HO2S 12 Connector — Under the vehicle, on the exhaust pipe just after the catalytic converter. The connector is often clipped to a heat shield or nearby bracket.. This is the direct connection point for the Bank 1 Sensor 2. It is the primary location for visual inspection of corrosion and for performing electrical tests (voltage, ground, resistance) on the sensor and harness.
Real Owner Repair Stories
- Go-Parts (2011 Ford Fusion 2.5L I4, ~105,000 miles) — Check Engine Light on. Scan tool showed a flat, unchanging voltage of 0.45V for Bank 1 Sensor 2.
❌ Tried (didn't work) The user first confirmed the symptom with a scan tool before proceeding.
✅ What actually fixed it Replacing the downstream O2 sensor with a quality replacement part (Motorcraft or Denso) resolved the issue. - NHTSA ODI #11539323 — While reported on a related Ford model, an owner noted that after a check engine light illuminated, a dealer diagnosis retrieved DTC codes P0756, P1450, P0136, and P0102. In that specific instance, the dealer determined that coolant had intruded into the engine block.
OEM Part Supersession History
DY-1042→DY-1174— Part number change for the new model year.
Heads up: The downstream oxygen sensor for the 2010 model year is part number DY-1042. For 2011 and 2012 models, the correct part is DY-1174. While they may be physically similar, using the wrong year's sensor can lead to compatibility issues.
Model Year Variations Within This Range
- 2010 vs 2011-2012: The OEM Motorcraft part number for the downstream oxygen sensor is different. The 2010 model uses DY-1042, while the 2011-2012 models use DY-1174.
Diagnostic Flowchart
Other Known Issues on This Vehicle
Issues unrelated to this code that are worth knowing about as an owner of this generation:
- Defective 6F35 Automatic Transmission 🔴 High — Widespread issue affecting many 2010-2020 Fusions. Symptoms include hard/jerky shifts, delayed engagement, slipping, and shuddering. Can occur at various mileages. (Ref: Subject of multiple class-action lawsuits (e.g., Jones et al. v. Ford Motor Company), but no major recall was issued. Some TSBs like 13-03-15 addressed software updates which often did not fix the root mechanical/hydraulic cause.)
- Electronic Throttle Body (ETB) Failure 🔴 High — A very common problem where internal electronics fail, causing the vehicle to suddenly enter 'limp mode' with no throttle response. Can happen without warning. (Ref: Ford issued Customer Satisfaction Program 16B32 for some models/years, but it had an expiration date. Not a formal recall.)
- Power Steering Failure 🔴 High — The electronic power steering rack is a known weak point on 2010-2012 models, with numerous complaints of sudden failure, leading to a complete loss of power assist while driving.
- Leaking Valve Cover Gasket 🟡 Low — Common on higher-mileage 2.5L engines. The plastic valve cover's gasket can dry out and cause oil to seep onto the engine block. It is a relatively simple and inexpensive repair.
- Swollen/Capped Lug Nuts 🟡 Low — Extremely common across many Ford models of this era. The two-piece design allows moisture to get between the steel core and the chrome cap, causing swelling and distortion. This makes it impossible to use the standard lug wrench.
Used vs. New Parts: Buying Guide for This Vehicle
When a used part is the smart pick: For this repair, using a used part is almost never a smart choice. The primary cause of P0136 is the failure of the oxygen sensor itself, which is a wear-and-tear item with a finite lifespan. Installing a used sensor from a junkyard introduces a part with unknown history and significant remaining life, likely leading to the same failure in the near future.
Donor-vehicle mileage cap: roughly under 20000 miles for the part to have meaningful remaining life.
What to inspect on the donor part:
- If forced to use a used part, select one from the lowest-mileage donor vehicle possible.
- Inspect the connector for any signs of corrosion, melted plastic, or broken locking tabs.
- Check the sensor's pigtail wire for any signs of fraying, melting, or previous repairs.
Aftermarket brands forum-validated for this vehicle:
- Motorcraft (OEM)
- Denso
- NTK
- Bosch
Brands owners have reported issues with on this vehicle:
- Unbranded 'white-box' sensors and some forum users have reported questionable longevity with Walker brand sensors for this application.
Real Owner Stories
Aggregated from forums and TSBs cited above. Mileages and costs reflect what owners reported in those sources.
2010-2012 Ford Fusion 2.5L
Symptoms: The original sensor was extremely difficult to remove; required multiple applications of penetrating oil and a breaker bar to loosen it.
What fixed it: Replacement of the Bank 1, Sensor 2 (downstream) oxygen sensor.
Source hint: vehicle_specific_issues: Owner Experience: Seized Sensor
2010 Ford Fusion 2.5L
Symptoms: Check engine light on with concerns about whether a DIY O2 sensor replacement was feasible.
What fixed it: Replacement of the downstream O2 sensor (Bank 1, Sensor 2).
Source hint: r/fordfusion - reddit.com/r/fordfusion/comments/k7p0c9/should_i_change_my_o2_sensor_myself/
Related OBD-II Codes
Frequently Asked Questions
Where is the Bank 1, Sensor 2 oxygen sensor located on my 2010-2012 Ford Fusion 2.5L?
Is there a TSB for the P0136 code on the 2.5L Duratec engine?
Can I use a standard wrench to replace the downstream sensor on my Fusion?
What should the voltage reading be for a healthy downstream sensor on a 2011 Fusion?
Could a sulfur smell from my exhaust be related to the P0136 code?
Does the Mercury Milan share this same O2 sensor issue?
Helpful Videos


We Have This Part in Stock


The information in this article is provided for general reference and educational purposes only. Vehicle specifications, procedures, and part compatibility can vary by production date, trim level, and region. Always consult your vehicle's factory service manual and verify part numbers before purchasing or performing repairs. Safety-critical components such as airbags, seat belts, and braking systems should be installed by a qualified professional.
- Ford Fusion:
- 🧭 Diagnostic Flowchart
- 🎬 Helpful Videos
- 🛍️ Shop This Part
- What's Unique About the 2010-2012 Ford Fusion
- Symptoms You May Notice
- Most Likely Causes
- Rare But Worth Checking
- Diagnosis Steps
- Parts You'll Likely Need
- Related Codes That Often Appear With This One
- Platform-Specific Known Issues
- Mechanic-Grade Diagnostic Values
- Wiring & Ground Locations
- Real Owner Repair Stories
- OEM Part Supersession History
- Model Year Variations Within This Range
- Other Known Issues on This Vehicle
- Used vs. New Parts: Buying Guide for This Vehicle
- Real Owner Stories
- 2010-2012 Ford Fusion 2.5L
- 2010 Ford Fusion 2.5L
- Related OBD-II Codes
- Frequently Asked Questions
- 🎟️ Get 5% Off