
P0136 on 2007-2010 Hyundai Elantra: O2 Sensor Circuit Malfunction Causes and Fixes
This code points to a malfunction in the downstream oxygen sensor circuit (Bank 1, Sensor 2). Most often, the fix is to replace the downstream O2 sensor itself, which is located on the exhaust pipe after the catalytic converter. Before replacing, inspect the wiring for damage, as it's exposed under the car. Expect to pay between $40 and $100 for an aftermarket sensor and around $200 for an OEM part.
- P0136 specifically points to the downstream oxygen sensor (Sensor 2) located after the catalytic converter.
- The most common fix is to replace the downstream O2 sensor, which is a manageable DIY job with the correct 22mm O2 sensor socket.
- Before replacing the sensor, always perform a thorough visual inspection of the wiring and connector for obvious damage like melting, chafing, or corrosion, as this is a common failure point.
- Driving for too long with this code can lead to reduced fuel economy and may eventually damage the catalytic converter, a much more expensive repair.
What's Unique About the 2007-2010 Hyundai Elantra
For the 2007-2010 Hyundai Elantra (HD generation) with the 2.0L Beta II engine, the P0136 code is a straightforward emissions-related fault. There are no widespread, unique design flaws that make this model particularly prone to this code compared to other vehicles. The causes are typical for any car of this era, primarily revolving around the aging of the O2 sensor itself or issues with its wiring. The 4-cylinder engine layout simplifies diagnosis as there is only one exhaust bank and two sensors to check. The wiring for the downstream sensor, however, is routed under the vehicle, making it susceptible to road debris and corrosion, which is a key point of inspection.
Generation note: The 2007-2010 model years belong to the fourth generation (HD) of the Hyundai Elantra. However, the specified OEM part number 39210-23950 also fits Elantra models up to 2012, including the fifth generation (MD) and the Elantra Touring wagon, indicating a similar repair process.
Symptoms You May Notice
- Check Engine Light is on
- Decreased fuel efficiency
- Rough idling or engine hesitation
- Failing a vehicle emissions test
- Rotten egg or sulfur smell from the exhaust
- Replacing the upstream (Bank 1, Sensor 1) oxygen sensor instead of the downstream (Bank 1, Sensor 2) sensor. The code specifically points to Sensor 2.
- Replacing the O2 sensor without first inspecting the wiring harness. A damaged wire can mimic the symptoms of a failed sensor, leading to unnecessary replacement.
Most Likely Causes
- Faulty Downstream Oxygen Sensor 🔴 High Probability → Shop Oxygen Sensor Oxygen sensors are wear-and-tear items that degrade over time due to constant exposure to high heat and exhaust gases. After many years and miles, failure is common and the most frequent cause for P0136.
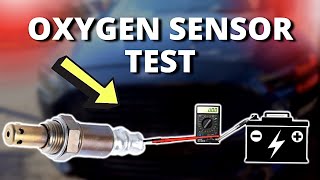
How to confirm: Use an OBD-II scanner to observe the live data for the Bank 1 Sensor 2 voltage. A healthy downstream sensor should show a relatively stable voltage (e.g., between 0.5V and 0.8V) on a warm engine at steady RPM. If the voltage is stuck low (near 0.1V), high (near 0.9V), erratic, or mirroring the upstream sensor's rapid fluctuations, the sensor is likely bad. You can also test the sensor's internal heater circuit resistance, which should typically be between 2 and 20 ohms. 🎬 See this guide on how to test an oxygen sensor.
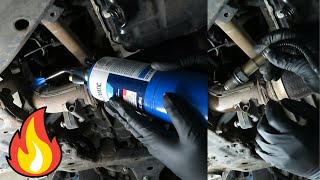
Typical fix: Replace the downstream (Bank 1, Sensor 2) oxygen sensor. This involves safely raising the vehicle, locating the sensor on the exhaust pipe after the catalytic converter, 🎬 Watch: Locate the downstream sensor on your Elantra. unplugging its electrical connector, and unscrewing it with a special 22mm O2 sensor socket or wrench. Apply anti-seize compound to the threads of the new sensor before installation.
Est. part cost: $40 - $100 - Damaged Wiring or Connectors 🟡 Medium Probability The wiring for the downstream O2 sensor runs underneath the car, where it is exposed to road debris, moisture, and heat. This can cause the wiring insulation to become brittle and break, leading to shorts, or cause corrosion in the connector pins.
How to confirm: Visually inspect the entire wiring harness from the O2 sensor to where it enters the cabin. Look for any signs of physical damage, melting on the exhaust pipe, or corrosion on the connector pins. Use a multimeter to perform a circuit integrity test, checking for continuity, shorts to ground, and proper voltage at the connector. The four wires typically consist of two for the heater circuit, one for the signal, and one for the ground.
Typical fix: Repair or replace the damaged section of the wiring harness. Clean corroded connectors with electrical contact cleaner or replace the connector pigtail if necessary.
Est. part cost: $10 - $50 - Exhaust System Leak ⚪ Low Probability Exhaust components can develop rust and cracks over time, especially in regions that use road salt in the winter. A leak before the sensor can allow outside air to enter the exhaust stream, skewing the sensor's readings.
How to confirm: Listen for unusual hissing or ticking sounds from the exhaust, especially when the engine is cold. A visual inspection may reveal cracks or holes in the pipes or gaskets near the O2 sensor. A smoke test is the most definitive way to find a leak.
Typical fix: Repair the leak by replacing the faulty gasket or exhaust pipe section, or by welding the crack.
Est. part cost: $20 - $200 - Blown Fuse for Sensor Heater Circuit ⚪ Low Probability An electrical short in the O2 sensor or its wiring can cause the associated fuse to blow, cutting power to the sensor's internal heater.
How to confirm: Check the vehicle's fuse boxes (both in the engine bay and inside the cabin) for a fuse labeled 'SENSOR' or related to emissions components. A visual inspection or a multimeter can confirm if the fuse is blown.
Typical fix: Replace the blown fuse. If the fuse blows again immediately, it indicates a persistent short circuit in the wiring or the sensor itself that must be diagnosed and repaired.
Est. part cost: $1 - $5
Rare But Worth Checking
- Failing Catalytic Converter: → Shop Catalytic Converter While less common, a degraded catalytic converter can alter the exhaust composition in a way that triggers a P0136 code. This is usually accompanied by other codes like P0420 (Catalyst System Efficiency Below Threshold). A user on the Car Talk forums reported this as a potential cause after replacing sensors did not fix the issue.
- Faulty Powertrain Control Module (PCM): In very rare instances, the vehicle's computer can be the source of the problem, misinterpreting a good sensor signal. This should only be considered after all other possibilities, including wiring and the sensor itself, have been exhaustively tested and ruled out.
Diagnosis Steps
- Connect an OBD-II scanner to confirm the P0136 code and check for any other stored codes. Note any freeze-frame data, which shows sensor values at the moment the code was set.
- View the live data stream for the Bank 1, Sensor 2 O2 sensor. The voltage should be relatively steady (typically between 0.5V and 0.8V) on a warm engine at a constant speed. If it's stuck low (near 0V), high (near 1V), or fluctuating rapidly like the upstream sensor, it points to a problem.
- Safely raise and support the vehicle. Locate the downstream O2 sensor, which is screwed into the exhaust pipe after the catalytic converter.
- Thoroughly inspect the sensor's wiring harness and connector for any visible damage, such as fraying, melting against the exhaust, corrosion, or loose pins. This is a common point of failure.
- Inspect the exhaust system for any leaks between the engine and the downstream O2 sensor. Look for black soot marks or listen for audible leaks. A smoke test is the most reliable method.
- Check the fuse for the O2 sensor heater circuit in the engine bay fuse box. It may be labeled 'SENSOR' or similar.
- If wiring, fuses, and the exhaust system appear to be in good condition, the most likely culprit is the O2 sensor itself.
- Replace the Bank 1, Sensor 2 oxygen sensor using a 22mm O2 sensor socket. 🎬 Watch: How to remove a seized sensor on this Elantra.
- Clear the trouble code with the scanner and perform a complete drive cycle, including highway speeds, to ensure the code does not return.
Parts You'll Likely Need
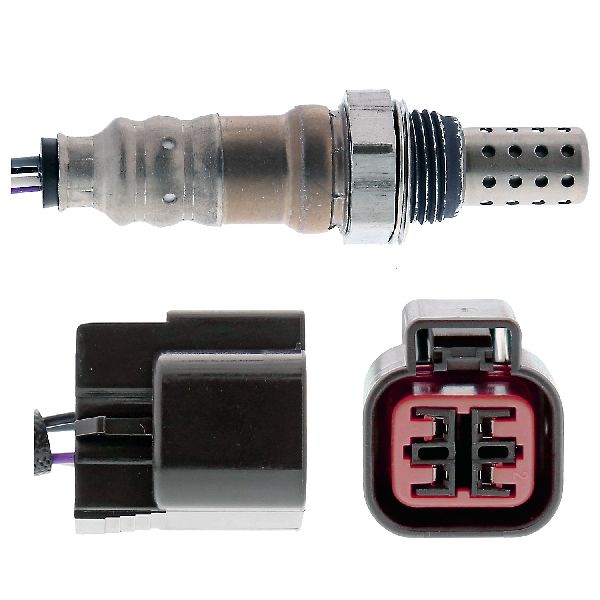
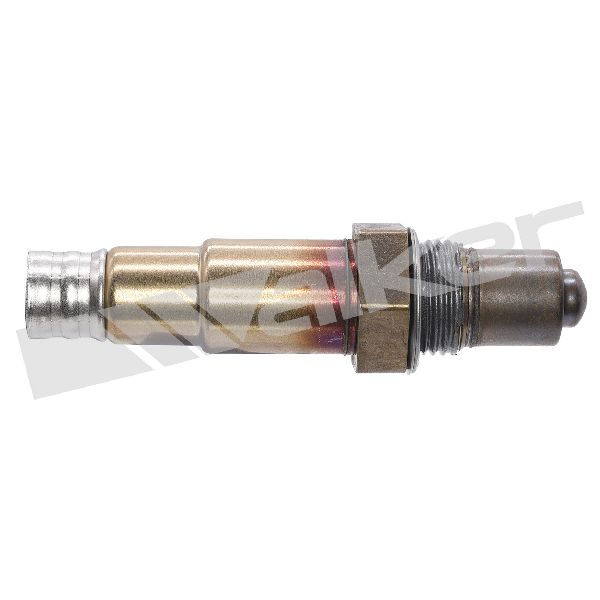
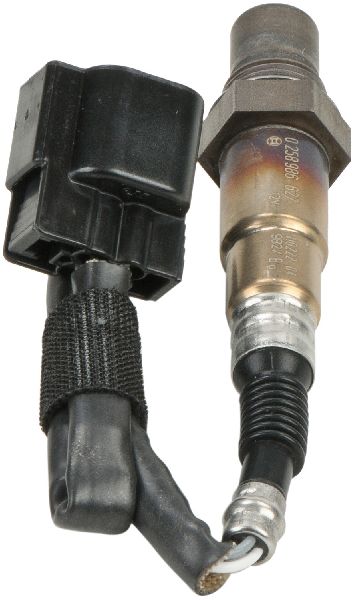
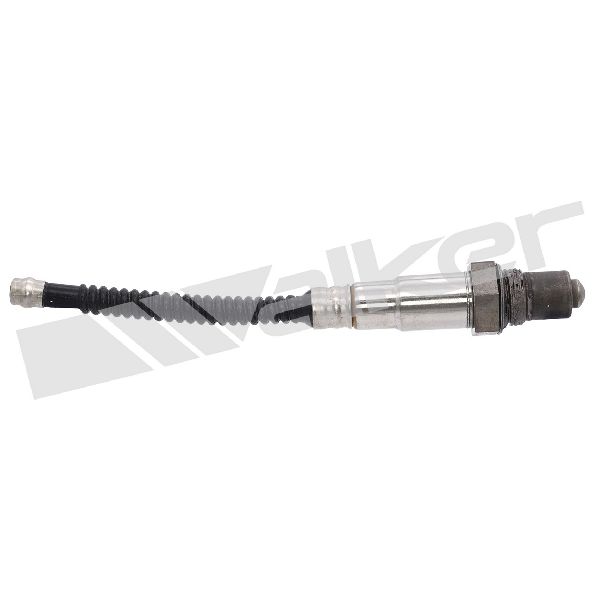
- Downstream Oxygen Sensor (Bank 1, Sensor 2)
(OEM #39210-23950)— This is the most common failure point for a P0136 code, as the sensor degrades over time.
Trusted brands: Bosch, Denso, NGK/NTK, Walker Products
OEM price range: $185-$250
Aftermarket price range: $40-$100
Related Codes That Often Appear With This One
- P0137: O2 Sensor Circuit Low Voltage (Bank 1, Sensor 2)
- P0138: O2 Sensor Circuit High Voltage (Bank 1, Sensor 2)
- P0140: O2 Sensor Circuit No Activity Detected (Bank 1, Sensor 2)
- P0141: O2 Sensor Heater Circuit Malfunction (Bank 1, Sensor 2)
Platform-Specific Known Issues
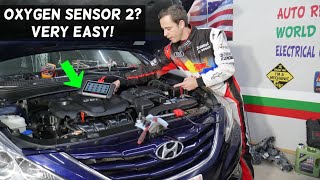
- Wiring Harness Connector Location: On some Elantra models, the connector for the downstream O2 sensor is located up in the engine bay, requiring the harness to be fed down from the top. On others, the connection is made underneath the vehicle. It's important to trace the wire from the sensor to its connector before attempting removal. A video for a slightly newer Elantra shows the connector being accessed from the top, between the engine and the firewall.
Mechanic-Grade Diagnostic Values
- Downstream O2 Sensor Heater Resistance — expected: Approximately 9 Ohms at 68°F (20°C). Failure: A reading of infinity (open circuit) or zero (short circuit) indicates a failed heater element within the sensor.
- Downstream O2 Sensor Connector Pin 4 Voltage (Heater Power) — expected: Battery voltage with Key On, Engine Off. Failure: 0V indicates a blown fuse (check 'SNSR' fuse in engine bay fuse box) or a break in the power wire from the main relay.
- Downstream O2 Sensor Connector Pin 3 Voltage (Heater Control) — expected: Should show a pulsing ground signal (duty cycle) on a scope when the ECM is commanding the heater on. With a multimeter, it may show a fluctuating voltage.. Failure: A constant 0V or battery voltage suggests a wiring problem to the ECM or a faulty ECM driver, though the latter is rare.
Wiring & Ground Locations
- Downstream O2 Sensor Connector (C152) — Typically located on a bracket attached to the top of the transmission, accessible from the engine bay. The sensor wire is routed up from the exhaust pipe.. This is the primary connection point to test the sensor and the vehicle-side harness. Corrosion or damage here is a common cause of failure. The pinout is: Pin 1 - Signal Ground (to ECM), Pin 2 - Sensor Signal (to ECM), Pin 3 - Heater Control (from ECM), Pin 4 - Heater Power (from Main Relay/SNSR fuse).
- G104 — Engine ground point located on the driver's side of the cylinder head cover.. This is a primary ground point for the ECM. A loose or corroded connection here can cause a host of erratic sensor readings and codes, including P0136, because it can create a floating ground for the sensor's reference.
Real Owner Repair Stories
- Hyundai-Forums user (2007 Hyundai Elantra) — Persistent P0136 code, even after replacing the downstream O2 sensor.
❌ Tried (didn't work) Replacing the downstream O2 sensor
✅ What actually fixed it The user traced the wiring harness from the sensor and found a corroded wire about a foot away from the connector. The corrosion was internal to the wiring loom and not visible from the outside. Splicing in a new section of wire resolved the code.
Diagnostic Flowchart
Used vs. New Parts: Buying Guide for This Vehicle
When a used part is the smart pick: For this repair, obtaining used parts is generally not recommended for the sensor itself. However, a used section of exhaust pipe (if a leak is the cause) or a used wiring harness pigtail from a junkyard can be a cost-effective solution.
Donor-vehicle mileage cap: roughly under 80000 miles for the part to have meaningful remaining life.
What to inspect on the donor part:
- For wiring pigtails, ensure the insulation is not brittle, cracked, or melted.
- Check connector pins for any green or white corrosion.
- For exhaust components, look for surface rust but reject anything with deep pitting or holes.
OEM-only on this vehicle (don't cheap out):
- Powertrain Control Module (PCM) - requires programming and is rarely the cause.
Aftermarket brands forum-validated for this vehicle:
- NTK (who is an OEM supplier for many brands)
- Denso
- Bosch
Brands owners have reported issues with on this vehicle:
- Unnamed or 'white-box' ultra-cheap sensors from online marketplaces, as they often have incorrect heater resistances or slow response times, leading to the code returning.
Related OBD-II Codes
Frequently Asked Questions
Where is the oxygen sensor for code P0136 located on my 2007-2010 Hyundai Elantra?
What should the live data voltage be for the downstream O2 sensor on my Elantra?
I'm having trouble finding the electrical connector for the downstream O2 sensor on my Elantra. Where is it?
I replaced the O2 sensor on my Elantra but the P0136 code came back. What else could be the cause?
My Elantra has a P0136 code and I hear a hissing noise from the exhaust. Could these be related?
Are there any recommended aftermarket O2 sensor brands for my Hyundai Elantra?
Which fuse should I check for a P0136 code on my 2007-2010 Elantra?
Helpful Videos
We Have This Part in Stock


The information in this article is provided for general reference and educational purposes only. Vehicle specifications, procedures, and part compatibility can vary by production date, trim level, and region. Always consult your vehicle's factory service manual and verify part numbers before purchasing or performing repairs. Safety-critical components such as airbags, seat belts, and braking systems should be installed by a qualified professional.
- Hyundai Elantra:
- 🧭 Diagnostic Flowchart
- 🎬 Helpful Videos
- 🛍️ Shop This Part
- What's Unique About the 2007-2010 Hyundai Elantra
- Symptoms You May Notice
- Most Likely Causes
- Rare But Worth Checking
- Diagnosis Steps
- Parts You'll Likely Need
- Related Codes That Often Appear With This One
- Platform-Specific Known Issues
- Mechanic-Grade Diagnostic Values
- Wiring & Ground Locations
- Real Owner Repair Stories
- Used vs. New Parts: Buying Guide for This Vehicle
- Related OBD-II Codes
- Frequently Asked Questions
- 🎟️ Get 5% Off