
P0139 on 2001-2006 Hyundai Santa Fe: O2 Sensor Slow Response Causes and Fixes
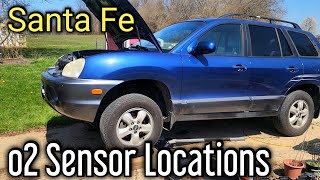
For a 2001-2006 Santa Fe, code P0139 almost always points to a failing downstream oxygen sensor (Bank 1, Sensor 2). On V6 models, this is on the firewall side, after the catalytic converter. On 4-cylinder models, it's the only downstream sensor. Replacing this sensor is the most common fix and is a DIY-friendly job costing between $40 and $100 for a quality aftermarket part like a Denso or NTK.
- P0139 on a 2001-2006 Santa Fe points directly to the Bank 1, Sensor 2 (downstream) oxygen sensor.
- The most probable cause is the sensor itself has worn out due to age and mileage.
- Symptoms are minimal, mainly a Check Engine Light and failed emissions test. It is safe to drive in the short term.
- Before replacing the sensor, perform a quick visual check for obvious exhaust leaks or damaged wiring, as these can also cause the code.
- Use a quality direct-fit replacement sensor from a brand like Denso or NTK and an O2 sensor socket for the best results.
What's Unique About the 2001-2006 Hyundai Santa Fe
The first-generation Hyundai Santa Fe (2001-2006) is a straightforward vehicle for this type of repair. Unlike in some modern cars, the downstream O2 sensor's role is almost exclusively for emissions monitoring, so a fault rarely causes significant driving issues. The location of Bank 1 (the cylinder bank closer to the firewall on V6 models) can make access slightly tight, but the repair is generally considered simple. The most common failure is simply the sensor wearing out after years of service, a common occurrence discussed by owners in forums.
Symptoms You May Notice
- Check Engine Light is on
- Failing a state emissions test
- Potentially reduced fuel economy
- Occasional engine hesitation or rough idle, especially after deceleration (rare)
- Replacing the upstream (Bank 1, Sensor 1) oxygen sensor instead of the downstream (Bank 1, Sensor 2) sensor.
- Replacing the catalytic converter when the actual fault is a simple, inexpensive sensor.
- Using a cheap, universal oxygen sensor that requires splicing wires. These often have poor performance and fail prematurely. It's better to use a direct-fit sensor.
Most Likely Causes
- Failing or Aged Oxygen Sensor 🔴 High Probability → Shop Oxygen Sensor Oxygen sensors are wear items with a finite lifespan, typically 50,000 to 100,000 miles. On a vehicle of this age, original sensors are likely at or beyond their service life. Aftermarket sensors are also a common point of failure if a non-reputable brand was used previously.
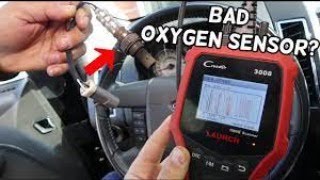
How to confirm: The most definitive way is to use a scan tool to graph the sensor's voltage. A healthy downstream sensor (Sensor 2) should show a relatively stable voltage, typically between 0.6V and 0.8V, when the engine is at operating temperature and cruising. A slow sensor will not react quickly during tests like a sudden throttle snap or may be stuck at a specific voltage.
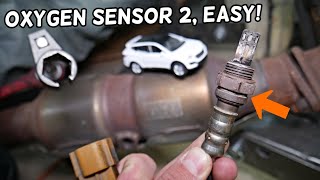
Typical fix: Replace the Bank 1, Sensor 2 oxygen sensor. This is the sensor located after the catalytic converter on the firewall side of the engine for V6 models, or the only downstream sensor on 4-cylinder models. Using an O2 sensor socket is highly recommended as the old sensor can be seized by rust.
Est. part cost: $40-$100 - Exhaust Leak 🟡 Medium Probability Corrosion can cause leaks in the exhaust system, especially on older vehicles exposed to road salt. A leak between the catalytic converter and the downstream sensor can introduce outside oxygen, confusing the sensor and slowing its perceived response time.
How to confirm: Visually inspect the exhaust pipes and flanges near the O2 sensor for cracks, holes, or black soot trails indicating a leak. You may also hear a ticking or hissing sound from the exhaust, especially when the engine is cold. A shop may use a smoke machine to pinpoint the leak.
Typical fix: Repair or replace the leaking section of the exhaust pipe or replace the faulty gasket. A common failure point is the flex pipe.
Est. part cost: $20-$200 - Damaged Wiring or Connectors ⚪ Low Probability The sensor wiring runs under the vehicle and is exposed to heat, moisture, and road debris, which can cause corrosion or physical damage over time. The harness can come loose from its clips and melt on the hot exhaust pipe.
How to confirm: Visually inspect the wiring harness leading to the O2 sensor for any signs of melting, chafing, corrosion in the connector, or breaks. A multimeter can be used to check for continuity and proper voltage at the connector. Check for 12V at the heater circuit wires and continuity to ground.
Typical fix: Repair the damaged section of the wiring harness or clean/replace the connector.
Est. part cost: $10-$50
Rare But Worth Checking
- Blown Fuse: The oxygen sensor's heater circuit is often protected by a fuse. While rare, a blown fuse can cause sensor-related codes. Check the fuse box in the engine compartment for a fuse labeled 'SENSOR' or similar, often a 15A fuse.
- Failing Catalytic Converter: While a slow sensor is the primary suspect for P0139, a partially clogged or inefficient catalytic converter can sometimes cause erratic sensor readings. This is usually accompanied by other codes like P0420 (Catalyst Efficiency Below Threshold).
- PCM (Engine Computer) Issue: In very rare cases, the problem could be with the Powertrain Control Module itself, either due to a software glitch or internal failure. This should only be considered after all other possibilities have been exhausted and multiple, quality sensors have failed to resolve the code.
Diagnosis Steps
- Verify the code with an OBD-II scanner.
- Check for any other stored trouble codes that could indicate a related issue (e.g., P0420, P0171).
- Perform a visual inspection of the Bank 1, Sensor 2 oxygen sensor and its wiring harness. Look for corrosion, melted wires, or loose connections. Ensure the harness is properly secured and not touching the exhaust.
- Inspect the exhaust system for any audible leaks or visible signs of cracks or soot, particularly between the catalytic converter and the downstream O2 sensor.
- Using a scan tool with live data capabilities, monitor the voltage of Bank 1, Sensor 2 at a steady 2500 RPM. A healthy downstream sensor should show a relatively steady voltage between 0.6V and 0.8V. A faulty one will be slow to change, stuck low (e.g., <0.2V), or stuck high.
- Perform a throttle snap test. While watching the live data, quickly press and release the throttle. The downstream sensor voltage should react, though more slowly than the upstream sensor. If it remains flat or takes many seconds to change, it confirms a slow response.
- If the sensor appears unresponsive and the wiring/exhaust are okay, the sensor itself is the most likely culprit and should be replaced.
Parts You'll Likely Need
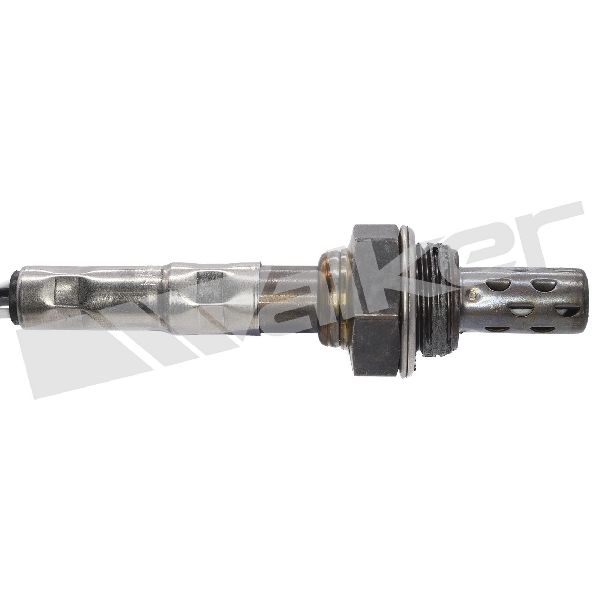
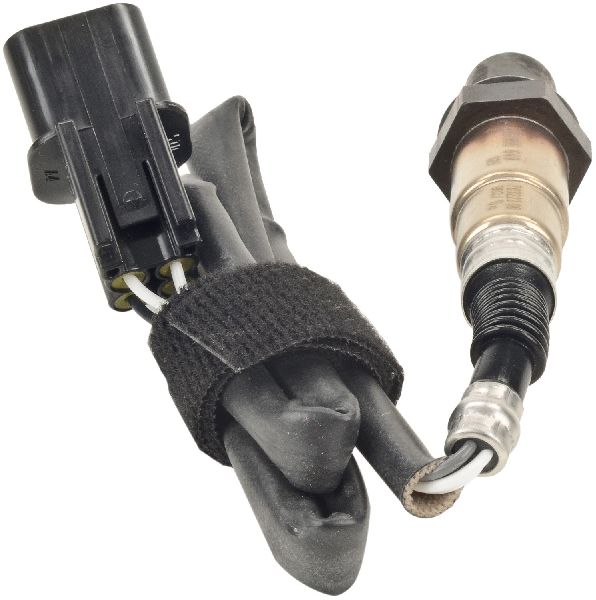
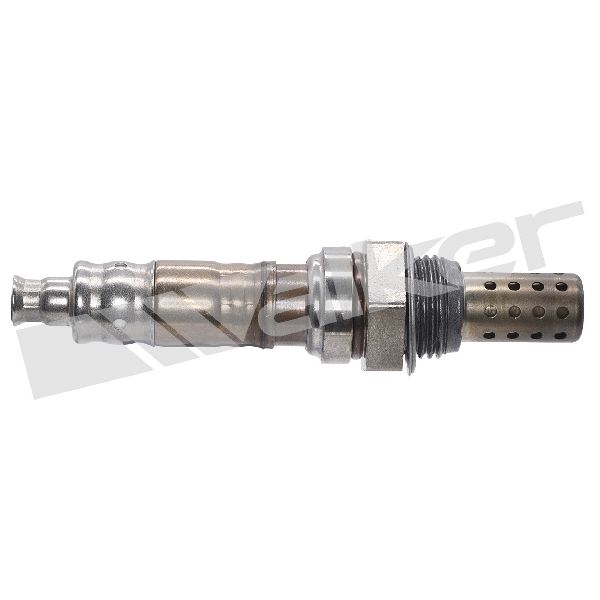
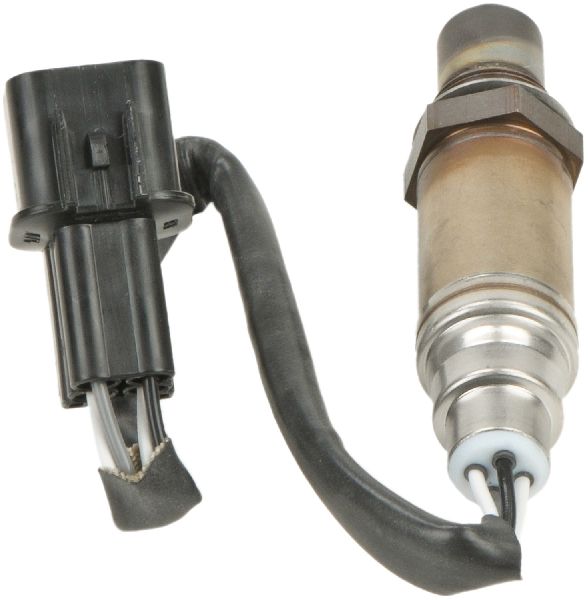
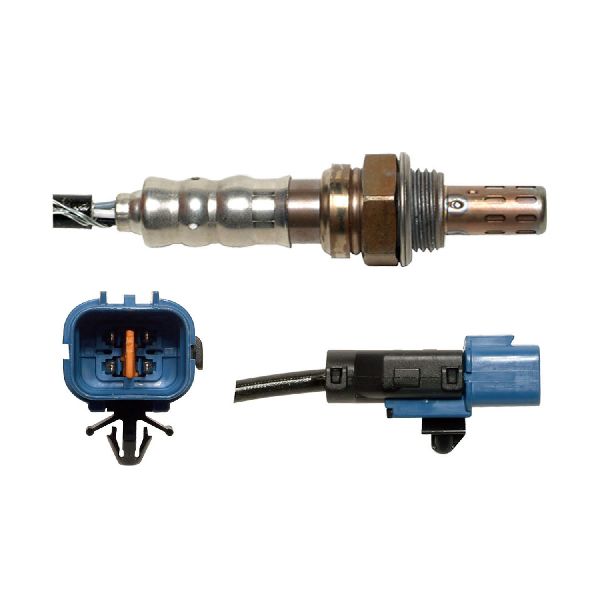
- Oxygen Sensor (Bank 1, Sensor 2)
(OEM #39210-37530 (For 2.7L V6, may vary by year, verify by VIN))— This is the downstream sensor that monitors catalytic converter efficiency. It is the most common failure point for code P0139 as it ages and becomes less responsive.
Trusted brands: Denso (e.g., 234-4199 for 2.7L V6 Downstream Left), NGK/NTK (e.g., 25180 for 2.7L V6), Bosch, Walker
OEM price range: $80-$150
Aftermarket price range: $40-$100
Related Codes That Often Appear With This One
- P0171 — System Too Lean - An exhaust leak before the O2 sensor can introduce extra air, causing a lean condition and a slow sensor response.
- P0172 — System Too Rich - A rich running condition can foul the O2 sensor with carbon, slowing its response time.
- P0420 — Catalyst System Efficiency Below Threshold - This code points to a failing catalytic converter, which can be related to, or caused by, faulty O2 sensor readings. A bad downstream O2 sensor can also incorrectly trigger a P0420 code.
Technical Service Bulletins (TSBs) & Recalls
- Reference to TSB #02-36-333: While not a direct TSB for fixing P0139, it notes a design change in the O2 sensors for the 2.7L V6 engine around 2003. This is important for parts compatibility, as old and new sensors are not interchangeable.
Platform-Specific Known Issues
- V6 vs I4 Sensor Location: On the 2.7L and 3.5L V6 engines, Bank 1 is the rear bank, closer to the firewall. Sensor 2 is located after the rear catalytic converter, making it somewhat difficult to access from above. 🎬 Watch this walkthrough for replacing the downstream Bank 1 sensor. On the 2.4L 4-cylinder engine, there is only one bank, and Sensor 2 is located after the single catalytic converter, typically easier to access.
- Sensor Seizure and Special Tools: Due to age and exposure to heat cycles and moisture, the original oxygen sensors are often rusted and seized in the exhaust pipe. It is highly recommended to use a 7/8" (or 22mm) slotted oxygen sensor socket and a breaker bar for removal. Soaking the threads with a penetrating catalyst like PB Blaster for several hours beforehand can greatly aid removal.
- Mid-Generation Sensor Design Change: Hyundai issued information superseding TSB 02-36-333, indicating a change from Titanium to Zirconium type O2 sensors for the 2.7L V6 engine around the 2003 model year. The old and new sensors are not interchangeable, and this change also affected the wiring harness and ECM. It is crucial to get the correct part for your specific vehicle year and VIN.
Mechanic-Grade Diagnostic Values
- O2 Sensor Heater Circuit Resistance — expected: Typically 2-4 Ω. Some sources specify 5-6 Ω on a cool engine (20°C), while others note brand new Bosch sensors are around 9 Ω cold.. Failure: An open circuit (infinite resistance) or a dead short (zero resistance) indicates a failed heater element.
- O2 Sensor Circuit Resistance to PCM — expected: Below 5.0 Ω.. Failure: Values above 5.0 Ω suggest corrosion in the connector or a damaged wire, which can add resistance and slow the signal.
- Downstream O2 Sensor Voltage (Idle, Operating Temp) — expected: Relatively steady voltage, typically between 0.6V and 0.9V.. Failure: Voltage is stuck low (e.g., <0.2V), stuck high, or does not change appropriately during a throttle snap test.
- Hyundai O2 Sensor Bias Voltage (Key-On, Engine-Off) — expected: Approximately 424-450 millivolts (0.42V - 0.45V).. Failure: This is a baseline reading. Once the sensor heater activates after starting the engine, this voltage should begin to change. If it remains flat at the bias voltage, it indicates a problem with the sensor or its circuit.
Hidden / Shadow Codes Worth Checking
- P132600: Knock Sensor Detection System (KSDS) Abnormal Noise Detected. While not a shadow code for P0139, it is a Hyundai-specific code that puts the vehicle into a limp mode ('Engine Protection Mode') with a flashing MIL. An engine with severe internal issues could potentially affect exhaust readings, but this code points to a primary mechanical problem, not an O2 sensor fault. (see via Hyundai GDS or other professional-grade scan tools.)
Scan Tool Commands That Help
- Hyundai GDS (Global Diagnostic System): Live Data / Current Data Analysis — This is the primary function for diagnosing P0139. A technician can graph the Bank 1 Sensor 2 voltage, compare it to the upstream sensor, and monitor the heater duty cycle to confirm if the sensor is lazy or non-responsive.
- Hyundai GDS (Global Diagnostic System): DTC Analysis & Fault Code Guide — After retrieving code P0139, the GDS tool provides a guided diagnostic procedure specific to that code, including component locations, wiring diagrams, and step-by-step checks.
- Hyundai GDS (Global Diagnostic System): Actuation Test — While not directly used for the O2 sensor itself (which is passive), this function can test related components like fuel pump relays or injectors to rule out rich/lean conditions that might be fouling the O2 sensor.
Wiring & Ground Locations
- G01 — On the body, near the right front of the engine compartment.. A poor engine or chassis ground can introduce electrical noise and resistance into sensor circuits, potentially causing slow or erratic readings from the oxygen sensor. Verifying this ground is clean and tight is a crucial step if wiring is suspected.
- O2 Sensor Harness Connector — For Bank 1 Sensor 2 (V6), the connector is located on the firewall side, accessible from underneath the vehicle. The harness is routed near the hot exhaust pipe.. The harness can come loose from its mounting clips and make contact with the exhaust, melting the insulation and causing a short in the wiring. This will trigger sensor codes and mimics a failed sensor.
Real Owner Repair Stories
- hyundai-forums.com user (2004 Hyundai Santa Fe 2.7L V6) — Check Engine Light with code P0139.
❌ Tried (didn't work) Replaced the Bank 1 Sensor 2 O2 sensor with a new one, but the code returned.
✅ What actually fixed it The owner removed the newly installed O2 sensor and found it was contaminated with anti-seize compound on the sensor tip. He cleaned the sensor tip carefully, reinstalled it, and the code did not return. The lesson was that even a tiny amount of anti-seize on the sensor's protective cage can 'poison' it and cause slow response readings.
"I Checked Everything" — The Actual Cause
- In one documented case for a similar vehicle, a technician performed a smoke test which showed no leaks. The P0139 code persisted after sensor replacement. The actual cause was a tiny, hairline crack on the weld of the O2 sensor bung itself. The crack was too small to show up on a low-pressure smoke test but would open up under the heat and pressure of real-world driving, introducing just enough oxygen to slow the sensor's response time. The fix was to have an exhaust shop re-weld the bung.
OEM Part Supersession History
Varies (Titanium Type Sensor)→Varies (Zirconia Type Sensor)— Change in sensor technology for improved performance and durability.
Heads up: As noted in TSB 02-36-333, the earlier Titanium sensors and later Zirconia sensors are not interchangeable. They operate on different principles and have different wiring and PCM software requirements. Using the wrong type of sensor, even if it physically fits, will cause persistent codes. Parts for 2003 and later models are often listed as 'Switching Zirconia Type'.
Model Year Variations Within This Range
- 2001-2002 vs 2003-2006 (2.7L V6): The type of oxygen sensor used was changed around the 2003 model year from a Titanium-based sensor to a Zirconia-based sensor. This also involved changes to the wiring harness and ECM logic. It is critical to verify the correct part for the specific model year, as the two types are not cross-compatible.
Diagnostic Flowchart
Real Owner Stories
Aggregated from forums and TSBs cited above. Mileages and costs reflect what owners reported in those sources.
Hyundai Santa Fe (General)
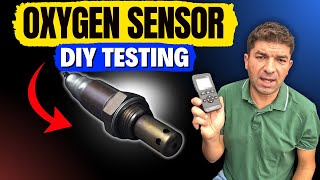
Symptoms: Triggered a P0139 code. The owner removed the old sensor and tested it with a propane torch, noting that it was extremely slow to react to both voltage increases and decreases.
What fixed it: Replaced the faulty oxygen sensor with a new one, which resolved the issue and showed proper live data sweeps.
Source hint: Reddit r/MechanicAdvice
Related OBD-II Codes
Frequently Asked Questions
Does TSB 02-36-333 apply to my 2003 Hyundai Santa Fe 2.7L V6?
Where is the Bank 1, Sensor 2 oxygen sensor located on the 2.7L or 3.5L V6 Santa Fe?
Is the sensor location different if I have the 2.4L 4-cylinder Santa Fe?
Why is the oxygen sensor so difficult to remove on my 2001-2006 Santa Fe?
Can a rusted exhaust pipe cause the P0139 code on this vehicle?
What should I look for when inspecting the O2 sensor wiring harness?
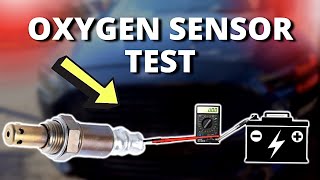
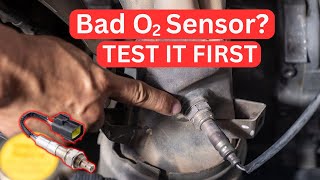
Helpful Videos


We Have This Part in Stock


The information in this article is provided for general reference and educational purposes only. Vehicle specifications, procedures, and part compatibility can vary by production date, trim level, and region. Always consult your vehicle's factory service manual and verify part numbers before purchasing or performing repairs. Safety-critical components such as airbags, seat belts, and braking systems should be installed by a qualified professional.
- Hyundai Santa Fe:
- 🧭 Diagnostic Flowchart
- 🎬 Helpful Videos
- 🛍️ Shop This Part
- What's Unique About the 2001-2006 Hyundai Santa Fe
- Symptoms You May Notice
- Most Likely Causes
- Rare But Worth Checking
- Diagnosis Steps
- Parts You'll Likely Need
- Related Codes That Often Appear With This One
- Technical Service Bulletins (TSBs) & Recalls
- Platform-Specific Known Issues
- Mechanic-Grade Diagnostic Values
- Hidden / Shadow Codes Worth Checking
- Scan Tool Commands That Help
- Wiring & Ground Locations
- Real Owner Repair Stories
- "I Checked Everything" — The Actual Cause
- OEM Part Supersession History
- Model Year Variations Within This Range
- Real Owner Stories
- Hyundai Santa Fe (General)
- Related OBD-II Codes
- Frequently Asked Questions
- 🎟️ Get 5% Off