
P0140 on 2011-2015 Kia Sorento: O2 Sensor No Activity Causes and Fixes
On a 2011-2015 Kia Sorento, code P0140 almost always means the downstream oxygen sensor (Bank 1, Sensor 2) has failed. Replacing the sensor is the most common fix. Before replacing, check the 'SENSOR 1' fuse in the engine bay and inspect the wiring harness for melting against the exhaust. Expect to pay $40-$90 for an aftermarket part and $120-$200 for an OEM part. It's a straightforward DIY job on 2.4L engines but difficult on V6 models due to firewall-side access.
- P0140 points directly to an issue with the Bank 1 Sensor 2 (downstream) oxygen sensor circuit.
- The most probable cause is a failed oxygen sensor, which is a standard wear item.
- Before replacing the sensor, always check the fuse and visually inspect the wiring for damage, as these are simple and cheap potential fixes.
- The repair is much more difficult on V6 models due to the sensor's location on the firewall side of the engine.
- You can continue to drive the car, but you will not pass an emissions test until the code is resolved.
What's Unique About the 2011-2015 Kia Sorento
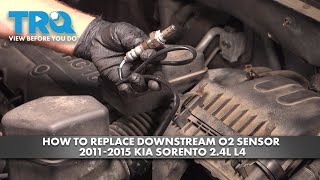
For the 2011-2015 Sorento, the cause of P0140 is typically straightforward and rarely points to complex system failures. The primary difference between models is the repair difficulty. On the 2.4L 4-cylinder engine, the sensor is relatively easy to access. 🎬 Watch: How to replace the downstream sensor on 2.4L models. However, on the 3.5L and 3.3L V6 engines, Bank 1 is located at the rear of the engine bay against the firewall, making access to the Sensor 2 significantly more challenging and time-consuming. 🎬 See this walkthrough for replacing the sensor on V6 engines. A specific point of failure on this platform is the wiring harness coming loose from its retaining clips and melting against the hot exhaust pipe, which should be inspected before replacing the sensor.
Symptoms You May Notice
- Check Engine Light is on
- Vehicle fails emissions testing
- Slightly reduced fuel economy (possible, but not always noticeable by the driver)
- Replacing the catalytic converter. P0140 indicates a problem with the sensor circuit, not the converter's performance. A bad converter would typically set a P0420 code.
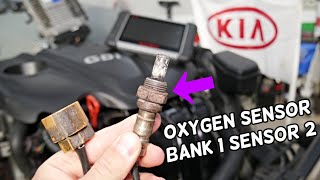
- Replacing the wrong oxygen sensor. Ensure you are diagnosing Bank 1, Sensor 2. On V6 models, Bank 1 is the rear bank (firewall side). Sensor 2 is always the one located after the catalytic converter.
Most Likely Causes
- Failed Downstream Oxygen Sensor (Bank 1, Sensor 2) 🔴 High Probability → Shop Oxygen Sensor Oxygen sensors are wear-and-tear items that fail over time due to constant exposure to high heat and exhaust gases. Contamination from minor oil or coolant leaks can also shorten their lifespan, and internal heater circuit failure is common.
How to confirm: Use an OBD-II scanner to monitor live data for the B1S2 voltage. If the voltage is flat and unresponsive (e.g., stuck at 0.45V) when the engine is warm and at idle, the sensor has failed. You can also test the internal resistance of the sensor's heater circuit with a multimeter; a functional heater should measure between 4 and 10 ohms, while an open circuit (infinite resistance) confirms it's bad.
Typical fix: Replace the Bank 1, Sensor 2 oxygen sensor. Apply anti-seize compound to the threads of the new sensor before installation. An O2 sensor socket (a 22mm or 7/8" slotted socket) is highly recommended for removal.
Est. part cost: $40 - $200 - Wiring or Connector Damage 🟡 Medium Probability The wiring harness for the downstream O2 sensor runs underneath the vehicle, where it is exposed to road debris and moisture. On the Sorento specifically, the harness can become detached from its retaining clips and make contact with the hot exhaust pipe, melting the insulation and causing a short.
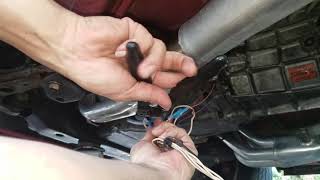
How to confirm: Visually inspect the entire wiring harness from the O2 sensor to where it enters the main loom. Pay close attention to the area above the exhaust pipe for signs of melting. Check for chafed insulation or green/white corrosion on the connector pins. Perform a continuity test with a multimeter if no visible damage is found.
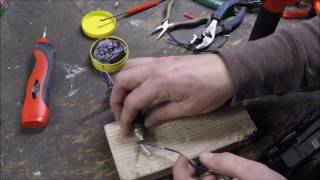
Typical fix: Repair the damaged section of wire with heat-shrink butt connectors or solder. Clean corroded connector terminals with electrical contact cleaner. If the connector itself is damaged or melted, it may need to be replaced with a pigtail connector. 🎬 Watch: How to properly repair damaged oxygen sensor wiring.
Est. part cost: $5 - $50 - Blown Fuse for O2 Sensor Heater ⚪ Low Probability → Shop Oxygen Sensor The O2 sensor heater circuit is protected by a fuse. A short in the sensor's heater element or its wiring can cause this fuse to blow, which will prevent the sensor from reaching operating temperature and cause a 'no activity' code.
How to confirm: Locate the fuse box in the engine compartment. Check the fuse labeled for the sensors (often 'SENSOR 1' or similar, typically a 15A fuse). A visual inspection or a multimeter can confirm if the fuse is blown.
Typical fix: Replace the blown fuse. If the new fuse blows immediately, it indicates a persistent short circuit in the wiring or the O2 sensor itself that must be diagnosed and repaired before proceeding.
Est. part cost: $1 - $5
Rare But Worth Checking
- Exhaust Leak: An exhaust leak upstream of the B1S2 sensor can introduce outside oxygen into the exhaust stream, potentially causing the sensor's reading to be erratic or flat. This is less likely to cause a 'no activity' code than a performance code (like P0136), but it's worth checking for audible ticking sounds from the exhaust, especially when the engine is cold.
- Faulty Powertrain Control Module (PCM): → Shop Engine Control Module (ECM) This is extremely rare. The PCM's internal driver for the O2 sensor circuit can fail. This should only be considered after all other possibilities (sensor, wiring, fuses, and exhaust leaks) have been exhaustively ruled out by a professional technician.
Diagnosis Steps
- Read Codes: Use an OBD-II scanner to confirm P0140 is the active code and check for any other related codes, such as P0141.
- Inspect Fuse: Open the fuse box in the engine bay and visually inspect the fuse for the oxygen sensors (often labeled 'SENSOR 1', typically 15A). Replace if blown.
- Visual Inspection: Safely raise the vehicle and visually inspect the Bank 1, Sensor 2 oxygen sensor and its wiring harness. Specifically look for areas where the harness may have melted on the exhaust pipe. Check for any signs of chafing, corrosion, or loose connections.
- Analyze Live Data: With the engine fully warmed up, use a scan tool to observe the voltage for 'O2S B1S2'. A healthy downstream sensor will show a relatively stable voltage. A reading that is flatlined or stuck (e.g. 0.45V) indicates a problem.
- Test the Sensor Circuit: Disconnect the sensor. Use a multimeter to check for battery voltage (~12V) and ground at the connector (harness side) for the heater circuit with the key on. If power or ground is missing, trace the wiring back to the source, suspecting a break or a blown fuse.
- Test the Sensor: If the circuit has power and ground, the sensor itself is the most likely culprit. Test the resistance of the heater element within the sensor; a reading between 4-10 Ohms is good, while an open circuit (infinite resistance) confirms it's bad.
- Replace the Sensor: If the sensor is confirmed to be faulty, replace it. Clear the codes and perform a drive cycle to ensure the fix was successful.
Parts You'll Likely Need
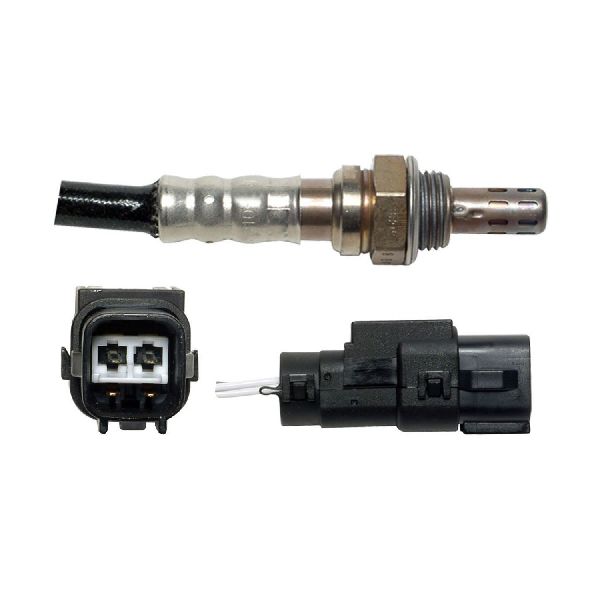
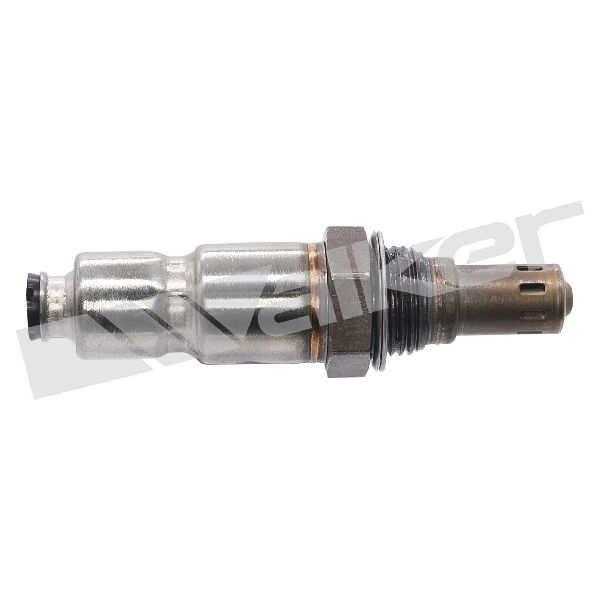
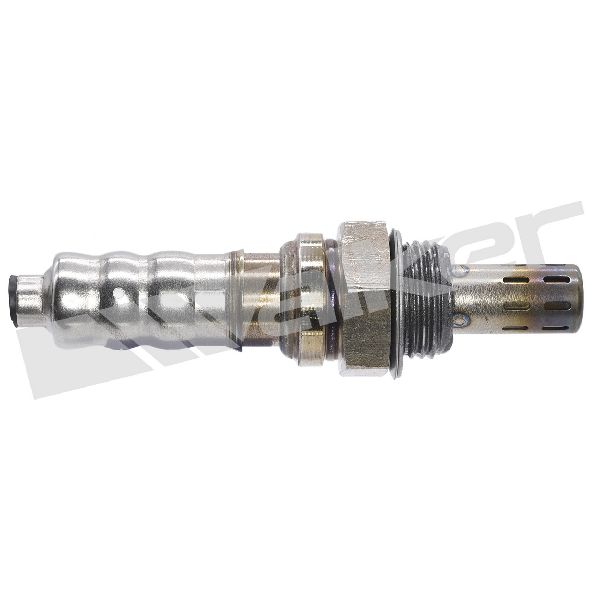
- Downstream Oxygen Sensor (Bank 1, Sensor 2)
(OEM #{'2.4L I4': '39210-2G200', '3.3L/3.5L V6': 'Varies, check with dealer by VIN'})— This is the most common failure item for code P0140. The sensor's internal components, particularly the heater element, wear out over time.
Trusted brands: Denso (often OEM supplier), NGK/NTK, Walker Products
OEM price range: $120-$200
Aftermarket price range: $40-$90
Related Codes That Often Appear With This One
- P0141 — This code indicates a malfunction in the heater circuit for the same sensor (B1S2). If both P0140 and P0141 are present, it strongly points to a failed oxygen sensor assembly, its wiring, or a blown fuse.
- P0136 — This is a more general circuit malfunction code for the same sensor. P0140 is a more specific fault indicating no activity at all. They can appear together.
Platform-Specific Known Issues
- Melted Wiring Harness: A common point of failure is the O2 sensor wiring harness coming loose from its plastic retaining clips and falling onto the hot exhaust pipe. This melts the wire insulation, causing a short circuit that triggers P0140 and/or P0141. Always inspect the harness routing carefully before replacing the sensor.
Mechanic-Grade Diagnostic Values
- O2 Sensor Heater Circuit Resistance (B1S2) — expected: 4 to 10 Ohms at ambient temperature. Some specifications allow a wider range of 2-20 Ohms.. Failure: A reading of 'OL' or infinite resistance indicates an open/broken heater element. A reading near zero Ohms indicates a short circuit. Both require sensor replacement.
- O2 Sensor Heater Circuit Power Supply (at harness connector) — expected: Approximately 12V (Battery Voltage) with Key On, Engine Off.. Failure: 0V or significantly low voltage points to a blown fuse, a faulty main relay, or a break in the power supply wire.
Scan Tool Commands That Help
- Kia GDS (Global Diagnostic System): Data Analysis / Live Data — To monitor the B1S2 voltage in real-time. For P0140, you would use this to confirm the signal is flat-lined (e.g., stuck at 0.45V) when the engine is warm, which indicates no sensor activity.
- Kia GDS (Global Diagnostic System): Actuation Test — While not a direct test of the O2 sensor, a technician can use this to command other components (like an electronic throttle body) to change operating conditions and observe if the O2 sensor responds at all in the live data stream. A complete lack of response further condemns the sensor or its circuit.
Wiring & Ground Locations
- Engine Compartment Fuse Box — Located in the engine bay, typically near the battery.. This box contains the fuse that protects the O2 sensor heater circuits. For this code, you must check the fuse often labeled 'SENSOR 1' (typically 15A).
- Instrument Panel Fuse Box — Located behind a cover on the driver's side of the dashboard.. While the primary O2 sensor fuse is usually in the engine bay, related circuits could be fused here. It's a secondary location to check if the engine bay fuse is intact but power is still missing.
- Main Engine/Transmission Grounds — Key grounding points are typically found on the cylinder head, engine block, and transmission housing.. A poor engine ground can cause a variety of sensor issues, including incorrect or missing O2 sensor signals. While not a primary cause, verifying that main ground straps are clean and tight is a valid step if direct circuit testing is inconclusive.
OEM Part Supersession History
Denso 234-4587→Denso 234-4274 (Caution)— Original part is discontinued.
Heads up: CRITICAL: While 234-4274 is often listed as a replacement, its wire harness is significantly shorter (11.81 inches) than the original's (15.5 inches) and may not reach the connector on the Sorento. Furthermore, fitment guides for 234-4274 primarily list Chrysler/Dodge/Jeep vehicles, not Kia. Using this part may require harness modification or may not work at all. Verifying fitment before purchase is essential.
Model Year Variations Within This Range
- 2014-2015: The fuse box layouts and some fuse assignments in both the engine compartment and interior panel were updated as part of the 2014 model year refresh. Always use a diagram specific to 2014-2015 models when diagnosing electrical issues on these vehicles.
Diagnostic Flowchart
Other Known Issues on This Vehicle
Issues unrelated to this code that are worth knowing about as an owner of this generation:
- Theta II Engine Failure 🔴 High — Widespread across 2.4L GDI and 2.0L Turbo engines. Can occur at any mileage, but commonly reported between 60,000-120,000 miles. Caused by metallic debris from manufacturing leading to connecting rod bearing failure, engine seizure, and potential fires. (Ref: Safety Recall SC147; Class-action lawsuit settlement resulted in a lifetime warranty extension for the engine short block for qualifying vehicles that received a required software update.)
- AC Compressor Clutch Failure 🟠 Medium — Common failure item where the AC clutch stops engaging, resulting in no cold air despite correct refrigerant levels. The entire compressor assembly usually requires replacement.
- Peeling 'Snow White Pearl' Paint 🟡 Low — Affects vehicles with the 'Snow White Pearl' paint option. Paint can bubble, flake, and peel in large sheets, exposing the primer or bare metal. Often occurs after the warranty period.
- Failing Exterior Door Handles 🟡 Low — Primarily reported on the 2011 model year, the exterior door handle mechanism can fail, preventing the door from being opened from the outside.
- Frequent Headlight Burnout / Melted Connectors 🟡 Low — Owners report premature and frequent failure of low-beam headlight bulbs. In some cases, the underlying cause is the headlight wiring connector overheating and melting.
Used vs. New Parts: Buying Guide for This Vehicle
When a used part is the smart pick: It is strongly recommended to NOT use a used oxygen sensor. O2 sensors are wear-and-tear items with a finite lifespan. The cost savings of a used part are minimal and not worth the risk of premature failure and having to do the labor again.
What to inspect on the donor part:
- Not applicable, as used sensors are not recommended.
OEM-only on this vehicle (don't cheap out):
- While not strictly OEM-only, using either a genuine Kia sensor or a reputable OEM-supplier brand is highly advised. Avoid generic, unbranded parts.
Aftermarket brands forum-validated for this vehicle:
- Denso (often the original equipment supplier)
- NGK / NTK (also a frequent OEM supplier)
- Bosch
Brands owners have reported issues with on this vehicle:
- Generic, no-name brands from online marketplaces like Amazon or eBay. These are frequently reported by mechanics to fail quickly or be dead-on-arrival.
Real Owner Stories
Aggregated from forums and TSBs cited above. Mileages and costs reflect what owners reported in those sources.
2011 Kia Sorento 2.4L
Symptoms: Check engine light was on with codes P0133, P0136, and P0140.
What fixed it: Replacing the single downstream O2 sensor (B1S2) successfully cleared all three codes.
Source hint: Reddit r/MechanicAdvice
2011-2015 Kia Sorento
Symptoms: P0140 and/or P0141 codes triggered by the wiring harness coming loose.
What fixed it: Inspecting the harness routing and repairing the wire insulation where it had melted onto the hot exhaust pipe.
Source hint: Kia-Forums.com & other communities
Related OBD-II Codes
Frequently Asked Questions
Where is the fuse for the O2 sensor heater located on my 2011-2015 Kia Sorento?
My Sorento has P0140 and P0141; could this be a wiring issue instead of a bad sensor?
What should the resistance be for a functional Bank 1 Sensor 2 heater on this vehicle?
Are there any major engine recalls I should be aware of while fixing this O2 sensor code?
Can I use a standard deep-well socket to remove the Bank 1 Sensor 2 oxygen sensor?
Does the Hyundai Santa Fe share this same P0140 issue?
Helpful Videos

We Have This Part in Stock


The information in this article is provided for general reference and educational purposes only. Vehicle specifications, procedures, and part compatibility can vary by production date, trim level, and region. Always consult your vehicle's factory service manual and verify part numbers before purchasing or performing repairs. Safety-critical components such as airbags, seat belts, and braking systems should be installed by a qualified professional.
- Kia Sorento:
- 🧭 Diagnostic Flowchart
- 🎬 Helpful Videos
- 🛍️ Shop This Part
- What's Unique About the 2011-2015 Kia Sorento
- Symptoms You May Notice
- Most Likely Causes
- Rare But Worth Checking
- Diagnosis Steps
- Parts You'll Likely Need
- Related Codes That Often Appear With This One
- Platform-Specific Known Issues
- Mechanic-Grade Diagnostic Values
- Scan Tool Commands That Help
- Wiring & Ground Locations
- OEM Part Supersession History
- Model Year Variations Within This Range
- Other Known Issues on This Vehicle
- Used vs. New Parts: Buying Guide for This Vehicle
- Real Owner Stories
- 2011 Kia Sorento 2.4L
- 2011-2015 Kia Sorento
- Related OBD-II Codes
- Frequently Asked Questions
- 🎟️ Get 5% Off