
P0142 on 2013-2020 Land Rover Range Rover: O2 Sensor Circuit Fault Causes and Fixes
This code points to a fault in the Bank 1, Sensor 3 oxygen sensor circuit. The most common cause on this Range Rover is a faulty sensor itself, often due to a known manufacturing defect detailed in TSB SSM63157. Replacing the sensor is the typical fix, but wiring issues and software updates should also be considered.
- P0142 on a 2013-2020 Range Rover specifically refers to a circuit fault for the oxygen sensor on Bank 1 (passenger side), Sensor 3 (the rearmost sensor).
- The most probable cause is a faulty oxygen sensor, a fact supported by Land Rover TSB SSM63157 which details a specific manufacturing defect.
- Before replacing parts, check if your vehicle's VIN is covered by a TSB (like LTB00671NAS3 or N346) that recommends a PCM software update as the fix.
- DIY replacement is feasible for those with basic tools and jack stands, with a difficulty of 2 out of 5. A 22mm O2 sensor socket is required.
- Before ordering a part, confirm the fault by inspecting the wiring for damage and, if possible, checking the sensor's live data on a scanner for a fixed or unresponsive voltage.
- The correct OEM part number to look for is C2D23702 or its supersession LR035748.
What's Unique About the 2013-2020 Land Rover RANGE ROVER

For the 2013-2020 (L405) Range Rover, the P0142 code is frequently linked to two specific, documented issues. First, Land Rover issued Technical Service Bulletin (TSB) #SSM63157, acknowledging a "manufacturing fault at the supplier." This fault caused an internal misalignment in the sensor, leading to "side load on the ceramic internal to the sensor," which results in premature failure. Second, TSB LTB00671NAS3 notes that thermal shock from water contacting the hot sensor can also cause failure, which can sometimes be addressed with a PCM software update to change sensor behavior. These factors make a defective sensor or a software issue a higher-than-average probability compared to other vehicles.
Diagnostic Flowchart

Tap your situation to follow the diagnostic path that matches what you're seeing on this vehicle.
Symptoms You May Notice
- Check Engine Light (Malfunction Indicator Lamp) is on.
- Vehicle will fail an emissions test.
- Potential for slightly decreased fuel economy.
- In some cases, rough idling or hesitation.
- Strong fuel smell from the exhaust (rare).
- Replacing the wrong oxygen sensor. It is critical to identify Bank 1 (passenger side) and Sensor 3 (the rearmost sensor on that bank) correctly.
- Replacing the sensor when the actual fault is a damaged wire or connector pin. A thorough visual inspection of the harness is crucial.
- Assuming the sensor is bad without checking for available PCM software updates, which Land Rover has issued to address this family of codes.
Most Likely Causes

- Faulty Bank 1, Sensor 3 Oxygen Sensor 🔴 High Probability → Shop Oxygen Sensor As cited in Land Rover TSB #SSM63157, a batch of sensors had a known manufacturing defect causing internal misalignment and premature failure. TSB LTB00671NAS3 also notes failures from thermal shock.
How to confirm: Use a scan tool to monitor the live data voltage from the sensor; a faulty sensor will often show a fixed high voltage (e.g., 1.2V) or no voltage at all, instead of fluctuating as expected. You can also test the sensor's internal heater circuit for correct resistance (typically 10-20 ohms when cold).
Typical fix: Replace the Bank 1, Sensor 3 oxygen sensor. Per TSB SSM63157, replacement sensors should have a date code of June 1, 2013, or later.
Est. part cost: $60-$180 - Wiring or Connector Issue 🟡 Medium Probability The sensor wiring is routed under the vehicle near the hot exhaust, making it susceptible to heat damage, corrosion, or physical damage from road debris. Owners have found previously repaired or damaged wires hidden under electrical tape.
How to confirm: Visually inspect the wiring harness and connector for any signs of melting, chafing, corrosion, or loose pins. Trace the harness as far back as possible. Perform a continuity test on the wires from the sensor connector to the PCM if a visual fault isn't found.
Typical fix: Repair the damaged section of the wiring harness or replace the connector pigtail. Accessing the harness can be difficult and may require removing other components.
Est. part cost: $15-$50 - Exhaust Leak ⚪ Low Probability
How to confirm: Listen for hissing or ticking sounds from the exhaust system, especially when the engine is cold. Visually inspect the exhaust pipes and flanges near the O2 sensor for black soot marks, which indicate a leak. A smoke test is the most definitive way to find a leak.
Typical fix: Replace the leaking exhaust gasket or repair the crack in the exhaust pipe.
Est. part cost: $20-$100
Rare But Worth Checking
- Powertrain Control Module (PCM) Fault or Outdated Software: → Shop Engine Control Module (ECM) This is very rare as a hardware failure. More commonly, the PCM software may need an update. TSBs LTB00671NAS3 and N346 specifically state that a group of O2 sensor codes, including P0142, can be caused by a software error and resolved by reprogramming the PCM. This update often helps the system better handle conditions like thermal shock.
Diagnosis Steps
- Read the trouble codes with an OBD-II scanner and confirm P0142 is present. Note any other codes, especially P0162, P0143, or P0144.
- Using the scanner's live data function, monitor the voltage for 'O2S B1S3'. A healthy downstream sensor should show a relatively stable voltage (e.g., 0.5V to 0.7V) once warmed up. If it's stuck high (e.g., 1.2V), low, or shows no activity, the sensor or circuit is faulty.
- Check for applicable TSBs (like LTB00671NAS3 or N346) by VIN to see if a PCM software update is the recommended first step.
- Raise the vehicle safely (off-road mode can provide extra clearance) and visually inspect the Bank 1, Sensor 3 O2 sensor. It is located on the passenger side exhaust, after the catalytic converter.
- Inspect the sensor's wiring harness and connector for any signs of damage, melting, or corrosion. Follow the harness as far as possible.
- Check for exhaust leaks near the sensor. Look for black soot or listen for audible hissing.
- If wiring and exhaust are okay, the sensor itself is the most likely culprit. Test the heater circuit resistance with a multimeter. It should typically be between 10 and 30 ohms when cold.
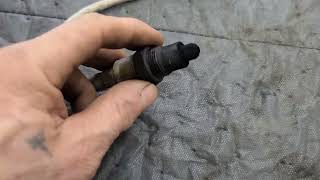
- If the sensor tests bad, replace it with a quality part (OEM or a reputable brand like Bosch or Denso). A DIY video is available showing the process. If the sensor tests good, a more in-depth wiring trace or PCM diagnosis is needed.
Parts You'll Likely Need
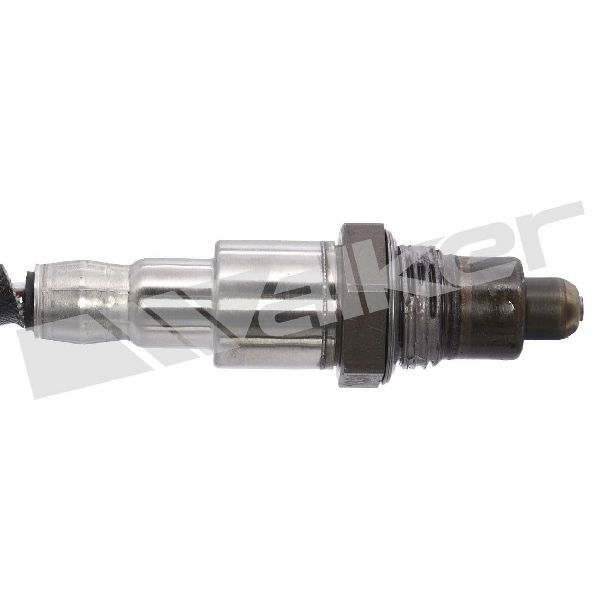
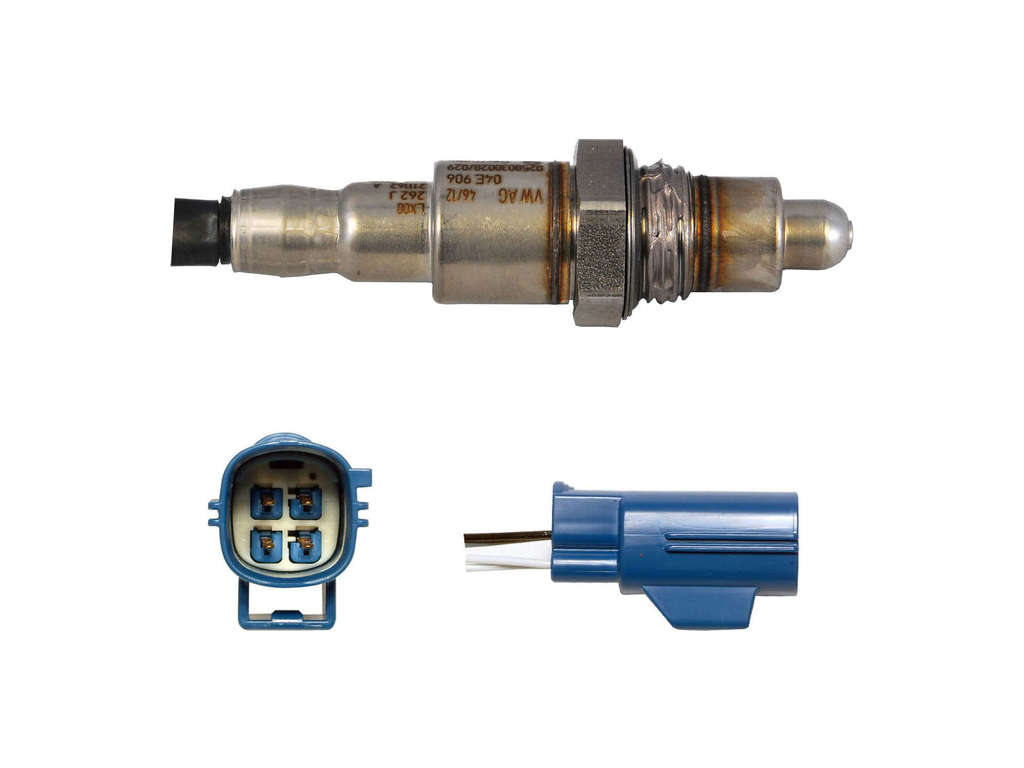
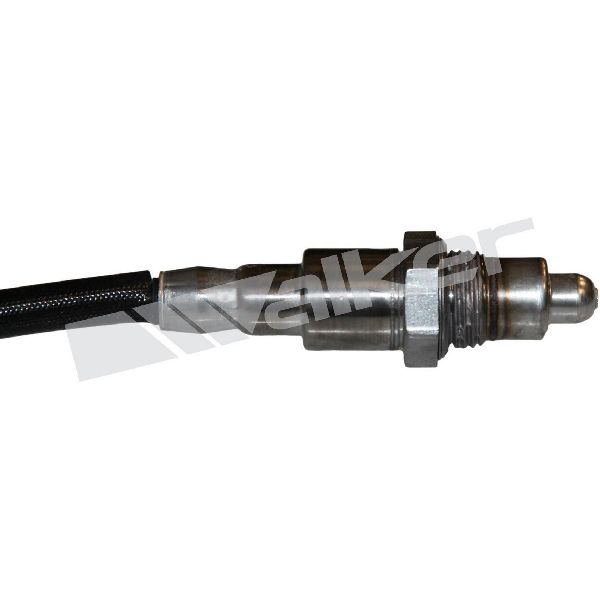
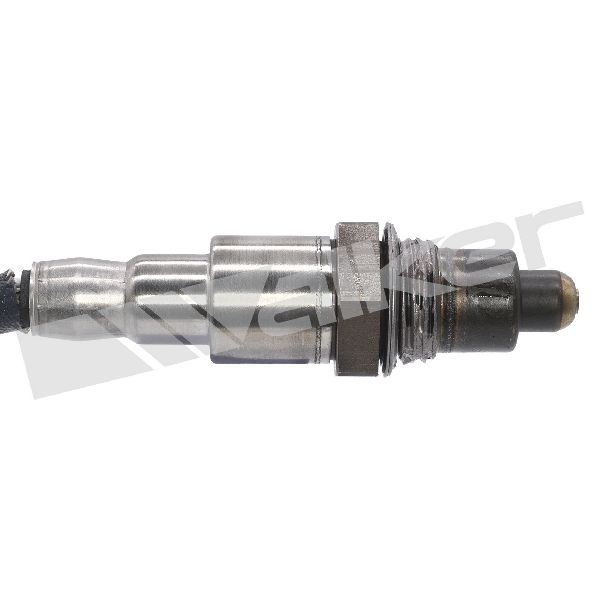
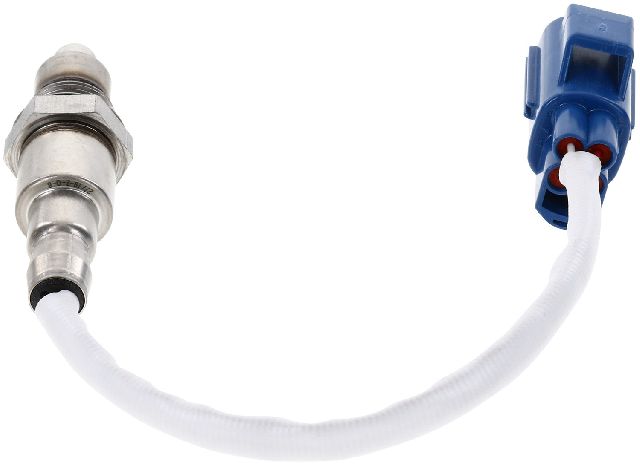
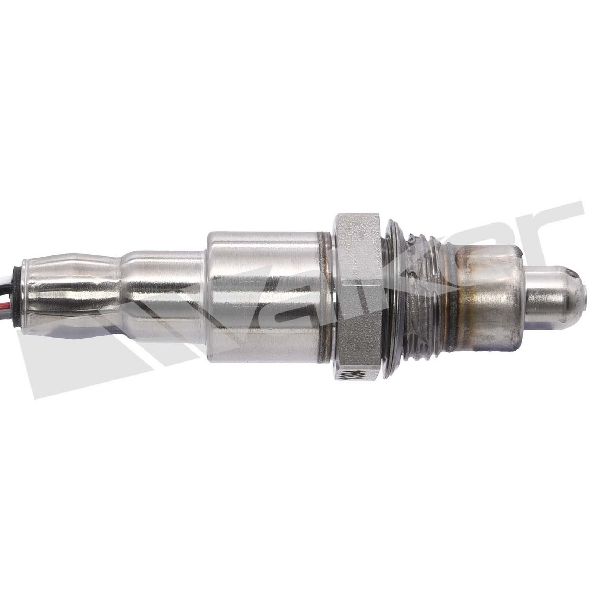
- Oxygen Sensor (Bank 1, Sensor 3)
(OEM #C2D23702, LR035748, LR140062)— This is the most common failure point for code P0142, especially given the manufacturer TSB regarding a supplier fault (SSM63157). C2D23702 is a shared JLR part number, while LR035748 is also cited in TSBs. LR140062 is a listed supersession.
Trusted brands: Bosch (OEM supplier), Denso, NGK
OEM price range: $120-$180
Aftermarket price range: $60-$120
Related Codes That Often Appear With This One
- P0162 — This is the equivalent code for Bank 2, Sensor 3. If both appear, it strongly points to a systemic issue like the known supplier fault affecting multiple sensors, a wiring harness problem common to both, or a required software update.
- P0143, P0144 — These codes indicate low or high voltage in the same Bank 1, Sensor 3 circuit, pointing directly to a fault with that specific sensor or its wiring. A user on LandyZone reported P0142 and P0144 together when their sensor was stuck at a high voltage.
Technical Service Bulletins (TSBs) & Recalls
- SSM63157: Details a manufacturing fault at the supplier for O2 sensors, causing internal misalignment and premature failure.
- LTB00671NAS3 / LTB00671NAS2: Groups P0142 with other post-catalyst heated oxygen sensor codes, sometimes addressed by software updates to prevent issues like thermal shock.
- N346: A service action that involves updating the PCM software to address performance-related O2 sensor DTCs.
- SSM72556: Confirms P0142-00 as O2 SENSOR CIRCUIT (BANK 1 SENSOR 3).
- SSM72448: Lists P0142 among many O2 sensor codes where diagnosis may find no fault with the wiring, pointing towards the sensor itself.
Platform-Specific Known Issues
- TSB SSM63157 specifically calls out a manufacturing fault ('misalignment within the sensor leading to side load on the ceramic') from the supplier, making sensor failure a primary cause for this code. It advises using sensors with a date code of June 1, 2013 or later.
- TSBs LTB00671NAS3, LTB00671NAS2, and N346 group P0142 with many other O2 sensor codes, suggesting that a software update is the fix in some cases, particularly to address thermal shock from water contact.
- TSB SSM72448 notes that for a list of O2 codes including P0142, diagnosis may find no fault with the wiring, pointing towards the sensor itself as the culprit.
Mechanic-Grade Diagnostic Values
- O2 Sensor Heater Circuit Resistance — expected: 10Ω to 30Ω when the sensor is cold.. Failure: An open circuit (infinite resistance) or a short circuit (less than ~5Ω) indicates a faulty heater element within the sensor.
- Downstream O2 Sensor Voltage (Live Data) — expected: A relatively stable voltage between 0.5V and 0.7V after the engine is fully warmed up and in closed-loop operation.. Failure: Voltage that is stuck high (e.g., 1.2V), stuck low (e.g., 0.1V), or not showing any activity points to a sensor or circuit fault.
- Heater Circuit Power Supply — expected: 12V-14V at the sensor's harness connector with the ignition on.. Failure: No voltage indicates a problem upstream, such as a blown fuse, faulty relay, or a break in the power wire.
Hidden / Shadow Codes Worth Checking
- P0142-00: The '-00' suffix is a standard JLR sub-code meaning 'General failure information - no sub type information'. This indicates the PCM detected a general electrical fault in the Bank 1, Sensor 3 circuit but could not isolate it to a more specific type, like a short to ground or an open circuit. (see via JLR-specific diagnostic tools like SDD or Pathfinder, or advanced professional scan tools.)
Scan Tool Commands That Help
- JLR SDD (Symptom Driven Diagnostics): Configure existing module – Powertrain control module — This function is used to reprogram the PCM with updated software. TSB LTB00671NAS3 recommends this procedure after replacing the sensor to prevent future issues related to thermal shock. A Midtronics battery power supply must be connected during programming.
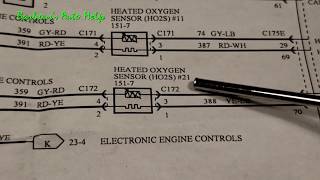
Wiring & Ground Locations

- ECM Connector C0635 — At the Engine Control Module (ECM).. This connector contains the pins for the O2 sensor signals and heater controls. For a downstream sensor on the LH bank (which may correspond to Bank 1 or 2 depending on the specific engine documentation), the heater control is on pin 7 and the signal is on pin 17. The signal ground is on pin 11. These are critical test points for checking continuity back to the ECM.
- Engine Compartment Fuse Box — Located in the engine bay.. The power supply for the O2 sensor heaters is provided via a fuse in this box (e.g., Fuse 2 in some models). A blown fuse will cut power to all O2 sensor heaters and can trigger multiple heater circuit codes.
Real Owner Repair Stories
- LandyZone forum user (2014 Range Rover 5.0L Supercharged) — Check Engine Light with codes P0142 (Bank 1 Sensor 3) and P0162 (Bank 2 Sensor 3).
❌ Tried (didn't work) Initial diagnosis was confusing as the codes appeared for both banks simultaneously.
✅ What actually fixed it The user monitored live data and found that the voltage for both Sensor 3s was stuck at a constant 1.2V. This confirmed a sensor failure mode. The fix was to replace both the Bank 1 Sensor 3 and Bank 2 Sensor 3 oxygen sensors.
OEM Part Supersession History
LR035748→LR098290, LR136928, C2D23703— Standard part evolution and supplier changes.
Heads up: LR035748 is the most commonly cited part number for the post-catalyst (Sensor 3) position in TSBs and parts catalogs for this vehicle range. It is often cross-referenced with Bosch part number 16061. It's crucial to confirm fitment by VIN, as there can be variations.
Model Year Variations Within This Range
- 2013-2017 (primarily 5.0L V8 Supercharged): Some L405 models, particularly the 5.0L V8 Supercharged, use a 6-sensor exhaust system (3 per bank). Sensor 1 is pre-catalyst, Sensor 2 is mid-catalyst, and Sensor 3 is post-catalyst. P0142 specifically refers to the rearmost sensor in this configuration. Other engine options may have a more common 4-sensor setup, which would not typically set a 'Sensor 3' code.
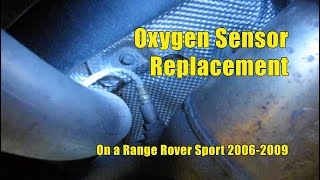
Helpful Videos


![How to Fix P0142 Engine Code in 4 Minutes [3 DIY Methods / Only $9.35]](https://img.youtube.com/vi/LSRz0wxsgBI/mqdefault.jpg)


We Have This Part in Stock

The information in this article is provided for general reference and educational purposes only. Vehicle specifications, procedures, and part compatibility can vary by production date, trim level, and region. Always consult your vehicle's factory service manual and verify part numbers before purchasing or performing repairs. Safety-critical components such as airbags, seat belts, and braking systems should be installed by a qualified professional.
- Land Rover RANGE ROVER:
- 🧭 Diagnostic Flowchart
- 🎬 Helpful Videos
- 🛍️ Shop This Part
- What's Unique About the 2013-2020 Land Rover RANGE ROVER
- Symptoms You May Notice
- Most Likely Causes
- Rare But Worth Checking
- Diagnosis Steps
- Parts You'll Likely Need
- Related Codes That Often Appear With This One
- Technical Service Bulletins (TSBs) & Recalls
- Platform-Specific Known Issues
- Mechanic-Grade Diagnostic Values
- Hidden / Shadow Codes Worth Checking
- Scan Tool Commands That Help
- Wiring & Ground Locations
- Real Owner Repair Stories
- OEM Part Supersession History
- Model Year Variations Within This Range
- 🎟️ Get 5% Off